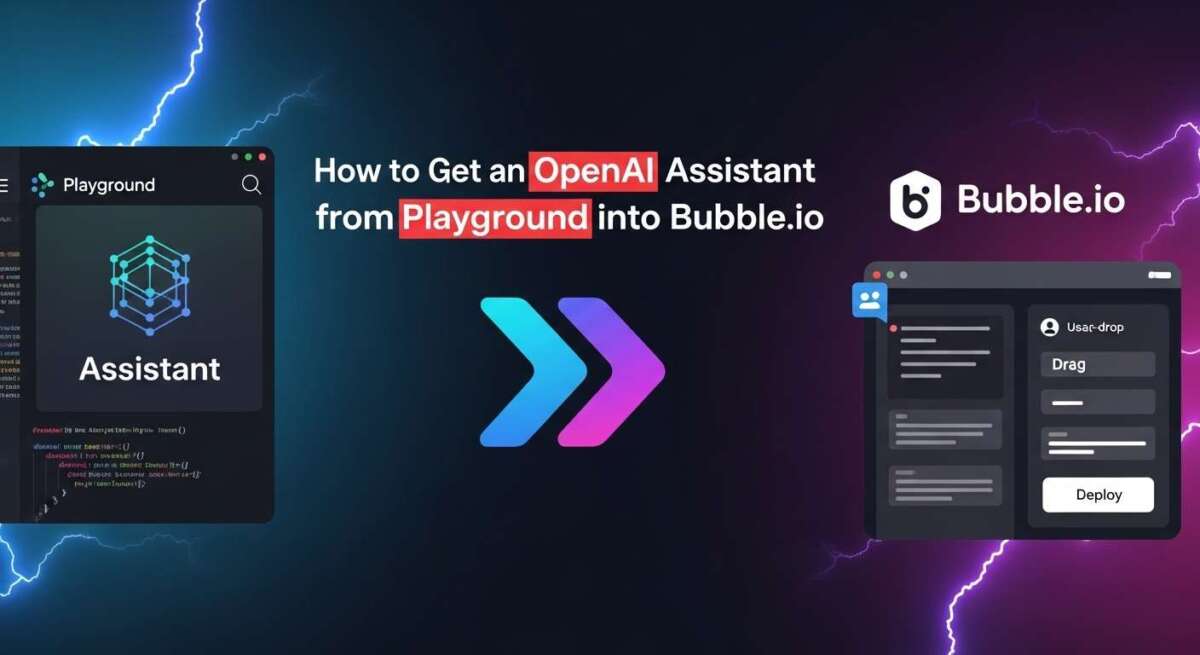
You’ve built a smart assistant using OpenAI’s Playground, but now you want to bring that power into your Bubble.io app. Imagine your users getting instant, intelligent responses right within your custom interface—without writing complex code.
If you’re wondering how to connect these two platforms seamlessly, you’re in the right place. This guide will walk you through each step to get your OpenAI assistant running smoothly inside Bubble. io. By the end, you’ll have a clear, practical process that turns your AI ideas into a working app your users will love.
Ready to make your app smarter? Let’s dive in!
Setting Up Openai Playground
Setting up the OpenAI Playground is the first step to create your AI assistant. This platform lets you design and test your assistant before connecting it to Bubble.io. The process involves creating an account, generating API keys, and building your assistant in the Playground. Each step is simple and essential for smooth integration.
Follow these instructions carefully to prepare your assistant for Bubble.io. The OpenAI Playground provides a user-friendly environment to customize your AI’s responses and behavior.
Creating An Openai Account
Start by visiting the official OpenAI website. Click on the sign-up button and fill in your details. Use a valid email address to register. After submitting, confirm your email through the link sent to your inbox. Logging into your new account gives you access to the Playground and API features.
Generating Api Keys
Once logged in, go to the API section in your OpenAI dashboard. Click on “Create new secret key” to generate an API key. This key acts as a password for your assistant to communicate with Bubble.io. Keep the key safe and do not share it publicly. You will need this key to connect the assistant securely.
Building Your Assistant In Playground
Open the Playground tab in your OpenAI account. Choose the AI model that suits your project needs. Start by typing prompts and test different responses from the assistant. Customize the tone and style by adjusting settings like temperature and max tokens. Save your configurations to prepare for integration with Bubble.io.

Credit: forum.bubble.io
Preparing Bubble.io Environment
Preparing the Bubble.io environment is the first step in integrating an Open.AI assistant from Playground. This setup ensures smooth communication between Bubble.io and OpenAI’s API. It involves installing necessary plugins, configuring API details, and designing an interface that users can interact with easily.
Installing Api Connector Plugin
Start by opening your Bubble.io app editor. Go to the Plugins tab on the left menu. Search for “API Connector” in the plugin store. Click the install button to add it to your app. This plugin allows Bubble to connect with external APIs like OpenAI. After installation, you will see it listed under your installed plugins.
Configuring Api Settings
Open the API Connector plugin settings. Click “Add another API” to create a new connection. Name your API, for example, “OpenAI”. Set the API authentication type to “Bearer Token”. Paste your OpenAI API key from the Playground account into the token field. Add the base URL as https://api.openai.com/v1. Define the POST method to send requests to the OpenAI completions endpoint. Save the settings to enable API calls from Bubble.
Designing User Interface
Switch to the Design tab in Bubble.io. Drag a multiline input box onto the page for user questions. Add a button labeled “Ask AI” below the input. Insert a text element to show the AI’s replies. Arrange these elements clearly and simply. Keep the interface clean for easy use. This layout lets users enter prompts and see responses instantly.
Connecting Openai Api To Bubble
Connecting the OpenAI API to Bubble allows you to add AI-powered chat features to your app. Bubble’s no-code platform makes it easy to integrate API calls and handle AI responses. Setting up the connection involves adding the right API calls, securing authentication, and managing data flow. Each step builds the foundation for a smooth AI assistant experience within your Bubble app.
Adding Api Calls For Chat Completion
Start by installing Bubble’s API Connector plugin. This tool lets you create custom API calls to OpenAI. Add a new API and name it clearly, such as “OpenAI Chat Completion.” Use the API endpoint for chat completion, usually https://api.openai.com/v1/chat/completions. Set the method to POST. Define the request body with parameters like model, messages, and max_tokens. This setup sends user input to OpenAI and retrieves the AI’s reply.
Setting Up Authentication
OpenAI requires an API key for authentication. In Bubble’s API Connector, choose “Private Key” as the authentication type. Enter your OpenAI API key in the header as Authorization: Bearer YOUR_API_KEY. Keep your key secret to protect your account. This step ensures only your Bubble app can access OpenAI’s services securely.
Managing Request And Response
Handle the request data by sending the user’s message in the correct format. Use Bubble’s workflow to capture input and pass it to the API call. After the API response, extract the AI’s message from the JSON reply. Display this message in your app’s chat interface. Proper management of request and response keeps the conversation smooth and real-time for users.

Credit: www.youtube.com
Building Workflows In Bubble
Building workflows in Bubble is essential for connecting your OpenAI assistant to your app. Workflows manage how users interact with the AI and how the app processes their requests. Setting up clear workflows ensures smooth communication between Bubble and OpenAI’s API. It also helps deliver fast and accurate responses to users. Focus on creating logical steps that handle inputs, send them to the AI, and display the replies.
Creating Interaction Flows
Start by designing simple interaction flows in Bubble’s workflow editor. Each step should represent a user action or system response. For example, trigger a workflow when a user submits a message. Then, add an action to call the OpenAI API with that input. Use Bubble’s API Connector plugin to set up this call. Make sure to save the AI’s response to a custom state or database for later use.
Handling User Inputs
Collect user inputs through input fields or text areas in Bubble. Validate inputs to avoid empty or invalid requests. Pass the user text directly to the OpenAI API call within your workflow. Use dynamic data to send the exact input from the user interface. This keeps the conversation natural and personalized. Also, consider limiting input length to improve performance and reduce costs.
Displaying Ai Responses
Show the AI’s answers by updating text elements on your page. Bind these elements to the data saved during the API call. Use repeating groups for chat-like displays to list messages. Format the response text to improve readability. Keep the interface clean and simple for easy understanding. Update the display instantly after receiving a reply to maintain a smooth experience.
Optimizing Api Usage
Optimizing API usage is essential for a smooth experience when integrating an OpenAI assistant from Playground into Bubble.io. Efficient API use keeps your app fast, secure, and cost-effective. It helps you avoid common issues like data leaks and service interruptions. This section covers key practices to manage your API properly and safely.
Securing Api Keys
Keep your API keys private. Never expose them in your app’s front end. Store keys in Bubble.io’s server-side settings or environment variables. Limit key permissions to only what your app needs. Rotate keys regularly to reduce risk. Use HTTPS to protect data in transit.
Preventing Prompt Leaks
Do not send sensitive data in prompts. Avoid logging prompts that contain private information. Use placeholders or tokens for confidential details. Set strict access controls on your Bubble app. Validate user input to prevent injection attacks. Ensure your app sanitizes data before sending it to the API.
Handling Rate Limits
OpenAI enforces limits on API calls. Track your usage to avoid hitting these limits. Implement retries with delays for failed requests. Use caching to reduce duplicate calls. Design your app to queue requests during high traffic. Monitor your usage regularly to stay within quotas.
Testing And Debugging
Testing and debugging are key steps after integrating your OpenAI assistant into Bubble.io. These steps ensure the assistant works smoothly and meets user needs. Careful testing helps find errors early. Debugging fixes these errors for a better user experience.
Running Test Conversations
Start by running simple test conversations in Bubble.io. Use common questions your users might ask. Observe how the assistant replies. Check if responses are clear and relevant. This helps spot any response issues quickly. Test different scenarios to cover various user intents. Save your test results to track progress.
Troubleshooting Common Issues
Look out for issues like slow responses or errors in replies. Verify your API key is correct and active. Check your API usage limits to avoid disruptions. Confirm that your Bubble.io workflows trigger API calls properly. Review the assistant’s prompt setup in OpenAI Playground. Adjust settings if responses seem off or incomplete.
Refining Assistant Behavior
Use feedback from test conversations to improve your assistant. Adjust the prompt in OpenAI Playground for clearer instructions. Add examples to guide the assistant’s tone and style. Test changes again in Bubble.io to see improvements. Repeat refining until the assistant responds accurately every time. A well-tuned assistant increases user satisfaction and engagement.
Enhancing Assistant Features
Enhancing your OpenAI assistant in Bubble.io can improve user experience significantly. Adding new features makes the assistant more interactive and useful. Focus on functionalities that create smooth and dynamic conversations. Implementing streaming, file uploads, and extra AI models can add depth to your app.
Implementing Streaming Responses
Streaming responses show the AI’s answers as they generate. This creates a real-time chat feeling. Users see replies without waiting for the entire message. To add streaming, use Bubble’s API connector with OpenAI’s streaming option. Configure your workflow to handle partial data updates. This keeps users engaged with faster feedback.
Adding File Upload Capability
File uploads allow users to share documents or images. Your assistant can analyze or respond based on these files. In Bubble, add a file uploader element on the page. Connect it to your workflow to send files to OpenAI or another service. This feature supports tasks like text extraction or image captioning. It expands the ways users interact with your assistant.
Integrating Additional Ai Models
Using multiple AI models increases your assistant’s skills. You can mix language, vision, or specialized models. Bubble’s API connector lets you call different OpenAI endpoints. Choose models for tasks like summarizing, translating, or image recognition. Switching models adds versatility and improves responses. It makes your assistant smarter and more helpful.
Deployment And Maintenance
Deployment and maintenance are key steps after integrating your OpenAI assistant into Bubble.io. They ensure your app works smoothly and adapts to user needs. Proper deployment lets users access your assistant easily. Ongoing maintenance keeps it reliable and up-to-date.
Launching Your Bubble App
Test your app fully before launch. Check all features, including the OpenAI assistant. Fix any bugs or errors you find. Set your app to live mode in Bubble settings. Make sure your API keys are secure and active. Share your app link with your audience for access.
Monitoring Api Usage
Track how often your assistant calls the OpenAI API. Use Bubble’s built-in logs or third-party tools. Watch for unusual spikes that may increase costs. Set limits to avoid exceeding your API quota. Analyze common user questions to improve responses. Monitoring helps keep your app efficient and budget-friendly.
Updating Assistant Over Time
Update your assistant regularly to improve user experience. Refresh prompts and training data based on feedback. Add new features as user needs change. Test updates in a development version before applying live. Keep API keys and permissions current for security. Continuous updates keep your assistant helpful and relevant.
Credit: www.youtube.com
Frequently Asked Questions
How To Add Openai To Janitor Ai?
Create an OpenAI account and get your API key. Log in to Janitor AI, enter the API key in settings. Select an AI character and start chatting.
Can Openai Playground Generate Images?
OpenAI Playground primarily generates text. For image creation, use OpenAI’s DALL·E or Azure OpenAI’s Image APIs instead.
How Do I Add An Openai?
Create an OpenAI account and get your API key. In your app, add the OpenAI API using an API connector. Configure the settings, then build and test your assistant.
Is Openai Free For Janitor Ai?
Janitor AI offers a free option using JanitorLLM Beta. Using OpenAI’s API may incur charges. Set API to JanitorLLM to avoid fees.
Conclusion
Getting an OpenAI assistant from Playground into Bubble. io is straightforward. Start by creating your assistant in Playground. Then, connect it using Bubble’s API tools. Test the assistant to ensure it responds correctly. Keep your API keys secure to protect your app.
This process helps you add smart features without coding. Try building your own assistant today and see how it works within Bubble. io. Simple steps lead to powerful results.

Everett Ashford is a tech reviewer at mytechgrid.com specializing in SSDs, cameras, TVs, earbuds, headphones, and other consumer electronics. He provides honest, data-driven reviews based on hands-on testing and real-world performance analysis. Everett simplifies complex tech details to help readers make smart, confident buying decisions.