Cloning to an SSD is a process of using software to create an exact, bootable copy of your old hard drive. Upgrading your computer's primary drive is one of the single most impactful performance boosts you can make, but the thought of reinstalling everything from scratch can be daunting. As someone who has managed countless system upgrades, I can tell you that learning how to clone to an SSD is a game-changer. It transforms a weekend-long project of reinstalling apps and tracking down license keys into a simple, hour-long procedure. This comprehensive guide will walk you through every step, ensuring a smooth and successful transition to a faster, more responsive system.
Why Clone to an SSD Instead of a Fresh Install?
While starting with a fresh installation of your operating system has its merits, cloning is often the superior choice for most users looking to upgrade. The primary benefit is convenience. Cloning creates a perfect 1-to-1 replica of your existing system, meaning every program, file, personal setting, and desktop shortcut is transferred exactly as you left it. There is no need to spend hours reinstalling software or reconfiguring your preferences.
From my own experience, the first time I upgraded to an SSD, I opted for a fresh install. I spent an entire Saturday hunting down old software keys and re-downloading drivers. The next time, I learned how to clone to an SSD, and the entire process was done in under an hour. The difference was astounding. You simply swap the drives, and your computer boots up just as it did before, only now it's incredibly fast. It is the most efficient path to enjoying the speed of an SSD without the headache of starting over.

What You'll Need Before You Begin
Gathering the right tools beforehand makes the cloning process seamless. Think of it as preparing your ingredients before you start cooking; it prevents any last-minute scrambling. Here is a simple checklist of everything you will need to successfully clone to an SSD.
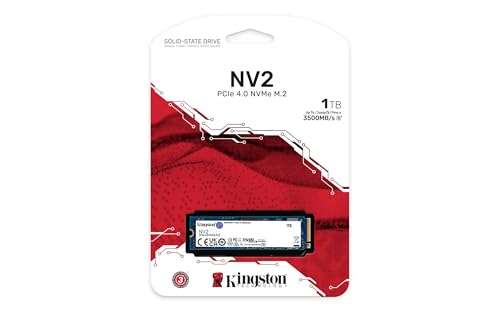
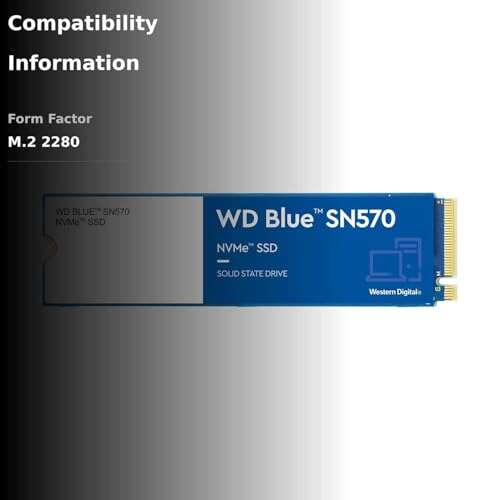
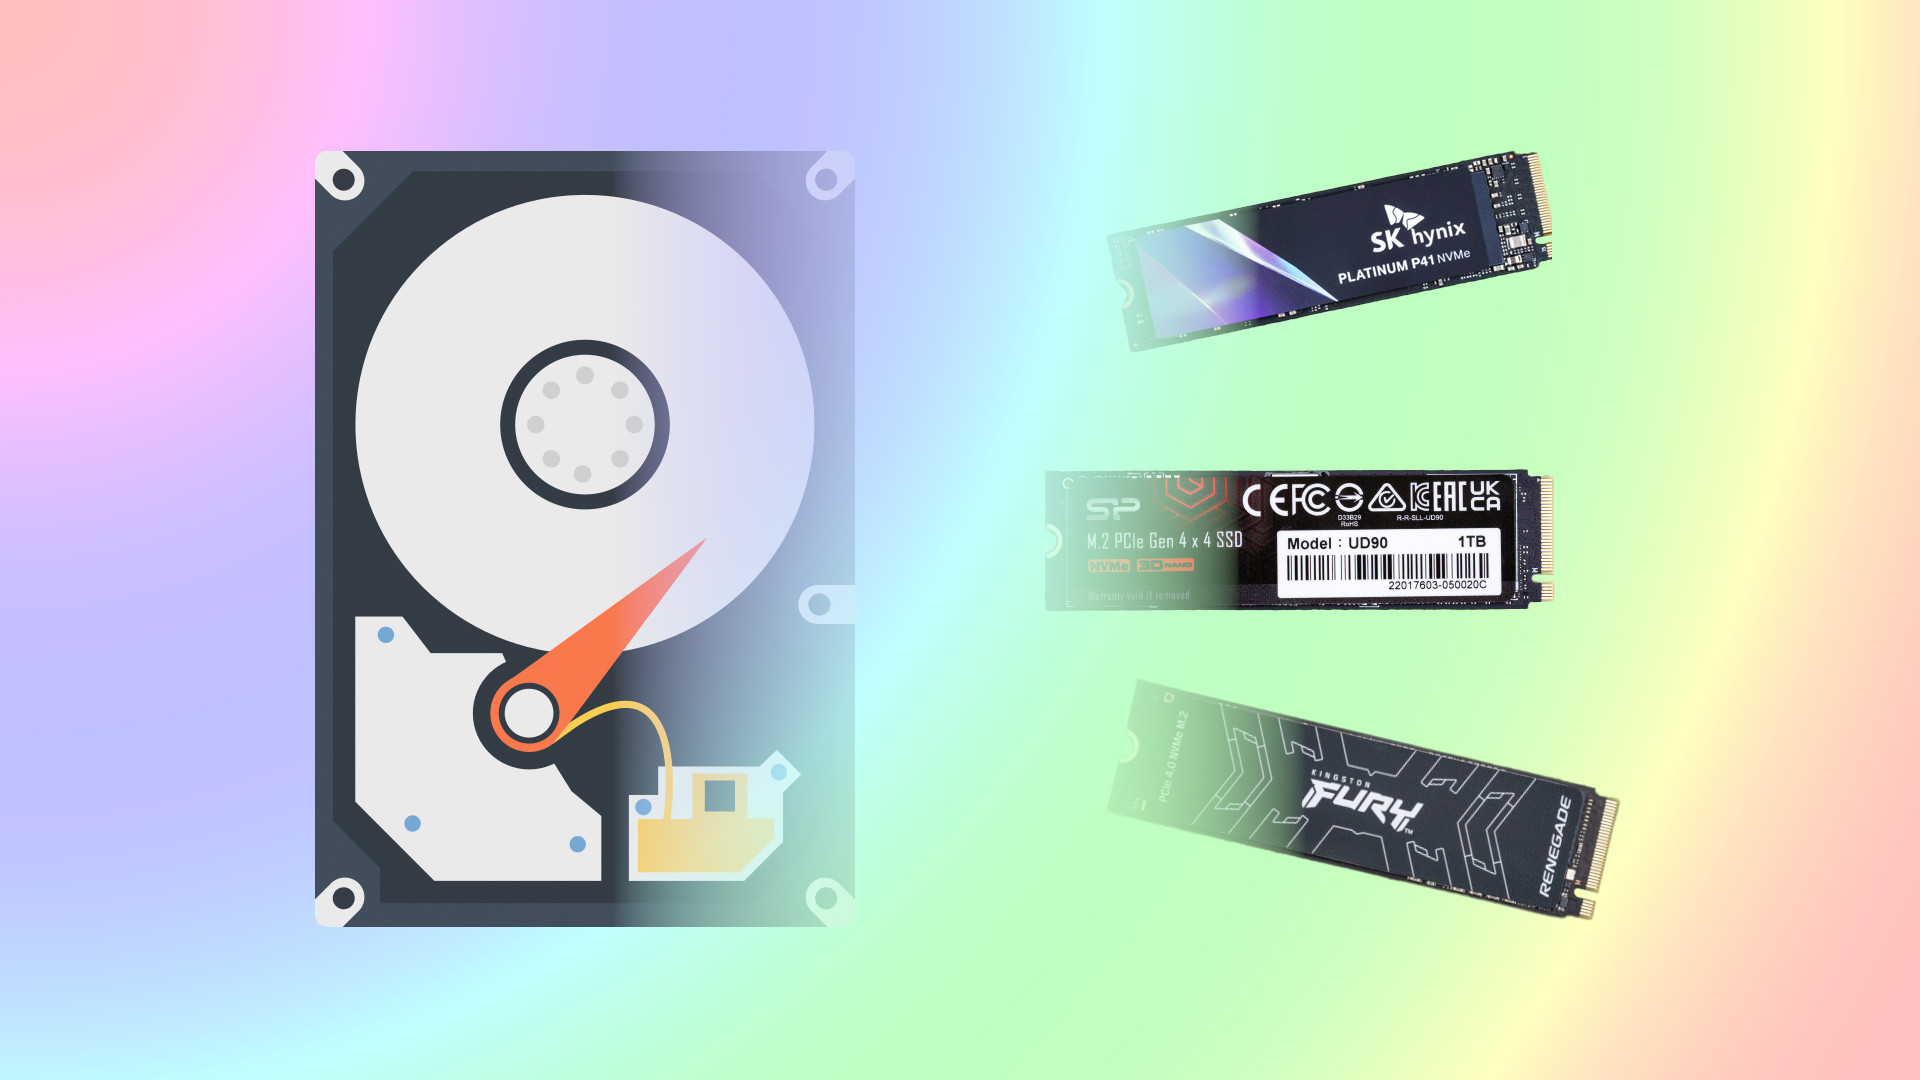
- The New SSD. Ensure the solid-state drive has enough storage capacity to hold all the data from your current drive. As a rule of thumb, it is best to choose an SSD that is at least the same size or larger than your old drive.
- Cloning Software. Many reliable software options are available. Some SSD manufacturers, like Samsung and Crucial, offer their own free cloning utilities designed for their drives. Other popular and trusted third-party options include Macrium Reflect Free and Acronis True Image.
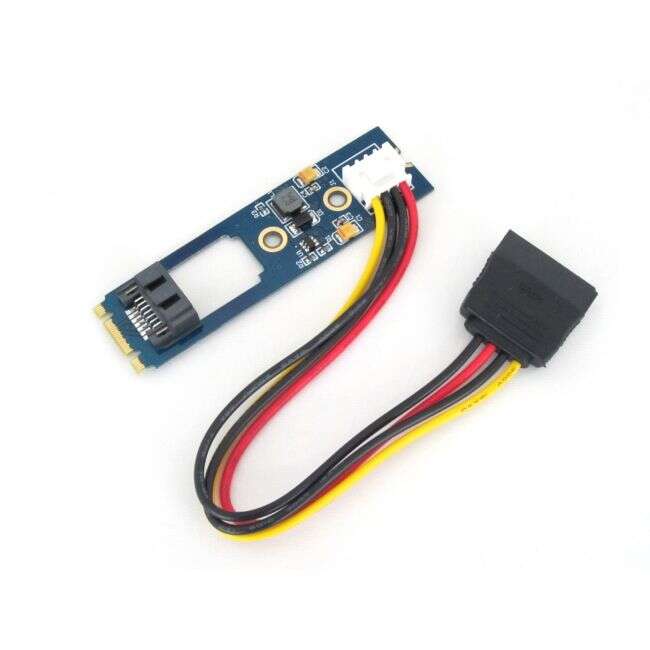
- A Method to Connect the SSD. You need to connect the new SSD to your computer simultaneously with your old drive. The easiest way for a laptop is with a SATA-to-USB adapter cable or an external SSD enclosure. For a desktop PC, you can typically install the new SSD in a spare drive bay.
- A Full Backup. This is your safety net. Before you begin the process of how to clone to an SSD, always back up your important files to a separate external drive or a cloud service. While cloning is very reliable, it is always wise to prepare for the unexpected.

Step-by-Step Guide: How to Clone to an SSD
With your tools ready, you are prepared to begin the cloning process. Follow these steps carefully for a smooth and error-free upgrade. This guide is designed to be easy for anyone to follow, regardless of technical skill.
- Prepare Your Old Drive. Before cloning, it is a good idea to clean up your current drive. Run a disk cleanup to remove temporary files and delete any large files or applications you no longer need. This reduces the amount of data to be cloned and can speed up the process. It is also wise to run a disk check to ensure there are no underlying errors on the source drive.
- Connect the New SSD. Physically connect your new SSD to your computer using your chosen method. Once connected, Windows may not see it right away. You may need to initialize it first. To do this, open Disk Management, find the new drive (it will be listed as "unallocated"), right-click on it, select "Initialize Disk," and choose the GPT partition style for any modern computer.
- Install and Launch Your Cloning Software. Download and install your preferred cloning application. For this example, we will refer to the general process used by most software like Macrium Reflect. Launch the program, and it should automatically detect both your original source drive and the newly connected destination SSD.
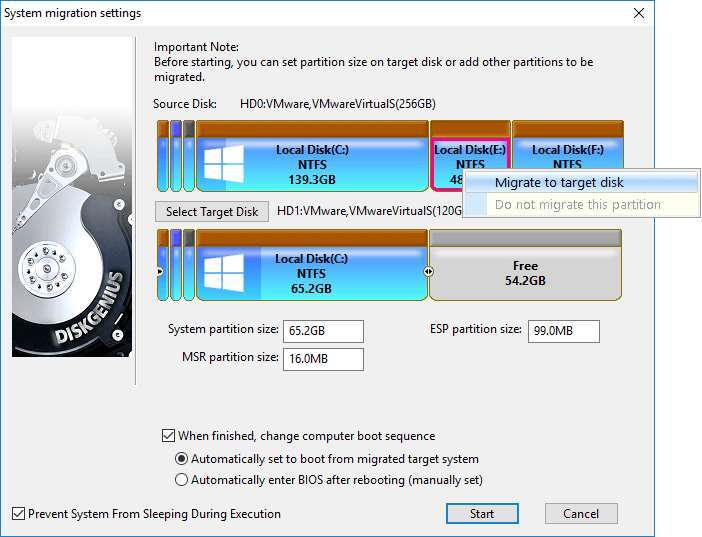
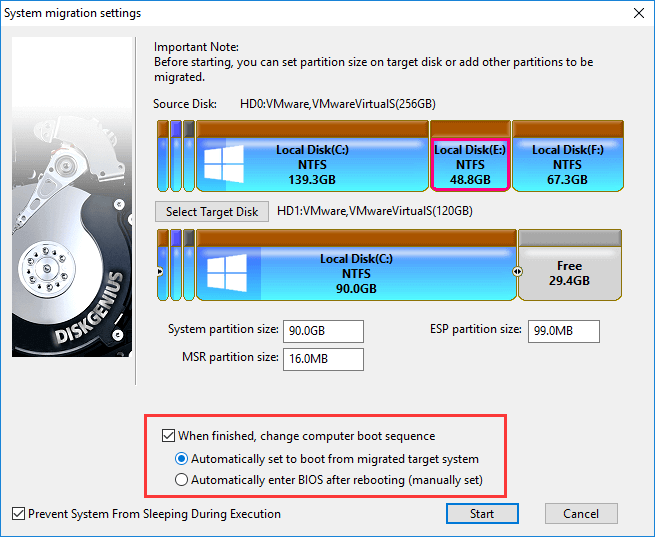
- Select Source and Destination Drives. This is the most critical step. Carefully select your old hard drive (the one with your operating system, usually labeled as the C: drive) as the "source" disk. Then, select your new, empty SSD as the "destination" disk. Double-check your selections, as the cloning process will completely erase everything on the destination drive.
- Configure Cloning Options. Most modern cloning software is smart enough to automatically adjust the partitions to fit the new drive. If you are cloning to a larger SSD, the software will typically give you an option to extend the main partition to use all the available new space.
- Start the Cloning Process. Before you commit, the software will display a summary of the operation. Review it one last time to ensure everything is correct. Once you are confident, click the button to begin the clone. This is a good time to step away and let the computer work. The process can take anywhere from 30 minutes to a couple of hours depending on the amount of data.
- Swap the Drives. After the cloning software confirms the process is complete, shut down your computer entirely. Unplug it from the power source, then physically remove your old hard drive and install the newly cloned SSD in its place.
- Boot From the New SSD. Power your computer back on. It should boot directly into your familiar operating system from the new SSD. If it tries to boot from another drive, you may need to enter your computer's BIOS/UEFI settings during startup (usually by pressing a key like F2, F12, or Delete) and set the new SSD as the primary boot device.

Post-Cloning Checklist: What to Do Next
Congratulations, the hardest part is over! Your computer is now running on a much faster SSD. To ensure optimal performance and complete the transition, there are just a few final housekeeping steps to take.
- Verify Everything Works. Spend a few minutes opening your most-used applications and a few random files. This quick check confirms that the clone was successful and all your data is intact and accessible.
- Enable TRIM. TRIM is a vital command that helps maintain the performance and longevity of your SSD. Modern operating systems like Windows 10 and 11 should enable it automatically, but it is always good to check.
- Check for Driver Updates. While not always necessary, it is good practice to check if your computer's manufacturer has any updated chipset or storage controller drivers, as this can sometimes improve performance and stability.
- Repurpose the Old Drive. Once you are completely certain your new SSD is working perfectly for a few days, you can safely format your old drive. Do not wipe it immediately. Keep it as a backup for a week or two just in case. After that, you can use it as a secondary drive for storage or backups.
Frequently Asked Questions of how to clone to an ssd
Can I clone a larger HDD to a smaller SSD?
Yes, you can, but only if the total amount of data used on the larger drive is less than the capacity of the smaller SSD. Most cloning software can handle this, but you may need to shrink the source partition first.
Will cloning copy my Windows license?
Yes, cloning creates an exact copy of your entire drive, including the operating system and its activation status. Your Windows license will be carried over to the new SSD without any issues.
How long does it take to clone to an SSD?
The time it takes to clone to an SSD depends on how much data you are copying and the speed of your drives and connection. On average, it can take anywhere from 30 minutes to a few hours.
Do I need to format the new SSD before cloning?
No, you do not need to format the new SSD. The cloning software will format and partition the destination drive automatically as part of the cloning process, erasing any existing data on it.
What is the best free software to clone to an SSD?
Macrium Reflect Free is widely regarded as one of the best and most reliable free cloning tools. Additionally, many SSD manufacturers like Samsung (Samsung Data Migration) and Crucial (Acris True Image for Crucial) provide excellent free software for their drives.
What happens if the cloning process fails?
If the clone fails, nothing will happen to your original source drive; your data is safe. You can simply troubleshoot the issue (e.g., check connections, try different software) and attempt the process again. This is why having a backup provides peace of mind.
Conclusion
Upgrading to an SSD is the most significant speed enhancement you can give an aging computer, and knowing how to clone to an SSD makes the process accessible to everyone. By following the steps outlined in this guide, you can seamlessly transfer your entire digital life to a new drive without the hassle of a fresh installation. You preserve your settings, applications, and files, all while gaining a dramatically faster and more responsive system.
Now that you are equipped with the knowledge, it is time to take action. Embrace the speed and efficiency that an SSD offers and give your computer a new lease on life. If you have completed an upgrade or have any questions, feel free to share your experience in the comments below

Everett Ashford is a tech reviewer at mytechgrid.com specializing in SSDs, cameras, TVs, earbuds, headphones, and other consumer electronics. He provides honest, data-driven reviews based on hands-on testing and real-world performance analysis. Everett simplifies complex tech details to help readers make smart, confident buying decisions.