Open Disk Utility, erase the drive with APFS and GUID, then reinstall macOS.
You want a clean, fast start. I’ll show you how to initialize SSD Mac the right way. I do this often for clients and my own systems. Follow this guide to avoid mistakes, protect your data, and get a smooth setup. You will learn how to initialize ssd mac with Disk Utility, Recovery, and Terminal like a pro.

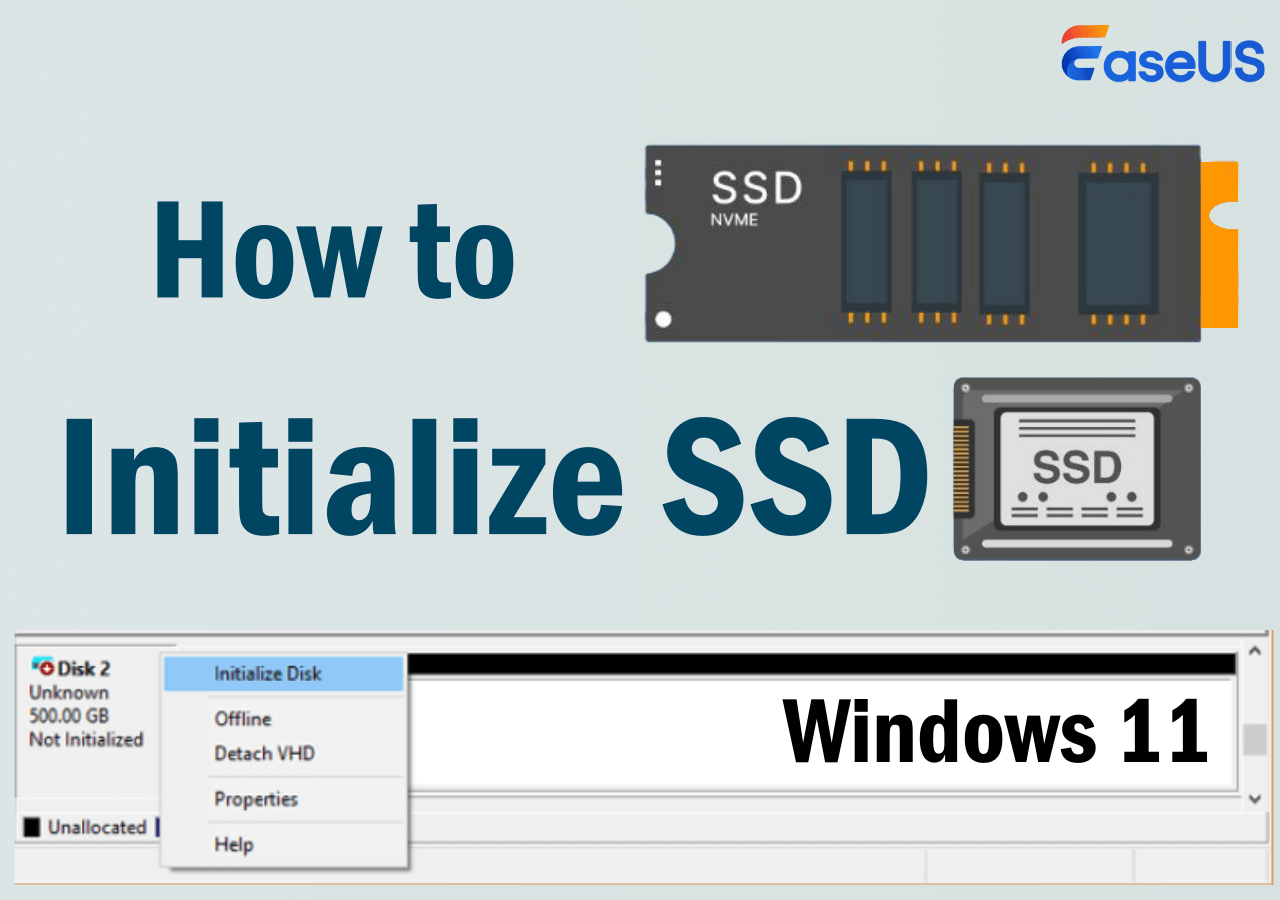
What “initialize” means on a Mac
Initialize means to erase and set up a drive so macOS can use it. You pick a file system and a partition map. Then you can install macOS or store files.
Most users do this when they add a new SSD. Or when they swap the internal drive. Or when they want a fresh start.
If you search how to initialize ssd mac, you may see mixed steps. That is normal. The process depends on your Mac and macOS version. I will keep it simple and clear.

Pre-checks before you erase anything
Do a few checks first. It saves time and stress.
- Back up your data. Use Time Machine or a cloud backup.
- Confirm your Mac model. Some Macs cannot swap the internal SSD.
- Know your login info. You may need your Apple ID in Recovery.
- Update firmware if needed. New SSDs work best with current macOS.
- Have power. Plug in your Mac laptop.
I learned this the hard way. I once skipped the backup. A tiny mistake hurt a full day. Do not repeat that. This is part of how to initialize ssd mac with peace of mind.
Pick the right format and partition scheme
Your choices matter. The wrong choice creates errors later.
- File system
- APFS: Best for SSD. Required for Big Sur and later.
- APFS (Encrypted): Same as APFS with FileVault on from the start.
- Mac OS Extended (Journaled): For older Macs, Sierra or older.
- ExFAT: For sharing with Windows. Not for booting macOS.
- Partition scheme
- GUID Partition Map (GPT): Required to install macOS.
- Master Boot Record (MBR): For some Windows tools. Avoid for macOS.
- Apple Partition Map: Old. Do not use on Intel or Apple silicon.
For most users, choose APFS and GUID Partition Map. This is the core of how to initialize ssd mac the proper way.

Step-by-step: Initialize an internal SSD on an Intel Mac
Use macOS Recovery. It has Disk Utility and the macOS installer.
- Shut down the Mac.
- Power it on. Hold Command and R.
- Use Option Command R for the latest OS that works on your Mac.
- When you see Recovery, open Disk Utility.
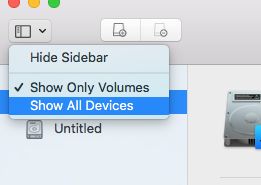
- Click View and choose Show All Devices.
- Select the top line for your SSD. Not the volume under it.
- Click Erase.
- Name: Macintosh HD (or your choice).
- Format: APFS.
- Scheme: GUID Partition Map.
- Click Erase to confirm.
- Quit Disk Utility. Click Reinstall macOS. Follow the steps.
If Erase fails, run First Aid and try again. Show All Devices is key. I see many people format only a volume by mistake. That is a classic how to initialize ssd mac pitfall.
Step-by-step: Initialize an internal SSD on Apple silicon (M1, M2, M3)
Apple silicon uses a different Recovery flow.
- Shut down the Mac.
- Press and hold the power button until Options appears.
- Click Options. Enter admin details if asked.
- Open Disk Utility.
- Click View and choose Show All Devices.
- Select the device line for the SSD.
- Click Erase. Pick APFS and GUID Partition Map.
- Quit Disk Utility and choose Reinstall macOS.
If Activation Lock is on, sign in with your Apple ID. If you see a warning about a sealed system volume, proceed with erase. This approach nails how to initialize ssd mac on Apple silicon.
Step-by-step: Initialize an external SSD on a Mac
External drives are easy. Use Disk Utility in normal macOS.
- Connect the SSD with a good cable. Prefer USB-C or Thunderbolt.
- Open Disk Utility. Click View and Show All Devices.
- Select the device line for your external SSD.
- Click Erase.
- For Mac only: APFS and GUID Partition Map.
- For Mac and Windows share: ExFAT and GUID Partition Map.
- Click Erase. Then click Done.
For large external SSDs, APFS works well. It is fast with snapshots and clones. If you plan to boot macOS from it, APFS and GUID Partition Map are a must. This is a common case for how to initialize ssd mac for work and travel.
Use Terminal if Disk Utility fails
Disk Utility can fail due to mount issues. Terminal is direct and strong.
- Open Terminal in Recovery. Or open Terminal in macOS.
- Run: diskutil list
- Find your target disk. Example: disk2.
- Erase the whole disk:
- diskutil eraseDisk APFS "Macintosh HD" GPT disk2
- Create a case-sensitive volume (optional):
- diskutil apfs addVolume disk2s2 APFSX "Dev"
- Rebuild a bad partition map (last resort):
- diskutil partitionDisk disk2 GPT APFS "Macintosh HD" 0g
I use Terminal often for stubborn drives. It is a key skill in how to initialize ssd mac when the GUI refuses to help.
After you initialize: do these setup steps
Do not stop at Erase. Tune the system for speed and safety.
- Install macOS. Use Recovery or a bootable installer.
- Restore from Time Machine if you want your old files.
- Turn on FileVault for strong disk encryption.
- Check TRIM support.
- Apple SSDs: TRIM is on by default.
- Third‑party internal SSD: run sudo trimforce enable.
- Many USB cases do not pass TRIM. Thunderbolt often does.
- Enable Time Machine on the new setup.
These steps lock in the gains from how to initialize ssd mac. You get speed, safety, and easy recovery.

Fix common errors and odd cases
You may hit errors. Here is how I fix the frequent ones.
- Erase process failed
- Select the device, not just the volume.
- Use GUID Partition Map and APFS.
- Run First Aid. Try Terminal if needed.
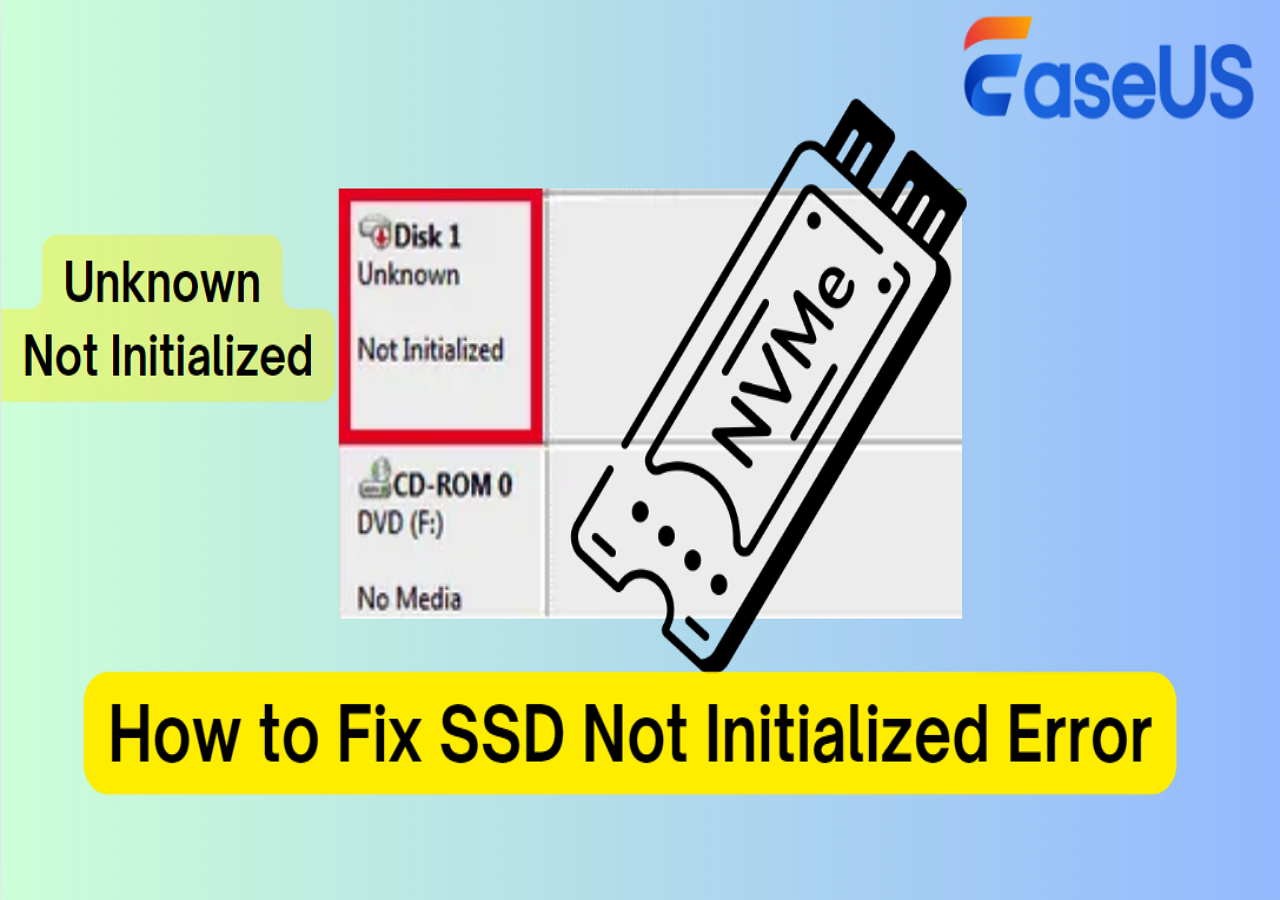
- The disk is not showing
- Change the cable and port. Try a powered hub.
- On Intel laptops, try both sides. Some ports are fussy.
- Media is write protected
- The case firmware may lock it. Try a different enclosure.
- Couldn’t open device
- Unmount the volume first. diskutil unmountDisk disk2
- APFS errors with container
- Rebuild the partition map. Use diskutil partitionDisk.
I once wasted hours on a bad USB-C cable. The SSD was fine. Swap cables first. It is the cheapest fix in how to initialize ssd mac.
Pro tips from the field
These tips come from real installs and many support calls.
- Show All Devices in Disk Utility. This avoids half-formats.
- Name the system volume simply. It helps with scripts and backups.
- Avoid ExFAT for boot drives. Use APFS.
- For dev work, use a separate APFS volume. Snapshots stay small.
- Keep a 32 GB bootable installer on a thumb drive. It saves time.
- If you need Windows, use a separate external SSD with ExFAT for data share only.
With these, you can handle how to initialize ssd mac fast and with less risk.
Frequently Asked Questions of how to initialize ssd mac
What format should I use for an SSD on Mac?
Use APFS with GUID Partition Map. It gives the best speed and features for modern macOS.
Can I install macOS on an external SSD?
Yes. Use APFS and GUID Partition Map, then install from Recovery. Thunderbolt offers the best boot speed.
Do I need to secure erase an SSD?
No. Secure erase is for spinning disks. For SSD, a simple erase and encryption is enough.
How do I check TRIM on my Mac?
Open System Settings, then System Report, then SATA or NVMExpress. Look for TRIM Support: Yes.
Why does Disk Utility not see my SSD?
Cables and enclosures often fail. Try a new cable, new port, or a different case, then refresh Disk Utility.
Can I use ExFAT for Mac and Windows?
Yes, for sharing files. But do not use ExFAT for booting macOS or Time Machine.
What if I get Activation Lock in Recovery?
Sign in with your Apple ID to unlock. If you cannot, you need to remove the device from your account.
Conclusion
You now know how to initialize ssd mac from start to finish. You can choose the right format, erase the device, and install macOS with confidence. You can also fix common errors and tune for speed and safety.
Put this guide to work. Back up your files, set APFS with GUID, and build a clean system today. Want more tips? Subscribe for fresh Mac how-tos, or ask a question in the comments.

Jamie Lee is a seasoned tech analyst and writer at MyTechGrid.com, known for making the rapidly evolving world of technology accessible to all. Jamie’s work focuses on emerging technologies, product deep-dives, and industry trends—translating complex concepts into engaging, easy-to-understand content. When not researching the latest breakthroughs, Jamie enjoys exploring new tools, testing gadgets, and helping readers navigate the digital world with confidence.