Enable NVMe by switching your BIOS to UEFI/PCIe mode, disabling CSM, and setting the M.2 slot to PCIe.
I’ve spent years building PCs and tuning storage for speed. In this guide I’ll walk you step-by-step through how to enable nvme mode in bios settings. You will learn what NVMe BIOS mode means, the exact BIOS options to change, vendor-specific tips, and quick fixes when the drive won’t show. Follow these clear steps and you’ll have a fast, bootable NVMe drive in short order.

What NVMe mode in BIOS settings means
NVMe mode in BIOS is the platform setup that lets a motherboard use NVMe SSDs over PCIe lanes. NVMe drives speak a fast protocol. The BIOS must use UEFI and PCIe paths for boot support. Older BIOS setups use legacy storage links and can block NVMe boot. Knowing this makes changing settings safe and predictable.

Why enable NVMe mode in BIOS settings
Enabling NVMe mode gives much faster read and write speeds than SATA. It reduces load and boot times. It unlocks full PCIe lane throughput. That means apps start faster and disk-heavy tasks finish sooner. If you want your PC to feel snappier, enabling NVMe mode in BIOS settings is a core step.
Prerequisites before you change BIOS
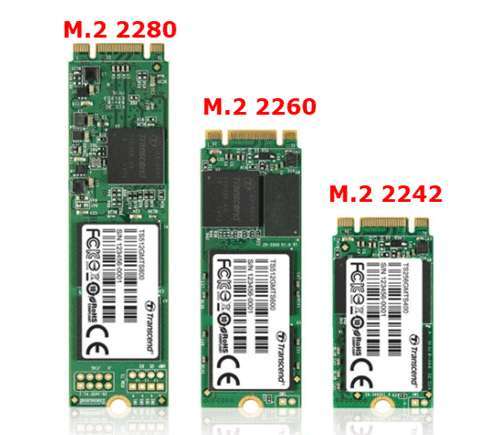
- Check motherboard support. Confirm your motherboard supports NVMe boot on its M.2 or PCIe slot.
- Update BIOS. A recent BIOS often adds NVMe fixes. Install the latest stable firmware first.
- Backup data. Save important files before changing boot settings.
- Prepare OS support. Windows 10 and modern Linux kernels include NVMe drivers. Older Windows versions may need driver packs.
- Have a keyboard and monitor ready. You will enter BIOS and change options.

Step-by-step: how to enable nvme mode in bios settings
- Restart and enter BIOS. Press Delete, F2, or manufacturer key during boot.
- Switch to UEFI mode. Find Boot or Boot Mode and set it to UEFI. This is required for NVMe boot.
- Disable CSM (Compatibility Support Module). Locate CSM and set it to Disabled. This prevents legacy boot that can block NVMe.
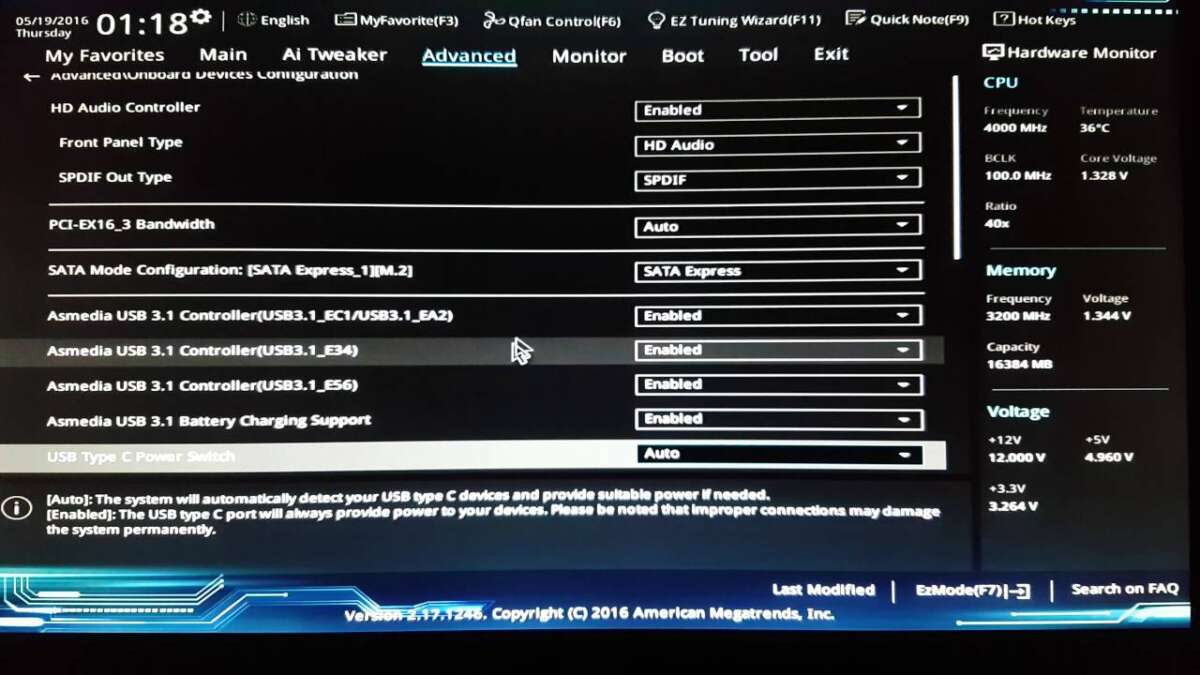
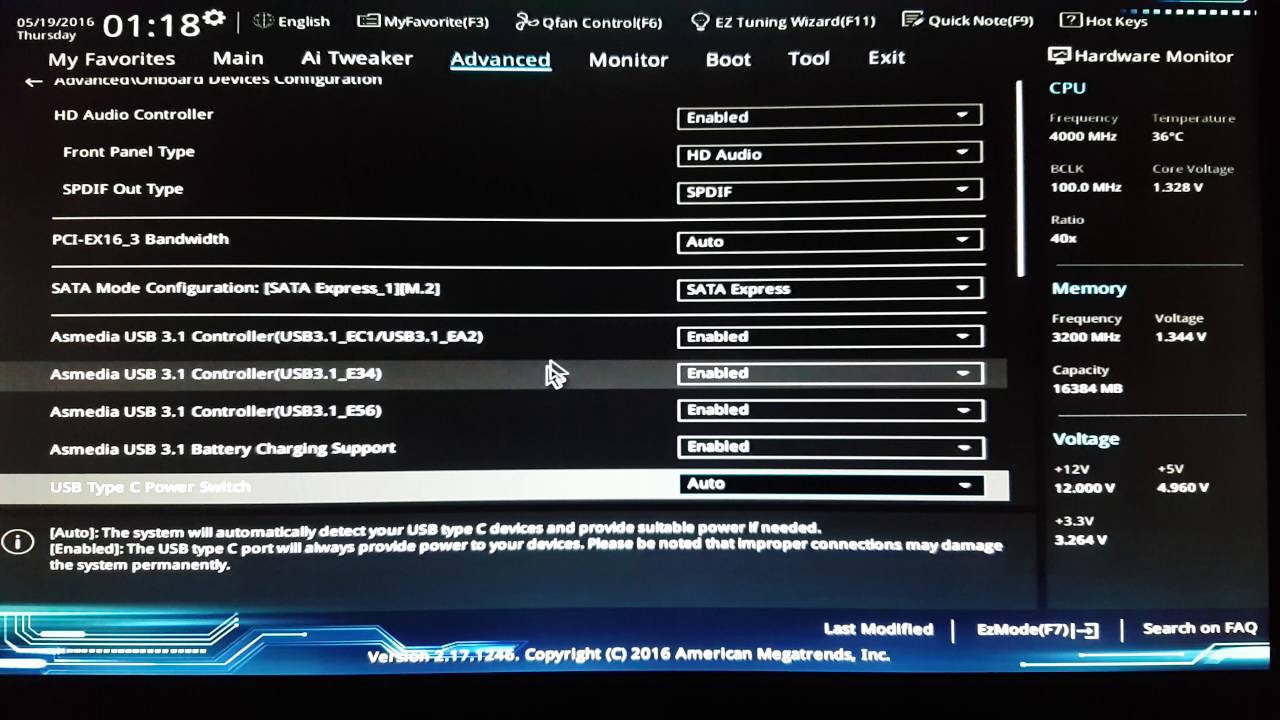
- Set M.2 or slot to PCIe. In Storage, M.2 Configuration, or Advanced > Onboard Devices, set the M.2 interface to PCIe or NVMe (not SATA).
- Confirm storage controller. If there’s a choice between RAID and AHCI, select AHCI or Native NVMe mode unless you need RAID with the proper drivers.
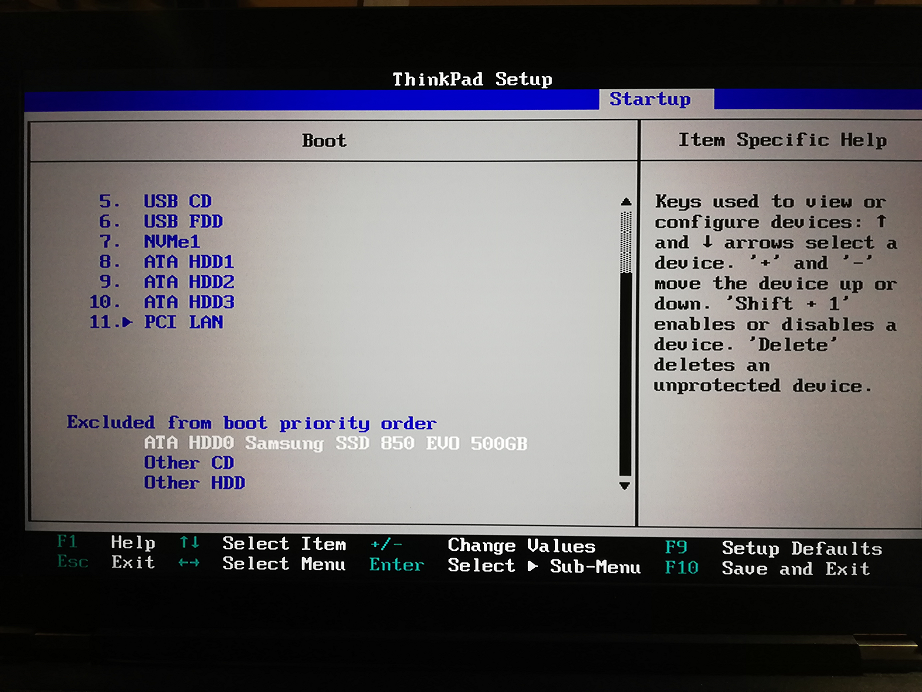
- Adjust Boot Priority. Move the NVMe drive to the top of UEFI boot order. Save changes.
- Save and exit. Use Save & Exit and reboot. The BIOS should detect the NVMe SSD.
- Install or repair OS if needed. If Windows doesn’t boot, you may need a repair using a UEFI install USB.
Notes:
- If your BIOS option names differ, look for PCIe, NVMe, M.2, UEFI, CSM, or Storage Configuration.
- Some motherboards hide NVMe options until a drive is installed. Install the drive first if options are missing.

Manufacturer-specific tips and where to look
- ASUS: Look under Advanced > Onboard Devices and Boot. Disable CSM and set Boot to UEFI. M.2 configuration appears under Advanced > NVMe Configuration.
- MSI: Go to Settings > Advanced > Integrated Peripherals and Storage. Set M.2 to PCIe and disable Compatibility Support Module.
- Gigabyte: Enter Peripherals or BIOS Features. Set CSM to Disabled and ensure NVMe or M.2 is set to PCIe mode.
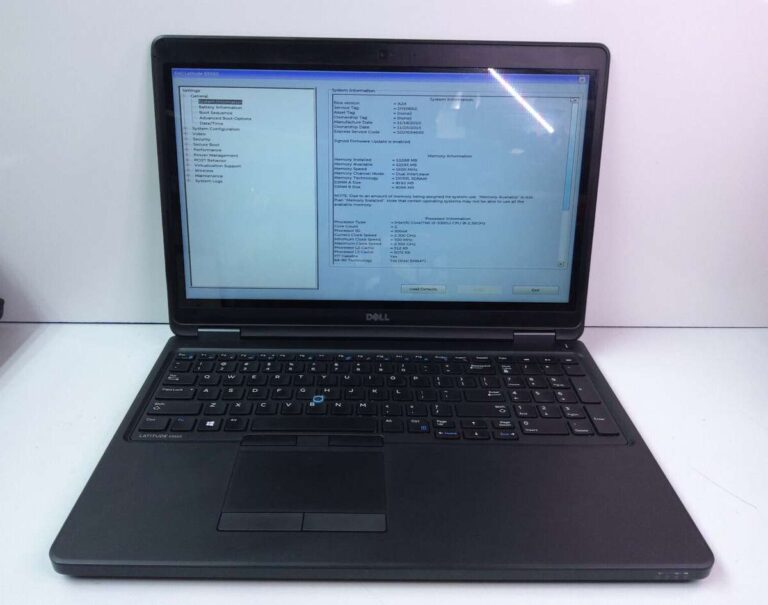
- Dell: Enter BIOS Setup > Boot Sequence. Set UEFI Boot and disable Legacy Option ROMs. NVMe drive may appear under UEFI Boot Sources.
- HP: BIOS > System Configuration > Boot Options. Choose UEFI Mode and disable Legacy Support. NVMe shows under Storage Options.

Troubleshooting common issues
- Drive not detected. Reseat the M.2 SSD and confirm the slot supports PCIe. Update BIOS and try another slot or adapter.
- Boot fails after enabling NVMe. Re-enable CSM temporarily and confirm the OS supports UEFI boot. Use a UEFI repair USB if needed.
- Windows won’t see NVMe during install. Load NVMe or storage drivers from USB during setup, or use a modern Windows 10/11 installer.
- Slow speeds. Check that the slot is wired for PCIe x4 and that BIOS hasn’t limited the slot to x2 or SATA mode. Update firmware on the SSD.
- RAID complications. If using Intel RST RAID, ensure NVMe RAID support and correct drivers are installed; otherwise switch to AHCI or native NVMe.
Best practices and performance tips
- Update SSD firmware. Firmware can fix compatibility and speed problems.
- Use a heatsink for sustained loads. NVMe drives throttle when hot. A heatsink prolongs peak performance.
- Check PCIe lane mapping. On some systems using many PCIe devices reduces NVMe lanes. Consult your motherboard manual.
- Keep BIOS current. New BIOS versions add stability for NVMe.
- Use native UEFI boot. It gives faster boot times and better compatibility than legacy modes.
Personal experience: lessons and mistakes to avoid
I once tried to enable NVMe mode without updating BIOS. The drive wasn’t bootable until I updated firmware. Later I forgot to set UEFI and CSM remained active, which caused inconsistent boot behavior. From that I learned these rules: always update BIOS first, install the drive before tuning settings when possible, and back up before making changes. These simple habits saved hours of troubleshooting.

Frequently Asked Questions of how to enable nvme mode in bios settings
How do I know if my motherboard supports NVMe boot?
Check the motherboard manual or support page for NVMe or M.2 PCIe boot support. If the manual lists NVMe boot, you can enable nvme mode in bios settings and boot from the drive.
Will enabling NVMe mode delete my data?
Changing BIOS settings does not delete data by itself. However, boot failures or OS reinstall actions can risk data loss. Always backup before changing boot modes.
Do I need to disable SATA to use an NVMe drive?
No. You usually do not need to disable SATA. You do need to set the M.2 slot to PCIe or NVMe mode and use UEFI boot. SATA can remain active for other drives.
Can I boot Windows from an NVMe drive on older motherboards?
Older boards may lack NVMe boot support even if they have an M.2 slot. A BIOS update or adapter with a specific firmware may help, but some older boards cannot boot NVMe natively.
What if my NVMe drive is not listed in boot options?
Ensure CSM is disabled and boot mode is UEFI. If the drive still isn’t listed, update BIOS, reseat the drive, and check the M.2 slot configuration in the BIOS.
Conclusion
Enabling NVMe mode in BIOS settings is a small set of changes that yields a large speed boost. Check your board’s support, update the BIOS, switch to UEFI, disable CSM, set the M.2 to PCIe, and place the NVMe drive first in boot order. Back up before you change anything, and use the troubleshooting steps here if the drive does not appear. Give these steps a try on your system, and leave a comment if you hit a snag — I’ll help you troubleshoot.

Everett Ashford is a tech reviewer at mytechgrid.com specializing in SSDs, cameras, TVs, earbuds, headphones, and other consumer electronics. He provides honest, data-driven reviews based on hands-on testing and real-world performance analysis. Everett simplifies complex tech details to help readers make smart, confident buying decisions.