Open your camera app, enable permissions, update drivers, and check hardware privacy switches.
If you came here to learn how to activate my web camera, you are in the right place. I set up and fix webcams for remote teams every week. You will get clear steps, real fixes, and smart tips that work on Windows, macOS, ChromeOS, browsers, and more. Let’s make your camera work without the guesswork.
What “activate my web camera” really means
When people ask how to activate my web camera, they want the camera to show video in apps like Zoom, Meet, or Teams. That means the system sees the camera, apps have permission, and no other app is blocking it.
Use this quick checklist before you dive deep:
- Check the physical shutter or switch. Many laptops have a slider that covers the lens.
- Press the camera function key. Laptops often use Fn plus a camera key to toggle the lens.
- Close other apps that might use the camera. Only one app can use it at a time.
- Open your OS privacy settings. Give camera access to the app you use.
- Update or reinstall camera drivers. Windows and some Linux setups need this.
- Test in a built-in app. Use Camera on Windows or Photo Booth on Mac.
Windows 10 and 11: Step-by-step to get your webcam working
Here is how to activate my web camera on Windows 10 and Windows 11. Follow these steps in order. I use this flow in help desk sessions to fix most cases fast.
- Open the Camera app. If it shows video, the hardware works.
- Go to Settings, then Privacy and security, then Camera. Turn on Camera access. Turn on Let apps access your camera. Then enable your target app (Zoom, Teams, Meet, or browser).
- In your target app, open Settings, then Video. Pick the right camera from the list.
- Update the driver. Right-click Start, choose Device Manager, expand Cameras or Imaging devices, right-click your camera, and select Update driver. If that fails, Uninstall device, then reboot.
- Check for Windows Update. Install all updates, then reboot. This often restores drivers.
- Close other apps that might hold the camera. Quit Zoom, Teams, Discord, Slack, or OBS. In Task Manager, end stray tasks if needed.
- Check antivirus or privacy tools. Some suites block the camera. Allow access for your app.
- Look for a physical privacy shutter or keyboard toggle. It can be a tiny slider by the lens or a key with a camera icon.
- Try another USB port for external webcams. Use a USB 3 port on the laptop, not a dock.
- If the Camera app shows an error like 0xA00F4244, reset the Camera app. Settings, Apps, Installed apps, Camera, Advanced options, Reset.
Pro tip: If your company manages the device, camera access may be locked by policy. Ask IT to check group policy or MDM settings.

macOS: Enable, test, and fix your built‑in or external camera
Here is how to activate my web camera on a Mac. The Mac camera is simple, but app permissions matter.
- Test the camera in Photo Booth. If it works here, the hardware is fine.
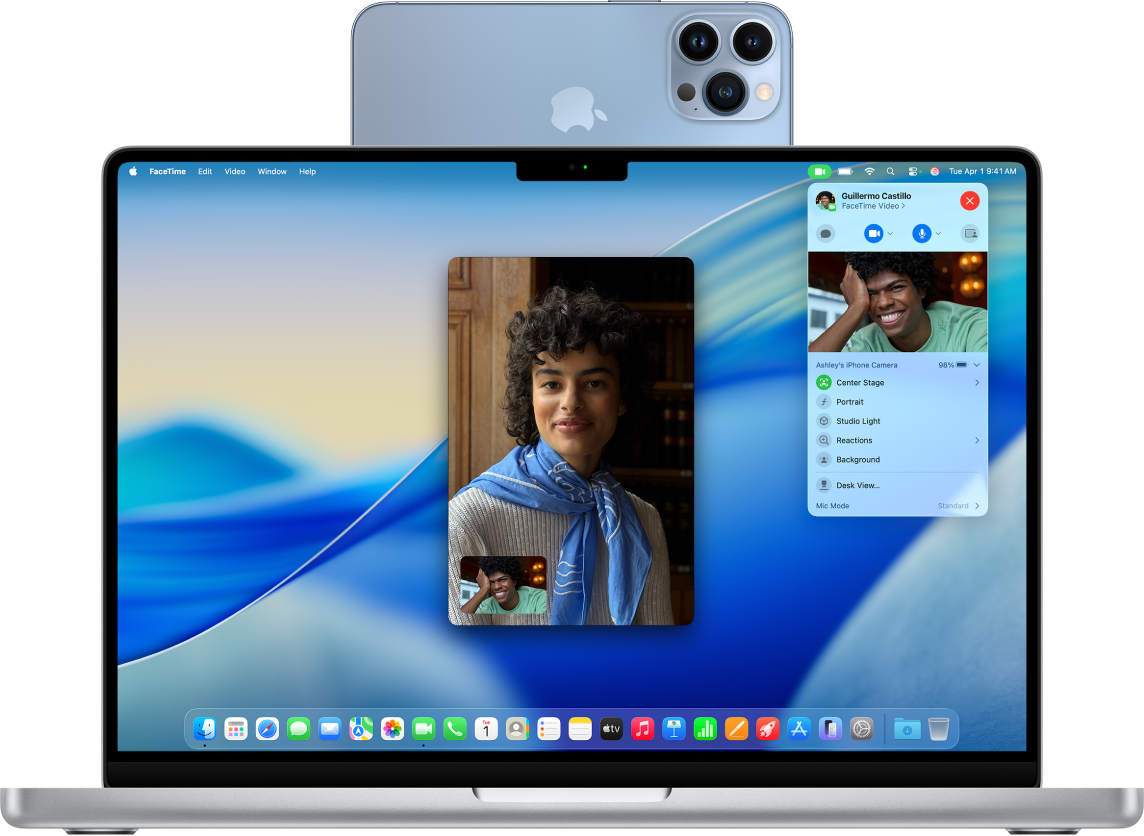
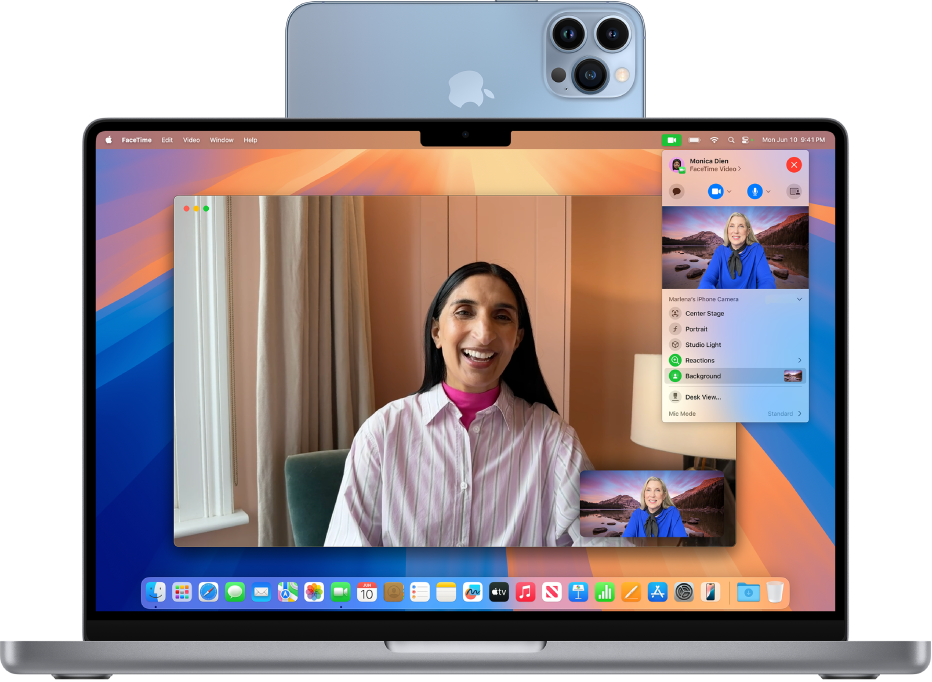
- Open System Settings, then Privacy & Security, then Camera. Turn on access for your apps (Zoom, Teams, Meet, Safari, Chrome).
- In the app, open Video settings. Choose the correct camera from the list.
- Restart the app, then the Mac. This clears a stuck camera session.
- Update macOS. System Settings, General, Software Update. New builds fix camera issues.
- If you use Chrome or Edge, check site permissions. Allow Camera for your meeting site.
- For external webcams, plug them straight into the Mac. Avoid hubs or try a powered hub.
- If the camera LED lights but shows black, close all apps that use the camera, then reopen only one.
Pro tip: On newer MacBooks, the notch area can affect framing. Use your app’s video settings to crop or center.

ChromeOS: Turn on permissions and pick the right camera
Here is how to activate my web camera on a Chromebook. ChromeOS depends on site and app permissions.
- Open the Camera app to test hardware. If video shows, the camera works.
- Go to Settings, then Privacy and security, then Site settings, then Camera. Choose the correct camera from the dropdown.
- For your meeting site, click the lock icon in the address bar. Set Camera to Allow.
- Close other tabs or apps that use the camera. One session at a time works best.
- Keep ChromeOS updated. Updates often include camera fixes.
Browser permissions: Chrome, Edge, Firefox, and Safari
Many readers search how to activate my web camera because the browser blocks it. The fix is simple once you know where to look.
Chrome or Edge:
- Join your meeting link. When prompted, click Allow for Camera and Microphone.
- If you do not see a prompt, click the lock icon in the address bar. Set Camera to Allow.
- Go to Settings, then Privacy and security, then Site settings, then Camera. Pick your camera and clear any blocked sites.
Firefox:
- When asked, choose Allow for Camera. Check Remember this decision.
- Click the camera icon in the address bar to change permissions later.
Safari on macOS:
- Safari, Settings, Websites, Camera. Set your meeting site to Allow.
- If it still fails, quit other apps using the camera. Then refresh the tab.
Pro tip: If the site shows a black box, switch the camera device in the site’s gear icon or settings.
Linux (Ubuntu and others): Simple checks that solve most issues
If you are on Linux and asking how to activate my web camera, start with the basics. Most USB webcams use the UVC driver and work out of the box.
- Test in Cheese or GNOME Camera. If it shows video, the system sees the device.
- Run lsusb to confirm the webcam is listed. Then run v4l2-ctl –list-devices if you use v4l-utils.
- Add your user to the video group if needed. Then log out and back in.
- Close apps that hold the camera, like OBS or browsers. Only one can use it at once.
- For Flatpak apps, grant permissions with Flatseal. Allow camera access.
- Try another USB port. Some ports do not supply enough power for the camera.
Pro tip: Low light causes grainy video. Add a small desk light for a big boost.

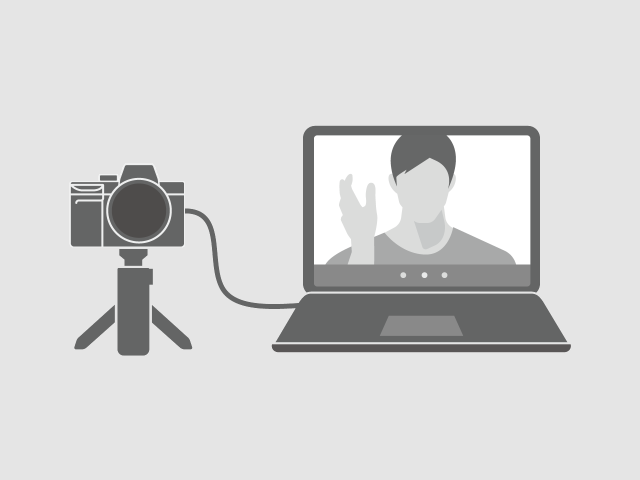
External webcams and hardware checks that matter
Many people learn how to activate my web camera, then forget the hardware details. Small tweaks can fix bad video fast.
Use this list:
- Remove the lens cap or open the privacy shutter. It is easy to miss.
- Plug the webcam into a USB 3 port on your laptop. Avoid unpowered hubs.
- Clip the camera at eye level. Use a stack of books if you must.
- Set a simple light. A lamp behind your screen works well.
- Use the webcam’s app only for settings. Close it during calls so it does not block the device.
- Update firmware and drivers from the vendor if offered.
Troubleshooting: Fix common errors fast
If you still need help with how to activate my web camera, use this short, proven path. I use it when I must solve a camera issue in under five minutes.
Try these steps:
- Reboot the computer. This frees stuck camera sessions.
- Close all apps, then open only one camera app. Test again.
- Reinstall or update your camera driver or app. Then reboot.
- Turn off VPNs or overlays that can block video.
- On Windows, check Settings, then Bluetooth & devices, then Cameras. Pick your camera and adjust defaults.
- On Mac, reset permissions. Turn off app access, quit the app, then turn access back on.
- Use another app to test. If Photo Booth works but Zoom fails, reset Zoom video settings.
- Try a different USB cable and port for external webcams. Short, quality cables help.
Watch for these signs:
- No camera found. The driver or cable is the likely cause.
- Camera busy. Another app still holds it. Close all and try again.
- Black screen. Wrong camera is selected or the shutter is closed.
- Stutter or lag. Light, CPU load, or USB bandwidth is low.
Privacy and safety: Turn it on without giving up control
Learning how to activate my web camera is only half the story. You also want safe and smart settings.
Follow these tips:
- Grant camera access to only the apps you use. Revoke it after calls.
- Close the app when done. This stops the camera session.
- Use a webcam with a physical shutter. It is the best peace of mind.
- Check the indicator light. It should be on only during calls.
- Blur your background if you share your space. Most apps support it.
Pro tip: On shared computers, create a separate user account. This keeps camera permissions clean and reduces risk.
Frequently Asked Questions of how to activate my web camera
How do I quickly test if my webcam works?
Open a built-in app first. Use Camera on Windows, Photo Booth on macOS, or the Camera app on ChromeOS.
How do I allow camera access in Windows 11?
Go to Settings, Privacy and security, Camera. Turn on access for apps you use, then test again.
How do I fix it if another app is using my camera?
Close all apps that might use the camera, like Zoom, Teams, Discord, or OBS. Then open only one app and select your camera again.
What if my external webcam shows black video?
Check the privacy shutter, cable, and port. Try a USB 3 port and pick the right camera in your app.
How can I activate my webcam in Chrome or Edge?
Click the lock icon in the address bar and set Camera to Allow. Also pick the correct device in the site’s video settings.
Do I need special drivers for my webcam?
Most modern webcams use generic drivers and work at once. For advanced features, install the vendor driver or app.
Where should I start if I want to know how to activate my web camera on any device?
Start with permissions, then test in a built-in app. If that works, set the right camera inside your meeting app and close other apps.
Conclusion
Now you know how to activate my web camera across Windows, macOS, ChromeOS, browsers, and more. Start with permissions, pick the right device, close other apps, and confirm with a quick test. Small steps solve most camera issues in minutes.
Put these steps to work on your next call. If you want more tips on lighting, audio, and pro video settings, subscribe and drop a comment with your setup.

Jamie Lee is a seasoned tech analyst and writer at MyTechGrid.com, known for making the rapidly evolving world of technology accessible to all. Jamie’s work focuses on emerging technologies, product deep-dives, and industry trends—translating complex concepts into engaging, easy-to-understand content. When not researching the latest breakthroughs, Jamie enjoys exploring new tools, testing gadgets, and helping readers navigate the digital world with confidence.