You build a thermal camera by combining an IR sensor, optics, and processing.
If you want to learn how to build thermal camera from scratch, you’re in the right place. I’ve built several DIY units for home energy audits and electronics work, and I’ll show you exactly what works. This guide on how to build thermal camera is clear, tested, and detailed. You’ll leave with a working plan, practical tips, and the confidence to finish.

What You’re Building: Capabilities and Limits
A thermal camera sees heat, not light. It detects long-wave infrared radiation in the 8–14 µm band. The sensor measures tiny changes in heat and turns them into a color image. You can spot temperature differences, leaks, shorts, and more.
DIY units use small microbolometers or thermopile arrays. Expect modest resolution like 80×60, 160×120, or 320×240. Sensitivity, called NETD, often sits near 50 mK to 100 mK. That means the camera can see a small temperature change.
You can build a fast, handheld tool that helps in daily tasks. But it will not match a high-end industrial unit. Keep that in mind as you plan how to build thermal camera.

Parts and Tools You Need
Pick a sensor module first. Good options include:
- FLIR Lepton modules for compact builds, often with 80×60 or 160×120 resolution.
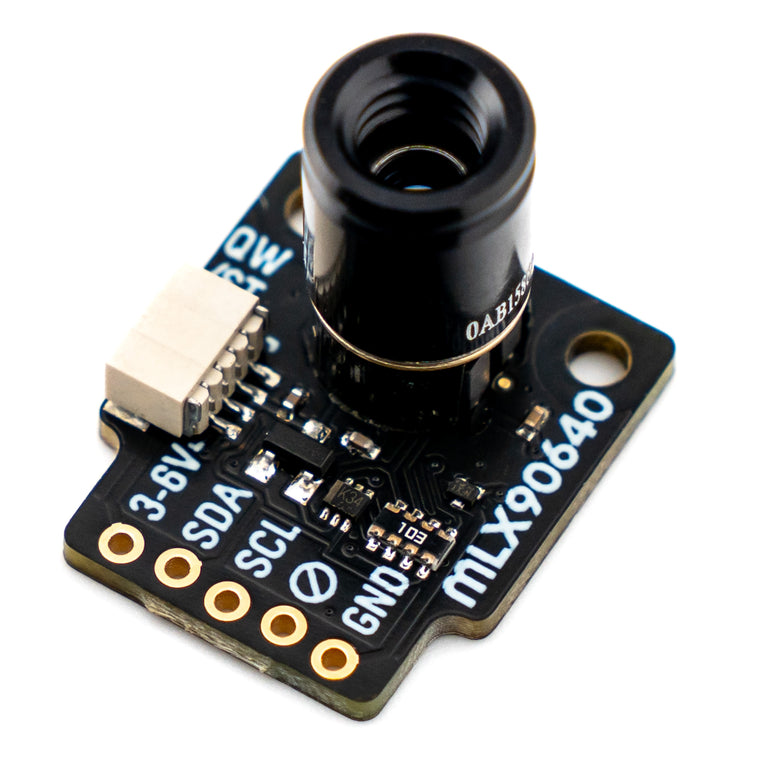
- Melexis MLX90640 or MLX90641 for budget builds with I2C and 32×24 or 16×12 arrays.
- Seek or higher-end microbolometer cores if you need better detail and frame rates.
Select your brain and display next:
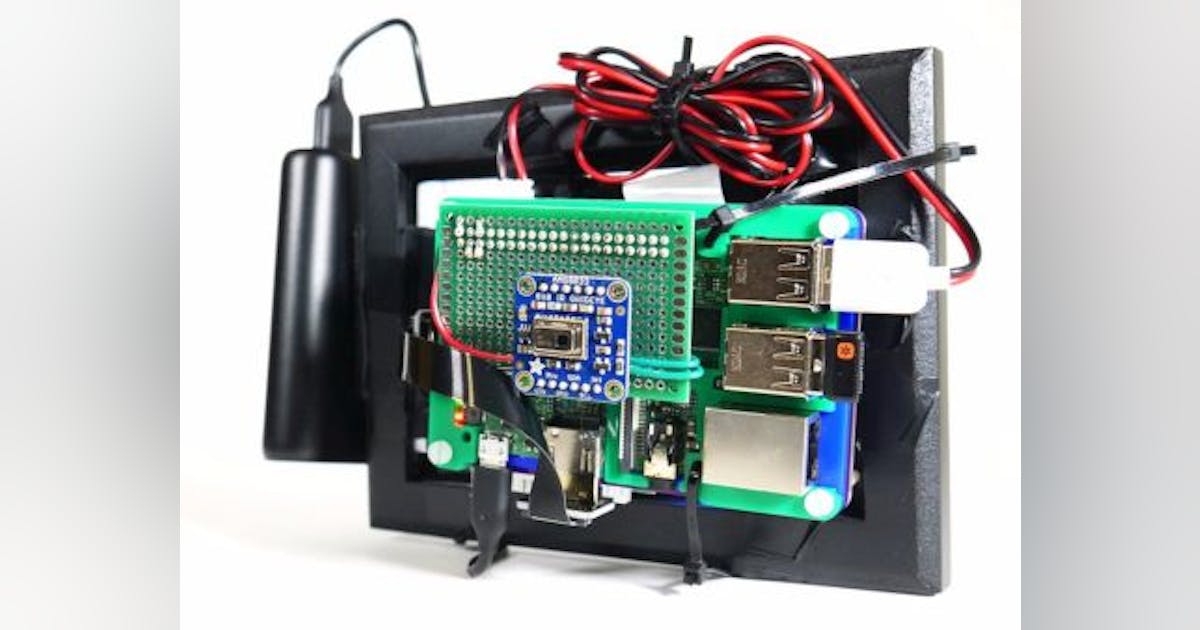
- Raspberry Pi for fast dev work and HDMI screens. Great for UI.
- ESP32 or STM32 for low power and small size. Use an SPI TFT or OLED.
- A ready-made breakout like PureThermal boards can speed up how to build thermal camera.
Plan the rest of the system:
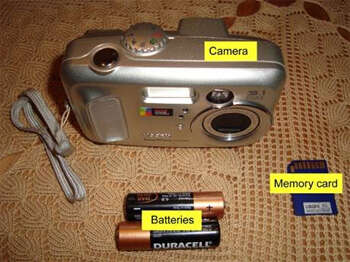
- Power: 3.7V LiPo with a 5V boost or a clean 5V USB source.
- Housing: 3D printed case, lens mount, and sensor shield from heat.
- Extras: joystick or buttons, microSD, Wi‑Fi, and a small shutter for calibration.
Tools are simple:
- Soldering iron, heat-shrink, and basic wires.
- Multimeter for voltage checks.
- 3D printer or a simple project box to contain the build.

How It Works: From IR to Image
Sensors measure radiation, not temperature directly. The module outputs raw counts that change with heat. Your firmware converts those counts into temperatures using calibration data.
Most modules include gain and offset tables. Some handle flat-field correction in hardware. You will still apply non-uniformity correction and filtering. This is a key part of how to build thermal camera that feels smooth and accurate.
Color palettes map temperature to colors. Iron, rainbow, and grayscale are common. Choose one that supports your task, like grayscale for focus and rainbow for quick scans.

Step-by-Step Build
Choose your platform:
- Raspberry Pi + FLIR Lepton gives fast development and strong libraries.
- ESP32 + MLX90640 is cheap and small. It works well for simple displays.
- PureThermal + Lepton is very quick for prototyping how to build thermal camera.
Wire the hardware:
- Follow the sensor’s pinout. Most use I2C or SPI with 3.3V logic.
- Keep wires short. IR sensors can be sensitive to noise.
- Power the sensor from a clean source. Add decoupling caps near the module.
Run a demo:
- Use vendor sample code to grab frames. Confirm you see live data.
- Print min, max, and average temperatures to the console.
- If frames drop, lower the rate or check for bus errors.
Add a display and controls:
- Show a live thermal image with a palette.
- Add a center spot temp, a min/max marker, and a scale bar.
- Use a joystick or buttons to change palette, range, and capture.
Enclose and isolate:
- Keep the sensor away from hot chips and the battery.
- Add a thin foam or plastic wall to block heat flow from the processor.
- Blacken the inside around the lens to reduce reflections.
Calibrate:
- Do a flat-field correction. Many sensors support a simple shutter blink.
- Save offsets in flash. Re-run calibration when ambient changes.
- This step makes or breaks how to build thermal camera that gives stable images.

Firmware and Image Processing
Start with a clean frame pipeline:
- Read frames into a ring buffer.
- Drop bad frames. Replace dead pixels with neighbor averages.
- Apply non-uniformity correction to level the image.
Stabilize the image:
- Use temporal filtering to smooth noise. Limit lag to keep motion natural.
- Add edge-preserving filters for clarity.
- Lock auto-scaling when measuring, then unlock to scan rooms.
Map to temperature:
- Convert raw counts using the module’s calibration data.
- Apply emissivity. Default to 0.95 for most matte surfaces.
- Show spot, area box, and delta-to-ambient readouts. This helps how to build thermal camera that people trust.
UX matters:
- Palette toggle, level/span control, and save image are must-haves.
- Add Wi‑Fi streaming or USB video class for desktop viewers if you can.
- Keep menus simple and readable.
Calibration and Accuracy
Use two points to calibrate:
- Ice water mix at 32°F (0°C) for low point.
- Boiling water for high point. Adjust for altitude since boiling point drops as you go higher.
Emissivity matters:
- Shiny metal reads low because it reflects ambient IR.
- Use a small patch of matte black tape for true readings.
- Be upfront about accuracy when you share how to build thermal camera tutorials.
Keep it stable:
- Run a quick flat-field correction when the scene changes.
- Avoid drafts over the sensor. They cause drift.
- Compare against a known thermometer on a matte surface to verify.
Safety, Legal, and Ethical Notes
Support the battery with a proper protection board. Don’t short anything. Work in a clean area and watch ESD when handling the sensor.
Understand local rules. Some high frame rate thermal cores have export limits. Read your module’s specs and terms.
Respect privacy. Thermal images can reveal people’s presence through heat. Be a good neighbor when you practice how to build thermal camera and share results.
Troubleshooting
No image or random noise?
- Check power first. Sensors need clean 3.3V.
- Verify I2C or SPI lines with a logic probe. Reflow if needed.
Flicker or banding?
- Lower frame rate. Improve decoupling.
- Move power wires away from data lines.
Wrong temperatures?
- Re-check emissivity. Try matte tape on the target.
- Re-run two-point calibration. Do a fresh flat-field correction.
Thermal drift over time?
- Isolate the sensor from hot parts. Add a small standoff.
- Schedule periodic shutter corrections if your module supports it.
Blurry or odd shapes?
- Ensure the lens is clean and aligned.
- For modules with fixed focus, set distance expectations in your how to build thermal camera notes.
Costs, Options, and Upgrades
Budget builds start under $100 with a low-res sensor and a tiny display. Mid-range builds with Lepton and a Pi can land between $150 and $300. Higher-end cores cost more but offer better resolution and speed.
Smart upgrades:
- Better lens or higher-res core when you outgrow the starter.
- Add a motorized shutter for repeatable calibration.
- Wi‑Fi streaming, a bigger battery, and an IP-rated case help in the field.
Think long-term:
- Keep your code modular. Swap sensors or displays with little pain.
- Document settings and calibration steps. This is key in how to build thermal camera that you can maintain.
Real-World Uses and Pro Tips
Home energy checks are fast and fun. You will see cold leaks around windows in minutes. HVAC ducts that leak will glow or fade on screen.
Electronics work becomes easier. I track hot chips on prototypes without touching them. One lesson from my builds: isolate the sensor well or your own device heat will raise the scene baseline.
Use simple habits:
- Lock temperature span when comparing two areas.
- Avoid reflective surfaces, or use tape on the target.
- Keep a small blackbody reference card in your kit. It speeds up how to build thermal camera field checks.
Frequently Asked Questions of how to build thermal camera
What sensor should I choose for a first build?
Start with a FLIR Lepton or MLX90640. They are well-documented, affordable, and have active communities.
Can I get accurate temperatures from shiny metal?
Not directly. Shiny metal reflects IR, so use matte black tape or paint on the spot you measure.
How do I power the system safely?
Use a protected LiPo and a quality buck or boost converter. Add decoupling caps near the sensor and the display.
Do I need a shutter for calibration?
It helps. A shutter makes flat-field correction repeatable, but many modules can do shutterless corrections with software.
Is a Raspberry Pi or ESP32 better?
Pi is faster and great for UI, streaming, and rapid tests. ESP32 is small, low-power, and perfect for a handheld tool.
Conclusion
You now have a clear plan, from parts to calibration, to build a reliable thermal camera. Start simple, get a live image, then add features one by one. The most important steps are clean power, good isolation, and honest calibration.
If this helped, try your first prototype this week and share your results. Keep learning, refine your pipeline, and grow your toolkit. Want more build guides and code tips? Subscribe and drop your questions in the comments.

Jamie Lee is a seasoned tech analyst and writer at MyTechGrid.com, known for making the rapidly evolving world of technology accessible to all. Jamie’s work focuses on emerging technologies, product deep-dives, and industry trends—translating complex concepts into engaging, easy-to-understand content. When not researching the latest breakthroughs, Jamie enjoys exploring new tools, testing gadgets, and helping readers navigate the digital world with confidence.