Open Controls, clear calibration, then drive 20–25 miles on clear, well‑marked roads.
If you want a clean, reliable Autopilot experience, you need to know how to calibrate tesla cameras. I’ve guided many owners through it after windshield swaps, camera replacements, and software updates. In this guide, I’ll show you how to calibrate tesla cameras step by step, why it matters, common mistakes, and pro tips to finish faster and safer.

What camera calibration does and when you need it
Your Tesla uses eight cameras to understand the road. Calibration teaches the car where each camera sits and how it sees lane lines, edges, and curve angles. It aligns the digital view with the real world so Autopilot and FSD can steer, brake, and warn with confidence.
You should learn how to calibrate tesla cameras any time the system is confused or the car prompts you. Typical triggers include:
- Windshield replacement or camera service
- Major software updates or factory resets
- Moving to a new region with different lane markings
- Handling issues after a wrap, tint, or camera housing change
- Replacing wheels, changing ride height, or large alignment changes
On recent models, Tesla documentation says calibration often completes within 20–25 miles. It can take longer if roads are poorly marked or weather is bad. If you want to master how to calibrate tesla cameras, start with clear roads, good light, and clean lenses.
Quick checklist before you recalibrate
Great results start with prep. Before you clear the calibration, run this checklist:
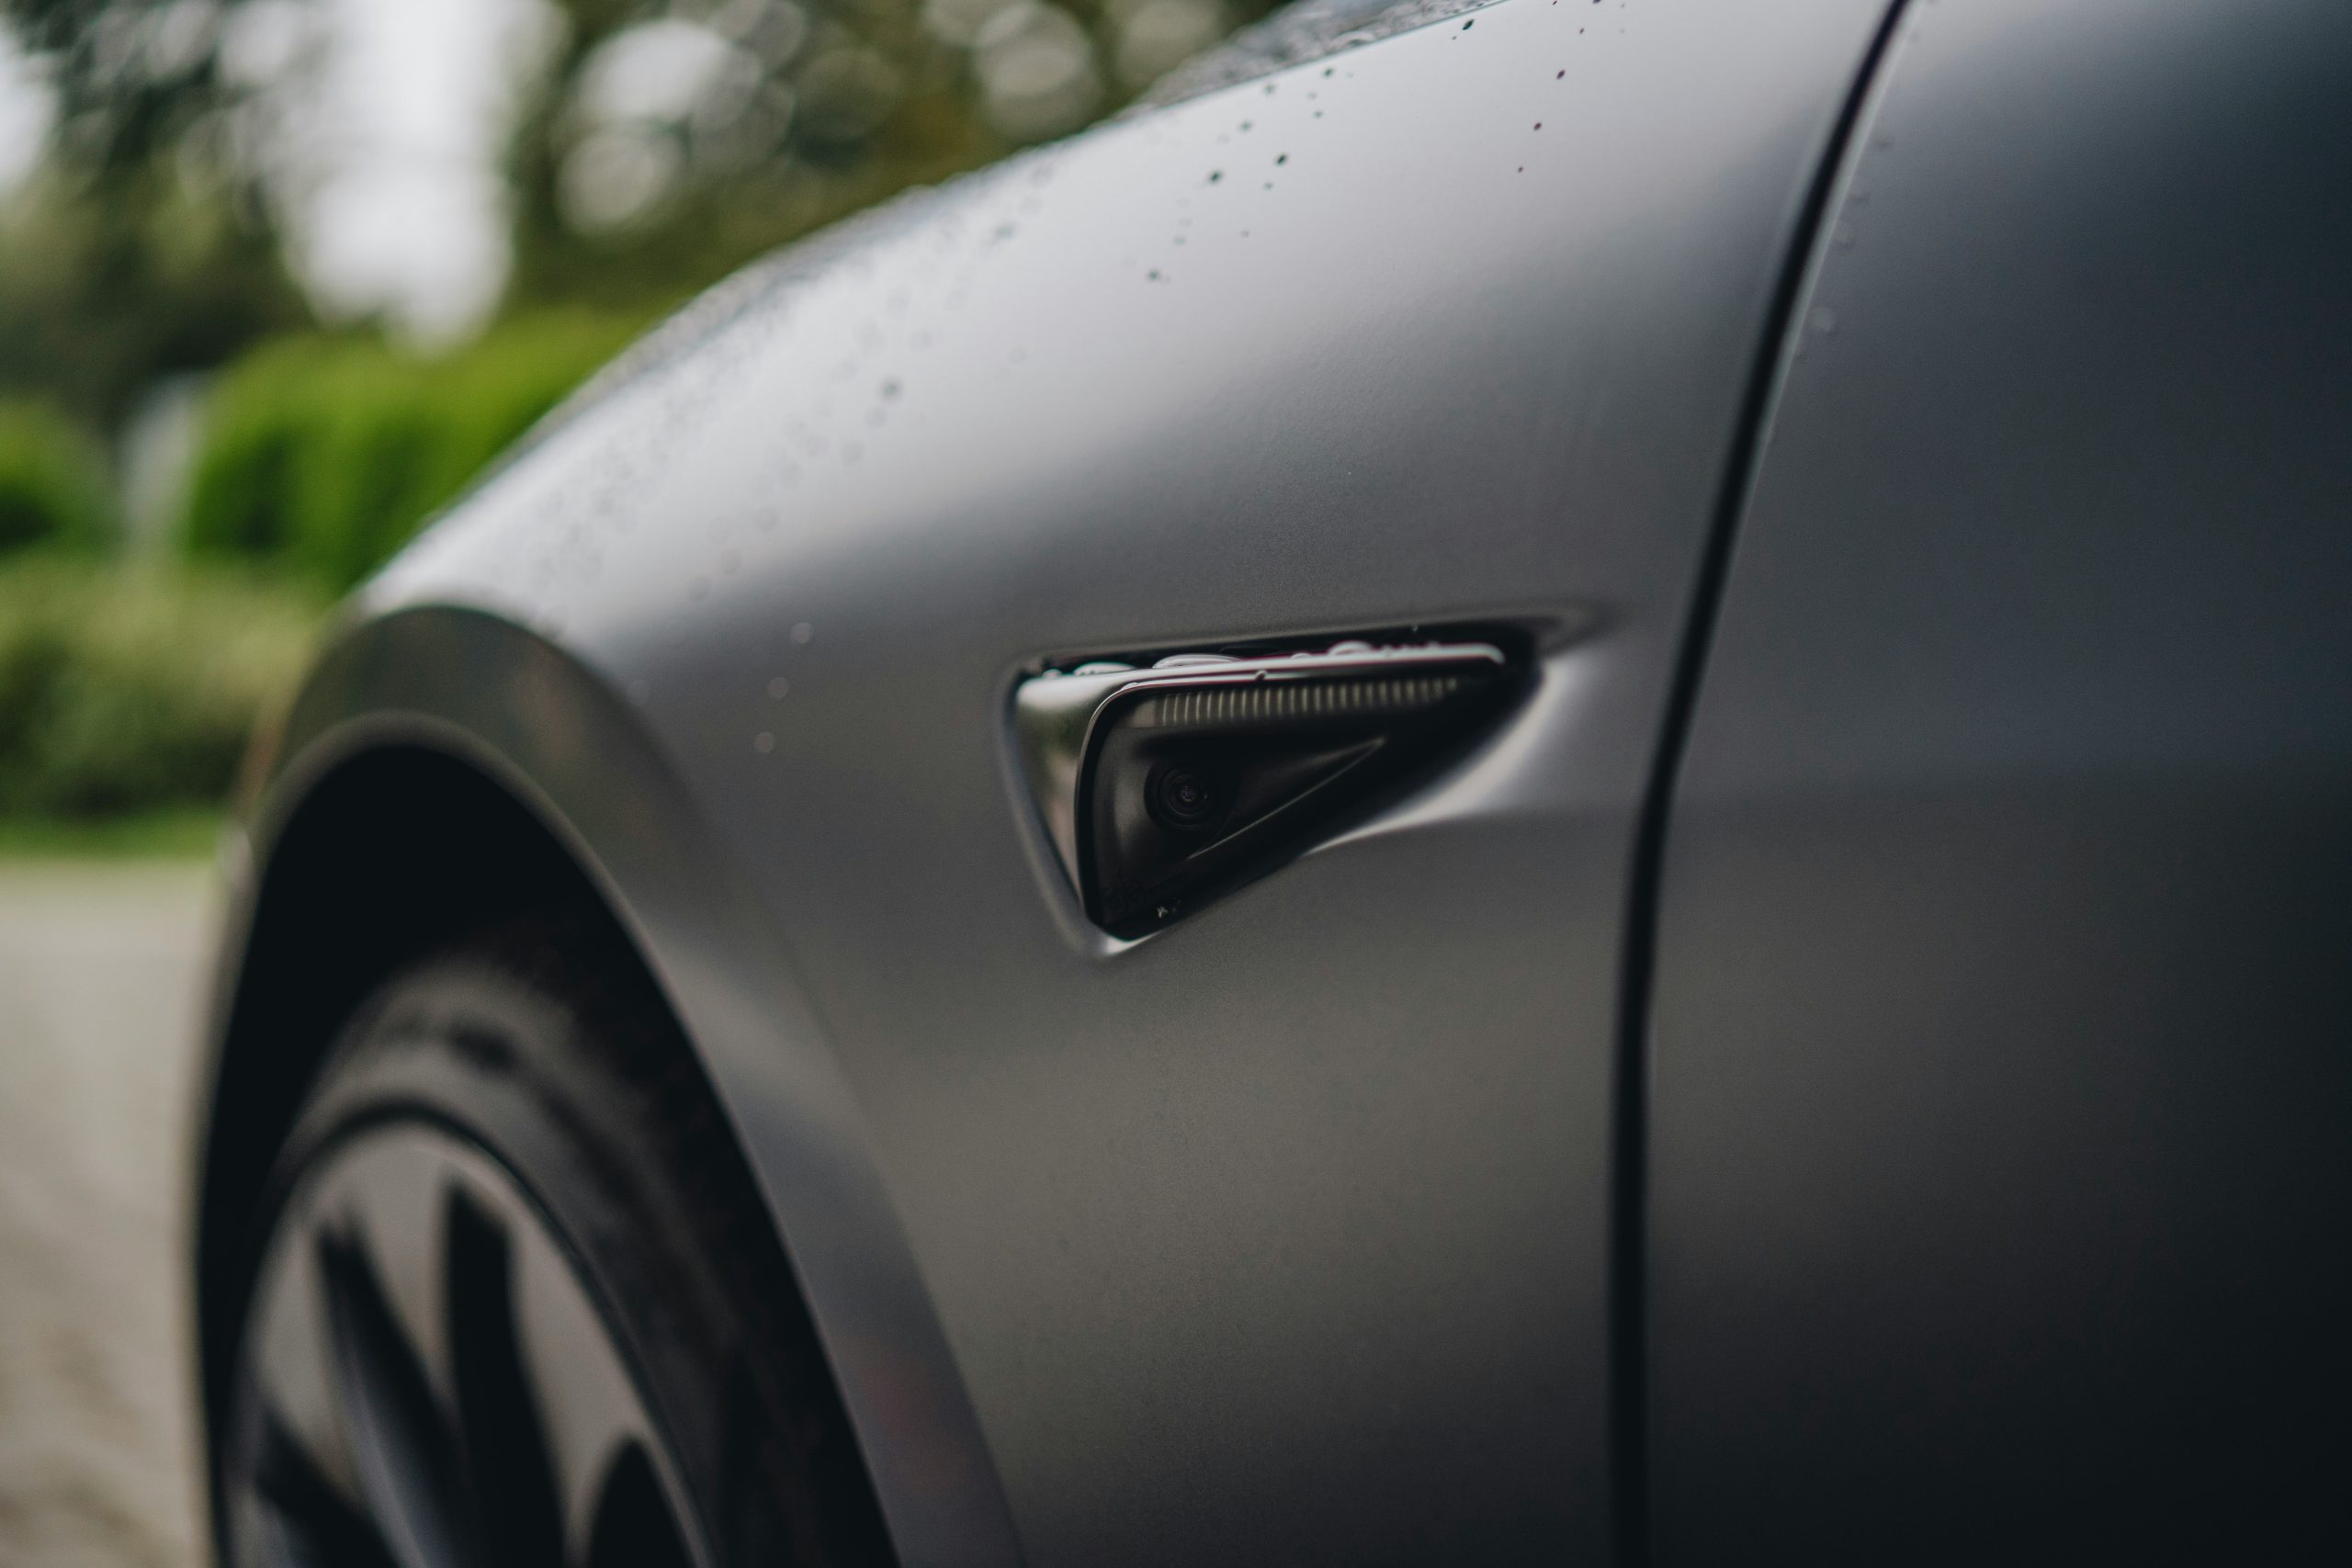
- Clean every camera lens. Hit the windshield, side pillar cameras, and rear camera.
- Remove anything that blocks the view. Think dashcam mounts, stickers, and dark tint bands near the mirror.
- Check tire pressure and wheel alignment. Big pulls or uneven wear can confuse lane centering.
- Update to the latest software. New builds often improve calibration logic.
- Pick the right route. Choose wide, dry highways with bright lane lines and light traffic.
- Know your path. Plan at least 20–30 miles of steady driving over multiple lanes.
This prep cuts time. It also lowers your stress while you learn how to calibrate tesla cameras the right way.
Step-by-step: how to calibrate tesla cameras
Follow these steps to clear and rebuild camera calibration:
- Park safely and power on
- Sit in Park with good connectivity.
- Make sure the car is on stable ground with no glare or heavy rain.
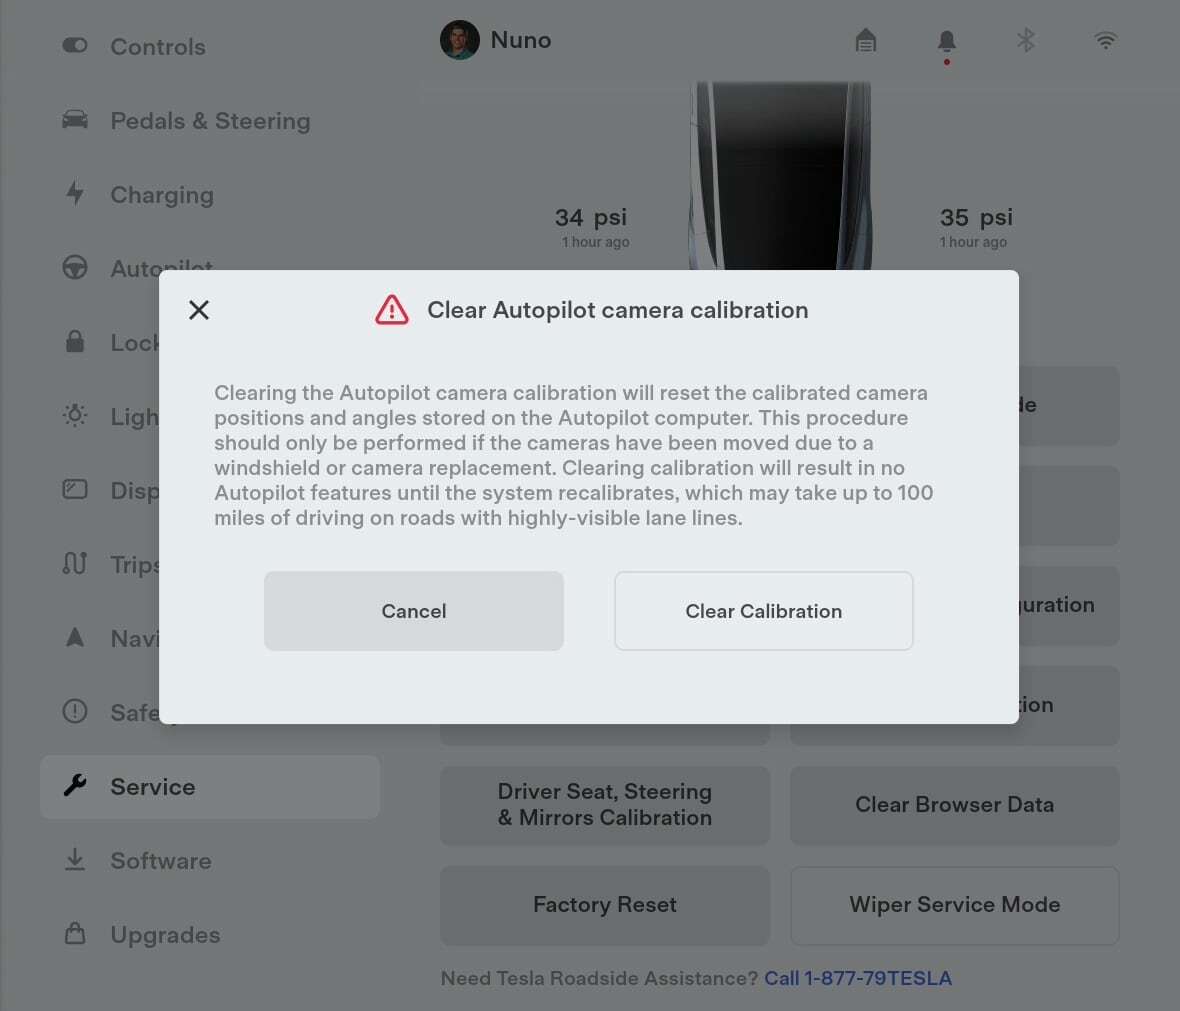
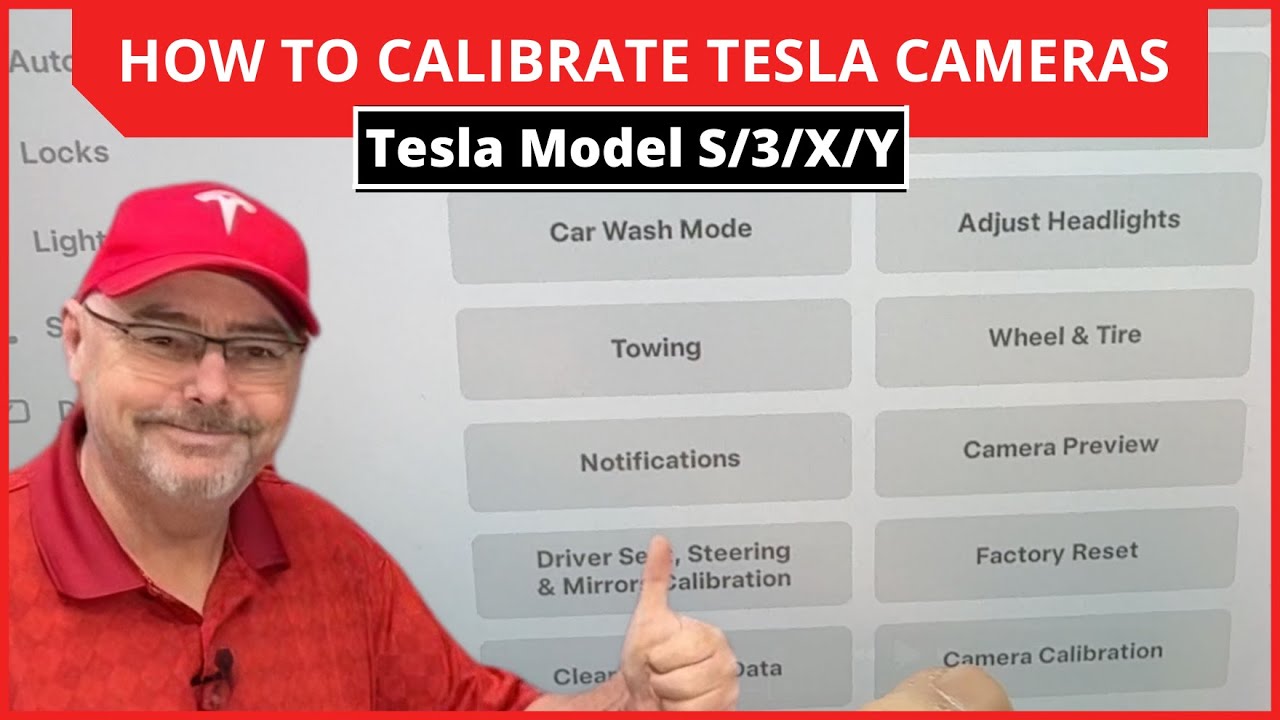
- Open the calibration menu
- Tap Controls, then Service.
- Tap Camera Calibration.
- Tap Clear Calibration.
- Reboot the screen (optional but helpful)
- Press and hold both steering wheel scroll buttons until the screen goes black.
- Wait for the system to restart. This refresh can prevent stuck percentages.
- Start your calibration drive
- Drive on clean, well-marked roads.
- Keep speed above 30 mph when safe.
- Use multiple lanes and gentle curves so the system learns faster.
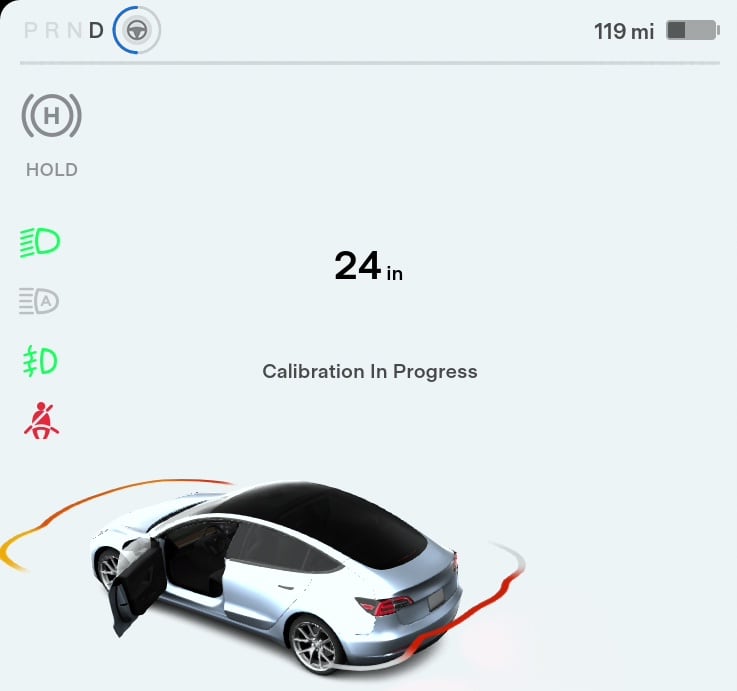
- Watch progress and stay calm
- Tap Controls, then Autopilot to view calibration progress if available.
- Expect 20–25 miles in normal conditions. It can take more.
- Finish and verify
- When done, you should see Autopilot features re-enable.
- Test lane keeping and visualizations on your route.
That is the core flow for how to calibrate tesla cameras. Take your time. Smooth inputs help the system map camera angles with less noise.

Driving best practices to complete calibration faster
You can speed things up with smart driving. Here is what works in real life:
- Favor daylight. Camera vision is best when lines are bright and shadows are low.
- Choose simple highways. Avoid heavy traffic, construction, and unmarked lanes.
- Keep a steady path. Avoid abrupt lane changes or jerky steering.
- Use all lanes. Gently cycle through left, center, and right lanes on safe stretches.
- Avoid rain and snow. Water, fog, and glare slow down learning.
- Keep the windshield clear. Defog and clean wipers improve the front camera view.
This is the driving side of how to calibrate tesla cameras. Calm, steady, and clear roads win.
Troubleshooting and advanced tips
You may hit a snag. Here is how I handle common cases:
-
Stuck at 0–1%
Switch to a different highway with better lines. Reboot the screen. Confirm cameras are not blocked. If still stuck, clear calibration again and retry in daylight. -
Stuck at 98–99%
The system needs a final set of clean lane features. Take a longer loop with wide lanes and smooth curves. Avoid tunnels and glare. -
After windshield replacement
Ask the installer to confirm the camera bracket is aligned. If the bracket is off even a little, calibration may never finish. Book Tesla Service if you suspect physical misalignment. -
Wraps, tint, and accessories
Dark eyebrow tints, thick PPF edges around the B‑pillars, or mirror mounts can block the view. Remove or trim anything in the camera’s path and retry. -
Region changes
If you move between countries or areas with different lane styles, clear calibration. This is a quiet fix many owners miss while learning how to calibrate tesla cameras. -
Suspension and wheels
Big changes in ride height or camber affect the camera’s viewing angle. Complete an alignment first, then clear calibration.
If calibration fails several times even after these checks, contact Tesla Service. There could be a camera focus problem, a housing issue, or a firmware fault.

After calibration: how to verify performance and safety
Do a quick health check to confirm strong results:
-
Visualizations
Open the driving screen. Lane lines should be stable. Vehicles should not flicker. -
Lane keeping
On a clean highway, enable Autosteer where legal. The car should track the center without hunting or ping-ponging. -
Curves and merges
Try gentle curves and on‑ramps. Look for smooth path prediction. -
Night check
Test at dusk or night on bright lines. Headlights should not wash out lane reading. -
Keep cameras clean
Make cleaning part of your weekly routine. It is the easiest ongoing win.
Log any odd behavior with time and place. If needed, you can show this to Service. This follow‑through is the last step in how to calibrate tesla cameras like a pro.
Real-world lessons from the field
I have helped owners calibrate after glass swaps, storm trips, and even cross‑country moves. A few truths keep showing up:
-
Good roads beat long roads
I have finished in 12 miles on a bright, freshly painted highway. I have also needed 40 miles on faded, patchy lines. -
Tiny blocks cause big delays
A small tint strip or a dashcam wire can ruin a day. Check the mirror area and B‑pillars. -
Patience pays
Jerky lane changes and heavy traffic make learning noisy and slow. Slow is smooth, smooth is fast. -
Know when to stop
If you tried two full attempts with clean roads and still fail, escalate to Service. Do not burn hours. This judgment is part of how to calibrate tesla cameras efficiently.

Common mistakes to avoid
Skip these and you will save time:
- Clearing calibration at night in the rain
- Using rural roads with faint or no lane lines
- Keeping roof boxes or bikes that block cameras in view
- Forgetting a recent alignment change or new tires
- Ignoring a cracked or pitted windshield in the camera zone
Make a habit of quick checks before each attempt. That mindset will keep how to calibrate tesla cameras simple and repeatable.

Frequently Asked Questions of how to calibrate tesla cameras
How long does camera calibration take?
Most cars finish within 20–25 miles on clear highways. Poor markings, weather, or traffic can extend it.
Do I need to recalibrate after every software update?
No. Only recalibrate if the car prompts you or behavior seems off. Many updates do not require it.
Can I calibrate at night?
You can, but it is slower and less reliable. Daylight with bright lane lines is the best time for how to calibrate tesla cameras.
Will tinted windshields affect calibration?
Yes, dark tint bands near the mirror can block light and harm vision. Remove or reduce tint in the camera view.
What if calibration never completes?
Check for blocked cameras, bad roads, or alignment issues. If two careful attempts fail, contact Tesla Service for a hardware inspection.
Does changing wheels or suspension matter?
Large changes in ride height or alignment can impact the camera angle. Align the car first, then clear and recalibrate.
Can I drive on city streets for calibration?
Highways with simple, solid lane lines work faster. City streets often slow learning due to stops and complex markings.
Conclusion
You now know how to calibrate tesla cameras from start to finish. Clear the calibration, choose clean highways, drive smoothly, and verify performance. Small prep steps make the largest difference.
Try these steps on your next clear day. If results fall short, do a second pass or book Service for a hardware check. Want more owner‑tested tips? Subscribe for future guides, or drop a comment with your experience so others can learn too.

Jamie Lee is a seasoned tech analyst and writer at MyTechGrid.com, known for making the rapidly evolving world of technology accessible to all. Jamie’s work focuses on emerging technologies, product deep-dives, and industry trends—translating complex concepts into engaging, easy-to-understand content. When not researching the latest breakthroughs, Jamie enjoys exploring new tools, testing gadgets, and helping readers navigate the digital world with confidence.