Open Camera, switch to Photo, tap the moon icon, adjust the slider.
If you’ve ever wondered how to change iPhone camera to Night mode the right way, you’re in the perfect place. I’ve spent years tweaking low-light shots across iPhone models, and I’ll show you clear, reliable steps that work. We’ll cover the quick method, pro tips, and smart fixes so you always get sharp, clean night photos without guesswork.
What Night mode is and how it works
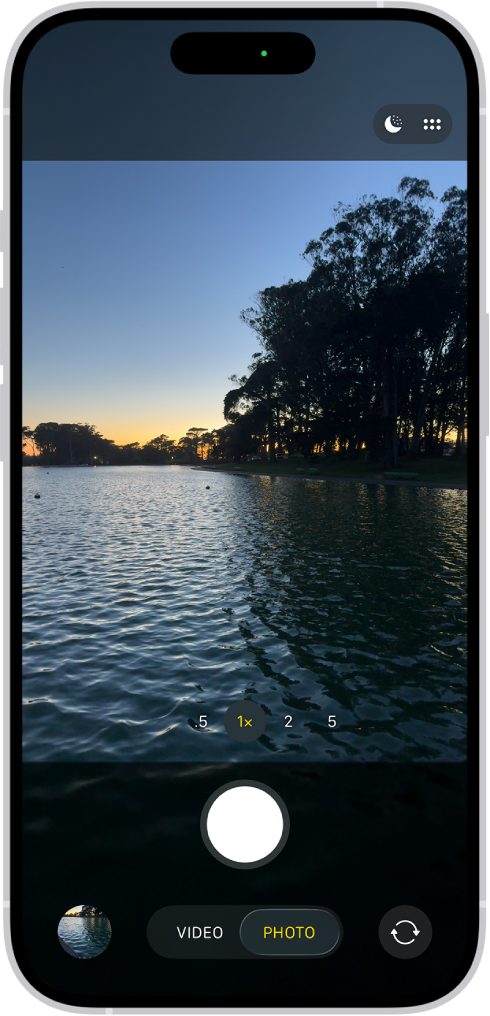
Night mode is an automatic low‑light feature that brightens dark scenes while keeping detail. It blends several frames and uses smart noise reduction, so your photos look natural, not washed out. You’ll see the moon icon when the camera detects low light.
Supported devices include iPhone 11 and newer. On iPhone 12 and later, Night mode works on the front camera and often on the Ultra Wide lens. On Pro models, Night mode Portrait is supported for dramatic, shallow‑depth night shots.
You cannot force Night mode in bright light. You can only adjust or disable it when the moon icon appears. That’s a key point people miss when asking how to change iPhone camera to Night mode.
Step-by-step: how to change iPhone camera to Night mode
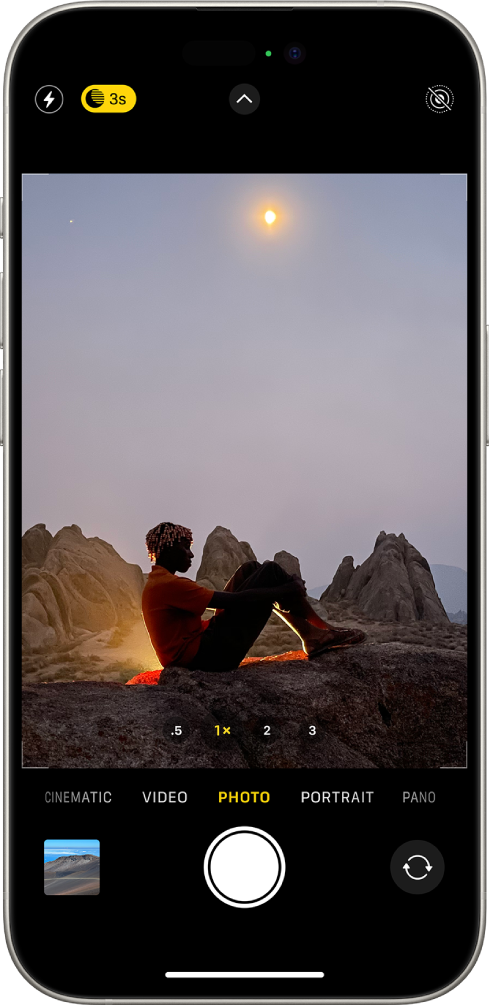
- Open the Camera app and choose Photo mode. Night mode does not work in Video or Slo‑Mo.
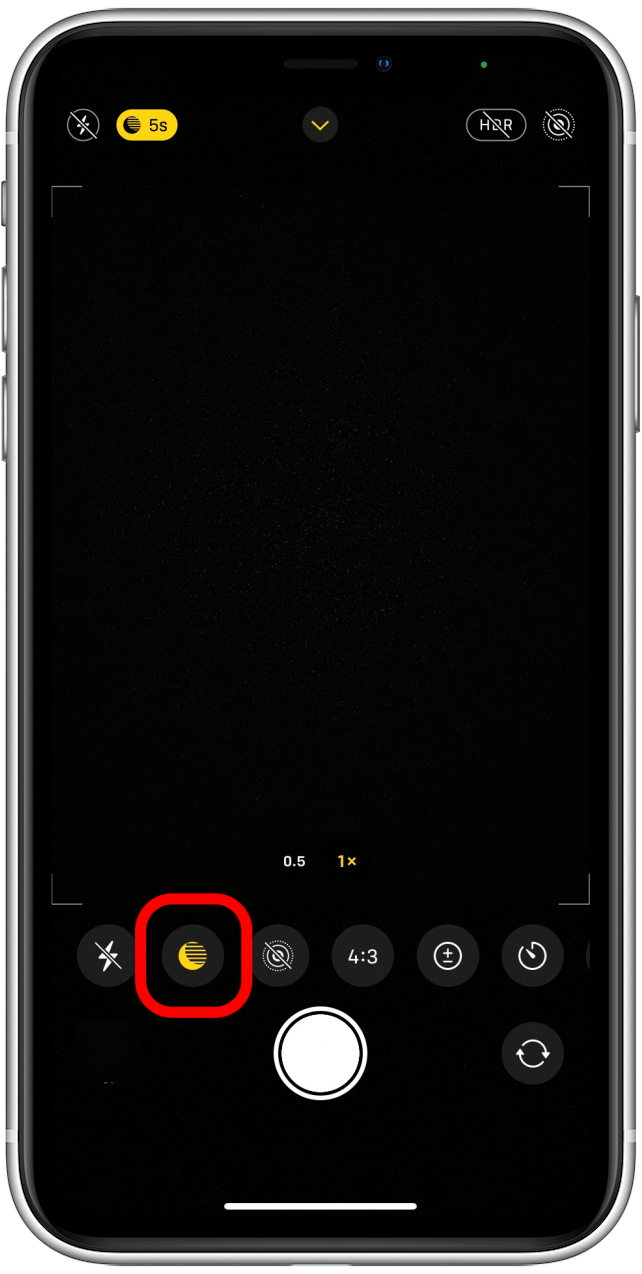
- Check for the moon icon. If it turns yellow, Night mode is active. If it’s gray, it’s available but not yet active.
- Tap the moon icon to show the exposure slider. Drag to set Auto or a longer Max time.
- Hold your phone steady and press the shutter. A progress bar shows the capture time.
- Keep still until the capture ends. Even small movements can blur the shot.
Extra help:
- If flash is on, Night mode turns off. Turn flash off to use Night mode.
- Try a tripod or a stable surface. Your iPhone may allow longer Max times when it senses no shake.
- Use the self‑timer to avoid tapping shake, or use a Bluetooth remote.
If you came here to learn how to change iPhone camera to Night mode fast, those steps are the most direct path.
Control Night mode like a pro
Understanding the controls makes all the difference when you’re learning how to change iPhone camera to Night mode.
Key controls:
- Moon icon behavior. Gray means available; yellow means active. Tap it to open the slider.
- Exposure slider. Choose Auto for balanced results or drag to Max for brighter, longer exposures.
- Turn Night mode off. Drag the slider to Off if you want a darker, moodier look.
- Flash vs Night mode. Flash overrides Night mode. Decide which look you want before you shoot.
- Preserve settings. Go to Settings > Camera > Preserve Settings > Night Mode. Turn this on to keep your last Night mode choice instead of resetting to Auto every time.
Personal tip: I often start with Auto, take a test shot, then try Max for a brighter version. This side‑by‑side approach makes it easy to pick the best look without guesswork.
Where Night mode works best
Night mode shines in a few key places. If you’re thinking about how to change iPhone camera to Night mode for these scenes, you’ll love the results.
Use cases:
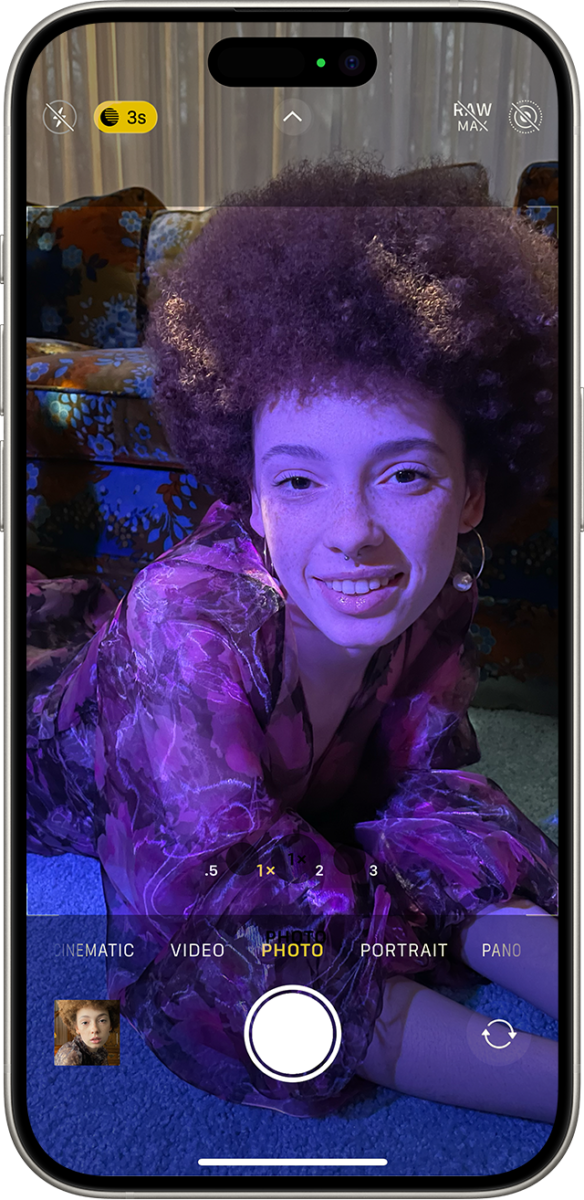
- Portraits at night. On Pro models, you can get Night mode Portraits with softer backgrounds and better skin tone.
- Cityscapes and street scenes. Lights stay crisp when you hold steady or use a tripod.
- Indoor low light. Dim cafes, home gatherings, or concerts benefit a lot from Night mode.
- Ultra Wide and front camera. On many newer iPhones, Night mode now supports both, giving you more framing options.
Good to know:
- There is no Night mode for video. Use standard video with more light, or try third‑party apps with low‑light presets, but they are not the same as Apple’s Night mode photo pipeline.
- Third‑party camera apps cannot force Apple’s Night mode when it’s not available. They may simulate long exposures instead.
Practical tips, mistakes to avoid, and real-world lessons
These are the habits that turned my low‑light shots from noisy to gallery‑worthy. They’re simple, fast, and they work.
- Brace your phone. Lean on a wall or table. Stability beats any editing trick.
- Tap to focus, then slide the sun icon down slightly. A tiny exposure pull‑down protects highlights and boosts clarity.
- Avoid digital zoom. Move closer, or crop later. Digital zoom adds noise.
- Try Max only when your subject stays still. If people are moving, Auto often looks cleaner.
- Add gentle light. A lamp, phone screen, or small LED can lift faces without killing the mood.
- ProRAW on supported models helps retain detail for editing. It pairs well with Night mode when you want more flexibility.
- Clean the lens. Smudges bloom light sources and ruin detail.
Learning how to change iPhone camera to Night mode is only half the work. These small choices shape the final image.
Troubleshooting: when Night mode doesn’t appear or looks bad
If Night mode isn’t showing up or results disappoint, check these fixes. They solve most common problems tied to how to change iPhone camera to Night mode.
Common issues and fixes:
- No moon icon. The scene may be too bright, or you’re in Video or Slo‑Mo. Switch to Photo and try again.
- Flash is on. Turn flash off to allow Night mode.
- Too much motion. Ask subjects to hold still, or choose Auto instead of a long Max.
- Grainy results. Lower the exposure slider or add a touch of light from the side.
- Outdated software. Update iOS for the latest camera improvements.
- Hardware limits. Older iPhones may not support Night mode on all lenses. Check your model’s capabilities.
Pro move: If Night mode is available but inconsistent, toggle Settings > Camera > Preserve Settings > Night Mode. This gives you stable behavior session to session.
Strategy examples for different styles
Use Night mode to match your creative intent. Here are quick setups I rely on when clients need options fast.
Street mood
- Auto exposure, no flash
- Slight exposure pull‑down
- Hold steady for light trails and crisp signs
Night portrait
- Night mode Portrait on Pro models
- Face lit by a soft lamp or screen
- Auto or short Max to reduce subject blur
City skyline
- Tripod or ledge for stability
- Max exposure for richer detail
- ProRAW for flexible editing later
If your goal is how to change iPhone camera to Night mode for any of these styles, these presets save time and raise your keeper rate.
Frequently Asked Questions of how to change iphone camera to night mode
Can I force Night mode to turn on in bright scenes?
No. Night mode only appears when your iPhone detects low light. You can adjust or disable it, but you cannot force it in bright conditions.
Why does Night mode turn off when I enable flash?
Flash and Night mode are separate capture methods. Turning on flash disables Night mode so the camera can expose for the burst of light.
How do I keep my Night mode setting between shots?
Go to Settings > Camera > Preserve Settings and enable Night Mode. Your iPhone will remember your last Night mode choice instead of resetting to Auto.
Does Night mode work with the front camera?
Yes on many newer models, starting from iPhone 12. It helps brighten selfies in low light while keeping skin tones natural.
Why are my Night mode photos blurry?
Long exposures magnify movement. Hold still, ask subjects to pause, or reduce the exposure time from Max to Auto.
Is Night mode available in Portrait mode?
Yes on compatible Pro models, often thanks to LiDAR. It gives you better subject separation and low‑noise background blur.
Can third‑party apps improve Night mode?
They cannot force Apple’s Night mode when it isn’t available. Some apps simulate long exposure, but results differ from Apple’s pipeline.
Conclusion
Now you know how to change iPhone camera to Night mode with confidence. Use the moon icon, dial in the exposure slider, and steady your phone for crisp, bright shots after dark. Add small tweaks like exposure pull‑down and gentle lighting, and you’ll see a real jump in quality.
Put these steps to work tonight. Try Auto, try Max, compare results, and build your own low‑light playbook. Want more tips like this? Subscribe for fresh how‑tos, or drop a comment with your device and I’ll share settings tailored to your iPhone.

Jamie Lee is a seasoned tech analyst and writer at MyTechGrid.com, known for making the rapidly evolving world of technology accessible to all. Jamie’s work focuses on emerging technologies, product deep-dives, and industry trends—translating complex concepts into engaging, easy-to-understand content. When not researching the latest breakthroughs, Jamie enjoys exploring new tools, testing gadgets, and helping readers navigate the digital world with confidence.