Connect a digital camera to a computer using USB, a card reader, or Wi‑Fi in minutes.
I have helped photographers and hobbyists for years get photos off their gear and onto a computer. This guide explains how to connect a digital camera to a computer, step by step, with clear options, real-world tips, and fixes for common problems. You will learn USB and card-reader methods, wireless transfer, tethering, software choices, and file care. Read on to save time and protect your images.
Why connect your digital camera to a computer?
Connecting a digital camera to a computer moves images from your camera into a workspace. It lets you edit, back up, and share large files fast. Learning reliable methods cuts risk of data loss and speeds your workflow.
:max_bytes(150000):strip_icc()/camera-56e0976d3df78c5ba0566b37.jpg)
Methods to connect a digital camera to a computer
Below are the main ways to connect a digital camera to a computer. Each method works best in different situations.
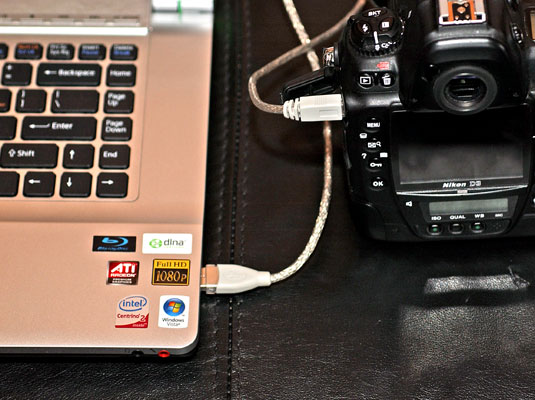
USB cable
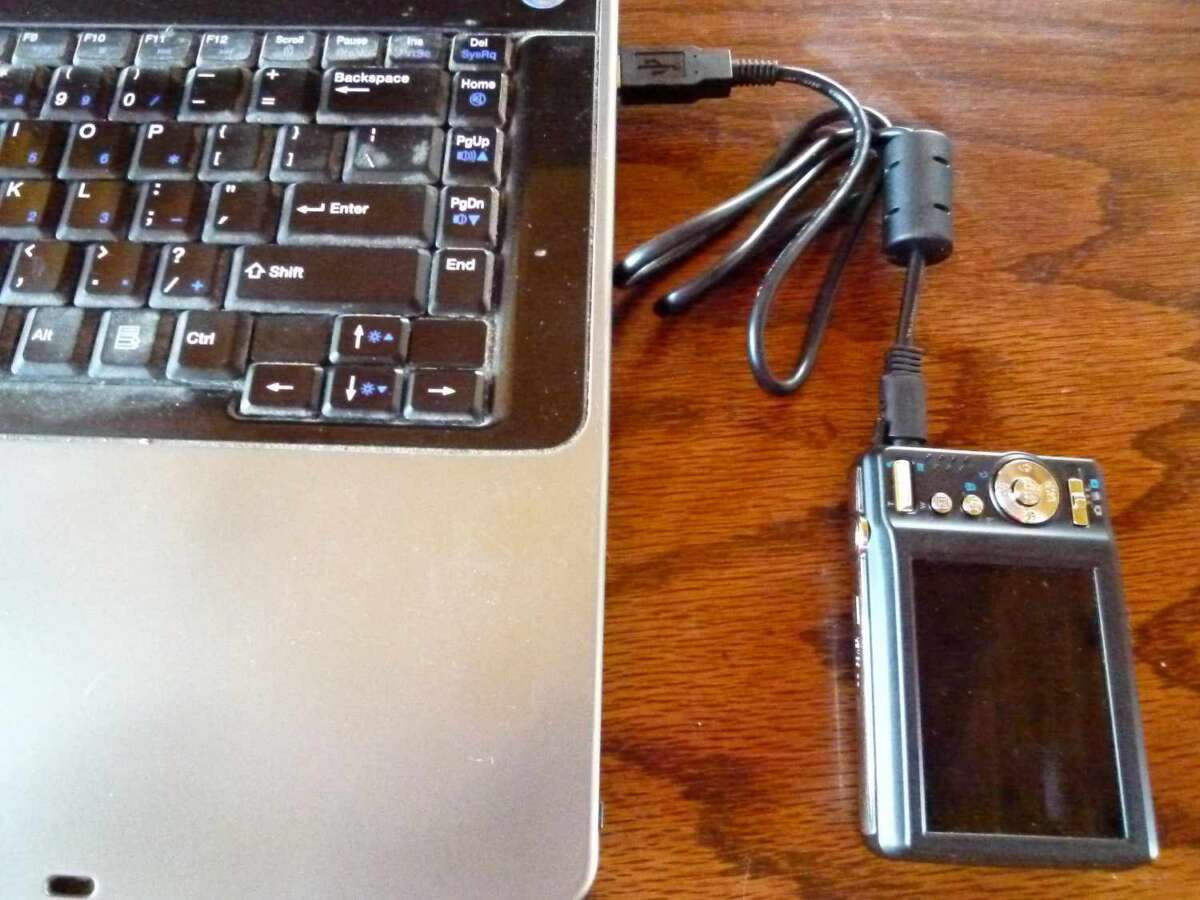
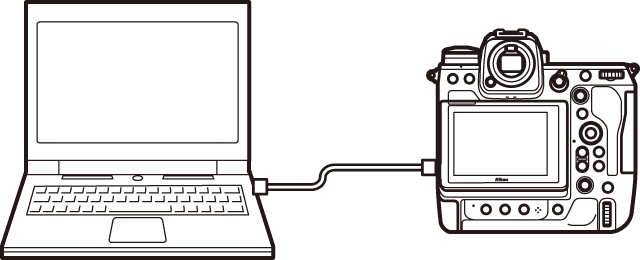
Most cameras include a USB cable. Plug the cable into the camera and the computer. The camera often appears as a removable drive or triggers import software.
Memory card reader
A card reader reads the SD, microSD, or CF card directly. It is usually faster than camera USB and causes less battery drain. Card readers are ideal when moving many files.
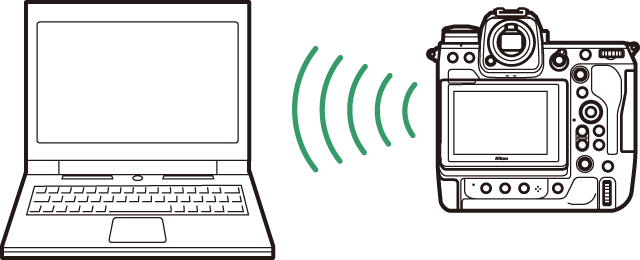
Wi‑Fi and Bluetooth
Many modern cameras offer Wi‑Fi or Bluetooth. Use the camera app on your computer or phone to transfer images wirelessly. This is handy for quick sharing but can be slower for large RAW files.
Tethered shooting
Tethering sends images to the computer as you shoot. Photographers use tethering for studio work and client previews. You need capture software and a stable USB or network connection.
Capture card or HDMI capture
For live video or streaming, use an HDMI capture device. This connects the camera to the computer for real-time video. It is not for file transfer but for live capture.

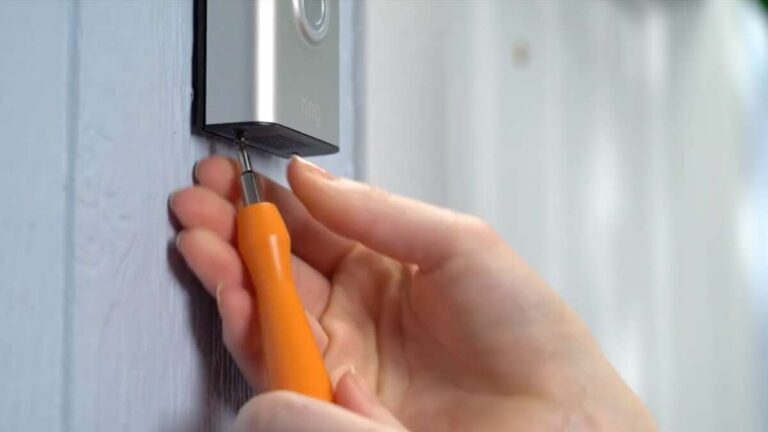
Step-by-step: How to connect a digital camera to a computer using USB
- Charge the camera battery or connect the camera to power.
- Turn the camera off, then plug the USB cable into the camera and the computer.
- Turn the camera on and set it to the correct mode if prompted (PC, Play, or Mass Storage).
- On Windows, open File Explorer and look for the camera drive. On macOS, open Finder or Image Capture.
- Copy or import photos into your chosen folder or photo app.
- Safely eject the device before disconnecting the cable.
This method of how to connect a digital camera to a computer works across most brands. It is simple and reliable for quick transfers.
:max_bytes(150000):strip_icc()/USB-cable-computer-58069dba5f9b5805c2858cb3.JPG)
Step-by-step: How to connect a digital camera to a computer using a memory card reader
- Remove the memory card from the camera following manufacturer steps.
- Insert the card into a compatible slot on the computer or into an external card reader.
- Wait for the system to mount the card as a drive.
- Open the drive, select images, and copy them to your computer folders.
- Eject the card safely and return it to your camera.
Using a card reader often speeds up transfers when you need to move many large files. It also reduces wear on the camera USB port.
Wireless transfer and tethering: advanced connection options
Wireless transfer is great for on-the-go sharing and remote control. Tethering is best for studio work and immediate review.
- Wi‑Fi transfer: Install the camera maker’s app or use built-in FTP. Pair phone or computer with the camera, then select images to download.
- Bluetooth: Useful for small JPG files and remote shutter control. Range is short and speed is limited.
- Tethered capture: Use software such as Lightroom, Capture One, or the camera’s utility. Connect via USB or network, then shoot while images appear on the computer.
When you set up wireless how to connect a digital camera to a computer, use strong passwords and avoid public networks to keep files safe.
Software options and settings when you connect a digital camera to a computer
Choose software for import, editing, and backup. Pick tools that match your file types and workflow.
- Windows Photos: Quick import and simple edits for JPG files.
- macOS Photos and Image Capture: Built-in import tools for most cameras.
- Adobe Lightroom and Capture One: Professional import, RAW handling, and tethered shooting.
- Manufacturer apps: Sony, Canon, Nikon and others provide utilities for direct transfer and firmware updates.
- Drivers and permissions: Install camera drivers if the system does not recognize the device. Grant permissions for the software to access photos when prompted.
Check settings for file format, destination folder, and duplicate handling before import. These small steps make your how to connect a digital camera to a computer process smoother.

Troubleshooting common issues when connecting a digital camera to a computer
If the camera does not appear, try these fixes.
- Check cables and ports: Swap cables or try a different USB port to rule out hardware faults.
- Turn off power saving: Some cameras disable transfer when battery is low.
- Change USB mode: Switch the camera to Mass Storage or PC Connect mode.
- Update drivers and software: Install the latest drivers or camera utility apps.
- Try a card reader: If the computer won’t see the camera, the card may be detected in a reader.
If problems persist, test the camera and card on a different computer to isolate the issue.
Best practices for file management and backups after you connect a digital camera to a computer
Good habits keep files safe and searchable.
- Use a consistent folder structure such as Year/Month/Event to organize files.
- Rename files or batch-rename to include dates or keywords for quick search.
- Keep RAW and edited JPGs in separate folders to avoid confusion.
- Back up immediately to an external drive or cloud service after transfer.
- Use checksums or verification tools for critical archives to avoid silent corruption.
I recommend a 3-2-1 backup plan: three copies, two media types, one offsite. This protects your work after you connect a digital camera to a computer.

Security and privacy considerations when you connect a digital camera to a computer
Protect your images and personal data.
- Secure Wi‑Fi transfers with strong passwords and encryption.
- Remove location tags if you plan to share images publicly.
- Keep camera and computer firmware up to date to fix security bugs.
- Scan external drives and cards for malware before opening files.
- Use trusted software from official sources to avoid data leaks.
Be mindful that automatic cloud sync can upload images you did not mean to share.
Personal tips and lessons learned from real shoots
I once lost a full shoot by skipping a backup. Since then, I copy files to two drives before clearing my card. Small habits saved time and stress.
- Always check battery and storage before a shoot. Low power or a full card wastes time.
- Label cards with event names and dates. It saves hours later.
- Keep a spare USB cable and a compact card reader in your bag.
- Test tethering before a client session to avoid delays.
- When learning how to connect a digital camera to a computer, practice both wired and wireless options so you can switch quickly.
These tips come from years of studio and travel work. They help you avoid common mistakes and streamline your workflow.
Frequently Asked Questions of how to connect a digital camera to a computer
How do I connect my camera to my PC if it is not recognized?
Try a different USB cable or port first, then set the camera to Mass Storage mode if available. If that fails, use a card reader or install the manufacturer’s drivers.
Can I transfer RAW files over Wi‑Fi?
Yes, many cameras allow RAW transfers, but it can be slow. For large RAW batches, a card reader or wired USB is much faster.
Is it safe to remove the memory card immediately after transfer?
Do not remove the card until the computer shows the transfer is complete and you safely eject the drive. Removing early can corrupt files.
Do I need special software to tether my camera to a computer?
You need tethering-capable software such as Lightroom, Capture One, or the camera maker’s utility. The software handles live image import and preview.
How do I keep image metadata like date and GPS when I transfer?
Most transfer methods keep metadata intact. Use capture software settings to preserve metadata and avoid renaming tools that strip it.
What if my camera needs a firmware update before connecting?
Download firmware updates from the maker’s official site and follow instructions carefully. Often you must update via memory card or the camera app.
Conclusion
You now know how to connect a digital camera to a computer using USB, a card reader, Wi‑Fi, or tethering. Use the method that fits your shoot size and speed needs, and follow the steps and best practices above to protect your files. Try a card reader for bulk moves, tether for studio work, and wireless for on-the-go sharing. Start today by testing one method and making a backup habit. Share your experience in the comments or subscribe for more practical camera and workflow tips.

Everett Ashford is a tech reviewer at mytechgrid.com specializing in SSDs, cameras, TVs, earbuds, headphones, and other consumer electronics. He provides honest, data-driven reviews based on hands-on testing and real-world performance analysis. Everett simplifies complex tech details to help readers make smart, confident buying decisions.