Most cameras accept mics via 3.5mm, XLR, or hot‑shoe adapters—connect and set gain correctly.
I’ve spent years recording video and sound for interviews, short films, and online lessons. I will walk you through how to connect mic to camera with clear steps, real tips, and troubleshooting. You will learn which cables and adapters to use, when you need external power or a preamp, and how to set levels so your audio is clean. Read on to confidently hook a mic to your camera and get broadcast‑ready sound.

Understanding camera inputs and why they matter
Most consumer cameras have a 3.5mm mic jack or a hot shoe. Higher‑end cameras offer XLR inputs or require an audio adapter. Knowing your camera’s inputs is the first step in how to connect mic to camera.
Check the camera manual or body. Look for labels: MIC, LINE, XLR, or a combo jack. Also check menu settings for external mic levels and input type. I learned early on to always test the input before shooting. That saved a lot of re‑takes and bad audio.

Types of microphones and which one fits your camera
Different mic types need different connections. Choosing the right mic affects how to connect mic to camera and whether you need extra gear.
- Shotgun mics — usually 3.5mm or hot‑shoe, good for on‑camera use.
- Lavalier mics — often 3.5mm or wireless, ideal for interviews.
- Handheld dynamic mics — often XLR, great for live situations.
- Condenser mics — may require phantom power, often XLR.
- Wireless systems — receiver connects to camera via cable, hot shoe, or XLR.
From my experience, shotgun mics on a hot shoe are fast for run‑and‑gun. For interviews, a lavalier gives a clean voice when wired correctly.
Simple step-by-step: 3.5mm mic to camera
Many cameras use a 3.5mm mic input. This is the most common path when you learn how to connect mic to camera.
- Confirm the mic connector type (TRS or TRRS).
- Use a TRS cable for most cameras (tip‑ring‑sleeve). If the mic is for smartphones (TRRS), get a TRRS-to-TRS adapter.
- Plug the mic into the camera’s MIC jack.
- Turn on the camera and the mic. If the mic has a battery, ensure it’s fresh.
- Set input level in the camera menu. Aim for peaks around -12 dB to -6 dB.
- Monitor with headphones in the camera or use an external recorder.
A quick tip from my shoots: always carry a TRRS to TRS adapter and a short patch cable. They solve a lot of compatibility headaches.

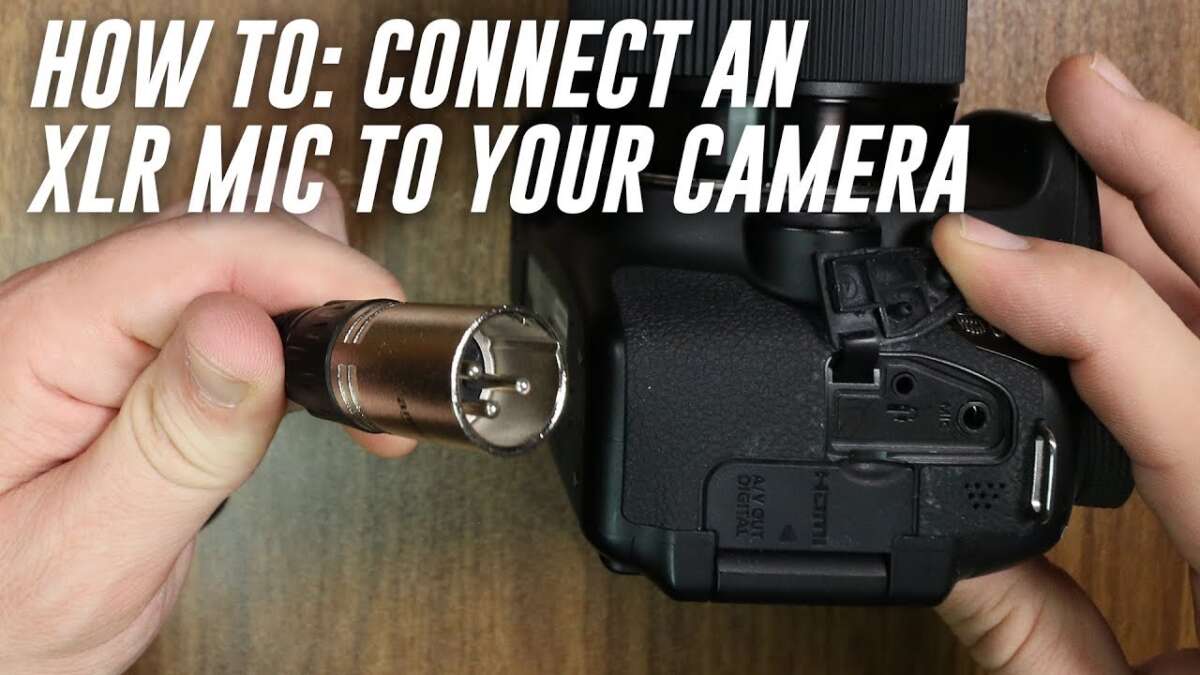
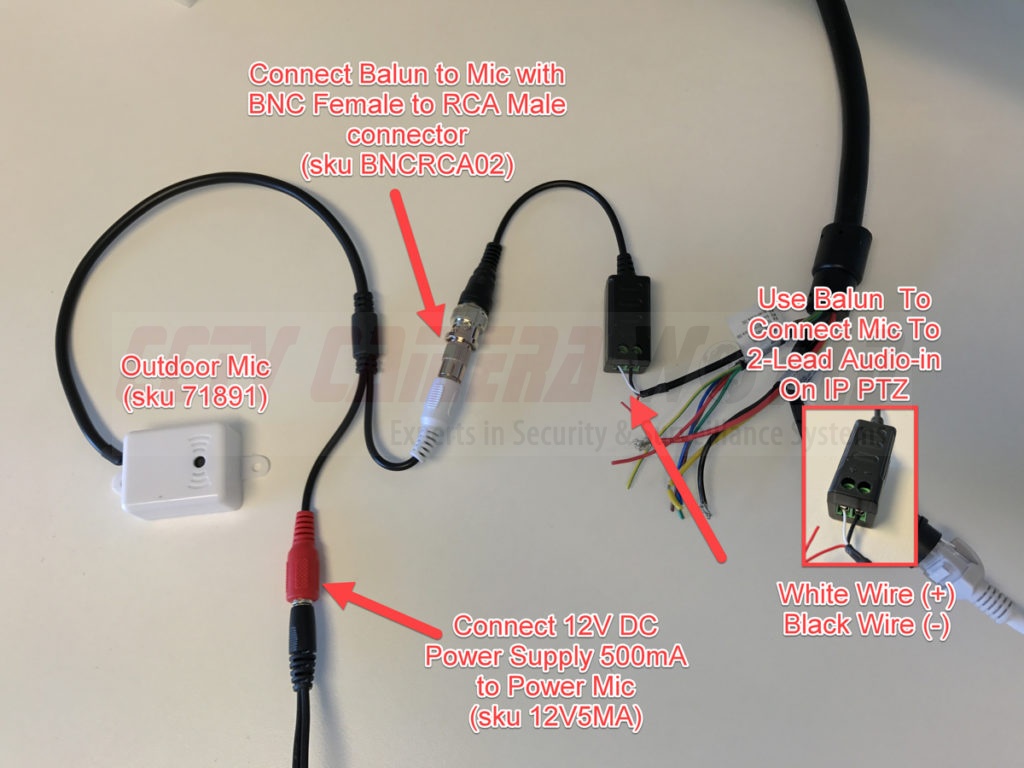
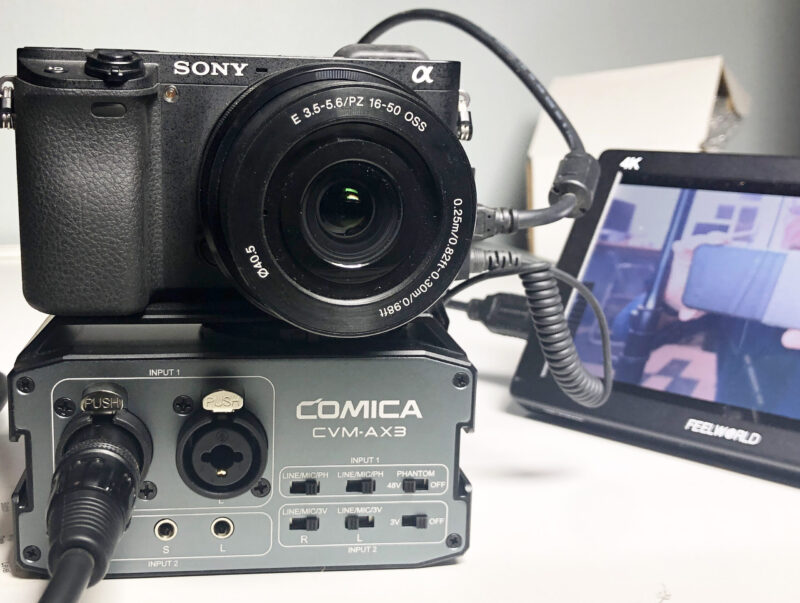
Connecting XLR mics to a camera
XLR is a balanced pro audio standard. Learning how to connect mic to camera when using XLR needs extra hardware or an XLR input on the camera.
- If your camera has XLR inputs: plug the mic into the XLR input, enable phantom power if the mic needs 48V, and set gain.
- If your camera has no XLR: use an XLR-to-3.5mm adapter box or a field mixer/preamp. Some small adapters convert XLR to 3.5mm but may not supply phantom power.
- For condenser mics requiring 48V: use a battery-powered mic, a preamp, or a portable recorder that supplies phantom then feed line out to the camera.
I once used a condenser on set and forgot phantom power. The result was silent takes and an embarrassed crew. Always confirm phantom power needs before connecting.

Using wireless mics with a camera
Wireless lavalier systems are common for run‑and‑gun and interviews. They simplify mobility but add steps to how to connect mic to camera.
- Turn on transmitter and receiver and pair them on the same frequency.
- Connect the receiver output to the camera’s mic input with a 3.5mm cable or an XLR cable if supported.
- Use the correct cable: many receivers output TRS, while some expect TRRS for phones.
- Lock camera settings and monitor audio to check for dropouts and interference.
- Use a windscreen on the lav and place it properly for best sound.
I prefer wireless for interviews outdoors. My routine check includes a range test and spare batteries to avoid mid‑take failures.

Settings, levels, and monitoring
Correct settings are as important as correct cables when learning how to connect mic to camera.
- Set input to MIC, not LINE, when using mic‑level audio.
- Use manual gain. Let the mic pick up a strong signal without clipping.
- Watch levels while recording. Keep peaks at -12 dB to -6 dB for headroom.
- Use headphones to monitor live. An unmonitored mic often reveals issues only post‑production.
- If your camera has a high‑pass filter or pad switch, use them to reduce rumble or avoid clipping.
I always record a short test clip before the main take and listen back through headphones. It finds problems fast.

Troubleshooting common issues
Even with the right gear, problems happen when you connect mic to camera. Here are quick fixes.
- No sound — check cables, power, and that the mic is switched on.
- Low level — switch to a mic preamp or increase gain; ensure the camera input is set to MIC.
- Distortion — lower gain or enable a pad on the mic or camera.
- Hum or noise — use balanced XLR, move away from power sources, and check cable shielding.
- Wireless dropouts — change frequency, move antennas, or reduce distance.
A mistake I made early on was using long cheap 3.5mm cables. They picked up noise. Upgrading a short, shielded cable solved it.

Practical tips and best practices
Small habits lead to reliable audio. These practices simplify how to connect mic to camera and reduce errors on shoots.
- Always test with headphones before you start shooting.
- Label cables and adapters so you don’t grab the wrong one under pressure.
- Carry spare batteries and a small preamp or adapter for XLR mics.
- Record a backup track on a phone or field recorder when possible.
- Secure lavalier mic cables to avoid rustle and movement noise.
Over time I learned that a simple checklist keeps audio clean. I use the same checklist for every shoot.
Frequently Asked Questions of how to connect mic to camera
How do I know if my camera takes an external mic?
Most cameras list a 3.5mm mic jack or XLR inputs on the body or in the manual. Check the camera’s input labels and menu to confirm external mic support.
Can I plug a smartphone mic directly into a camera?
Not always. Smartphone mics often use TRRS. You usually need a TRRS-to-TRS adapter to connect that mic to a camera’s 3.5mm input.
Do I need phantom power to connect a mic to a camera?
Only for condenser mics that require 48V phantom power. If your camera doesn’t provide phantom, use a battery mic, preamp, or recorder that supplies it before feeding the camera.
What adapter do I need to connect an XLR mic to a camera?
Options include an XLR-to-3.5mm adapter, a camera XLR input module, or a field mixer/preamp that outputs mic or line level into the camera. Make sure phantom power is handled if needed.
How can I monitor sound while recording to my camera?
Use headphones connected to the camera or to an external recorder. Monitoring ensures you catch low levels, clipping, or interference during takes.
Conclusion
Learning how to connect mic to camera is mostly about matching connectors, power needs, and monitoring levels. Check your camera inputs, pick the right cable or adapter, and always test with headphones. Start with a simple 3.5mm setup, then add XLR or wireless gear as your needs grow.
Take action today: inspect your camera, gather the proper adapters, and run a test recording. Leave a comment about your setup or questions, or subscribe for more practical audio and video tips.

Everett Ashford is a tech reviewer at mytechgrid.com specializing in SSDs, cameras, TVs, earbuds, headphones, and other consumer electronics. He provides honest, data-driven reviews based on hands-on testing and real-world performance analysis. Everett simplifies complex tech details to help readers make smart, confident buying decisions.