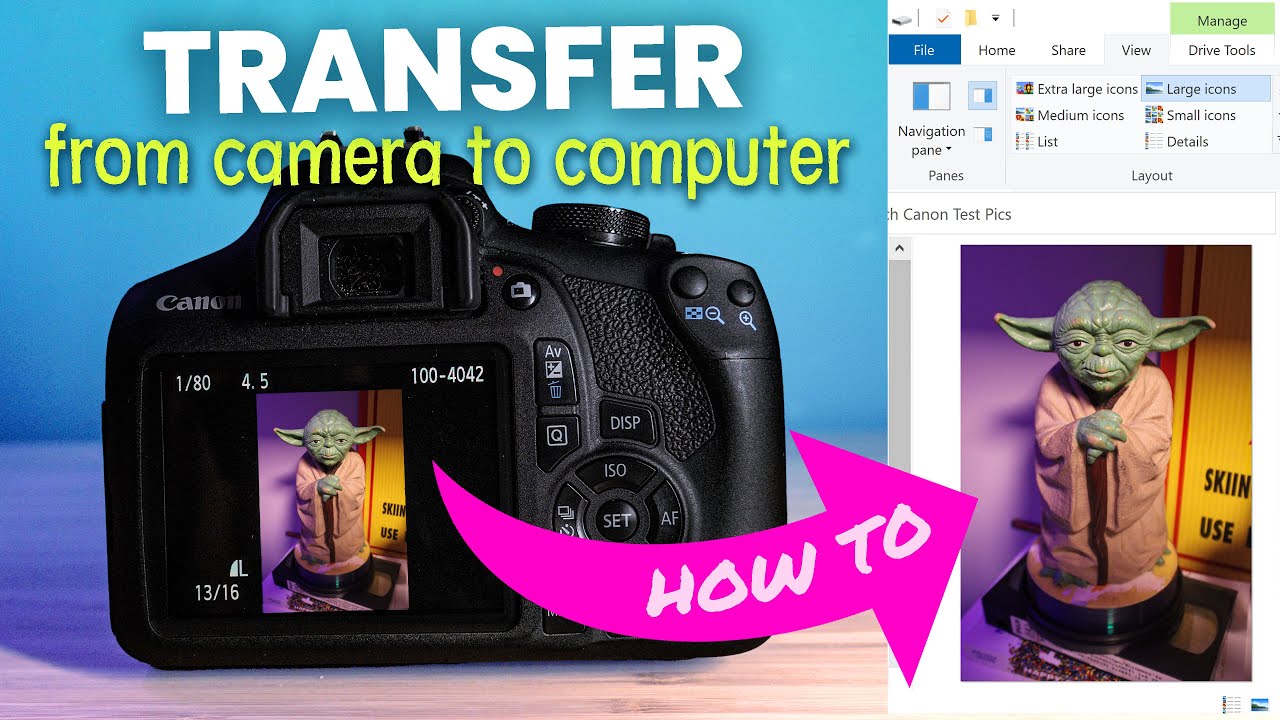
Connect your camera or SD card to your computer, then copy or import images using File Explorer, Photos, or Lightroom.
I’ve spent years moving thousands of photos from cameras to computers for clients and personal projects. This guide explains how to download photos from camera to computer step by step, with clear methods, troubleshooting, and real-world tips. You’ll learn USB transfers, SD card methods, wireless options, best import software, backup routines, and how to avoid common mistakes. Read on to save time and protect your images.
Common methods to download photos from camera to computer
There are four reliable ways to download photos from camera to computer. Each fits a different workflow and gear.
- Using the camera’s USB cable to connect directly to the computer.
- Removing the SD or memory card and using a built-in reader or external card reader.
- Wireless transfer via camera Wi‑Fi, Bluetooth, or camera maker apps.
- Importing with photo software such as Windows Photos, macOS Image Capture, or Adobe Lightroom.
Choose a method based on speed, convenience, and whether you want to keep folder structure or metadata intact. I typically use a card reader for speed and reliability when backing up many images.
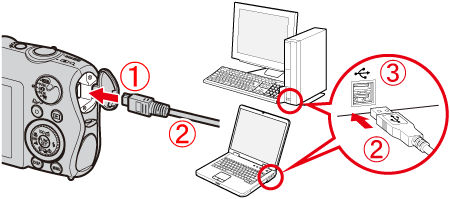
Method 1 — Use a USB cable to download photos from camera to computer
Connecting with a USB cable is quick for casual transfers and tethered shooting.
- Turn off the camera.
- Plug the camera into the computer using the supplied USB cable. Use USB 3.0 if your camera and computer support it.
- Turn the camera on. Set the camera’s USB mode to Mass Storage or PC Connect if prompted.
- On Windows: open File Explorer and find the camera under This PC. On Mac: open Finder or use Image Capture.
- Drag and drop the DCIM or image folders to a folder on your computer.
If you use tethered shooting software, the images can import automatically as you shoot. I use tethering for studio work because images appear instantly in Lightroom for quick review.
Method 2 — Use an SD card or card reader
Using the SD card is the fastest and most reliable way to download photos from camera to computer.
- Turn off the camera and remove the SD card.
- Insert the SD card into your computer’s card slot or an external card reader.
- On Windows: open File Explorer, then navigate to the card’s DCIM folder. On Mac: open Finder or Image Capture.
- Copy entire folders to your chosen folder on the computer to preserve file structure and metadata.
Card readers often beat USB cable speeds. When I rush transfers, I use a USB 3.0 card reader and copy files directly. If a card is locked, unlock the physical switch before copying.

Method 3 — Wireless transfer: camera Wi‑Fi, Bluetooth, and apps
Wireless transfer is handy when cords aren’t available or for quick social sharing, but it can be slower.
- Enable Wi‑Fi or Bluetooth on the camera and pair it with your computer or phone.
- Use the camera maker’s app or Wi‑Fi transfer software on your computer.
- Select photos on the camera or in the app and transfer to the computer or phone.
Wireless works well for small batches or when shooting on location. For large RAW files, I prefer wired transfers because wireless can drop or slow down with big files.

Method 4 — Importing with photo software (Photos, Image Capture, Lightroom)
Specialized import tools help with organization, previews, and metadata.
- Open your import app: Windows Photos, macOS Image Capture, or Adobe Lightroom.
- Connect the camera or card reader.
- Select the photos to import. Choose options like adding keywords, applying presets, or making copies.
- Set a destination folder and click Import.
Lightroom offers powerful batch renaming and cataloging. I use Lightroom when I plan edits and want consistent naming and backup during import.
Organizing and backing up after you download photos from camera to computer
Good organization saves time and prevents loss.
• Use a clear folder structure such as Year/Month/Event to find images fast.
• Rename files on import with a consistent pattern like YYYYMMDD_Event_###.
• Keep RAW and JPG in separate folders if needed.
• Create at least one backup: external drive, cloud service, or both.
• Use software that preserves metadata and folder structure.
My workflow: import to a working drive, then mirror to a RAID or cloud. I learned the hard way to always keep a second copy offsite.

Troubleshooting common issues when you download photos from camera to computer
Camera not showing? Try simple fixes first.
• Camera not recognized: check the USB cable, switch the USB mode on the camera, or use a card reader.
• Slow transfers: use a USB 3.0 cable/port or a fast UHS-II card and reader.
• Missing files: check hidden folders and ensure camera didn’t store files in a proprietary folder.
• Corrupt files: stop using the card and run recovery tools only if necessary; avoid writing to the card.
If drivers fail on Windows, update the camera driver or try another computer. I once fixed a recognition problem by switching USB ports and changing the camera to Mass Storage mode.

Tips for faster, safer transfers
Small adjustments make transfers faster and safer.
• Use fast SD cards (UHS-I or UHS-II) for quick write and read speeds.
• Prefer card readers and USB 3.0 ports for bulk transfer.
• Format the card in the camera after backing up to avoid leftover file fragments.
• Disable auto-delete in import software to keep originals until backup is verified.
• Label drives and keep a simple backup schedule.
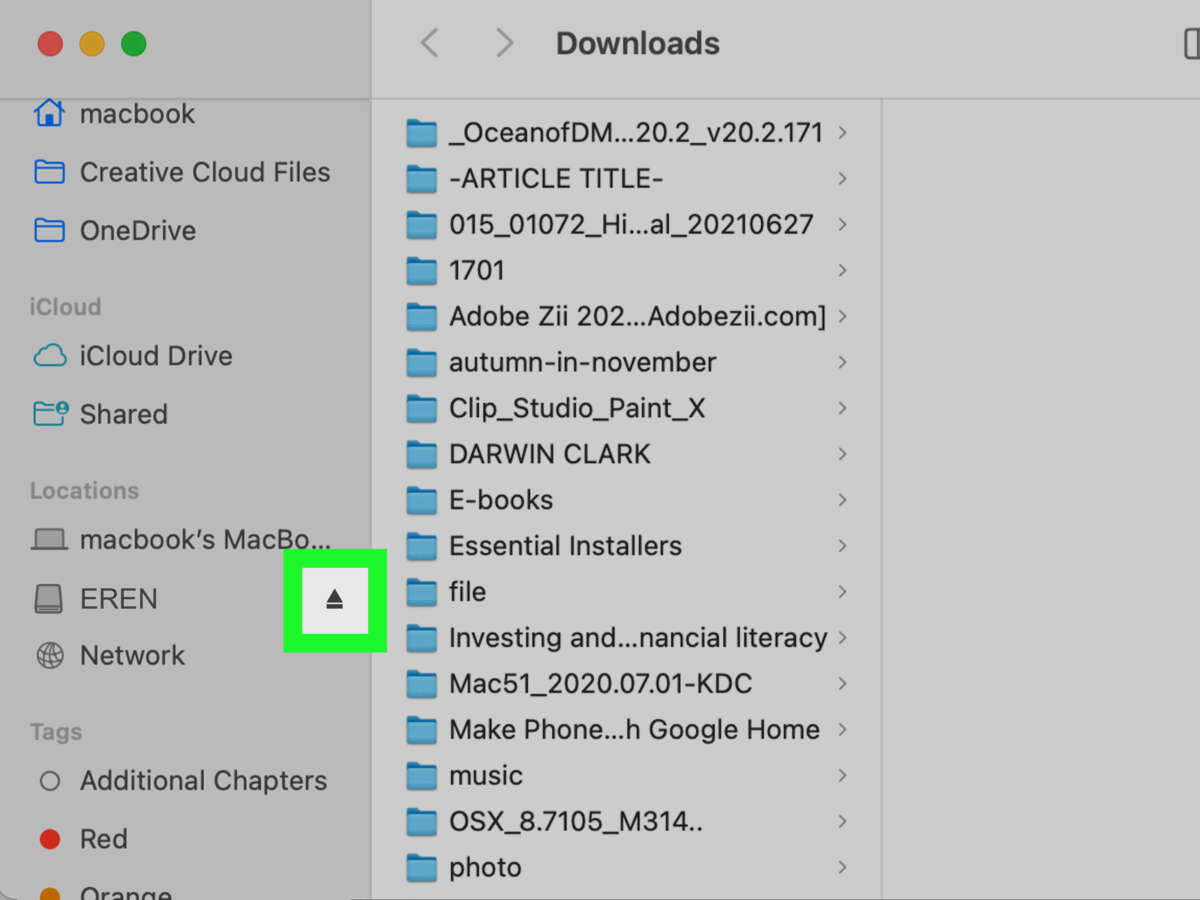
Avoid ejecting a card while copying. One bad eject cost me a shoot’s images once; since then I always verify the copy and then format in camera.
Frequently Asked Questions of how to download photos from camera to computer
How do I download photos from camera to computer using Windows Photos?
Connect your camera or insert the SD card. Open Windows Photos, click Import, choose From a USB device, select the photos, and click Import Selected.
Can I download photos from camera to computer without a cable?
Yes. Use the camera’s Wi‑Fi or Bluetooth and the maker’s app, or remove the SD card and use a card reader with your computer.
Will transferring photos delete them from my camera?
Not automatically. Most import tools copy files by default. Some apps give an option to delete after import—only use that after you confirm a safe backup.
What’s faster: USB cable or card reader?
A card reader is often faster. Use a USB 3.0 card reader and a UHS-II card for the quickest transfers.
How do I import RAW files correctly to Lightroom?
Connect the camera or card, open Lightroom’s Import dialog, choose Add or Copy, check metadata and destination settings, then click Import. Always verify files finished copying before editing.
My camera won’t connect to my computer. What should I do?
Try a different USB cable and port, switch the camera’s USB mode, use a card reader, and restart both devices. Updating drivers or firmware can also fix connection issues.
Conclusion
Downloading photos from camera to computer is simple once you pick the method that fits your gear and workflow. Use a card reader for speed, USB for convenience, and wireless for quick sharing. Always organize files on import and maintain at least one reliable backup. Start today by testing one method and creating a short backup plan — then keep refining your workflow for faster, safer transfers. Share your experiences below or subscribe to get more practical photo and workflow tips.

Everett Ashford is a tech reviewer at mytechgrid.com specializing in SSDs, cameras, TVs, earbuds, headphones, and other consumer electronics. He provides honest, data-driven reviews based on hands-on testing and real-world performance analysis. Everett simplifies complex tech details to help readers make smart, confident buying decisions.