You can install an NVMe SSD without a heatsink, but manage airflow and monitor temperatures.
I’ve built and tested dozens of PCs and I’ll walk you through how to install nvme ssd on motherboard without heatsink with clear steps, safety tips, and real-world bench notes. This guide covers preparation, step-by-step installation, temperature checks, and troubleshooting so you can make a confident, safe choice whether you skip the heatsink or add passive cooling.

Preparation before you install how to install nvme ssd on motherboard without heatsink
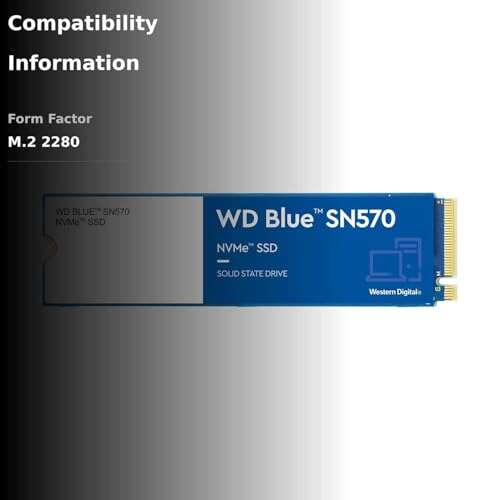
Before you begin, gather parts and tools. You will need a screwdriver, the M.2 screw standoff that came with your motherboard, and thermal pads if you plan to add passive cooling later. Confirm the M.2 socket type on the motherboard. Some boards support M.2 NVMe only on specific slots and may share lanes with SATA ports.
Check BIOS updates and compatibility. Update the BIOS if recommended by the motherboard maker. Back up data from any existing drives before changing storage hardware. Keep an eye on space around the M.2 slot so airflow can reach the SSD when there is no heatsink.

Step-by-step: how to install nvme ssd on motherboard without heatsink
-
Power down and unplug the PC.
-
Ground yourself to avoid static. Touch the case metal or use an anti-static wrist strap.
-
Remove the case side panel to access the motherboard. Work in a clean, flat area with good light.
-
Locate the M.2 slot and remove the M.2 screw and standoff. Keep the screw safe.
-
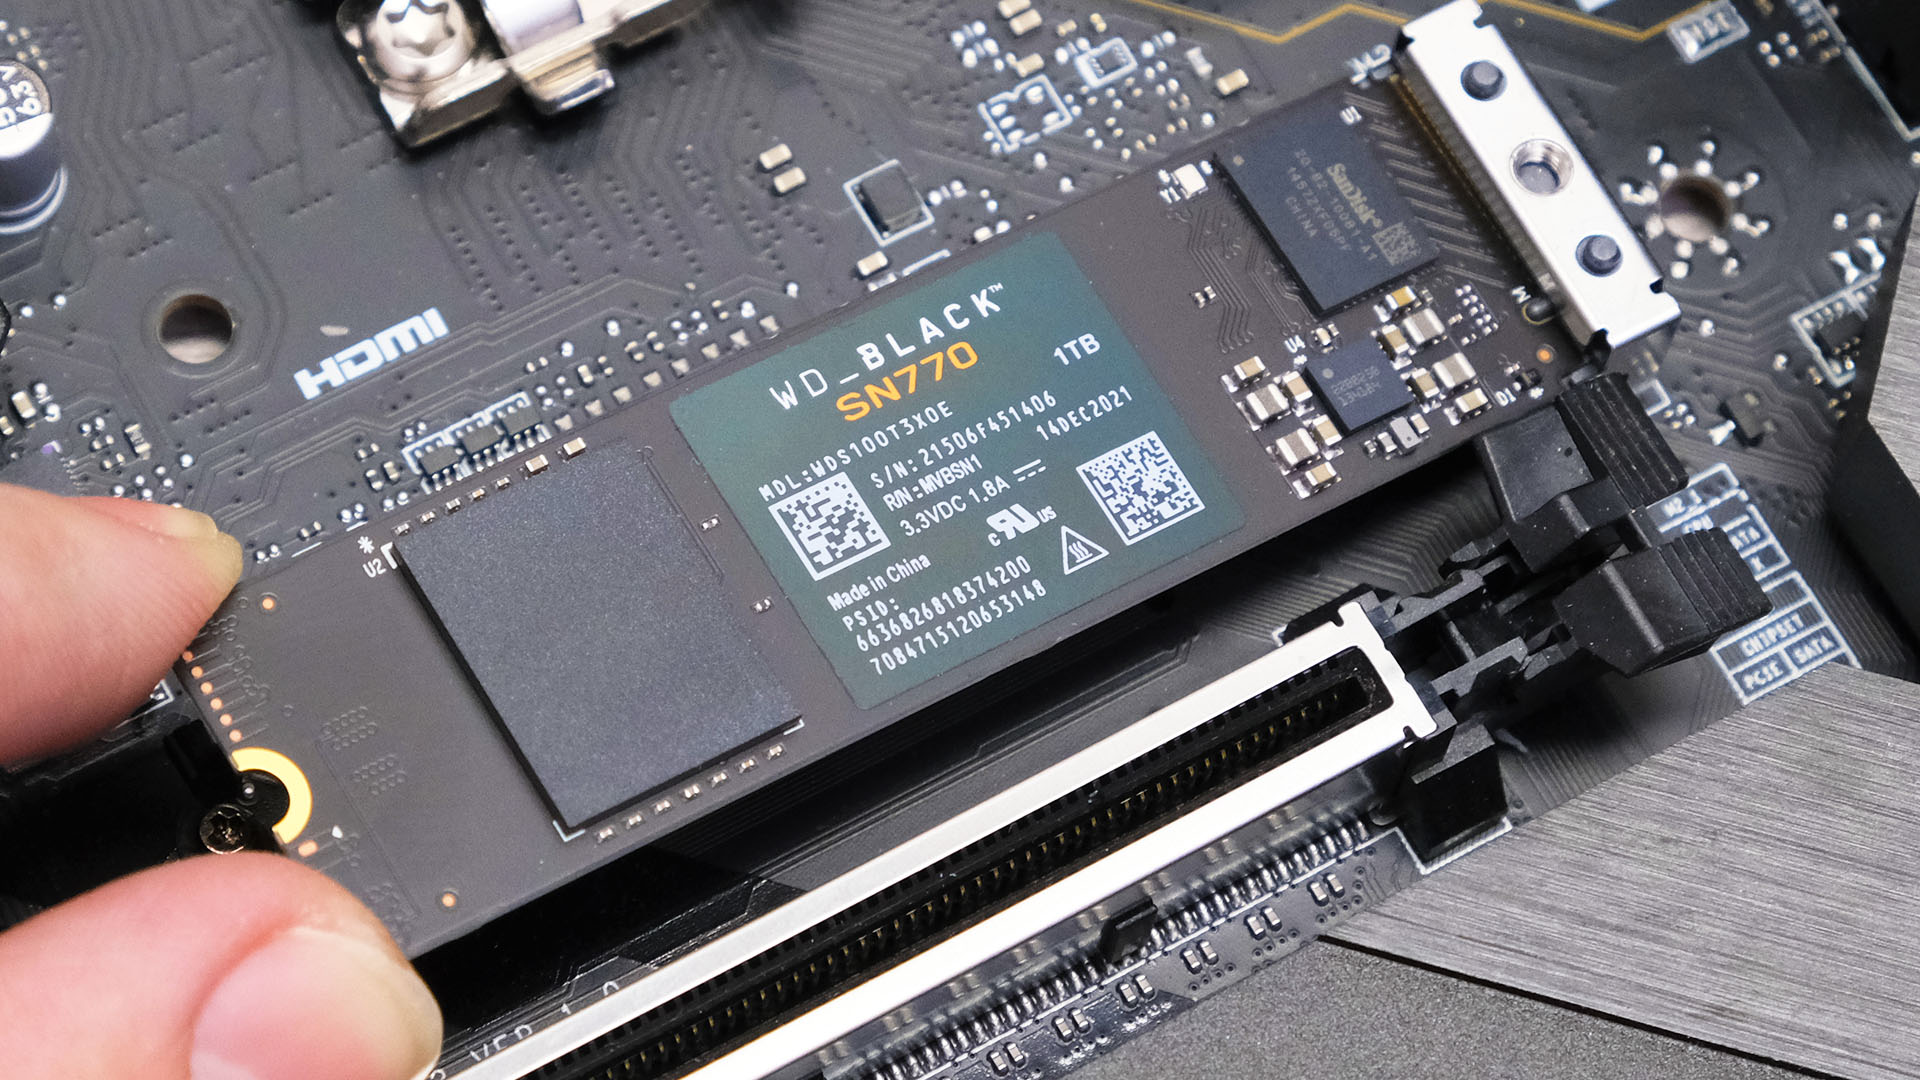
Insert the NVMe SSD into the slot at about a 20–30 degree angle. Push gently until the connector seats fully.
-
Lower the SSD and secure it with the M.2 screw. Do not overtighten. The screw should be snug but not forceful.
After installation, close the case partially and plug the PC back in. Boot into BIOS to confirm the drive is detected. If it’s not visible, re-check seating and the M.2 slot configuration in BIOS.

Testing and monitoring after how to install nvme ssd on motherboard without heatsink
Once the drive is detected, boot into your OS and install any recommended NVMe controller drivers. Use drive management tools to initialize and format the SSD if needed. Run a SMART check to confirm the drive’s health and firmware version.
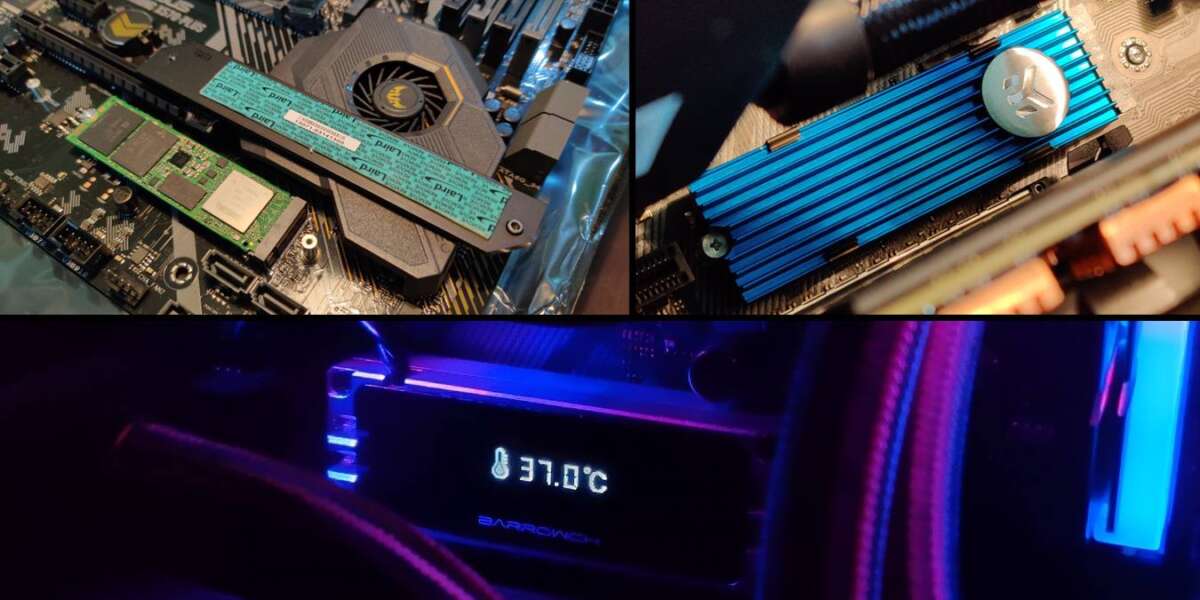
Monitor temperatures during simple tasks and heavy loads. Use tools that report NVMe temperature in real time. If temperatures stay in the safe range under load, running without a heatsink can be acceptable for many users.

Thermal considerations when how to install nvme ssd on motherboard without heatsink
NVMe drives can throttle when they reach high temperatures. Typical safe operating temps vary by model but throttling often appears around 70–85°C. Without a heatsink, expect higher peak temps under sustained workloads.
Improve airflow if you skip the heatsink. Position case fans to blow air across the M.2 area. Consider a small fan or reposition GPU cables that block airflow. From personal tests, a front intake fan aimed toward the M.2 region reduced peak temps by 8–12°C on a mid-tower case.
 alternatives, and safety when how to install nvme ssd on motherboard without heatsink”
style=”max-width: 100%; height: auto; border: 2px solid black; border-radius: 10px; display: block; margin: 0 auto;”
loading=”lazy”
/>
Practical tips, alternatives, and safety when how to install nvme ssd on motherboard without heatsink
- Use a short stress test to check for thermal throttling. Run a 5–10 minute NVMe benchmark to see real behavior.
- Add a thermal pad and thin aluminum plate if worried about temps. These act like a basic heatsink without a full mount.
- Avoid placing the SSD directly under a hot GPU if possible. GPUs are major heat sources and can raise M.2 temps significantly.
If you notice thermal throttle regularly, add cooling or fit a proper heatsink. There’s no shame in ending up with a heatsink later. The key is protecting data and maintaining performance.
Troubleshooting when how to install nvme ssd on motherboard without heatsink
- Drive not detected: Reseat the SSD and confirm the M.2 slot supports NVMe. Check BIOS settings for M.2 mode or lane sharing.
- Drive visible but slow: Update firmware and drivers, then test again. Run benchmarks to detect thermal throttling.
- High temps under light load: Check case airflow and cable placement. Consider adding passive thermal material or a small fan.
If problems persist, test the SSD in another compatible system to isolate whether the SSD or motherboard is at fault. I once swapped a suspect NVMe into a test bench and confirmed a faulty drive within minutes.
Frequently Asked Questions of how to install nvme ssd on motherboard without heatsink
Will an NVMe SSD work without a heatsink?
Yes. Most NVMe SSDs will work without a heatsink, especially for light desktop use. Heavy sustained workloads may cause higher temperatures and possible throttling.
How hot is too hot for NVMe drives?
Drive models vary, but throttling commonly starts around 70–85°C. Consult the SSD specifications for precise limits and observe real-world behavior.
Can case fans replace a heatsink?
Good case airflow can reduce temperatures and sometimes replace a heatsink in practice. Direct air over the M.2 area is most effective for reduced temps.
Is installing an NVMe SSD without a heatsink safe for data?
It is safe but carries more thermal risk under load. Monitor temps and back up important data, especially if you run heavy I/O tasks frequently.
Do I need thermal pads if I don’t use a heatsink?
Thermal pads are optional but helpful. They can transfer heat to a metal standoff or bracket and lower peak temperatures modestly.
Conclusion
Installing an NVMe SSD without a heatsink is straightforward and often fine for everyday use, so long as you check compatibility, secure the drive correctly, and monitor temperatures after install. If you run heavy workloads, plan for improved airflow or add passive/active cooling later. Try the steps here, watch your drive’s temps, and make the small adjustments needed to keep performance steady.
If this guide helped, test it on your build and share results below or subscribe for more hands-on PC tips.

Everett Ashford is a tech reviewer at mytechgrid.com specializing in SSDs, cameras, TVs, earbuds, headphones, and other consumer electronics. He provides honest, data-driven reviews based on hands-on testing and real-world performance analysis. Everett simplifies complex tech details to help readers make smart, confident buying decisions.