You can install an SSD without an extra power cable by using an M.2 slot or an existing SATA power connector.
I’ve installed dozens of SSDs in desktops, both M.2 NVMe drives and 2.5" SATA drives. This guide explains how to install SSD in desktop without extra power cable. I’ll show clear steps, real-world tips, and troubleshooting so you finish fast and safely. Read on to learn the best method for your PC and avoid common mistakes.
Why choose to install SSD in desktop without extra power cable
Installing an SSD without an extra power cable keeps your build tidy and avoids buying adapters. Many modern motherboards and PSUs already give what you need. M.2 NVMe drives draw power from the motherboard slot, so no separate power lead is needed. A 2.5" SATA SSD only needs the standard SATA power connector that typically comes from the PSU. Knowing these differences helps you pick the easiest route for your system.
I prefer M.2 for clean installs. I’ve used 2.5" SATA drives when backups or budget mattered. Both work well; the right choice depends on your motherboard, case, and what cables you already have.

What you need before you start installing SSD in desktop without extra power cable
Prepare a short parts list and check compatibility. This saves time and prevents surprises.
- SSD type
- M.2 NVMe or SATA M.2: no separate power cable required.
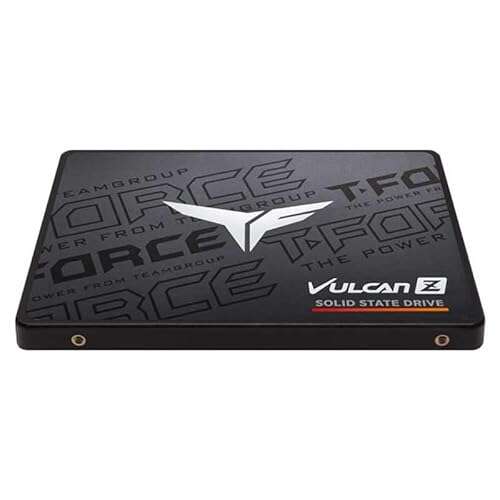
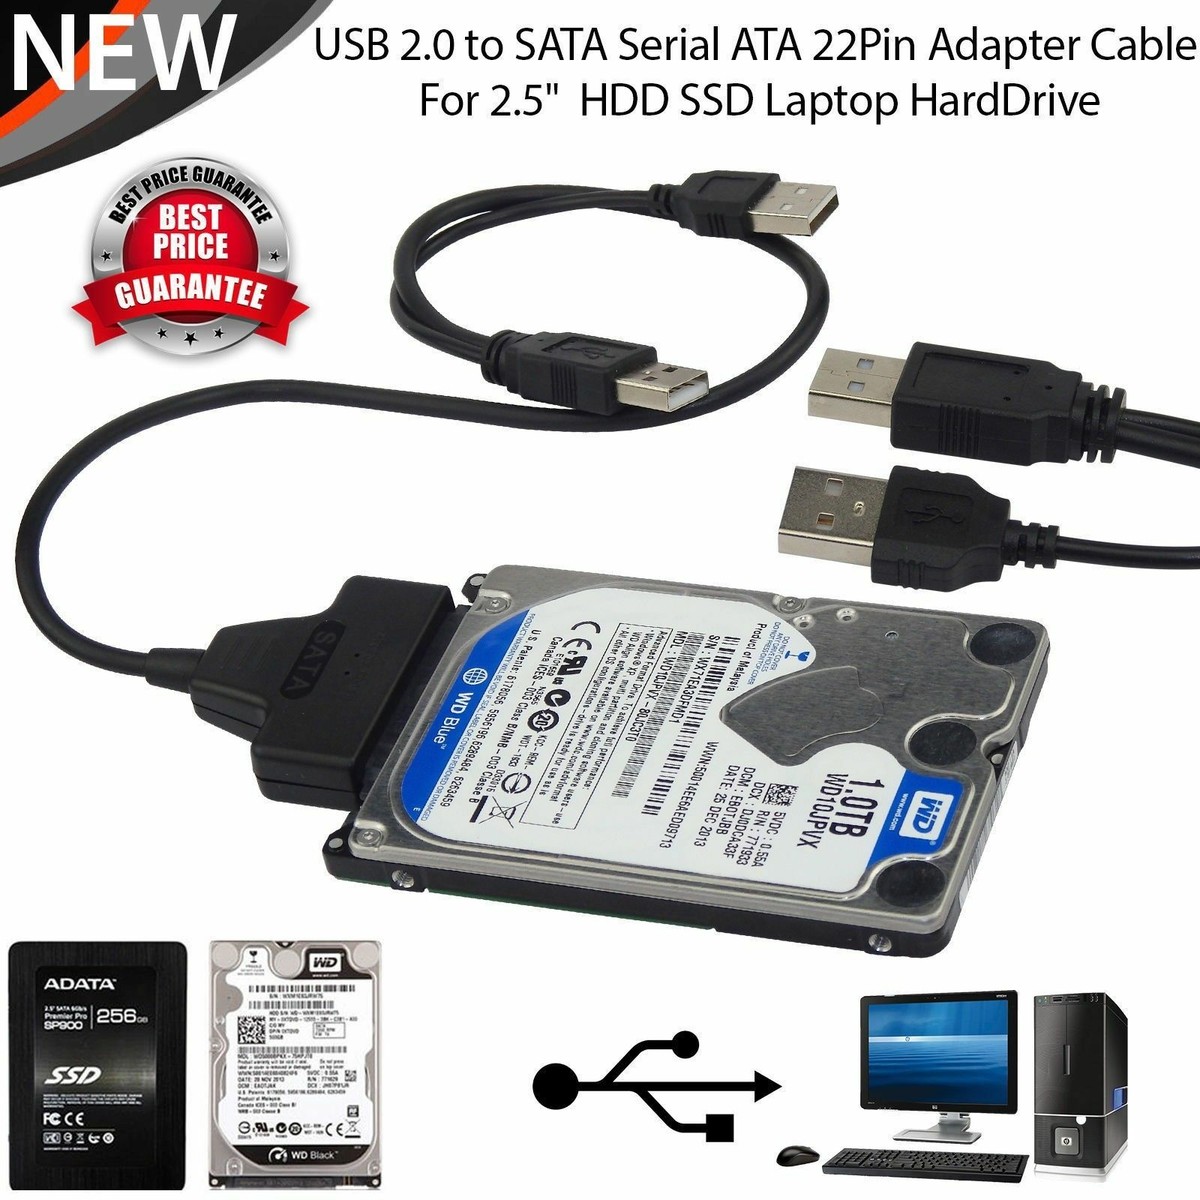
- 2.5" SATA SSD: needs a SATA power connector from the PSU.
- Tools and parts
- Small Phillips screwdriver.
- SATA data cable (for 2.5" SATA).
- Mounting bracket or bay adapter if your case lacks a 2.5" slot.
- Anti-static wrist strap or ground yourself by touching the case.
- Checks to run first
- Open the case and look for an unused SATA power cable. If one exists, you can install a 2.5" SATA SSD without extra purchase.
- Check motherboard for an M.2 slot. If present, an M.2 SSD lets you install an SSD in desktop without extra power cable.
- Confirm BIOS supports NVMe boot if you plan to use an M.2 as a boot drive.
From my experience, checking for an M.2 slot first saves the most time and cable clutter.
Step-by-step: how to install ssd in desktop without extra power cable
Below are two clear workflows: one for M.2 (no power cable) and one for 2.5" SATA using existing PSU power.
M.2 NVMe installation (no extra power cable)
- Power off your PC and unplug it. Press the power button for a few seconds to discharge residual power.
- Open the case side panel and ground yourself.
- Locate the M.2 slot on the motherboard. It’s a small socket, typically near the CPU or PCIe slots.
- Remove the M.2 standoff screw. Insert the M.2 SSD at a 20–30 degree angle into the slot.
- Gently press the drive down and secure it with the small screw. Do not overtighten.
- Close the case, boot to BIOS, and confirm the drive is detected. Enable NVMe or set boot order if needed.
- Initialize the drive in Windows Disk Management or your OS installer.
2.5" SATA SSD installation using existing PSU power (no new cable)
- Power off and unplug your PC. Discharge any static.
- Open the case and find an empty 2.5" bay or 3.5" adapter where the SSD will mount.
- Slide the SSD into the bay or attach to the adapter and secure with screws.
- Connect a SATA data cable from the motherboard SATA port to the SSD.
- Locate an unused SATA power connector from your PSU. Connect it to the SSD power port. If you already have a spare SATA power plug in the case, you need no extra power cable.
- Close the case, boot to BIOS, and verify the drive is detected. Initialize or clone as required.
Cloning or fresh OS install
- If replacing a boot drive, decide whether to clone or reinstall. Cloning transfers everything. A fresh install is cleaner.
- Use reputable cloning software and follow on-screen steps. After cloning, set the new SSD as the primary boot device in BIOS.
These steps let you install SSD in desktop without extra power cable in most setups. If your PSU has no spare connector, consider whether an M.2 upgrade or using an available Molex to SATA adapter shipped with some hardware is possible.

Troubleshooting and tips when you install ssd in desktop without extra power cable
Common problems are usually easy to fix. Here’s how I resolve them.
- SSD not detected in BIOS
- Check the SATA data and power connections. Re-seat the cables.
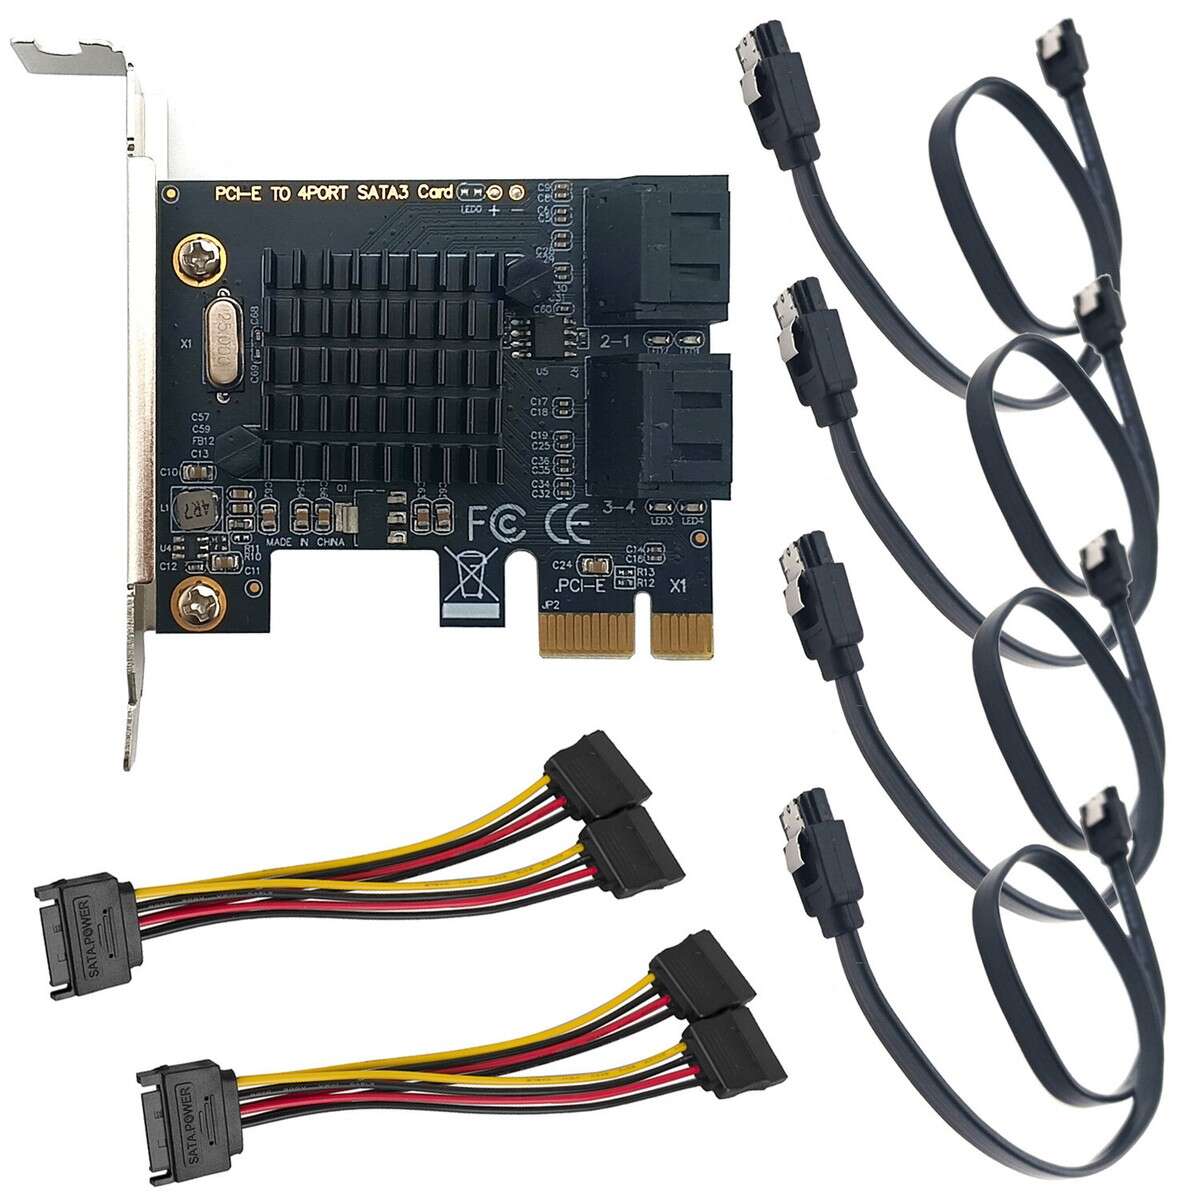
- For M.2, ensure the slot supports the drive type (NVMe vs SATA M.2). Some M.2 slots share lanes with SATA ports and disable them.
- Drive detected but not visible in OS
- Initialize and format the disk in Disk Management. Make sure the partition table (GPT vs MBR) suits your boot method.
- Boot issues after cloning
- Confirm boot order in BIOS. Set the SSD as first boot device. If UEFI/Legacy mismatch occurs, switch BIOS mode accordingly.
- Avoiding extra cables
- Use an M.2 drive if you want zero power cables.
- Check for hidden PSU connectors behind drive cages; some PSUs bundle extra SATA plugs on a single cable.
- Safety tips
- Always reconnect power and test before closing the case fully.
- Update motherboard BIOS and SSD firmware if problems persist.
People also ask
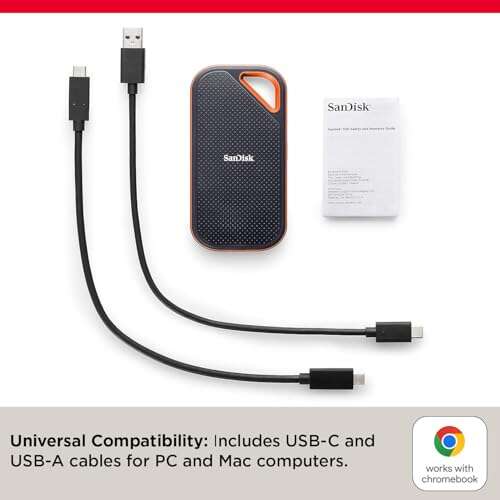
- Can I install an SSD without a SATA power cable? Yes, if you use an M.2 NVMe drive or have an unused SATA power connector from the PSU.
- Will an M.2 SSD affect other SATA ports? Some motherboards disable certain SATA ports when an M.2 slot is active; check your manual.
These checks have saved me from repeated case openings when I first learned how to install ssd in desktop without extra power cable.

Performance and compatibility when you install ssd in desktop without extra power cable
Understanding interfaces and limits avoids disappointment.
- Speed expectations
- NVMe M.2 drives are much faster than SATA SSDs. Expect several times higher sequential read/write on NVMe.
- 2.5" SATA SSDs are still a huge upgrade over HDDs and provide reliable performance for most users.
- Motherboard compatibility
- Confirm the M.2 slot supports NVMe if you want PCIe speeds. Some support only SATA M.2.
- Check for M-key vs B-key; most NVMe drives use M-key.
- Power and thermal notes
- M.2 drives draw power from the motherboard. They can run warmer; some boards include heatsinks.
- SATA SSD power draw is low compared to HDDs, so standard PSU connectors handle it easily.
- Firmware and drivers
- Keep SSD firmware current for performance and reliability. Use manufacturer tools when needed.
- Limitations
- If your PSU truly lacks spare SATA power connectors and your motherboard lacks M.2, you may need an adapter or cable purchase.
These points will help you pick the right path when you decide how to install ssd in desktop without extra power cable.

Frequently Asked Questions of how to install ssd in desktop without extra power cable
How can I install an SSD without buying another power cable?
If your motherboard has an M.2 slot, use an M.2 SSD. For 2.5" SSDs, look for an unused SATA power connector from the PSU; use that instead of buying new cables.
Will an M.2 SSD require any power cable?
No. M.2 SSDs draw power from the motherboard slot, so they do not need a separate power cable.
My desktop has no spare SATA power connectors. What can I do?
Check for a free M.2 slot. If none exists, consider a Molex-to-SATA adapter only if your PSU has spare Molex connectors. Otherwise, you may need to buy a short SATA power splitter or cable.
Is a 2.5" SATA SSD faster than my HDD?
Yes. 2.5" SATA SSDs are much faster than mechanical HDDs in read/write speed and access time, though they are slower than NVMe M.2 drives.
Will installing an SSD without extra cables damage my system?
No, provided you use compatible connectors and secure the drive properly. Avoid forcing connectors and ensure the PSU cable you use is in good condition.
Conclusion
Installing an SSD without extra power cable is simple when you pick the right drive and check your system first. Use an M.2 NVMe drive for the cleanest install, or use an existing SATA power connector for 2.5" SSDs. Test detection in BIOS, set boot order, and initialize the drive in your OS. Try the steps above, and you’ll finish quickly and safely.
If this helped, try the install and share your experience below. Subscribe or comment for more step-by-step PC upgrade guides.

Everett Ashford is a tech reviewer at mytechgrid.com specializing in SSDs, cameras, TVs, earbuds, headphones, and other consumer electronics. He provides honest, data-driven reviews based on hands-on testing and real-world performance analysis. Everett simplifies complex tech details to help readers make smart, confident buying decisions.