Replacing Bose headphone cushions is simple: remove the old pads, clean the frame, and snap or glue new pads in place.
I’ve spent years fixing headphones and teaching others how to replace Bose headphone cushions safely and correctly. In this guide I share clear steps, model-specific tips, and real-world tricks I learned working on QC35, QC45, and 700 series headphones so you can get a snug fit and fresh comfort fast. Read on to master how to replace bose headphone cushions with confidence and avoid common mistakes.
Why replace your Bose headphone cushions?
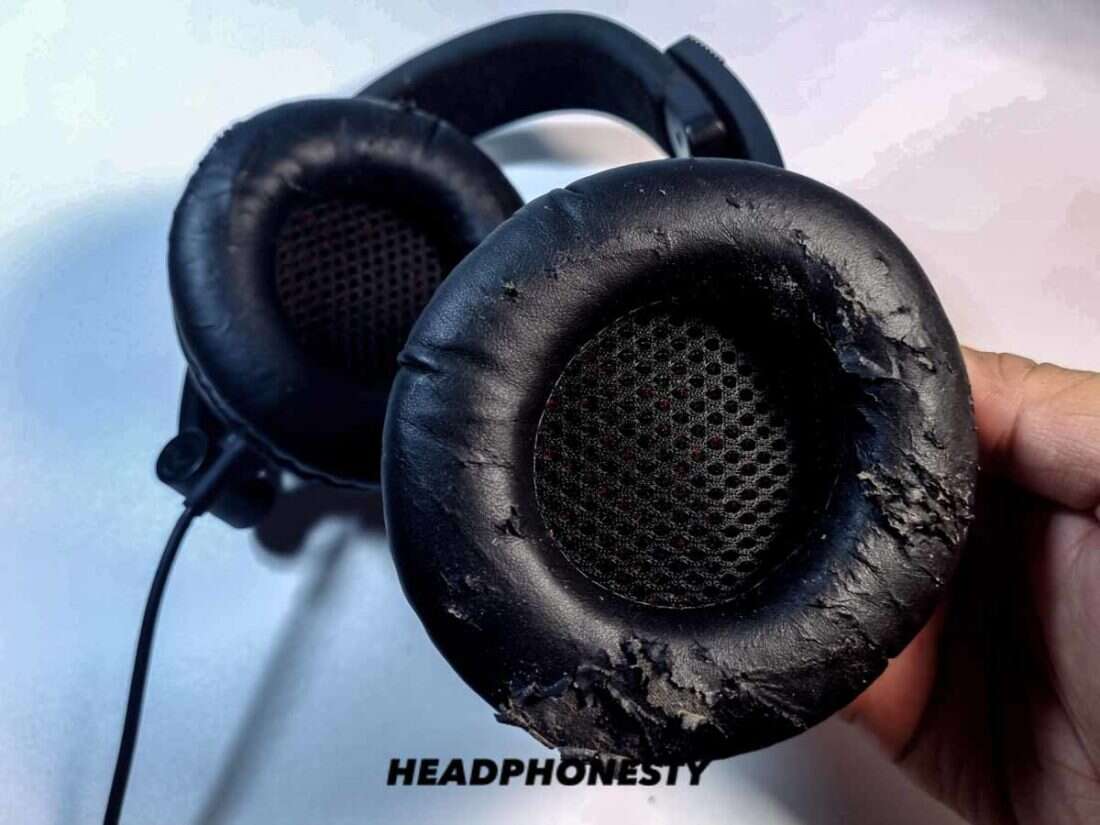
Worn cushions hurt comfort and change sound. Old foam flattens and the leather or fabric cracks. Replacing cushions restores fit, sound isolation, and hygiene. Knowing how to replace bose headphone cushions saves money and extends the life of your headphones.

Tools and parts you’ll need
Use simple tools and the right parts to make the job clean and safe.
- Replacement cushions that match your model and earcup size.
- Small flat plastic pry tool or guitar pick to lift edges.
- Precision screwdriver set for models with screws.
- Isopropyl alcohol wipes and microfiber cloth for cleaning.
- Double-sided audio-safe adhesive or adhesive rings if required.
- Tweezers for removing small clips or foam pieces.
- A soft tray to keep screws and rings organized.

Step-by-step: how to replace bose headphone cushions
Below is a broad step-by-step process that covers most Bose over-ear and on-ear models. If your model is newer or unusual, check model-specific notes in the steps.
- Prepare the workspace
- Work on a clean, flat surface with good light.
- Power off and disconnect any cables.
- Identify how the cushion attaches
- Look for a visible seam, snap ring, zipper, or hidden screws.
- Most Bose models use a plastic retaining ring or snap-on rim.
- Remove the old cushion
- Gently pull the cushion away from the cup edge. Use a plastic pry tool or pick to lift the inner lip if it’s snug.
- If there’s a retention ring, rotate or unclip it gently and set it aside.
- For glued cushions, work slowly to avoid tearing the cup fabric. Heat from a hair dryer on low can soften old adhesive.
- Clean the earcup frame
- Remove leftover foam, adhesive, or lint with tweezers.
- Wipe the frame with an isopropyl alcohol wipe, then dry with a microfiber cloth.
- Inspect the speaker and wiring
- Look for loose wires or visible damage. If you see issues, stop and take photos before proceeding.
- Fit the new cushion
- Align the new cushion so the seam matches the headphone bottom or any port cutouts.
- If the cushion uses a snap ring, seat the cushion lip into the rim and snap the ring back in place.
- For zipper-style pads, zip carefully until the seam hides under the cup edge.
- For adhesive pads, apply audio-safe double-sided adhesive to the frame, press the pad in place, and hold for the recommended cure time.
- Test fit and comfort
- Put on the headphones and check alignment, seal, and comfort.
- Play audio to confirm no change in sound or unwanted rattles.
Model-specific tips
Bose QC35 and QC35 II
These models use a snap-in ring inside the pad. Pry the inner lip out, remove the ring then push the new pad’s lip under the ring and snap it back.
Bose QC45
The QC45 pads fit similarly to QC35. The outer leather lip tucks into the plastic housing. Work slowly to avoid tearing.
Bose Noise Cancelling Headphones 700
Headphones 700 can use adhesive or a ring depending on the pad brand. If your pads have a zipper, use it; otherwise use adhesive strips.
How to replace bose headphone cushions properly depends on the attachment style. Take time to inspect before pulling hard.

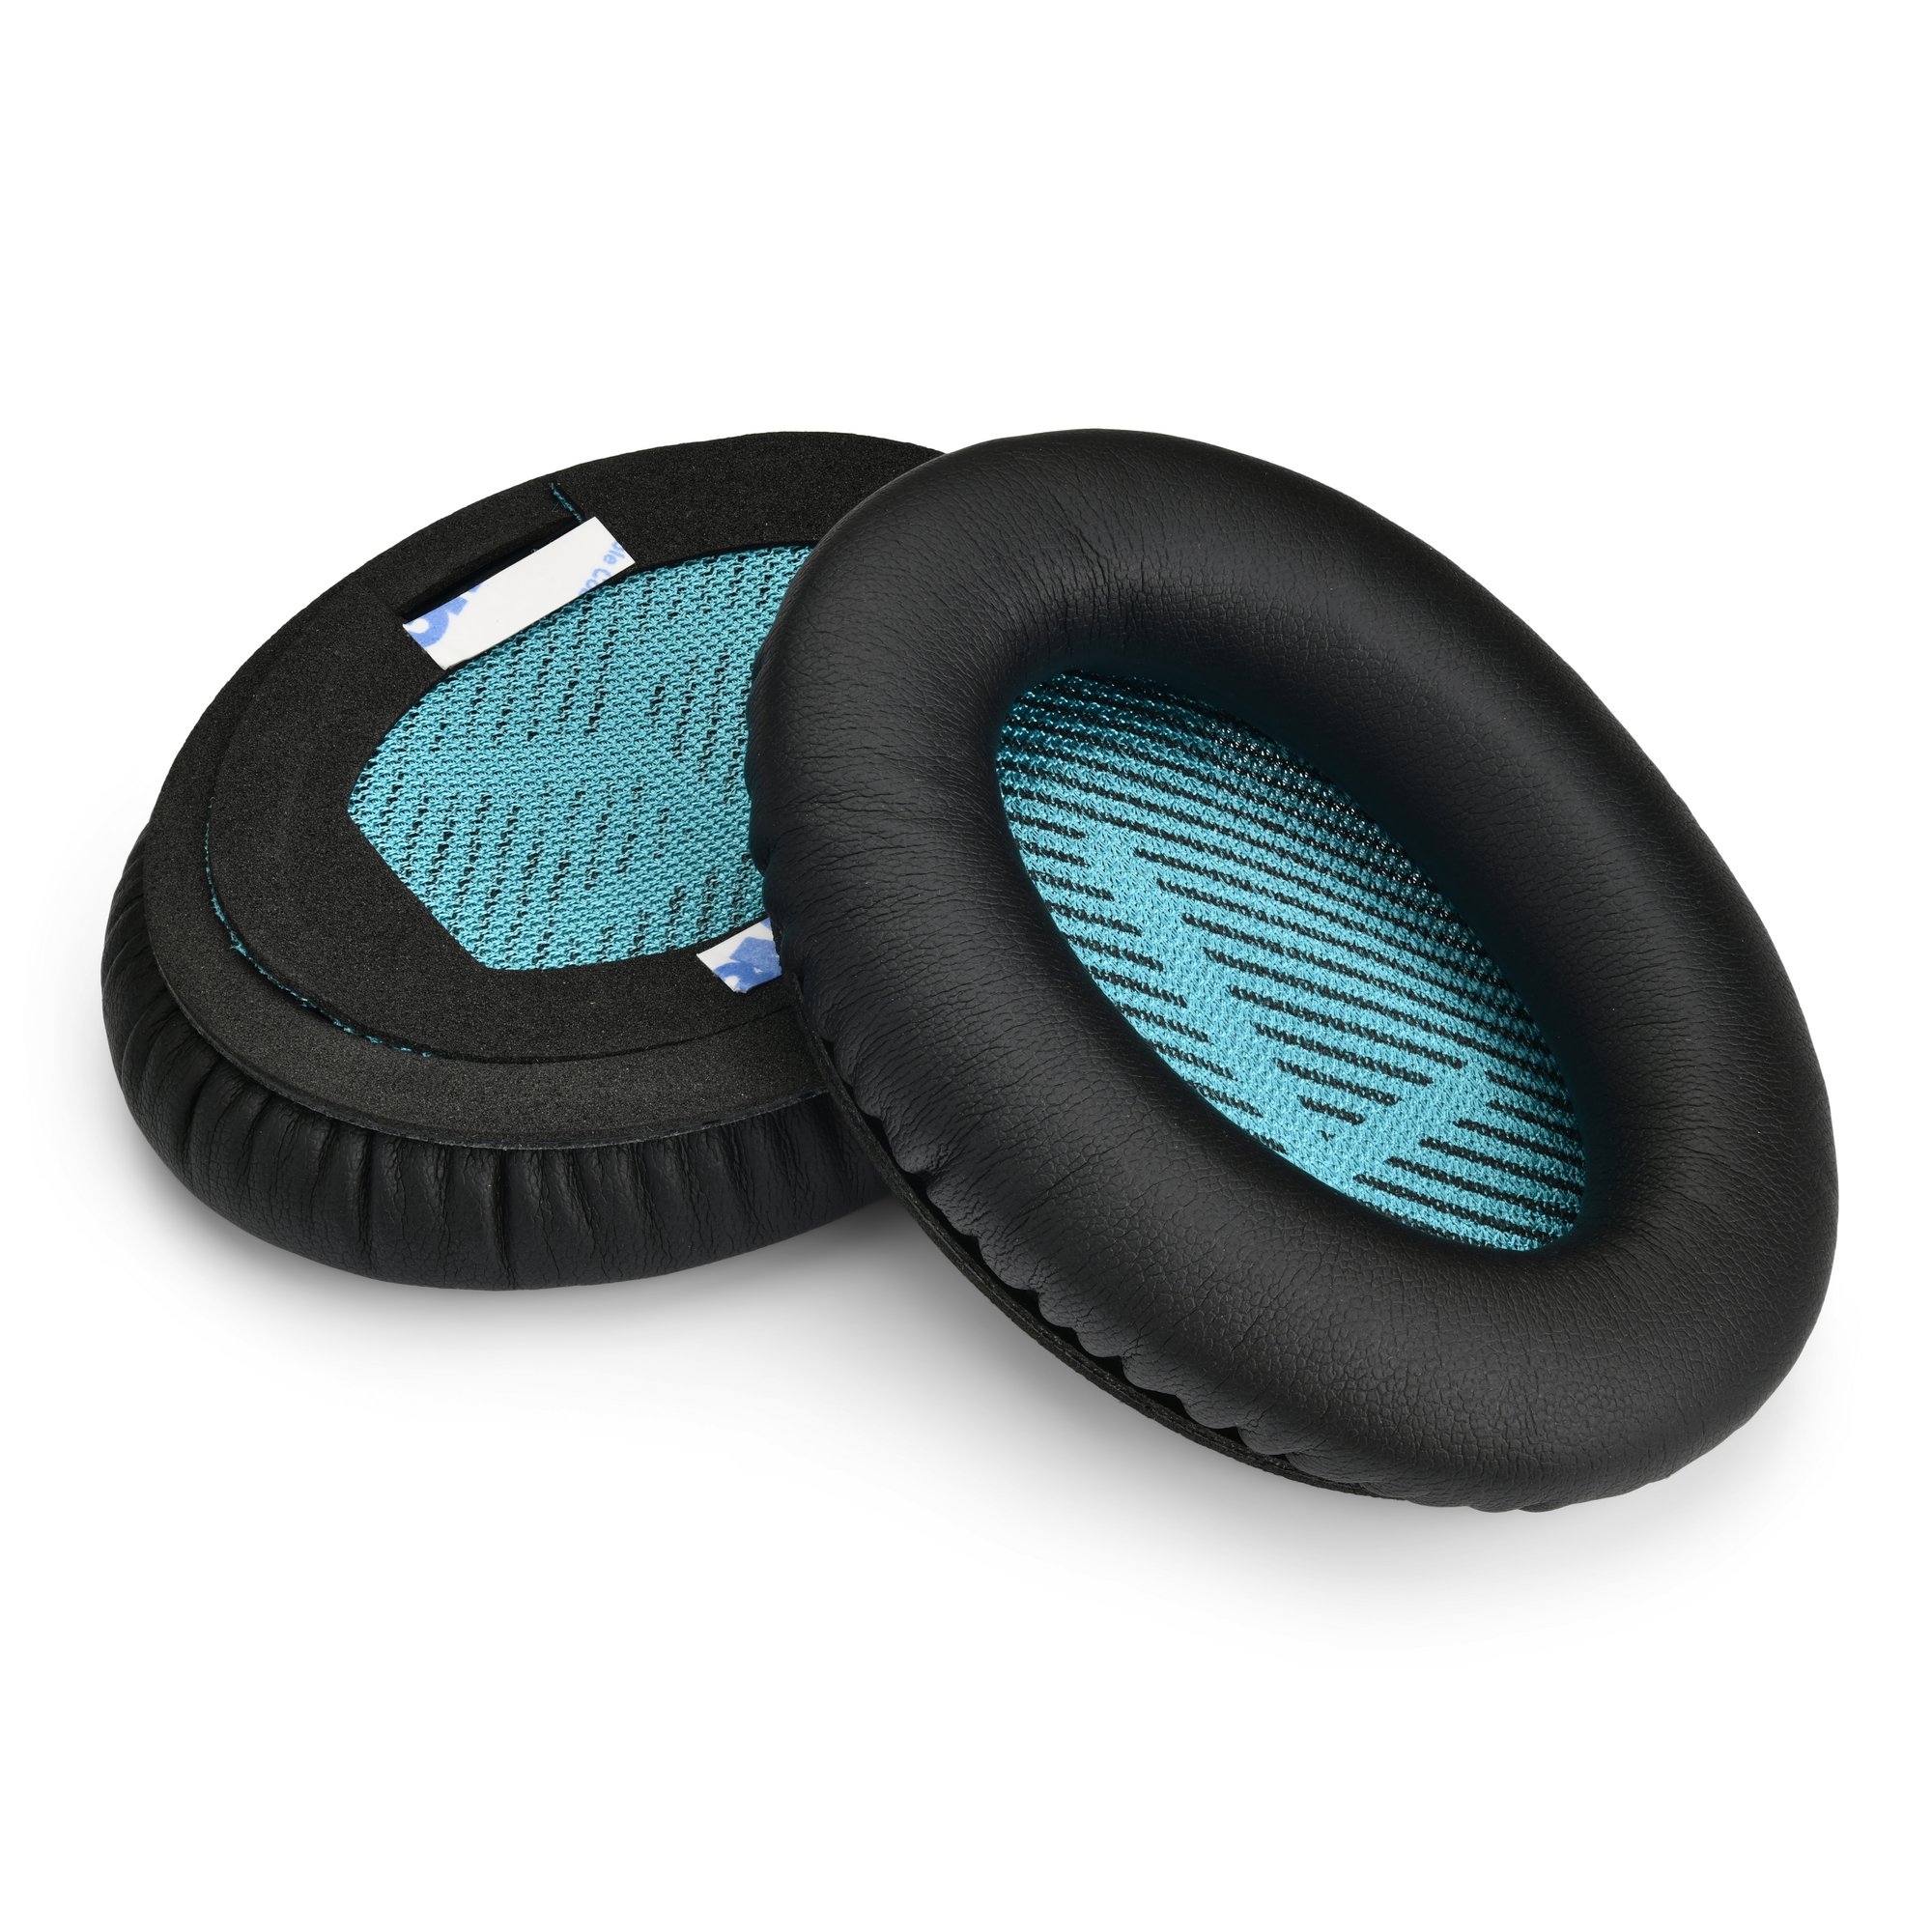
Choosing replacement cushions: OEM vs third-party
Picking the right pads makes a big difference in comfort and sound.
- OEM pads: Match original materials and fit. Higher cost but safest for fit and warranty concerns.
- Third-party pads: Cheaper and wider material choices. Read reviews for fit and durability.
- Material choices: Leather-like PU for seal and bass, velour for breathability and comfort, memory foam for long wear.
- Fit and thickness: Thicker pads change earcup distance from drivers and can slightly alter sound. Choose pads designed for your Bose model for best results.
I once swapped QC35 leather pads for velour. Comfort improved but bass felt a bit looser. That taught me to consider sound as well as comfort when choosing pads.

Troubleshooting and expert tips
Common problems and quick fixes when you replace cushions.
- Pad won’t snap in
- Check for hidden tabs or orientation marks. Warm the pad slightly to make the lip more flexible.
- Sound quality changes
- Ensure pads are seated evenly. Different pad materials change perceived bass and soundstage.
- Microphone or sensor issues
- Re-check wiring and routing inside the cup. Make sure no fabric blocks sensors.
- Crumbling foam
- Remove all foam debris before installing new pads. Use a vacuum or tweezers for small bits.
- Loose fit after replacement
- Add a thin adhesive foam ring or use a different brand designed for a tighter fit.
My top tip: take photos during disassembly. Photos make reassembly painless and prevent misplaced pieces.

Maintenance: keep cushions fresh longer
A little care prevents early wear and keeps your headphones comfy.
- Rotate and air-dry pads after heavy use.
- Wipe pads weekly with a damp cloth or alcohol wipe for sweat and oil.
- Store headphones in a case to protect pads from crushing.
- Replace cushions at the first sign of cracking or foam breakdown.
- Avoid extreme heat or sunlight which dries leather and glue.
Frequently Asked Questions of how to replace bose headphone cushions
How long does it take to replace Bose headphone cushions?
Most swaps take 10 to 30 minutes depending on the model and your skill. Models with adhesive take longer because of curing time.
Can I use third-party cushions on Bose headphones?
Yes. Third-party cushions often fit well and cost less. Choose pads made for your Bose model for the best fit.
Will changing cushions affect sound quality?
Yes, cushion material and thickness can slightly change bass and seal. Properly seated pads usually restore the original sound.
Are replacement cushions covered under Bose warranty?
Warranty coverage varies. OEM replacements may affect warranty. Check your warranty terms before replacing pads.
What if the cushions are glued on?
Use low heat to soften old adhesive, pry slowly, and clean the frame. Apply new audio-safe adhesive or buy snap-on replacement pads if available.
Conclusion
Replacing worn cushions is a fast, cost-effective way to refresh your Bose headphones and keep them comfortable and sounding great. With the right tools, a calm approach, and the steps above, you can confidently perform how to replace bose headphone cushions and avoid common pitfalls. Try a single earcup first to practice, then replace both pads for a consistent feel. If this guide helped you, try a replacement now, share your experience in the comments, or subscribe for more hands-on repair tips.

Everett Ashford is a tech reviewer at mytechgrid.com specializing in SSDs, cameras, TVs, earbuds, headphones, and other consumer electronics. He provides honest, data-driven reviews based on hands-on testing and real-world performance analysis. Everett simplifies complex tech details to help readers make smart, confident buying decisions.