Place both earbuds in the case, hold their touch buttons 10–15 seconds until the LEDs flash, then re-pair.
I have tested Raycon earbuds across models and walked users through resets many times. This guide explains how to reset raycon earbuds clearly, step by step, with tips and troubleshooting. You will learn quick resets, full factory resets, mono-earbud pairing fixes, and ways to avoid repeat problems. Read on for a practical, expert-backed walkthrough that gets your Raycons working like new.
Why you might need to reset Raycon earbuds
Resetting helps when earbuds misbehave. Common symptoms include no sound, one earbud not pairing, or constant disconnection. A reset clears pairing data and restores default settings. Knowing how to reset raycon earbuds saves time and restores reliable audio fast.

When to reset your Raycon earbuds
Reset when simple fixes fail. Try charging, cleaning contacts, and toggling Bluetooth first. Reset if you see any of these problems:
- One earbud won’t connect to your phone.
- Both earbuds pair but won’t play audio.
- Connection drops often, even in close range.
- The earbuds show strange LED behavior.
Resetting is safe and often fixes software glitches. Learning how to reset raycon earbuds prevents repeat trips to support.

Step-by-step guide: how to reset raycon earbuds
Below are clear reset methods. Follow the steps that match your issue or model. Keep steps short and precise.
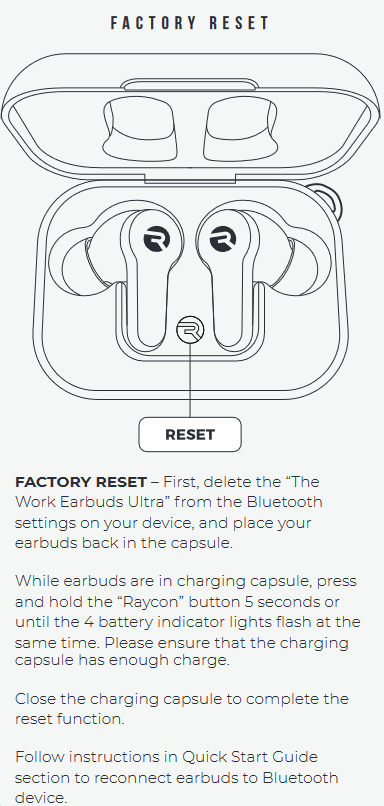
Factory reset (standard method)
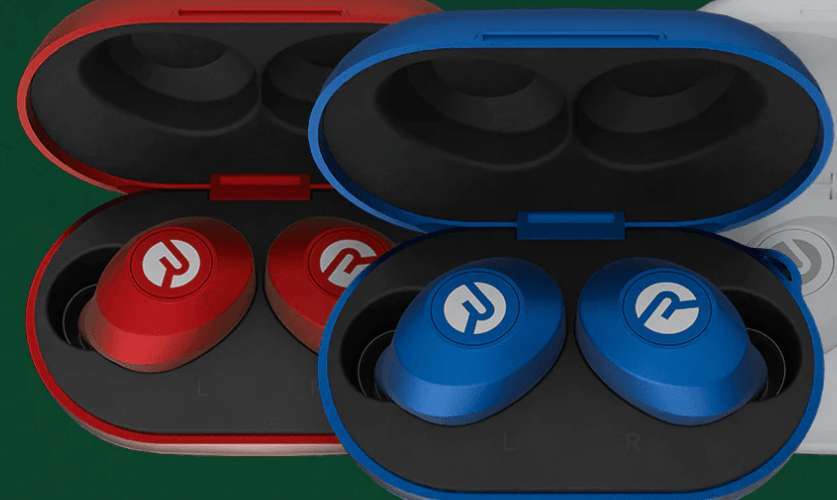
- Place both earbuds into the charging case. Make sure the case has battery.
- Close the lid and wait 10 seconds.
- Open the lid. Remove both earbuds. The LEDs may flash.
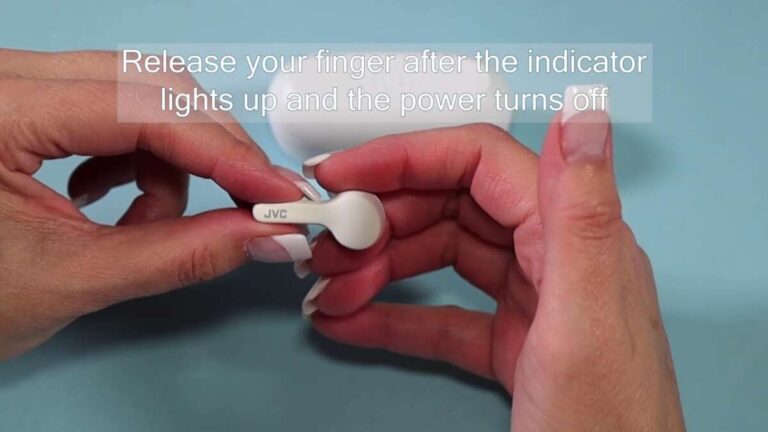
- Press and hold the touch sensors or physical buttons on both earbuds simultaneously for 10–15 seconds.
- Watch for LEDs to flash red and white, or blink rapidly. This indicates the reset completed.
- Delete Raycon from your device Bluetooth list. Go to Bluetooth settings and forget the device.
- Re-pair the earbuds by taking them out of the case and following pairing prompts.
Reset if one earbud won’t pair (mono pairing fix)
- Place both earbuds back in the case. Close the lid for 10 seconds.
- Open the case, take out only the working earbud and let it pair with your phone. Confirm audio plays.
- Put the working earbud back and then take both out again. Hold both touch sensors for 10–15 seconds to re-sync.
- If the problem persists, repeat the factory reset steps.
Hard reset for stubborn issues
- Charge the case and earbuds fully. Low battery can block resets.
- Remove and forget the device from all nearby Bluetooth devices.
- Perform the factory reset steps.
- Reboot your phone or tablet, then re-pair.
Model-specific notes
- For touch-control Raycon models, use touch zones for the long press.
- For button-style models, press and hold the physical button.
- If LED indicators differ, hold until you see any rapid color change or double flash.
This section shows how to reset raycon earbuds across common scenarios.

Troubleshooting after reset
If a reset does not fix the issue, try these focused checks:
- Confirm the case and earbuds are charged. Low power causes odd behavior.
- Clean the charging contacts with a dry cloth. Dirt can block charging and pairing.
- Try pairing with another device to rule out a phone issue.
- Update the phone’s Bluetooth drivers or software if available.
- Contact Raycon support if hardware damage is suspected.
These steps often resolve lingering faults after you learn how to reset raycon earbuds.
Tips to avoid needing resets again
A few simple habits reduce problems over time:
- Keep firmware and phone OS updated to improve compatibility.
- Store earbuds in the case when not in use to preserve battery and pairing state.
- Avoid exposing earbuds to moisture or extreme heat.
- Clean the charging pins regularly to maintain good contact.
- When pairing new devices, first forget old pairings on the earbuds and phone.
Follow these tips after you reset raycon earbuds to keep them stable.

Frequently Asked Questions of how to reset raycon earbuds
How long does it take to reset Raycon earbuds?
A typical reset takes about 10–20 seconds of holding touch sensors. Total time including re-pairing is around two to three minutes.
Will resetting delete my settings or firmware?
Resetting clears pairing and user settings only. It does not change internal firmware. Firmware updates, if available, must be installed separately.
My left earbud won’t connect after reset. What do I do?
Try the mono pairing fix: pair the working earbud first, then re-sync both. If that fails, repeat the factory reset and ensure both earbuds are fully charged.
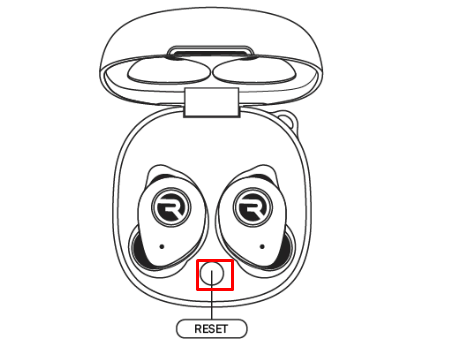
Do Raycon earbuds have a dedicated reset button?
Most Raycon models use touch sensors or the primary button for resets. There is no hidden reset button inside the case.
Will resetting fix audio latency or call issues?
A reset can fix some latency or call problems caused by pairing glitches. If the issue is app or device related, also check audio settings and Bluetooth codecs.
Conclusion
You now have clear steps and tips for how to reset raycon earbuds and avoid repeat problems. Start with a simple factory reset, then move to hard resets or mono fixes if needed. Keep earbuds charged, clean, and paired correctly to reduce future resets. Try the steps now and test your earbuds; if problems continue, reach out for support or consider a warranty claim. Leave a comment with your model and issue if you want tailored help, and subscribe for more hands-on audio guides.

Everett Ashford is a tech reviewer at mytechgrid.com specializing in SSDs, cameras, TVs, earbuds, headphones, and other consumer electronics. He provides honest, data-driven reviews based on hands-on testing and real-world performance analysis. Everett simplifies complex tech details to help readers make smart, confident buying decisions.