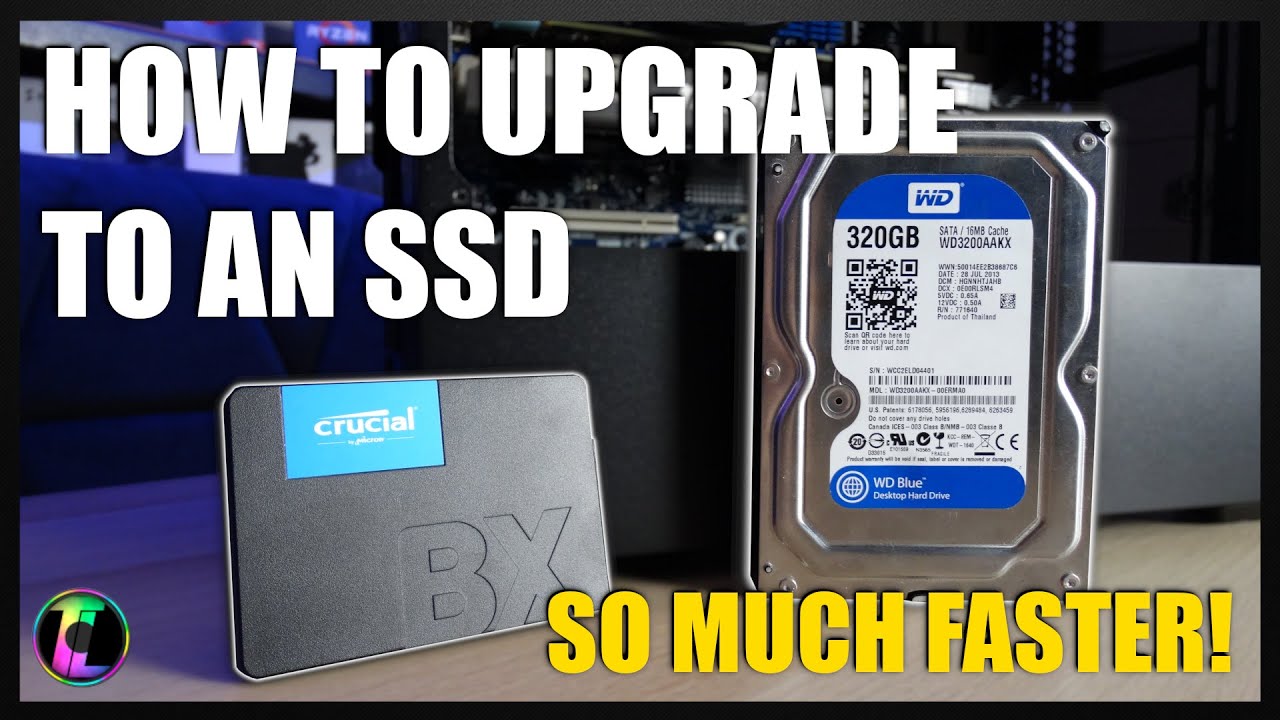
Upgrading an SSD involves cloning your old drive's data to a new one, then physically swapping the drives.
Feeling the sluggish pace of your computer can be frustrating, especially when you know it could be faster. As someone who has revitalized countless aging laptops and desktops, I can tell you that the single most effective performance boost comes from a storage upgrade. Learning how to upgrade your SSD drive might sound like a complex technical task reserved for IT professionals, but it’s surprisingly straightforward. This guide will walk you through every step, from choosing the right drive to booting up your newly supercharged machine, ensuring you feel confident and in control throughout the entire process.
Before You Begin: Choosing the Right SSD and Essential Tools
Proper preparation is the key to a smooth and successful SSD upgrade. Rushing into the process without the right components or tools can lead to compatibility issues or unnecessary headaches. Before you even think about opening your computer case, let’s cover the essential groundwork. Taking a few moments to plan will save you a significant amount of time later on. This initial step ensures you know exactly how to upgrade your SSD drive for your specific machine.
Understanding SSD Types: SATA vs. NVMe
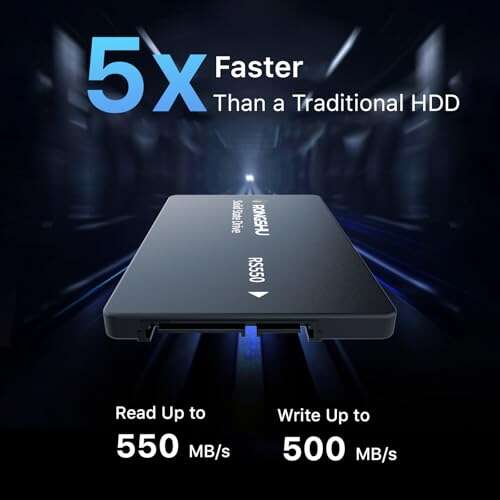
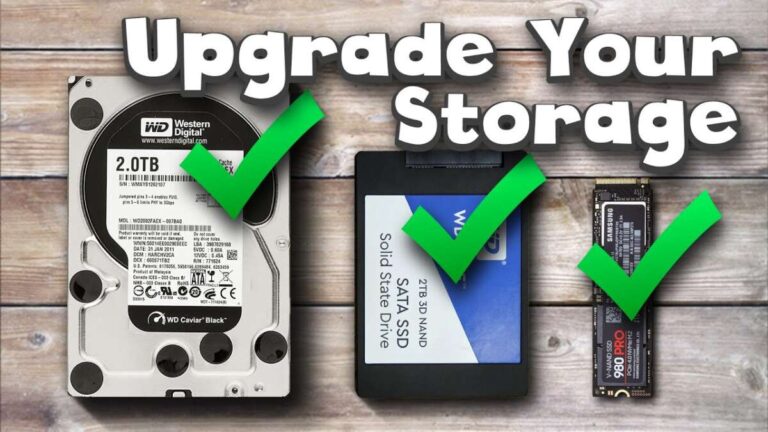
The two most common types of consumer SSDs you'll encounter are SATA and NVMe. A SATA SSD uses an older, slower interface but is widely compatible with most desktops and older laptops. An NVMe SSD connects via the PCIe interface, offering dramatically faster speeds—often five to seven times quicker than its SATA counterpart. While NVMe is the superior technology, your computer's motherboard must have a specific slot, called an M.2 slot, that supports it.
Checking Compatibility: Form Factors and Your Motherboard
SSDs come in different physical shapes and sizes, known as form factors. The most common are the 2.5-inch drive, which looks like a traditional laptop hard drive, and the M.2 drive, which resembles a stick of RAM. It is crucial to identify what your computer supports. The best way to do this is by consulting your computer or motherboard's user manual. A quick search for your model number online will usually provide a specifications sheet that details supported storage types and form factors.
Gathering Your Tools
You don’t need a massive toolbox to upgrade an SSD, but a few specific items are non-negotiable for a hassle-free installation. Having these on hand before you start will prevent any mid-project scrambles.
- A screwdriver kit with various small Phillips-head bits.
- An anti-static wrist strap to protect your components from static electricity.
- Cloning software to copy your data (many SSD manufacturers offer a free version).
- An external SSD enclosure or a SATA-to-USB adapter to connect the new drive to your computer for cloning.

Step 1: Cloning Your Old Drive to the New SSD
Cloning creates an exact, bootable one-to-one copy of your existing drive, including the operating system, all your programs, files, and settings. This method is far more convenient than starting with a fresh installation of Windows or macOS, as it lets you pick up right where you left off, just on a much faster drive. This is a critical part of learning how to upgrade an SSD drive without losing your data.
Connecting the New SSD
Before you can clone anything, you need to connect your new SSD to your computer. This is where the external enclosure or SATA-to-USB adapter comes in. Simply install the new SSD into the enclosure, secure it, and plug it into one of your computer's USB ports. Your operating system should automatically recognize it as a new external drive. You may need to initialize it through Disk Management (on Windows) or Disk Utility (on macOS) before it becomes visible.
The Cloning Process: A Step-by-Step Guide
Once the new drive is connected, it’s time to use your cloning software. While the exact steps vary between programs like Macrium Reflect, Acronis True Image, or Clonezilla, the general process is universal.
- Install and launch your chosen cloning software on your computer.
- Select the option to clone a disk. You will be prompted to choose a source disk—this is your current, old drive.
- Next, select the destination disk—this is your new SSD connected via USB. Be absolutely certain you have selected the correct drives.
- The software will often give you options to resize partitions. If your new SSD is larger than your old one, you can extend the main partition to use the full space.
- Begin the cloning process. This can take anywhere from 30 minutes to a few hours, depending on the amount of data and the speed of your drives. Once it’s done, you can shut down your computer.
Step 2: The Physical Installation – Swapping the Drives
With your data safely copied to the new SSD, it's time for the hands-on part. Before you open your computer, make sure it is completely powered off and unplugged from the wall. I always recommend touching a large metal object to discharge any static electricity from your body, or better yet, use your anti-static wrist strap. From my own experience, I've learned that taking a quick photo with your phone before you disconnect anything can be a lifesaver if you forget where a cable or screw goes.
For Laptops
Upgrading an SSD in a laptop is usually quite simple. You'll need to flip the laptop over and remove the screws holding the bottom panel in place. Once inside, locate the current storage drive. Before touching anything, disconnect the battery connector from the motherboard to be safe. The old drive is typically held by a caddy or a single screw. Remove it, gently unplug the old drive, and install the new SSD in its place. Secure it, reconnect the battery, and put the bottom panel back on.
For Desktops
In a desktop, you’ll first need to remove the side panel of the case. A 2.5-inch SATA SSD is installed in a drive bay and connects to the motherboard via a SATA data cable and to the power supply via a SATA power cable. An M.2 NVMe SSD plugs directly into a dedicated slot on the motherboard, secured by a small screw. Simply locate the old drive, disconnect its cables or unscrew it, and install the new one in the same spot.
Step 3: Booting Up and Final Checks
The moment of truth has arrived. With the new SSD installed, it's time to power up your computer. If the cloning process was successful, your computer should boot into your familiar operating system without any issues. The first boot might take slightly longer as the system recognizes the new hardware, but subsequent boot times should be lightning fast. This final phase confirms your successful SSD upgrade.
Entering the BIOS/UEFI
In some cases, you may need to tell your computer to boot from the new drive. To do this, you'll need to enter the BIOS or UEFI menu. This is typically done by pressing a specific key (like DEL, F2, F10, or F12) immediately after turning the computer on. Once inside, navigate to the "Boot" or "Boot Order" section and ensure your new SSD is listed as the primary boot device. Save the changes and exit.
Confirming the Upgrade in Your Operating System
Once you're logged into your operating system, you should confirm that everything is working as expected. In Windows, you can open "Disk Management" to see your new drive and its partitions. In macOS, you can use "Disk Utility." This is a good time to check that the drive is showing its full capacity and that your computer feels noticeably snappier when opening applications and files.
What to Do with the Old Drive?
Don't just toss your old drive in a drawer. You can place it into the external enclosure you used for cloning and reformat it. It can now serve as a fast external drive for backups or for transferring large files. This gives a useful second life to your old hardware and provides you with a solid backup solution.

Frequently Asked Questions of how to upgrade ssd drive
Do I need to do a fresh install of Windows when I upgrade my SSD?
No, it's not necessary. Cloning your existing drive to the new SSD copies your entire operating system and all your files, allowing you to pick up exactly where you left off. A fresh install is an option but is much more time-consuming.
What's the difference between cloning and imaging?
Cloning creates a direct, ready-to-use copy of a drive onto another drive. Imaging creates a single, compressed file of your drive's contents, which can be stored as a backup and later restored to a drive. For an upgrade, cloning is the more direct method.
How do I know if my laptop supports an NVMe SSD?
The best way is to check your laptop model's official specifications online or in its user manual. The specs will list the type of storage interface it supports, such as "M.2 PCIe NVMe" or "2.5-inch SATA."
Can I upgrade my SSD if it's soldered to the motherboard?
Unfortunately, no. Some modern ultrabooks and MacBooks have the storage soldered directly onto the main board to save space. In these cases, the SSD is not user-replaceable, and you cannot upgrade it.
What size SSD should I get?
Aim for an SSD that is at least as large as your old drive, but ideally larger. With file sizes and applications growing, a 1TB SSD is a great sweet spot for most users, providing ample space for the operating system, programs, and personal files.
Conclusion
Following these steps demystifies the process and makes it an achievable weekend project for almost anyone. By carefully preparing, cloning your data, and performing the physical swap, you can breathe new life into your computer. The dramatic improvement in boot times, application loading, and overall system responsiveness is a reward you'll appreciate every single day.
Now that you know how to upgrade your SSD drive, don't let a slow computer hold you back any longer. Take on the upgrade, enjoy the incredible performance boost, and feel the satisfaction of having done it yourself. If you have any questions during the process, feel free to drop them in the comments below

Everett Ashford is a tech reviewer at mytechgrid.com specializing in SSDs, cameras, TVs, earbuds, headphones, and other consumer electronics. He provides honest, data-driven reviews based on hands-on testing and real-world performance analysis. Everett simplifies complex tech details to help readers make smart, confident buying decisions.