You can use an M.2 SSD without an M.2 slot by using adapters, PCIe cards, or USB enclosures.
I have built and upgraded dozens of PCs and laptops, and I will show you how to use m 2 ssd without m 2 slot with clear steps, real-world tips, and compatibility checks. This guide covers adapters, enclosures, installation steps, performance expectations, troubleshooting, and buying advice so you can make smart choices and get the best speed from your drive.
Why you might want to use an M.2 SSD without an M.2 slot
Many older desktops and some laptops lack an M.2 slot. You can still use a modern M.2 NVMe or M.2 SATA SSD with other interfaces. Knowing how to use m 2 ssd without m 2 slot saves money and extends device life. It also unlocks faster boot and app load times for systems that would otherwise remain on slower drives.

Main options to use an M.2 SSD without an M.2 slot
Below are the common, practical paths to connect an M.2 drive when there is no native M.2 slot.
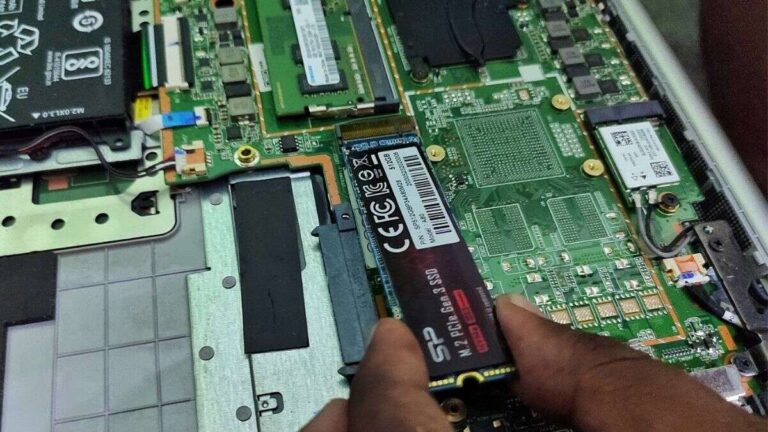
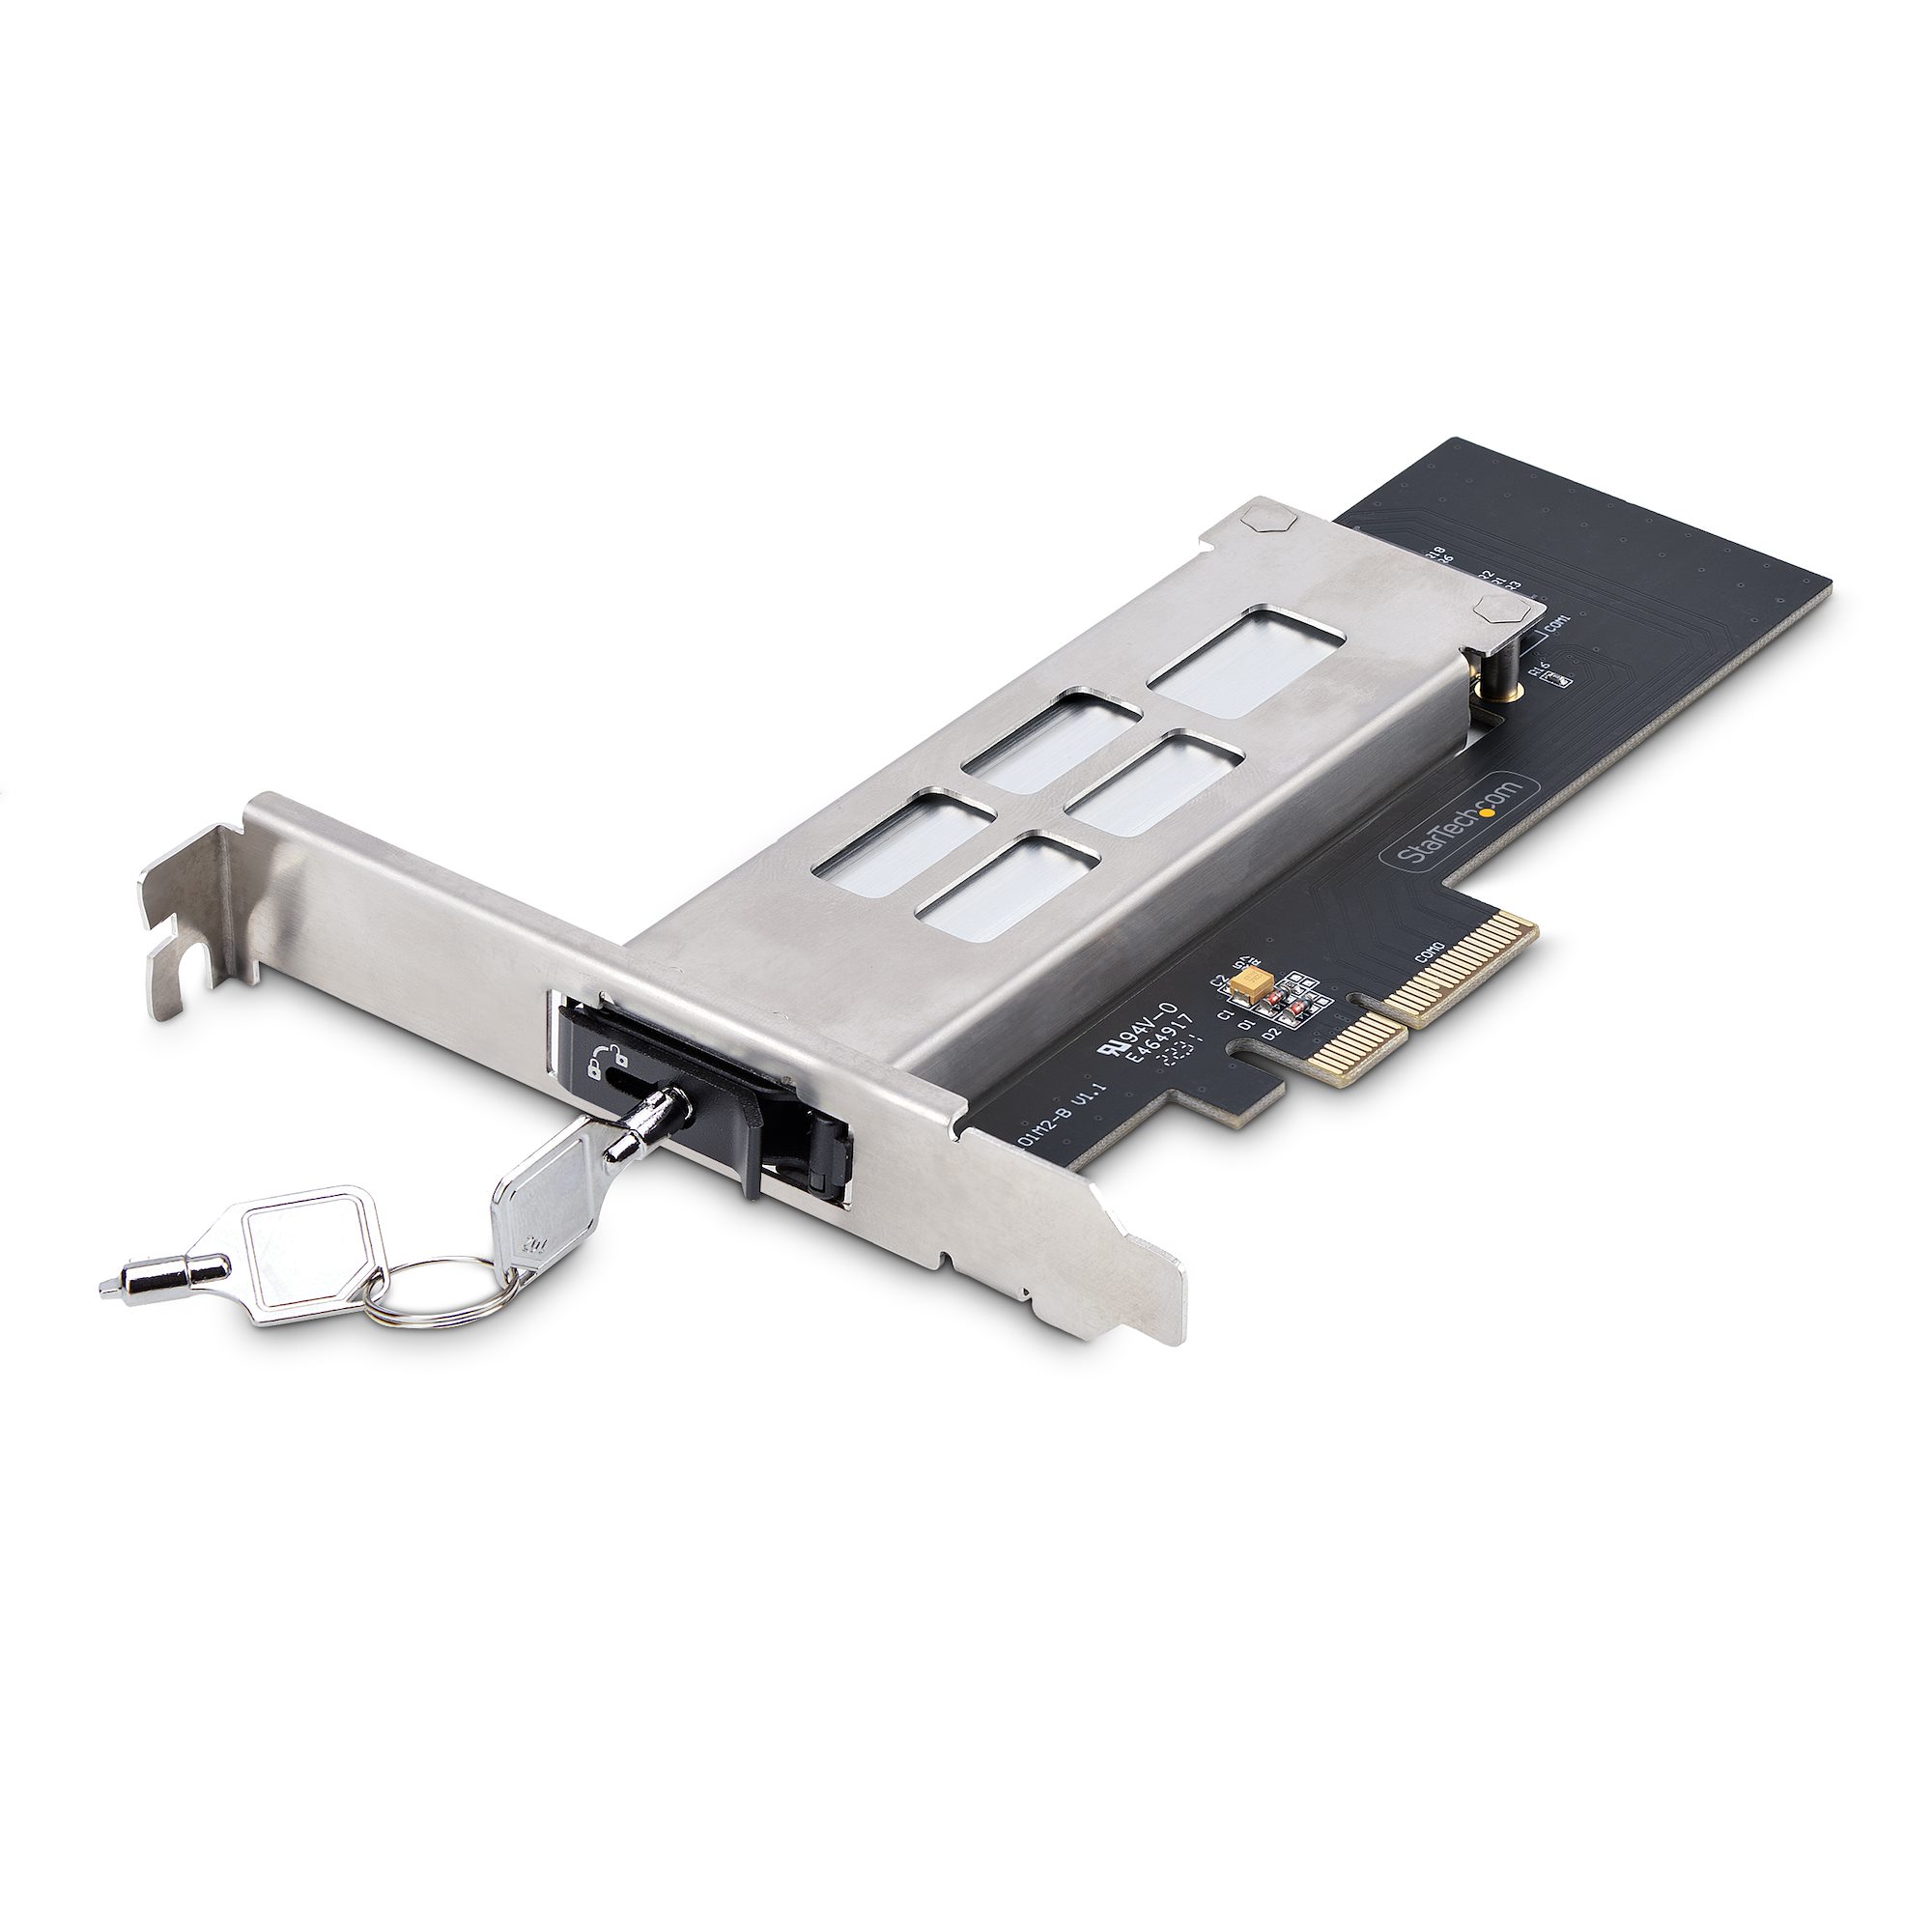
Use an M.2 to PCIe adapter card
This adapter plugs into a free PCIe x4 or x8 slot on a desktop motherboard. It supports NVMe drives and offers near-native PCIe performance. Make sure your motherboard BIOS supports NVMe boot if you plan to boot from the M.2.
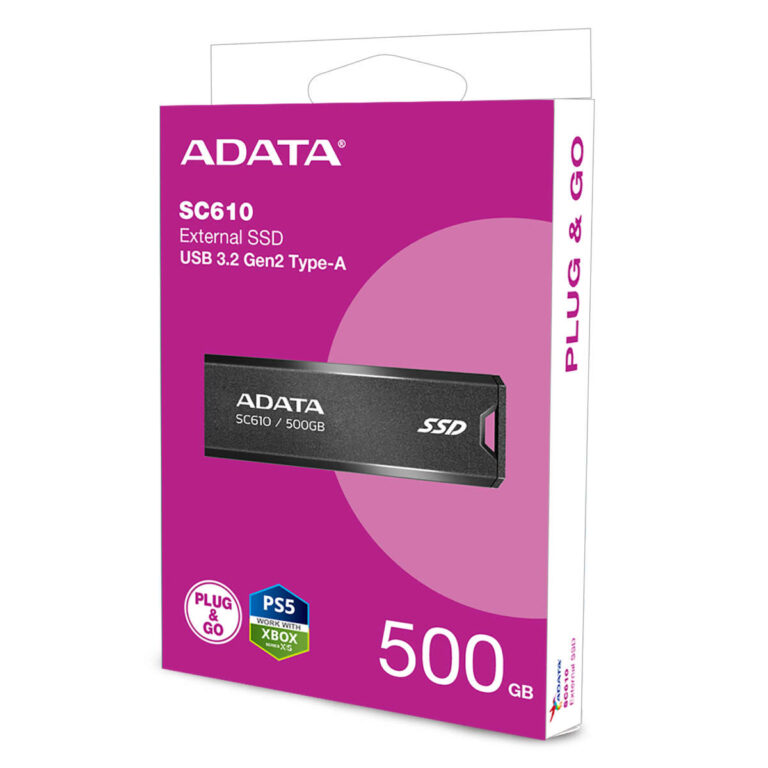
Use a USB NVMe/M.2 enclosure
An external enclosure connects the M.2 SSD via USB-C or USB 3.1. It is great for external storage, backups, or cloning. Speeds will be limited by the USB interface, not the drive, but performance is excellent for many tasks.
Use an M.2 SATA to SATA adapter (for M.2 SATA only)
Some M.2 drives use the SATA protocol. A simple M.2 SATA to SATA adapter lets you mount the drive in a 2.5" bay and connect it to a SATA port. This only works for M.2 SATA drives and not NVMe.
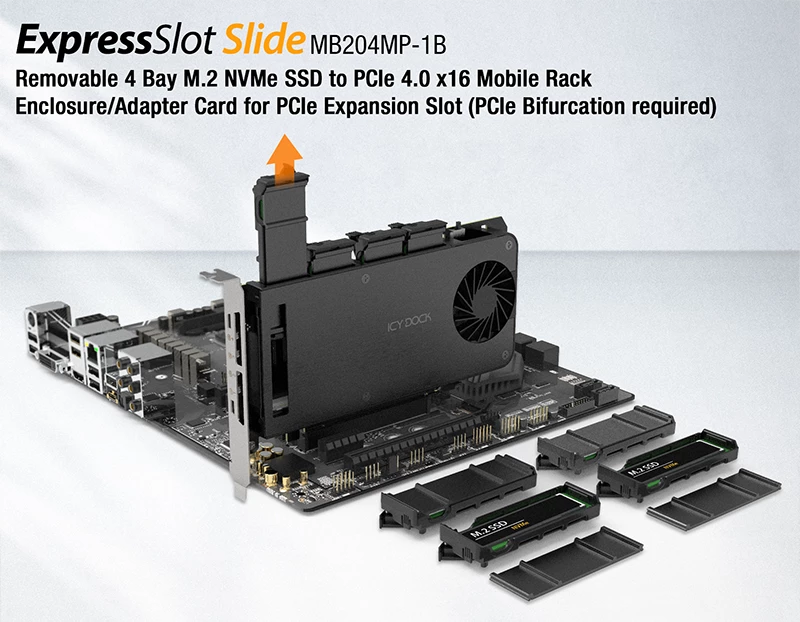
Use a docking station or multi-bay enclosure
Docking stations with M.2 slots can accept drives externally and often support cloning and hot-swap. These are handy for labs, technicians, or frequent drive swaps.
Use an NVMe to U.2 adapter for servers
Some servers have U.2 connectors but lack M.2. An NVMe-to-U.2 adapter adapts the physical interface for enterprise setups.
Step-by-step: Install an M.2 SSD via PCIe adapter (desktop)
Follow this simple workflow to install a drive using a PCIe adapter card.
- Check compatibility
- Confirm the M.2 drive type (NVMe vs SATA) and the adapter supports it.
- Confirm an available PCIe x4/x8/x16 slot on the motherboard.
- Prepare the system
- Power off and unplug the PC.
- Ground yourself to avoid static discharge.
- Install the SSD onto the adapter
- Secure the M.2 into the adapter using the correct screw and standoff.
- Insert the adapter into the PCIe slot and secure the bracket.
- Boot and configure
- Enter BIOS/UEFI and confirm the adapter and drive appear.
- Set boot order if you plan to install an OS on the M.2.
- Install drivers if required by the adapter vendor.
- Format or clone
- Use disk management to initialize and format the drive.
- Or clone your OS from the old drive to the M.2 if migrating.
These steps show how to use m 2 ssd without m 2 slot in a desktop reliably.

Using an M.2 SSD externally with a USB enclosure
External use is easy and portable. Here are the practical steps.
- Choose the correct enclosure
- Match the drive type: NVMe enclosures for NVMe drives, M.2 SATA enclosures for M.2 SATA.
- Prefer USB 3.1 Gen 2 or USB 3.2 Gen 2×2 for best external speeds.
- Install the drive
- Slide the M.2 into the enclosure’s slot and secure it.
- Connect the enclosure to the PC with a quality cable.
- Power and use
- The OS should detect the drive. Initialize and format if needed.
- For booting externally, check your system BIOS options and vendor support.
External enclosures are ideal if you want to use m 2 ssd without m 2 slot across multiple machines.
Performance, limitations, and realistic expectations
Performance depends on the connection. PCIe adapters give near-native NVMe speeds. USB enclosures will cap speeds at the USB interface bandwidth. SATA adapters limit M.2 SATA drives to SATA III speeds (roughly 550 MB/s). Not all BIOS/UEFI firmware supports NVMe boot over adapters, so verify support before cloning an OS drive. Thermal throttling is another factor; many M.2 drives run hot and need airflow or heatsinks. Know these limits when you try to use m 2 ssd without m 2 slot.

Compatibility checklist and buying tips
Use this checklist before you buy an adapter or enclosure to avoid returns and frustration.
- Confirm whether your M.2 drive is NVMe (PCIe) or M.2 SATA.
- Verify keying: M-key for NVMe, B-key or B+M for SATA or mixed support.
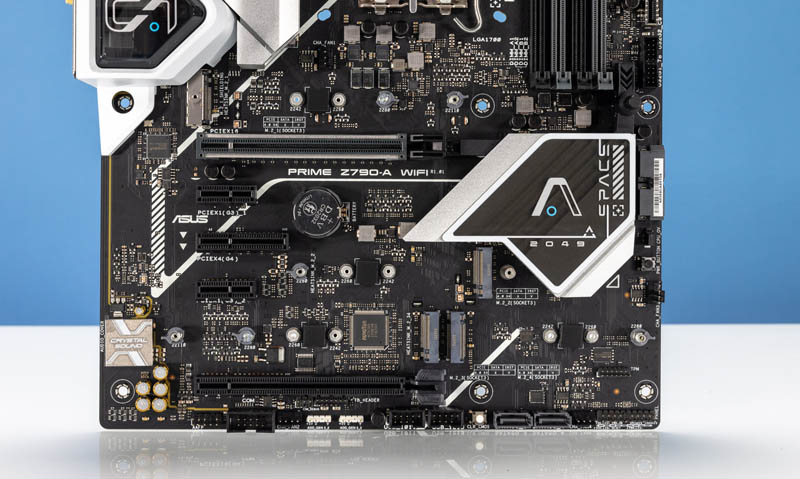
- Check your motherboard has a compatible PCIe slot and BIOS support.
- Choose enclosures with USB 3.1 Gen 2 or better for NVMe drives.
- Look for passive or active cooling options for sustained loads.
- Buy from vendors with good return policies and clear specs.
These checks lower risk and ensure a smooth setup when learning how to use m 2 ssd without m 2 slot.

Troubleshooting and common mistakes
If the drive is not recognized or underperforms, try these quick fixes.
- Double-check drive type and adapter compatibility.
- Update motherboard BIOS/UEFI to the latest version.
- Try a different PCIe slot or a different USB port and cable.
- Install vendor drivers if the adapter requires them.
- Add a heatsink or better airflow to prevent throttling.
I once installed an NVMe onto a cheap adapter that lacked proper lane wiring. The system detected the card but not the drive. Lesson learned: buy quality adapters and read the small print about lane support. That experience helped me create a checklist to avoid repeat mistakes when you attempt how to use m 2 ssd without m 2 slot.

Cost and value: is it worth it?
Adapting an M.2 SSD typically costs far less than buying a new motherboard or system. Entry-level enclosures and basic adapters can be under $30. Premium PCIe adapters and aluminum enclosures run $40–$100. Consider these points:
- If you need internal boot performance, a PCIe adapter is worth it.
- For portability and backups, a USB enclosure is the best value.
- For SATA-based M.2 drives, use a SATA adapter only if you accept SATA speed limits.
Knowing the costs helps you decide whether learning how to use m 2 ssd without m 2 slot is the right move for your setup.
Personal tips and lessons from real builds
From my builds, a few tips stand out:
- Always check keying and protocol before ordering an adapter.
- Test the drive in a USB enclosure first before moving it internally.
- Use a small amount of thermal pad or a heatsink with NVMe drives.
- Keep a recovery USB ready when changing boot drives.
- Buy adapters that document PCIe lane support to avoid surprises.
These practical habits have saved me time and data. They will help you when you try to use m 2 ssd without m 2 slot for the first time.
Frequently Asked Questions about how to use m 2 ssd without m 2 slot
Can I use any M.2 SSD with a PCIe adapter?
Yes, if the adapter supports the drive’s protocol. NVMe drives need PCIe-capable adapters. M.2 SATA drives require adapters that explicitly support SATA.
Will I get full speed using an M.2 SSD in a USB enclosure?
Not always. The speed caps at the USB interface bandwidth, so NVMe drives will be slower than when directly on PCIe. Use USB 3.1 Gen 2 or better for best external performance.
Can I boot Windows from an M.2 SSD connected via adapter?
You can boot if your BIOS/UEFI supports NVMe boot through that adapter. Update BIOS and check vendor notes before cloning your OS.
Is an M.2 SATA drive the same as an NVMe M.2 drive?
No. M.2 SATA uses the SATA protocol and is limited to SATA speeds, while NVMe uses PCIe lanes and offers much higher performance. They have different compatibility requirements.
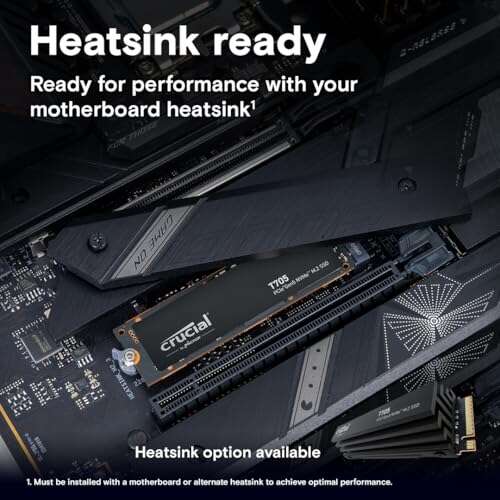
Do I need a heatsink for my M.2 SSD?
A heatsink helps for sustained heavy workloads and prevents throttling. For light use, many drives run fine without extra cooling.
Conclusion
You can confidently use m 2 ssd without m 2 slot by choosing the right adapter, enclosure, or PCIe card. Check drive type, keying, and BIOS support before buying, and expect real-world performance to match your connection type. Start with the compatibility checklist, pick a quality adapter, and test before committing the drive as your boot disk. Try these steps, and leave a comment about your setup or questions — I’ll help you troubleshoot and optimize your build.

Everett Ashford is a tech reviewer at mytechgrid.com specializing in SSDs, cameras, TVs, earbuds, headphones, and other consumer electronics. He provides honest, data-driven reviews based on hands-on testing and real-world performance analysis. Everett simplifies complex tech details to help readers make smart, confident buying decisions.