Connect your Chromebook to your TV with an HDMI cable, USB C adapter, or built in Chromecast casting.
Learning how to connect my Chromebook to my TV is simple once you know which ports and wireless features your devices support. This guide explains each method, solves common display problems, and shares practical tips for getting clear video and sound without guesswork.
Check your Chromebook and TV first
Before you connect anything, check the ports on both devices. Most TVs have one or more HDMI ports. Your Chromebook may have an HDMI port, a USB C port, or only older USB ports.
Look along the sides of your Chromebook for these connections:
• HDMI: A wide, flat port that sends video and audio with one cable.
• USB C: A small oval port that may support video output. Not every USB C port does this.
• USB A: A larger rectangular port. It usually does not send video directly.
Then check the back or side of your TV. Look for HDMI 1, HDMI 2, or another HDMI input. Write down the port number you use. This small step helps you select the right source later.
Also check your Chromebook model. Some low cost models support wireless casting but do not support wired video through USB C. The product page or user guide can confirm whether the port supports DisplayPort over USB C.
When I help someone connect a Chromebook to a TV, the most common mistake is assuming that every USB C port works for video. The port shape tells you very little. The port specifications matter much more.

How to connect a Chromebook to a TV with HDMI
An HDMI connection is usually the easiest and most reliable method. It offers a stable picture, low delay, and sound through the TV speakers. It also works well for movies, presentations, video calls, and online classes.
If your Chromebook has an HDMI port
Follow these steps:
- Plug one end of the HDMI cable into the Chromebook.
- Plug the other end into an open HDMI port on the TV.
- Turn on the TV and select the matching HDMI input.
- On the Chromebook, wait a few seconds for the display to appear.
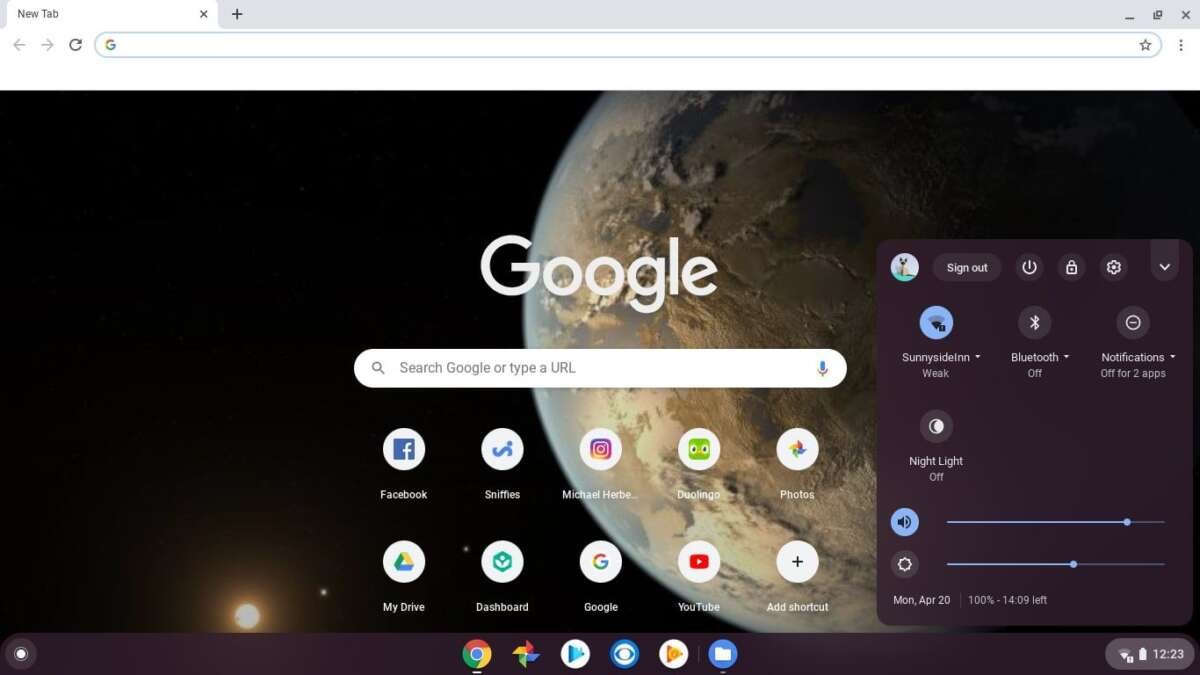
- If needed, open the Quick Settings panel and choose the display option.
The TV may mirror your Chromebook screen at once. If it does not, press the TV remote’s Input, Source, or similar button. Choose the HDMI number that matches the port you used.
If your Chromebook has USB C
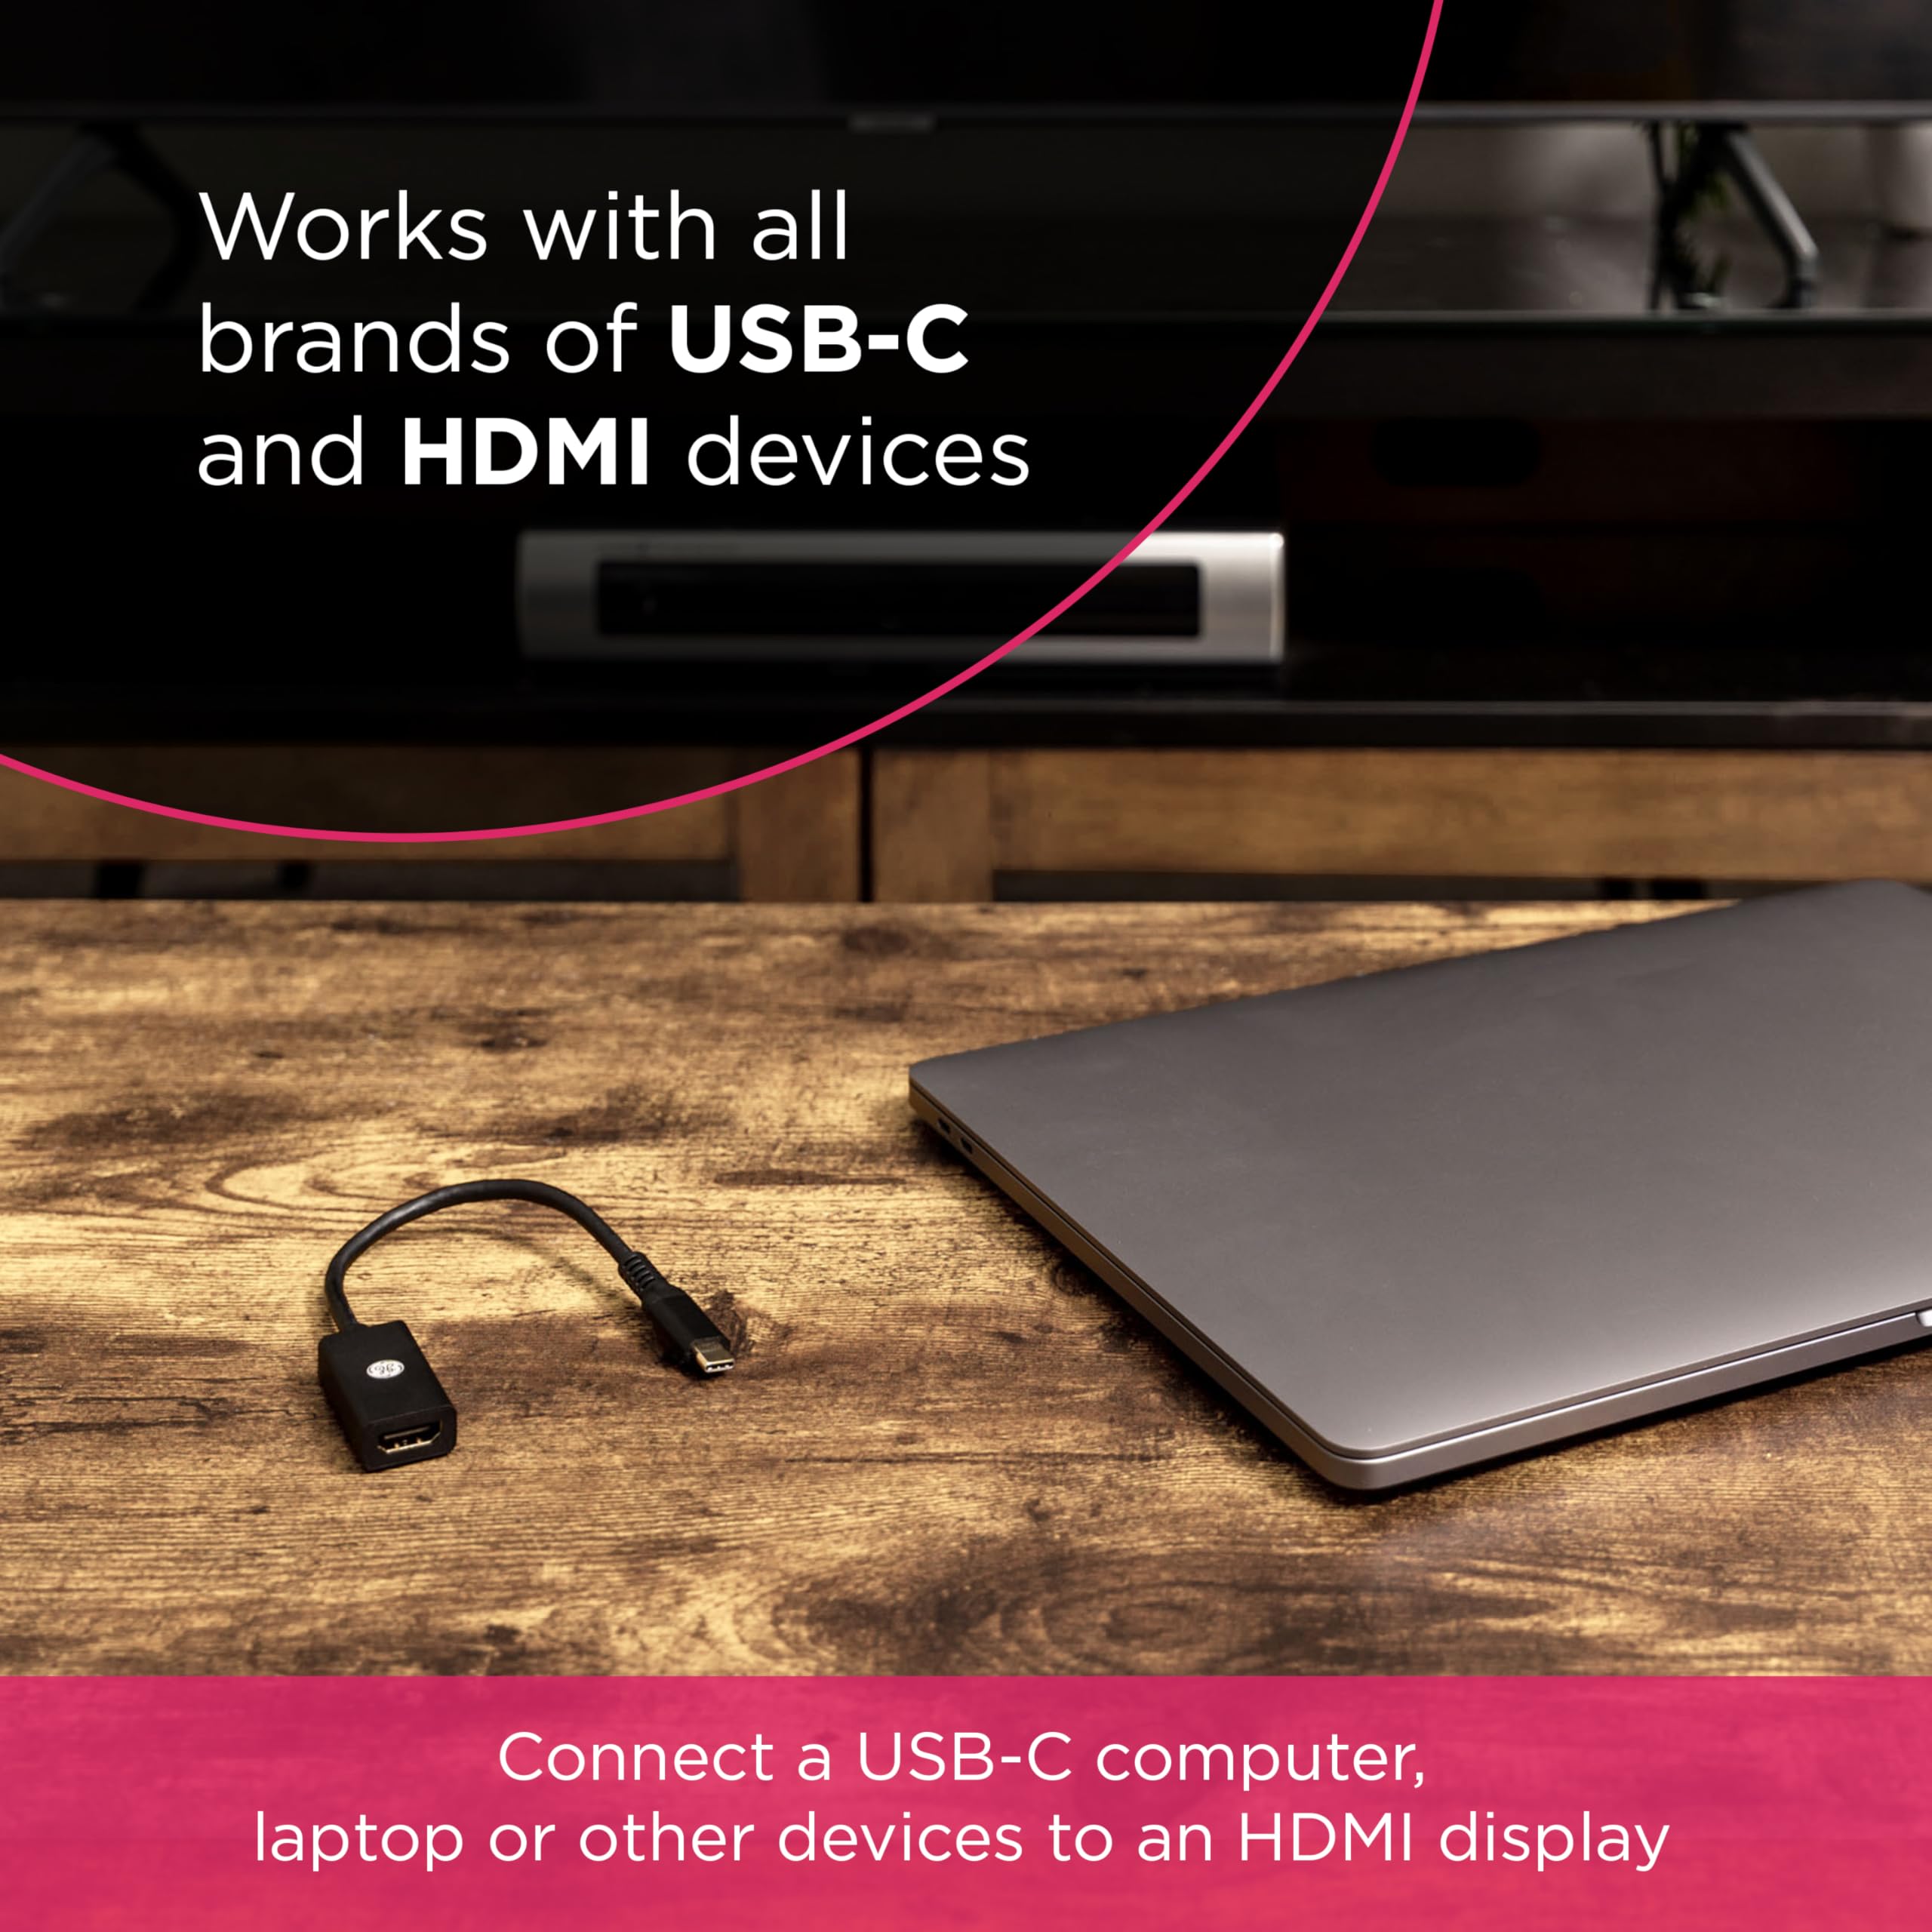
You need a USB C to HDMI adapter or a USB C hub with an HDMI port. Plug the adapter into the correct USB C port on the Chromebook. Then connect the HDMI cable from the adapter to the TV.
Some adapters require video capable USB C. If the TV shows “No signal,” try another USB C port if your Chromebook has more than one. You may also need a different adapter.
A powered USB C hub can help when you connect extra devices, such as a keyboard or external drive. For basic TV viewing, however, a simple USB C to HDMI adapter is often enough.
HDMI supports both high definition video and digital audio. The exact resolution depends on your Chromebook, adapter, cable, and TV. A newer TV may support 4K, but your Chromebook or adapter may still output 1080p.

How to connect a Chromebook to a TV wirelessly
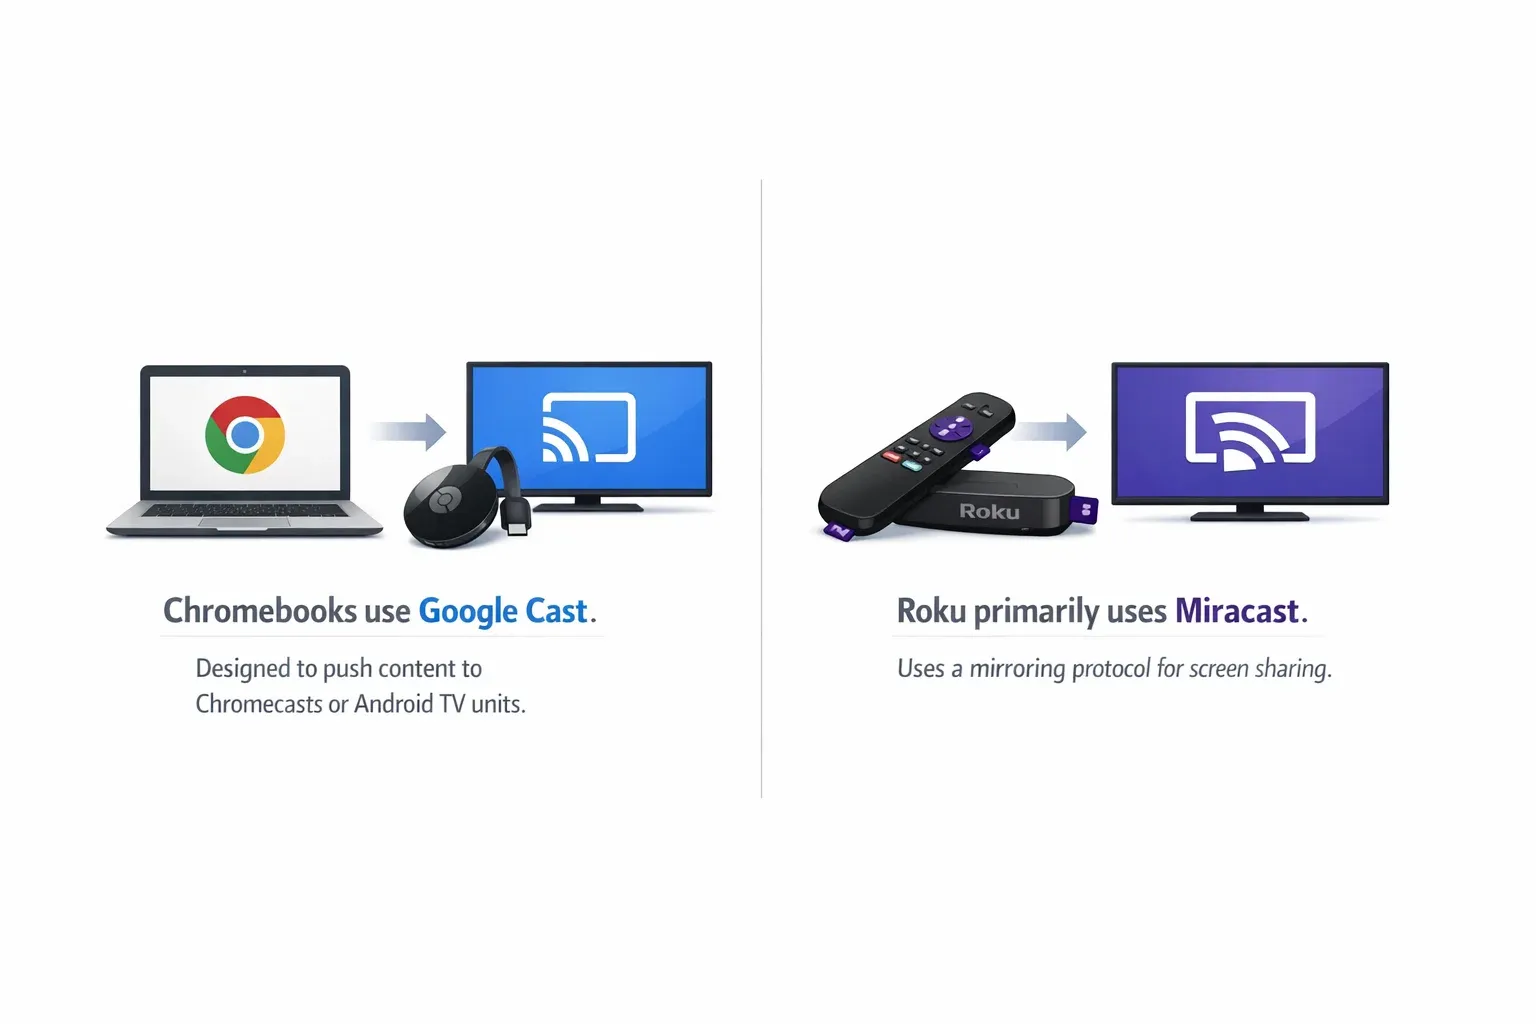
Wireless casting is useful when you want to avoid cables. Many Chromebooks can cast a browser tab, a desktop, or supported content to a TV with Google Cast built in. A Chromecast device can add this feature to many older TVs.
For wireless casting to work, the Chromebook and TV must usually be on the same Wi Fi network. Guest networks and public Wi Fi can block communication between devices.
Cast a browser tab
- Open the Chrome browser on your Chromebook.
- Select the three dot menu in the top right.
- Choose Cast, save, and share, then select Cast.
- Pick your TV or Chromecast device.
- Choose whether to cast the current tab or the entire screen.
Casting a tab is often best for a video, website, or presentation. It uses less system power than mirroring the entire desktop.
Cast the full Chromebook screen
- Select the clock in the lower right corner.
- Open the Quick Settings panel.
- Select Cast or Screen Cast.
- Choose the available TV or Chromecast device.
- Confirm the screen you want to share.
Full screen casting shows nearly everything on your Chromebook. This includes windows, menus, and notifications. Close private tabs and turn off message alerts before casting in a public setting.
Wireless casting can have a short delay. That delay is normal. It may feel noticeable during gaming or live video calls, so use HDMI when timing matters.

How to connect a Chromebook to a smart TV
Many smart TVs include Google Cast, but not all do. Some TVs use their own casting system instead. Check the TV’s app menu or user guide to see which casting standard it supports.
If your TV has Google Cast built in, make sure it is turned on and connected to the same Wi Fi network as the Chromebook. Then use the Cast steps above.
If the TV does not support Google Cast, you have several options:
• Use a Chromecast device connected to an HDMI port.
• Connect the Chromebook with an HDMI cable.
• Use a TV brand app if it supports Chromebook screen sharing.
• Use a streaming device that supports Google Cast.
A TV may appear online but still fail to receive a cast. This often happens when the Chromebook uses one Wi Fi band and the TV uses an isolated guest network. Restarting the router, TV, and Chromebook can also refresh the connection.
In my experience, wired HDMI is the better choice for work meetings and school talks. Wireless casting is more convenient for casual viewing, but it depends on network strength and software support.

Change the Chromebook display settings
After learning how to connect my Chromebook to my TV, the next step is choosing how both screens should work. ChromeOS normally offers mirroring and extended display modes.
Open the Chromebook settings and go to Device, then Displays. You may see options for the built in display and the connected TV.
Mirror the screen
Mirroring shows the same image on your Chromebook and TV. It is useful for:
• Watching a video with others
• Giving a presentation
• Following a lesson
• Showing photos
• Helping someone troubleshoot a device
Extend the display
Extended display turns the TV into a second screen. You can move a browser window, document, or video from the Chromebook to the TV.
This mode works well when you want notes on the Chromebook and a full presentation on the TV. You can drag the displays into the correct left to right position in the display settings.
Choose the best resolution
A TV may look blurry if the Chromebook uses the wrong resolution. In display settings, select the TV and try a recommended resolution. A 1080p setting is a useful starting point for most modern TVs.
If text looks too small, adjust the display size or zoom level. Keep in mind that a higher resolution may use more power and may not work through every adapter.

Fix common Chromebook to TV connection problems
If your Chromebook does not connect to your TV, do not assume the cable is broken. Work through the connection one part at a time.
The TV says “No signal”
Try these steps:
- Confirm that the HDMI cable is fully inserted.
- Select the correct HDMI input on the TV.
- Unplug and reconnect the adapter.
- Restart the Chromebook.
- Try another HDMI port on the TV.
- Test another HDMI cable if possible.
- Check whether the USB C port supports video output.
If you use a USB C adapter, the adapter is a likely source of trouble. Very cheap adapters may not support the resolution or refresh rate your TV needs.
The picture appears but there is no sound
Open the Chromebook Quick Settings panel and check the audio output. Select the TV, HDMI device, or connected display as the output speaker.
You can also open Settings, choose Device, and then select Audio. Make sure the volume is up on both the Chromebook and TV. Some streaming services may also have their own mute control.
The picture flickers
Flickering can come from a weak cable, loose connection, unsupported resolution, or faulty adapter. Try lowering the display resolution and reconnecting the cable.
For wireless casting, move the Chromebook closer to the router. Pause large downloads and disconnect devices that use heavy bandwidth. A crowded wireless network can make the picture freeze or drop.
The TV does not appear in the Cast menu
Check that both devices use the same Wi Fi network. Turn off any VPN on the Chromebook for a moment, because some VPN settings can prevent local device discovery.
Restart the TV and Chromebook. If you use Chromecast, restart it by removing its power cable for about one minute. Do not factory reset the device unless simpler steps fail.
Improve picture and sound quality
A good connection is more than simply getting an image on the screen. A few settings can make the experience smoother and easier to watch.
Use a certified, working HDMI cable that matches your needs. For standard 1080p viewing, most normal HDMI cables work well. For 4K content, use a cable and adapter that support the required resolution and refresh rate.
Choose the TV’s picture mode carefully. Movie or Cinema mode may look more natural for films. Game mode can reduce processing delay when you play browser games. The best choice depends on what you are doing.
For sound, the TV speakers should work automatically through HDMI. If you use a soundbar, check whether the TV sends audio through HDMI ARC, optical audio, or Bluetooth. Chromebook audio settings control the first output, while the TV may control the final speaker.
Keep the Chromebook plugged in during long viewing sessions. Casting and high brightness can drain the battery faster than normal browsing.
A useful safety habit is to lock or close private content before mirroring. Notifications, passwords, and personal messages can appear on the TV without warning.
HDMI versus wireless casting
Both methods can work well, but they serve different needs.
| Feature | HDMI connection | Wireless casting |
|---|---|---|
| Setup | Requires a cable or adapter | Requires compatible devices and Wi Fi |
| Delay | Very low | May have a short delay |
| Reliability | Usually stable | Depends on the network |
| Portability | Less convenient | Easy to use from a distance |
| Audio | Usually travels through HDMI | Travels through the wireless connection |
| Best for | Work, games, and presentations | Streaming and casual viewing |
Choose HDMI when you need a dependable connection. It is usually the safest choice for video calls, gaming, and presentations.
Choose wireless casting when you want a clean setup and your TV supports Google Cast. It is convenient, but network quality can affect performance.
There is no single best method for everyone. The right option depends on your Chromebook ports, TV features, Wi Fi strength, and the type of content you want to display.

Tips for a smoother setup
These small habits can save time the next time you connect your devices.
• Label your HDMI cables if you use several devices.
• Keep a USB C to HDMI adapter in your laptop bag.
• Update ChromeOS and your TV software when updates are available.
• Use the same Wi Fi network for wireless casting.
• Avoid guest Wi Fi for casting.
• Close private apps before mirroring.
• Set the TV to the correct HDMI input before troubleshooting.
• Keep the Chromebook near the router during wireless casting.
• Test your setup before an important meeting or presentation.
• Use a wired connection for the lowest delay.
ChromeOS and TV menus can change after software updates. The names may differ slightly by model. If a menu looks different, search the settings for “display,” “cast,” or “audio.”
When showing slides, test both the image and sound. I have seen presentations work perfectly on the presenter’s Chromebook but fail because the TV was muted or set to the wrong input. A two minute test can prevent a very public scramble.
Frequently Asked Questions About How Do I Connect My Chromebook to My TV
Can I connect my Chromebook to my TV without an HDMI cable?
Yes. You can use wireless casting if your smart TV supports Google Cast or if you connect a Chromecast device. Both devices usually need to be on the same Wi Fi network.
Why will my Chromebook not connect to my TV?
The usual causes include the wrong TV input, a damaged cable, an incompatible USB C port, or different Wi Fi networks. Check each part of the connection and restart both devices before replacing equipment.
Can I use a USB C cable to connect my Chromebook directly to my TV?
Sometimes. The Chromebook’s USB C port must support video output, and the TV must accept video through USB C. In many cases, a USB C to HDMI adapter is more reliable.
How do I get sound from my Chromebook through my TV?
For a wired connection, choose the TV or HDMI device as the audio output in Chromebook settings. For wireless casting, the TV normally receives the sound automatically, but check the volume and mute controls on both devices.
Can I use my TV as a second monitor for my Chromebook?
Yes. Open Chromebook display settings and choose extended display mode. You can then move windows between the Chromebook screen and the TV.
Does connecting a Chromebook to a TV drain the battery?
It can. A bright screen, wireless casting, and high resolution video may use more power than basic browsing. Keep the Chromebook connected to its charger during long viewing sessions.
Conclusion
You can learn how to connect my Chromebook to my TV in just a few steps. Use HDMI for the most stable result, a USB C to HDMI adapter when needed, or wireless casting for a cable free setup.
Check your ports, select the correct TV input, use the same Wi Fi network for casting, and adjust the display and audio settings when necessary. Try the method that fits your equipment, then test it before an important event.
Now connect your Chromebook, enjoy the larger screen, and explore your TV’s display features for an even better viewing experience.
Everett Ashford is a tech reviewer at mytechgrid.com specializing in SSDs, cameras, TVs, earbuds, headphones, and other consumer electronics. He provides honest, data-driven reviews based on hands-on testing and real-world performance analysis. Everett simplifies complex tech details to help readers make smart, confident buying decisions.