Changing AirPods Pro ear tips is quick: pull off old tips and press new tips on until they click.
I’ve changed ear tips on hundreds of earbuds, including AirPods Pro, and I’ll walk you through every step. This guide explains how to change earbud tips on airpod pros safely, how to pick the right size, how to clean and maintain tips, and how to fix common fit problems. Read on for clear steps, pro tips, and mistakes to avoid so your AirPods Pro sound great and stay comfortable.

Why replace earbud tips on AirPods Pro
Replacing earbud tips restores comfort, sound quality, and noise cancellation. Over time tips wear out, collect dirt, or lose their seal. Changing tips is simple and often fixes muffled sound or a poor fit. Below are the main reasons to swap tips and what you’ll gain.
- Better seal and bass response
- Improved Active Noise Cancellation effectiveness
- Hygiene: less earwax and bacteria buildup
- Comfort for long wear and better retention during movement
What you need before you change earbud tips on AirPods Pro
Gather a few simple items to make the job fast and safe. Preparation keeps the AirPods and tips damage-free.
- Clean hands or lint-free gloves
- Soft microfiber cloth
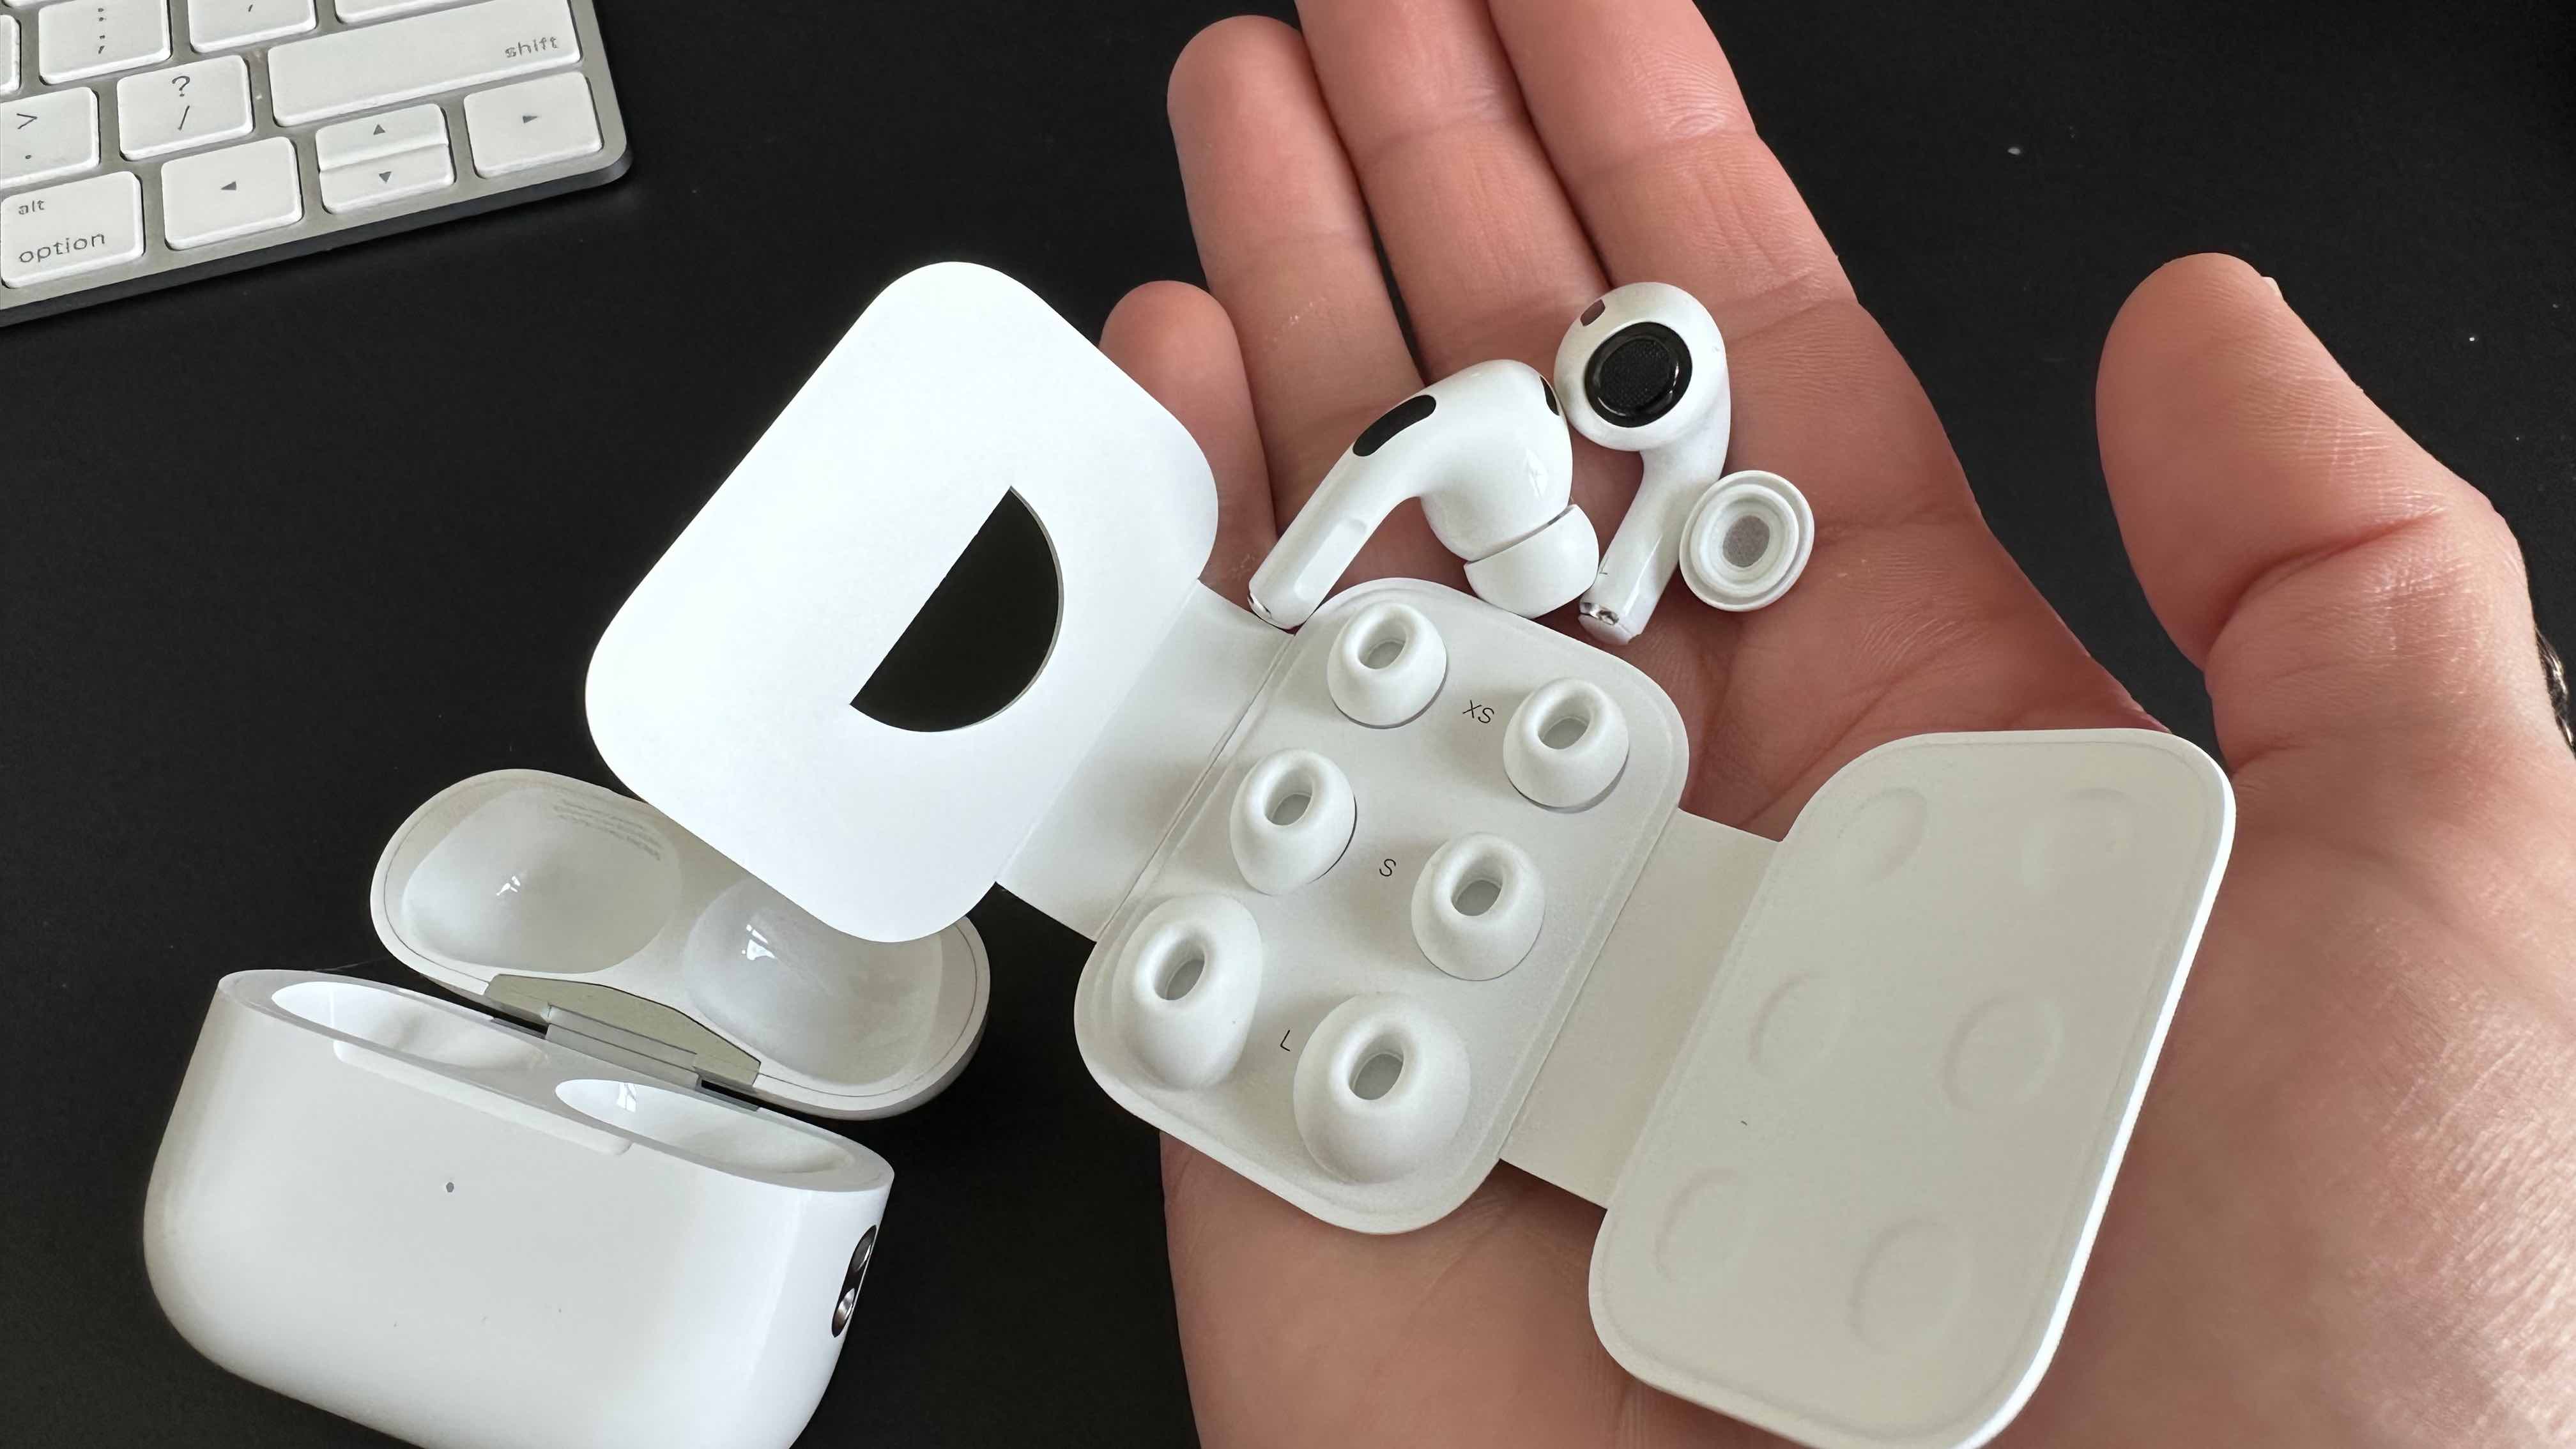
- Replacement tips (Apple or compatible third-party sizes: S, M, L)
- Small brush or toothpick (for cleaning debris)
- A clean, flat surface to work on
If you use third-party tips, check compatibility with AirPods Pro connectors. Genuine tips have a small plastic connector that clicks onto the stem. Keep original tips until you confirm fit and sound.
Step-by-step: how to change earbud tips on AirPods Pro
Follow these steps to remove old tips and attach new ones safely. Take your time the first few times to avoid tearing a tip.
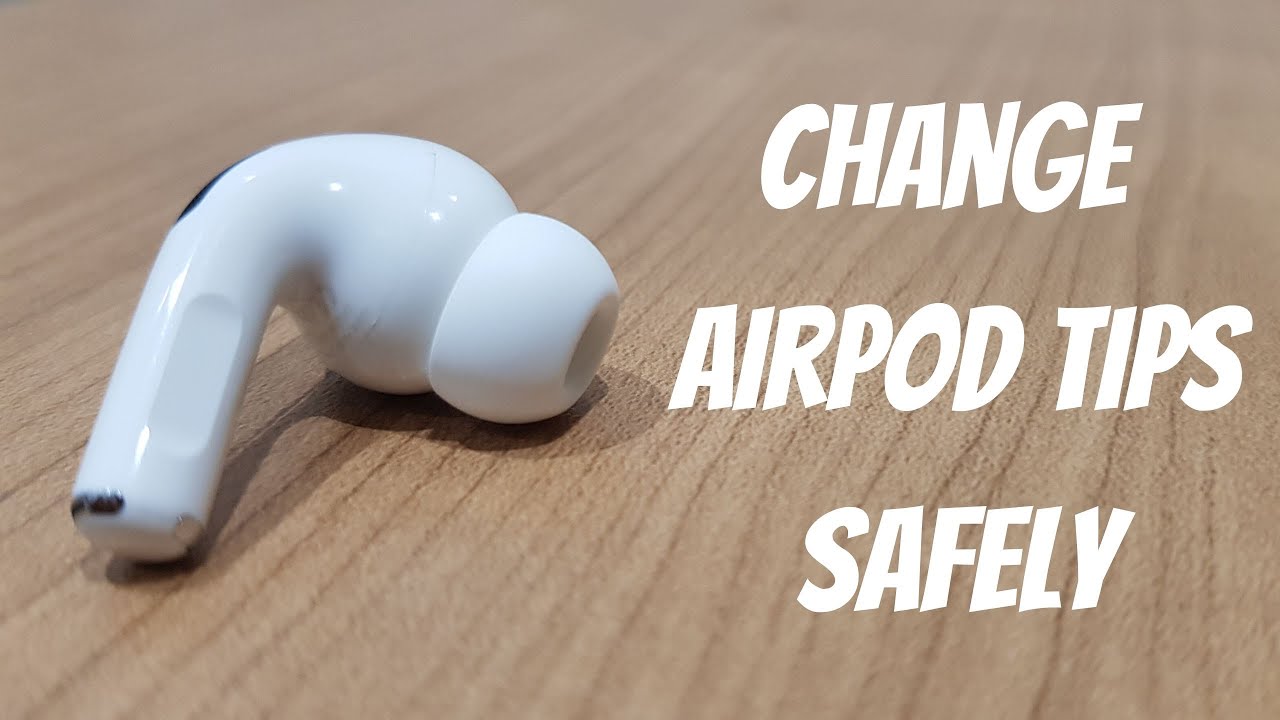
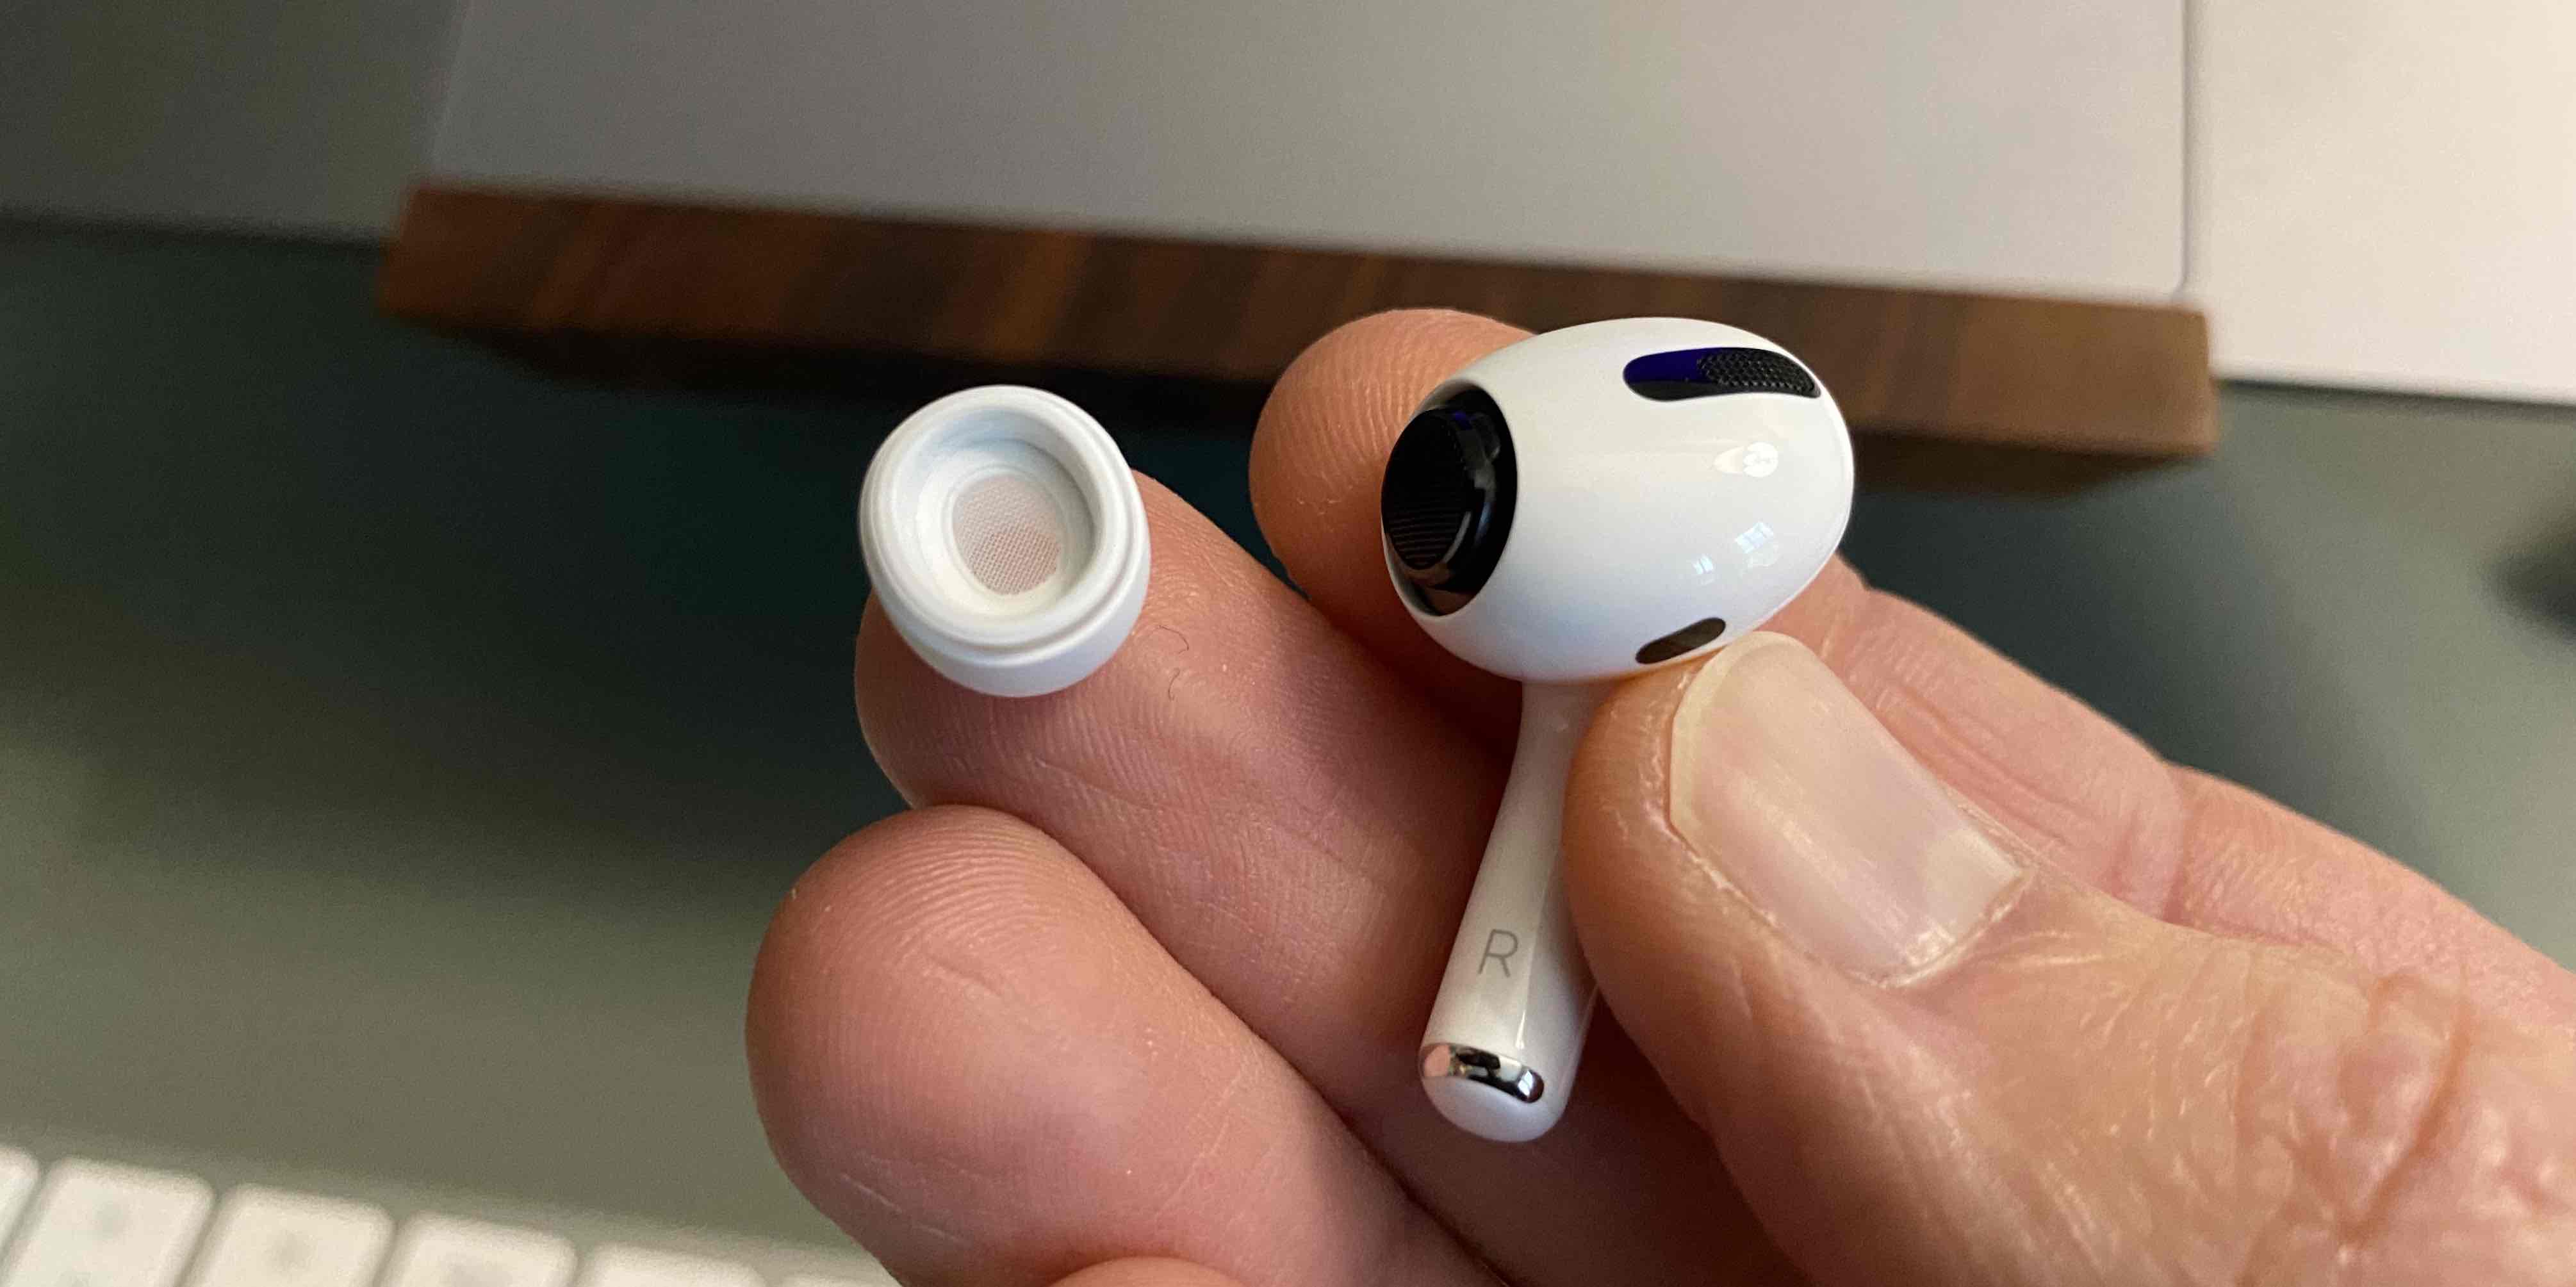
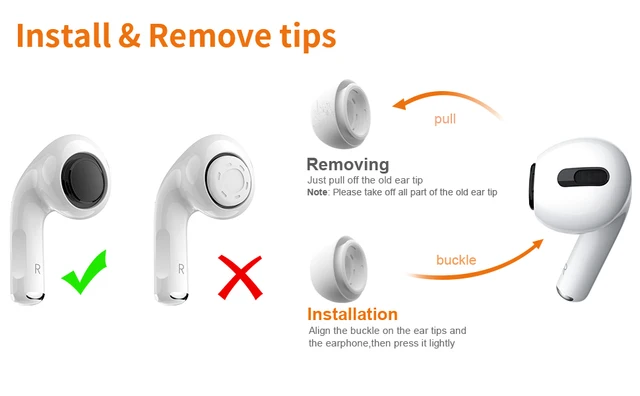
- Hold the AirPod with the stem pointing down. Keep a finger on the plastic housing, not the speaker grille.
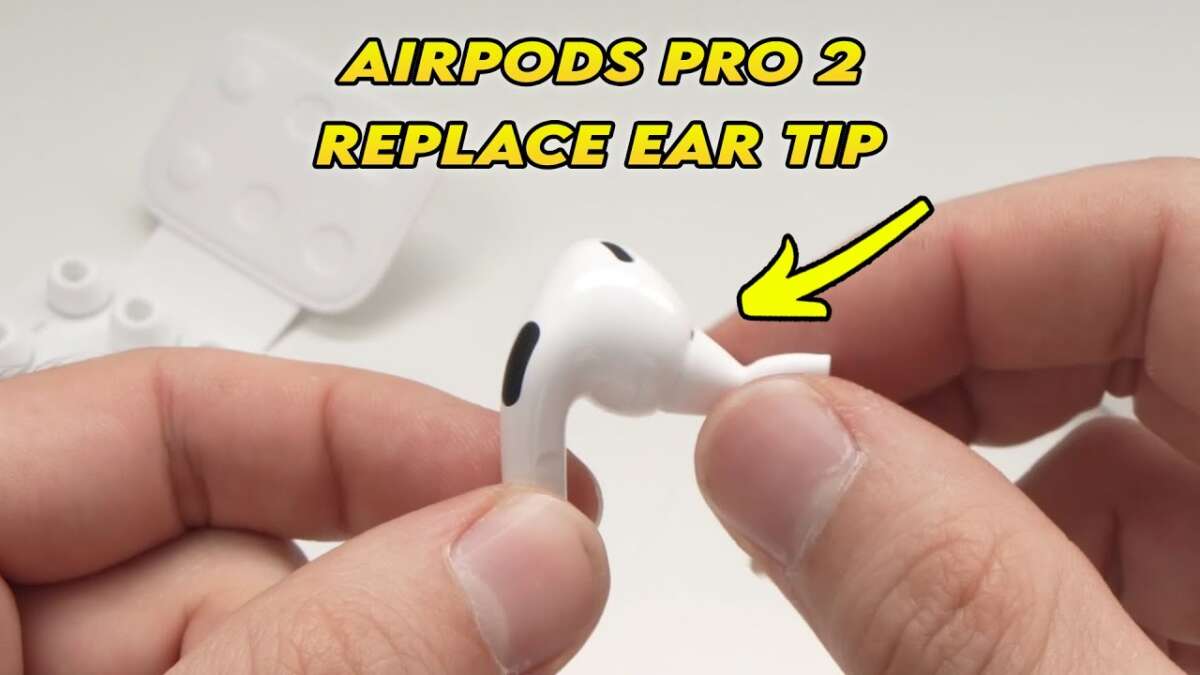
- Gently pinch the base of the silicone tip where it meets the earbud. Pull firmly straight out. The tip should release in one motion.
- Inspect the stem and speaker mesh. If you see debris, remove it with a soft brush or toothpick, then wipe with a dry cloth.
- Align the new tip’s circular connector with the AirPod stem. Press the tip onto the stem until you feel or hear a secure click.
- Tug lightly on the new tip to confirm it’s locked in place. It should not pull off with gentle force.
- Repeat for the other earbud. Do an ear tip fit test on your iPhone to confirm seal and sound.
I once put a tip on upside down by rushing. The fit felt wrong and the noise cancellation dropped. A quick re-seat fixed it. Take the extra 10 seconds to confirm the click.
:max_bytes(150000):strip_icc()/002_change-airpod-pro-tips-5210949-1594853081454518ac513c3891ab337d.jpg)
How to choose the right size and fit
Choosing the correct tip size matters more than many users think. The right size gives comfort and the best sound.
- Use the iPhone Ear Tip Fit Test: Open Settings > Bluetooth > AirPods Pro > Ear Tip Fit Test. The test advises if the seal is good.
- Start with medium tips. Most users fit M first, then test S or L if seal fails.
- If you feel pressure or pain, the tip is too large. If sound feels thin, the tip is too small.
- Try third-party foam tips if you need a different seal or extra comfort. Foam can offer a better seal but may reduce transparency in sound.
When you test, walk around and speak. Movement can reveal a poor fit faster than sitting still.
Cleaning, care, and when to replace tips
Clean tips often and replace them as needed to keep sound clear and prevent hygiene issues. Proper care extends tip life.
- Clean after heavy use: remove tips, rinse silicone tips with warm water, dry fully before reattaching.
- Never submerge the AirPods. Only wash the silicone tips and let them air dry for at least 24 minutes or until fully dry.
- Use a dry brush to clear the speaker mesh and a damp microfiber cloth for the stem.
- Replace tips every 6 to 12 months, or sooner if they tear, deform, or lose elasticity.
I once waited too long to change tips and noticed a constant rattle from a split seam. Replacing tips stopped the noise instantly. Inspect tips regularly.

Troubleshooting common issues after you change earbud tips on AirPods Pro
If sound or comfort feels off after a swap, these fixes usually help fast. Most issues are fit or debris related, not hardware failures.
- No sound or muffled audio: remove tip and check speaker mesh for wax or lint. Clean gently.
- Poor noise cancellation: try a different tip size or run the Ear Tip Fit Test again.
- Tip won’t attach: inspect the tip connector for damage. Use a genuine replacement if the connector shape is wrong.
- Tip falls off: press firmly until you hear a click. If it still falls off, replace the tip or avoid using third-party tips not made for AirPods Pro.
- Left/right imbalance: clean both tips and check for lodged debris on one side.
If problems persist after cleaning and reseating, reset your AirPods Pro and retest.
Tips, mistakes to avoid, and pro advice
A few small habits make changing ear tips safer and lengthen tip life. Avoid these common mistakes.
- Always pull tips straight off. Twisting or pulling at an angle can damage the connector.
- Don’t use sharp tools near the speaker mesh.
- Keep spare tips in a small case to prevent loss and contamination.
- Test fit after every change. Walk, talk, and play music to be sure.
- If using third-party tips, start with a trusted brand that lists AirPods Pro compatibility.
I recommend keeping a set of spare genuine tips in your bag. They save time and keep sound consistent.

Frequently Asked Questions of how to change earbud tips on airpod pros
How do I remove the old earbud tips from AirPods Pro?
Grip the base where the silicone meets the stem and pull straight out with steady force. They should detach in one motion without twisting.
Will third-party ear tips damage my AirPods Pro?
Most reputable third-party tips are safe, but cheap or ill-fitting tips can stress the connector or block the mesh. Use reputable brands that list AirPods Pro compatibility.
How often should I change or clean the tips?
Clean tips after heavy use and replace them every 6 to 12 months or when they show wear. Replace sooner if they tear or lose elasticity.
How can I tell if the tip size is wrong?
If the sound is thin or bass is weak, the tip is likely too small. If you feel pain or pressure, the tip is too large. Use the Ear Tip Fit Test for confirmation.
What if a tip won’t click onto the AirPod stem?
Check for debris or damage on the stem and tip connector. Clean both parts and try again. If it still won’t attach, use a different tip or consult support.
Can I wash silicone tips in warm water?
Yes, rinse silicone tips under warm water and let them air dry completely before reattaching. Never expose the AirPod itself to water.
Conclusion
Changing earbud tips on AirPods Pro is fast, safe, and often restores comfort and sound quality. Follow the simple steps above, choose the right size, clean tips regularly, and test the fit. Try a quick fit test after each change and keep spare tips on hand. If you found this guide useful, try swapping tips now and leave a comment about your experience or subscribe for more practical device tips.

Everett Ashford is a tech reviewer at mytechgrid.com specializing in SSDs, cameras, TVs, earbuds, headphones, and other consumer electronics. He provides honest, data-driven reviews based on hands-on testing and real-world performance analysis. Everett simplifies complex tech details to help readers make smart, confident buying decisions.