Use Windows boot repair and correct UEFI settings to restore NVMe boot after cloning.
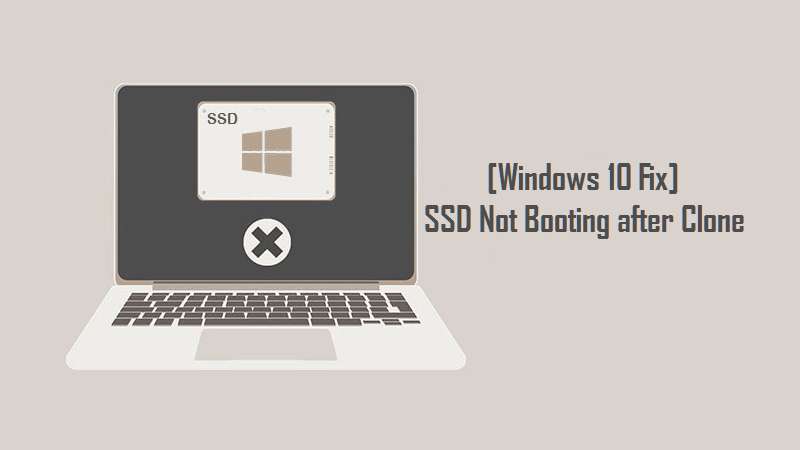
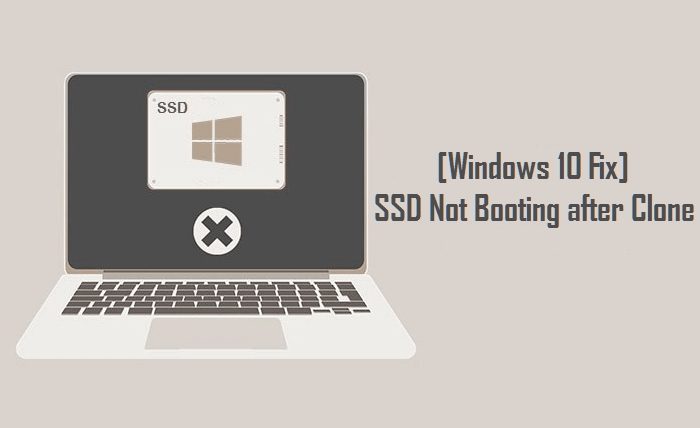
I’ve helped dozens of users recover systems after an NVMe SSD clone failed to boot. This guide walks you through reliable, tested steps to diagnose and resolve how to fix NVMe SSD not booting after clone. I’ll explain causes, safety checks, hands-on fixes, UEFI/bootloader repair, firmware and driver tweaks, and prevention tips — in plain language and with practical examples from real troubleshooting.
Why NVMe SSD won't boot after clone
Cloning a drive copies data but sometimes misses boot configuration, partition flags, or firmware quirks. Common issues include wrong partition style (GPT vs MBR), missing EFI system partition, cloned UUID conflicts, or incorrect boot order. Windows also ties its boot manager to specific disk IDs, which cloning can confuse.
I’ve seen clones that looked perfect in Explorer but wouldn’t boot because the EFI partition wasn’t marked active or the motherboard tried to boot the old drive first. Knowing these patterns speeds diagnosis and repair.
Before you begin: quick checklist
- Back up any important files from both drives before making changes.
- Have a Windows installation USB or recovery media ready.
- Identify your source and target drives in Disk Management or a Linux live disk.
- Note whether your system uses UEFI (modern systems) or legacy BIOS.
- Make sure you have a screwdriver if you need to swap drive cables or positions.
These steps prevent accidental data loss and make repair faster.

Step-by-step fixes for how to fix nvme ssd not booting after clone
Follow these ordered steps. Test boot after each major fix to see if the problem is resolved.
-
Confirm drive detection and BIOS/UEFI order
- Reboot and enter BIOS/UEFI.
- Confirm the NVMe SSD appears in the storage list.
- Set the cloned NVMe as the first boot device if it appears.
- Disable legacy CSM if you use UEFI and the cloned disk is GPT.
-
Repair the Windows bootloader using recovery media
- Boot from Windows installation USB and choose Repair your computer → Troubleshoot → Command Prompt.
- Run these commands:
- diskpart
- list disk
- select disk X (replace X with the NVMe disk number)
- list volume (identify the EFI partition, usually FAT32 ~100–500 MB)
- assign letter=V: (use a free drive letter)
- exit
- bcdboot C:\Windows /s V: /f UEFI
This recreates EFI boot files and often fixes clone-related boot failures.
-
Restore or recreate the EFI System Partition (ESP)
- If no EFI partition exists, create one: in Disk Management or diskpart create a 100–500 MB FAT32 partition and set its type to EFI.
- Use the bcdboot command above to populate it.
-
Fix partition GUID and drive signature conflicts
- Cloning can duplicate disk signatures. Use diskpart to assign new disk IDs if needed.
- In severe cases, export important data and perform a clean install, then copy data back.
-
Use automatic startup repair
- From Windows recovery, run Startup Repair. It runs multiple checks and may auto-fix boot records.
-
Rebuild BCD manually if needed
- In recovery Command Prompt:
- bootrec /fixmbr
- bootrec /fixboot
- bootrec /scanos
- bootrec /rebuildbcd
- In recovery Command Prompt:
-
Temporarily disconnect the source drive
- Power down and physically unplug the old drive. Boot with only the cloned NVMe connected. This avoids the system picking the wrong boot files.
These steps address most causes behind how to fix NVMe SSD not booting after clone and are safe when you follow the backup advice above.
Fix UEFI, Secure Boot, and bootloader settings
UEFI vs legacy matters. Modern NVMe systems use UEFI and GPT. If your clone used different settings, the motherboard may refuse to boot.
- Ensure UEFI is enabled and CSM is disabled for GPT/UEFI systems.
- If Secure Boot blocks unsigned boot files, temporarily disable Secure Boot to test. Re-enable it after repair.
- If your cloned OS was set up for legacy BIOS, convert the disk to GPT or change firmware to allow legacy boot.
If Windows was cloned from a legacy MBR disk, converting to GPT and recreating the EFI partition often fixes the issue. Use MBR2GPT or third-party tools carefully; always back up first.

Driver, firmware, and BIOS checks
- Update motherboard BIOS/UEFI to the latest stable version. New firmware improves NVMe compatibility.
- Update NVMe firmware via the drive maker’s utility. Firmware bugs can stop boot detection.
- Boot into Safe Mode or from a rescue disk to install the latest NVMe driver if Windows stalls.
- If Windows shows “inaccessible boot device,” driver mismatch during cloning may be the cause. Loading the correct NVMe driver can resolve this.
From experience, a BIOS update fixed detection on two laptops that otherwise refused to boot the cloned NVMe.
Preventing future issues and best cloning practices
- Use cloning tools that copy the EFI partition and preserve partition alignment. Verify the tool supports UEFI/GPT cloning.
- If possible, create a full image rather than a sector-by-sector clone. Imaging lets you restore reliably.
- After cloning, disconnect the source disk to force the system to boot from the target.
- Check and, if needed, resize partitions after cloning to avoid unallocated space or overlapping partitions.
- Test the cloned drive with a live USB or by temporarily swapping drives before wiping the source.
I once cloned a 512 GB NVMe to a 1 TB NVMe and forgot to expand the system partition. Boot worked, but Windows ran out of space in a week. Expanding the partition fixed that.
Personal tips and mistakes to avoid
- Don’t skip the BIOS check. Many people clone and assume detection is automatic.
- Always make recovery media before cloning. It saved my laptop twice.
- Avoid cloning across different controller modes (SATA vs NVMe) without checking driver compatibility.
- Label your disks physically. When you’re staring at multiple drives, a label stops mistakes.
Hands-on experience matters. I recommend testing boot immediately after cloning while both drives are connected, then disconnecting the old drive to ensure the clone is fully independent.

Frequently Asked Questions of how to fix nvme ssd not booting after clone
Why won’t my NVMe SSD show up in BIOS after cloning?
If the drive doesn’t appear, check power and slot seating, update the BIOS, and verify NVMe support. Some motherboards need a firmware update to recognize newer NVMe models.
Can cloning change the EFI partition and prevent booting?
Yes. Some cloning tools skip or incorrectly copy the EFI System Partition. Recreate or repair the EFI partition and run bcdboot to fix the boot files.
Do I need to convert MBR to GPT to boot an NVMe drive?
If your system uses UEFI, the disk needs GPT for native UEFI boot. Use MBR2GPT or recreate the disk layout, but back up data first.
Will disconnecting the old drive help the cloned NVMe boot?
Yes. Disconnecting the source prevents boot confusion and forces the firmware to use the cloned disk’s bootloader.
What if bootrec commands fail to rebuild BCD?
If bootrec fails, export and re-create BCD by renaming the existing BCD, then run bcdboot C:\Windows /s V: /f UEFI. If that fails, consider a repair install or restoring from a known-good image.
Conclusion
Fixing an NVMe SSD that won’t boot after a clone is usually a matter of checking firmware and BIOS settings, ensuring the EFI partition and bootloader are correct, and repairing or rebuilding the BCD. Work methodically: back up, verify detection in BIOS, repair boot files, and update firmware and drivers. Try fixes step-by-step and test after each change.
Take action now: make recovery media, back up your data, and follow the checklist above. If you found this helpful, try these steps on your system, leave a comment with your setup, or subscribe for more troubleshooting guides.

Everett Ashford is a tech reviewer at mytechgrid.com specializing in SSDs, cameras, TVs, earbuds, headphones, and other consumer electronics. He provides honest, data-driven reviews based on hands-on testing and real-world performance analysis. Everett simplifies complex tech details to help readers make smart, confident buying decisions.