Twist the bracket, press the release tab, and lift the Ring camera off the mount.
I’ve removed and rehung dozens of Ring devices, and I’ll walk you through how to remove Ring camera from mount step by step. This guide explains the common mounts, tools you’ll need, safety checks, and troubleshooting tips. You’ll learn clear, tested methods for how to remove Ring camera from mount without damage, whether it’s a doorbell, stick-up cam, or floodlight model. Read on for practical tips, real-life lessons, and simple steps you can follow right now.

Why and when you might remove a Ring camera from mount
Removing a Ring camera from its mount is common during relocation, maintenance, battery swap, or repair. You may need to remove the camera if the Wi-Fi signal is weak, if the mount is damaged, or when changing mounting angle. Knowing how to remove Ring camera from mount safely avoids scratching the unit or stripping screws.
Removing the device correctly protects the camera, the mount, and your warranty. It also saves time later when you reinstall or service the unit. I’ll explain different mounts and the right removal steps for each one.
Tools and safety checklist before you remove your Ring camera from mount
A quick checklist prevents mistakes. Before you start, gather a few small tools and follow safety steps so the removal is smooth.
-
Tools you may need
-
Small Phillips screwdriver
-
T10 Torx screwdriver or security bit (for certain Ring models)
-
Plastic pry tool or flathead screwdriver (small, wrapped in tape to avoid scratch)
-
Ladder or step stool for high mounts
-
Gloves and safety glasses for outdoor work
-
Safety steps
-
Turn off power if you’re working with wired models like Ring Doorbell Pro or Floodlight Cam.
-
Use a stable ladder and have a spotter for tall locations.
-
Keep small screws in a container to avoid losing them.
-
Check manufacturer instructions first for model-specific guidance.
Knowing the right tool for how to remove Ring camera from mount is half the battle. Using the wrong bit can strip screws and make removal harder.
Step-by-step guide: how to remove Ring camera from mount
These are general steps that cover most Ring devices. Follow them in order. If your model has special instructions, follow the manufacturer’s notes first.
- Prepare and power down
- If the camera is battery-powered, open the battery compartment and remove the battery if possible.
- For wired devices, switch off the breaker or disconnect power to avoid shocks.
- Position ladder and check screw heads
- Place ladder safely and steady it with a helper.
- Inspect the fasteners—are they Phillips, Torx, or security screws?
- Remove the securing screw(s)
- Use the correct screwdriver or bit. Turn slowly to avoid cam-out.
- Keep screws together in a small container.
- Release the camera from the mount
- Most Ring cameras twist or slide out once the fastener is removed.
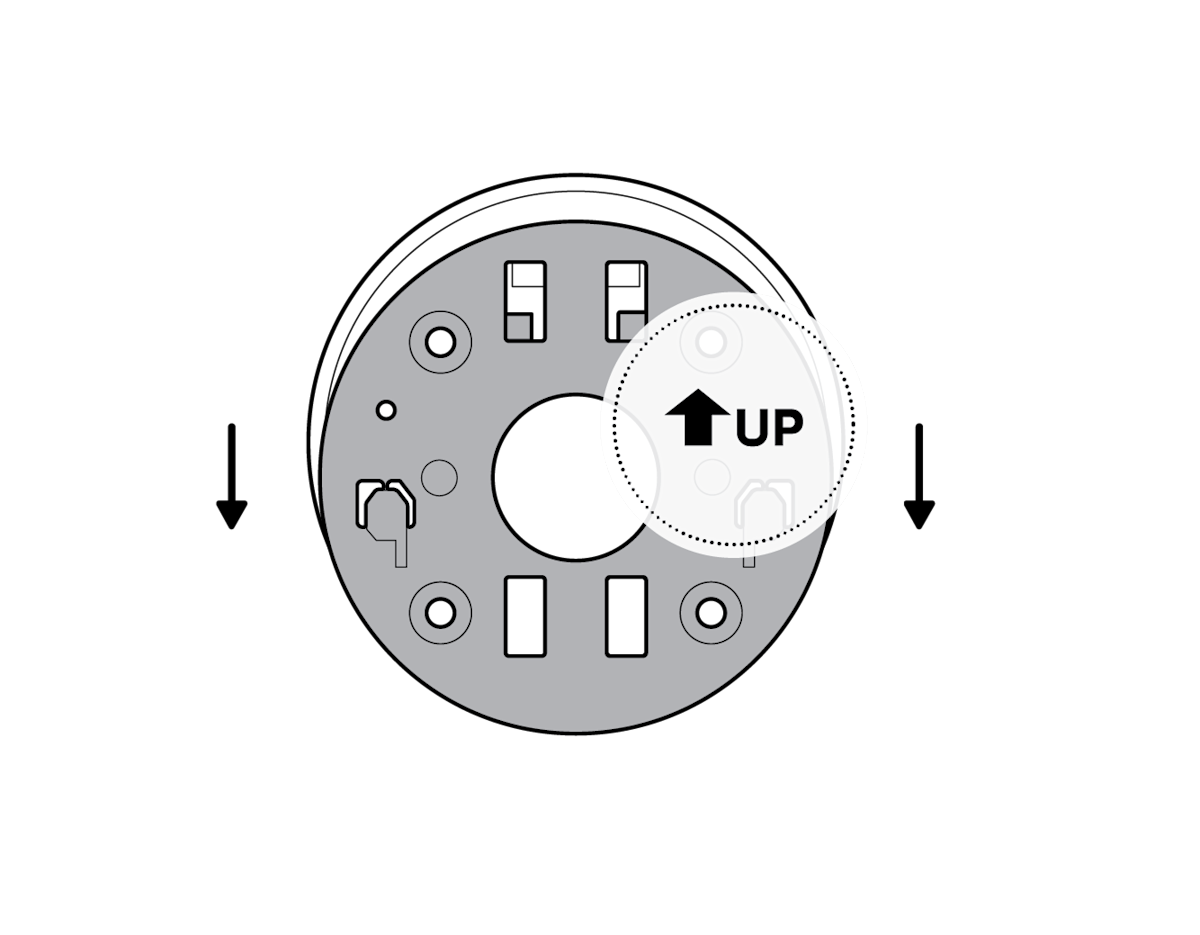
- For a doorbell, press the small release tab at the bottom while lifting.
- For a stick-up cam with a ball mount, hold the camera and gently pull away from the mount.
- Inspect wiring and connectors
* If wired, gently disconnect wires or remove the terminal screws.- Take photos for reference before disconnecting, to ease reinstallation.
These steps cover the basic approach for how to remove Ring camera from mount without damage. If something feels stuck, stop and double-check the screw type. Forcing it can break plastic clips.

How to remove specific Ring mount types
Different Ring models use different mounts. Here are model-specific tips for how to remove Ring camera from mount.
Ring Video Doorbells (standard and Pro)
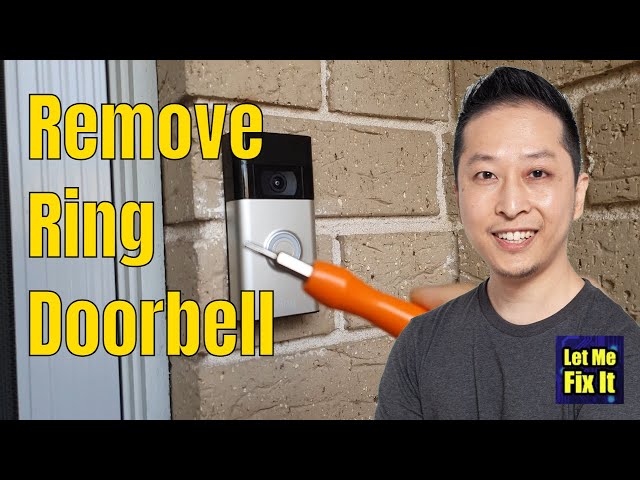
- Most models use a small security screw at the bottom.
- Insert the correct bit, remove the screw, press the release tab at the base, and lift the doorbell straight off the mounting plate.
Ring Stick Up Cam (ball mount)
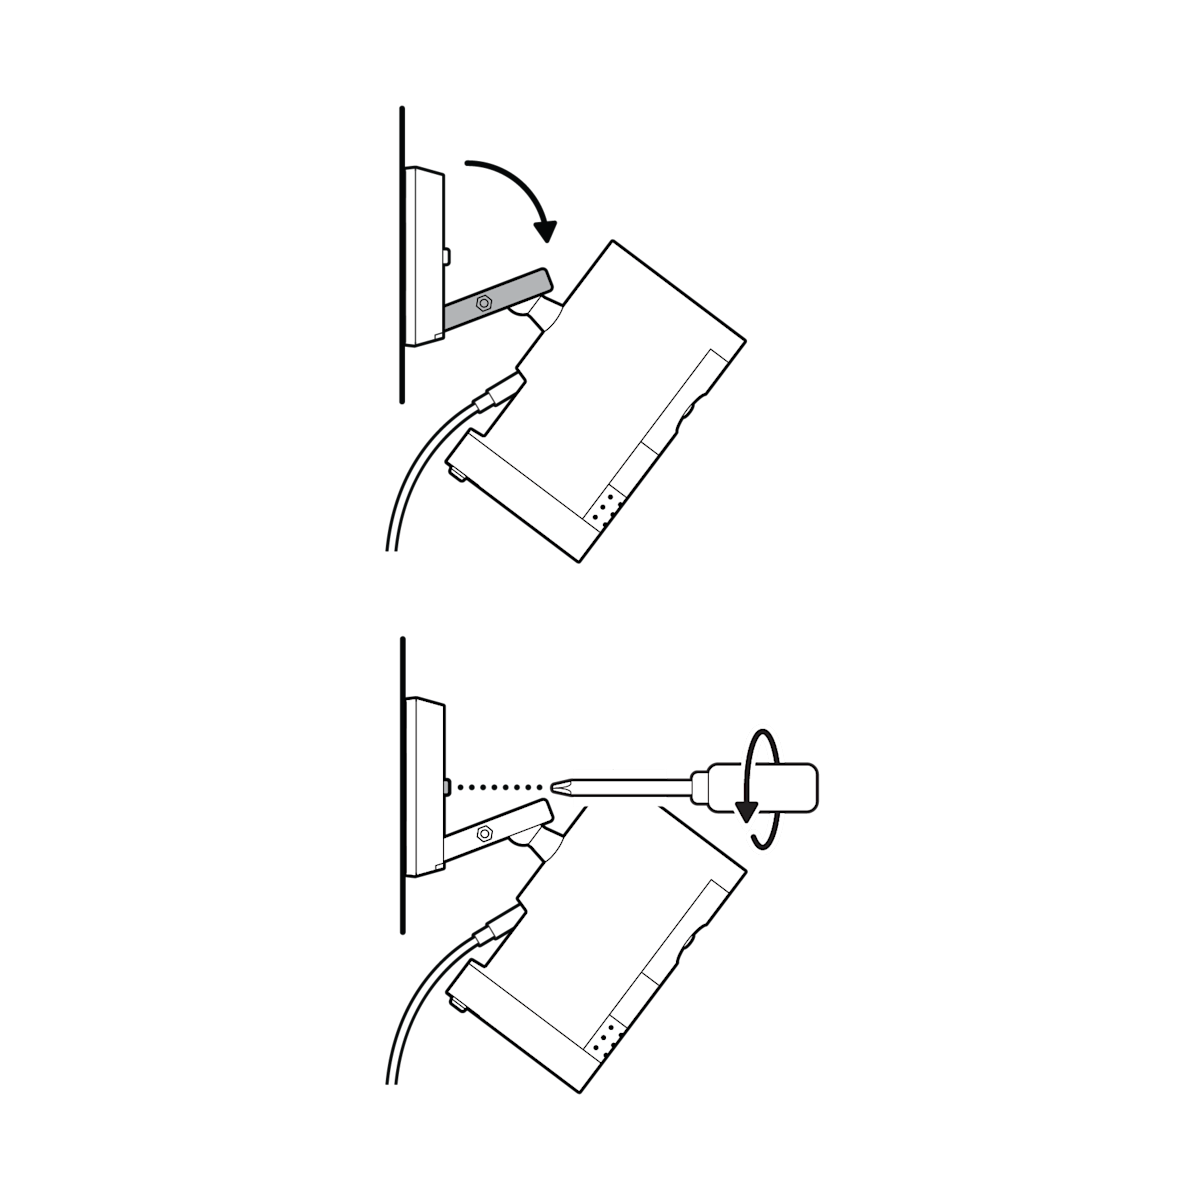
- Loosen the screw that clamps the ball joint.
- Hold the camera and slide it off the ball.
- If adhesive or cement anchors were used, pry gently with a plastic tool.
Ring Floodlight and Spotlight Cams
- Turn off the circuit breaker first for safety.
- Open the access panel, remove the mounting screws, then disconnect the wiring.
- Lift the unit off the bracket carefully; these units are heavier and need two people.
Adhesive or no-drill mounts
- Apply steady heat with a hair dryer to soften adhesive if safe.
- Use a fishing line or thin wire to cut adhesive behind the mount, working slowly to avoid paint damage.
Each of these steps helps you understand how to remove Ring camera from mount depending on the model. If your unit has a unique mount, consult the model-specific quick start guide.

Troubleshooting common issues when removing a Ring camera from mount
Problems can happen. Here are quick fixes for common snags when you remove Ring camera from mount.
- Stripped screw heads
- Use a rubber band over the head for extra grip, or try a screw extractor set.
- Stuck plastic clips
- Warm the area lightly with a hair dryer to soften plastic, then pry gently with a plastic tool.
- Wired connection is tight
- Take a photo and label wires before loosening. Use needle-nose pliers for better control.
- Camera won’t come off after screws are removed
- Look for hidden locking tabs or a security screw at the top or bottom. Some models swivel before release.
I once struggled with a low-mounted Stick Up Cam where a paint bead glued the mount. A small heat gun and patience saved the finish and the camera. That taught me to inspect mounts closely and not rush. These are practical fixes to keep the removal smooth.

Reinstalling, relocating, and what to check after removal
If you plan to reinstall or move the camera, follow these tips to make the process fast and secure.
- Check the mount and camera for damage before reinstalling.
- Replace stripped or worn screws with new ones of the same size and type.
- Clean the mounting surface and use weatherproof sealant if needed.
- Test Wi-Fi at the new location to avoid weak signal that led to removal.
- If you plan to switch from wired to battery operation or vice versa, verify compatibility.
Knowing how to remove Ring camera from mount is only part of the story. Proper reinstallation prevents future problems and ensures the camera records reliably.
Maintenance tips after removal to extend camera life
After you remove your Ring camera from mount, do a short service routine to keep it working well.
- Clean lenses and housing with a microfiber cloth.
- Check screws and brackets for rust or wear; replace if needed.
- Update firmware via the Ring app before reinstalling.
- For battery models, fully charge batteries and check contacts for corrosion.
Routine checks reduce the need to remove the camera again soon. Treat the device like a small appliance; a little care goes a long way.

Quick PAA-style questions inside the guide
How long does it take to remove a Ring camera from mount?
Most removals take 5 to 15 minutes, depending on height and screw type. Complicated mounts or wiring can add time.
Can I remove a Ring camera without turning off power?
Do not remove wired models without cutting power at the breaker. Battery models can be removed safely without power off.
Will removing the camera affect my recordings?
Removing the camera pauses live recording. Cloud-stored events remain in your Ring account unless you delete them.
Frequently Asked Questions of how to remove ring camera from mount
How do I remove a Ring doorbell from its mount?
Remove the bottom security screw with the correct bit, press the release tab, and lift the doorbell straight off the mounting plate. Keep screws safe and power off if wired.
Can I remove a Ring camera without tools?
Some mounts use hand-release tabs, but most require a small screwdriver or Torx bit. It’s safest to have basic tools on hand.
What if the screws are stripped or painted over?
Try a rubber band for grip, a screw extractor, or carefully use a rotary tool. If painted over, score around the head and work slowly to avoid damage.
Do I need to remove the camera to replace the battery?
Yes for most Ring models. Open the battery compartment if accessible or remove the device from the mount to reach the battery.
Will removing my Ring camera void the warranty?
Normal removal and reinstalling typically won’t void warranty. Damaging the device during removal or using improper tools could affect coverage, so follow manufacturer instructions.
Is it safe to remove a Ring floodlight camera alone?
No. Floodlight units are heavy and wired. Turn off power and have a second person assist when removing these models.
Conclusion
You now have clear, practical steps on how to remove Ring camera from mount for most models. Follow the right tools, power-off safety, and model-specific tips to avoid damage and make reinstallation simple. Try these steps the next time you move, service, or replace a camera, and you’ll save time and avoid common mistakes. If this guide helped, leave a comment below, share your experience, or subscribe for more hands-on smart home tips.

Everett Ashford is a tech reviewer at mytechgrid.com specializing in SSDs, cameras, TVs, earbuds, headphones, and other consumer electronics. He provides honest, data-driven reviews based on hands-on testing and real-world performance analysis. Everett simplifies complex tech details to help readers make smart, confident buying decisions.