Use absorbent materials, gentle tapping, and warm, low airflow to dry headphones safely.
I've repaired and tested dozens of wet headphones, from budget earbuds to premium over-ears, so I know what works and what breaks gear. This guide on how to get water out of headphones walks you through safe, practical steps, clear troubleshooting, and prevention tips so you can rescue your audio quickly and avoid costly damage.

Why water in headphones is a problem
Water can short circuits, corrode contacts, and trap dirt inside tiny parts. When you learn how to get water out of headphones quickly, you reduce the risk of permanent damage and poor sound. Different designs—open-back, closed-back, wired, and true wireless earbuds—need different approaches, so match the method to the model.
Immediate steps to take right after water exposure
Act fast and stay calm. First, power off the device and disconnect it from any cables or charging cases. Remove ear tips, foam, or removable cushions. Gently shake excess water out with the driver pointing down and pat surfaces dry with a soft cloth. These immediate moves are the core foundation for how to get water out of headphones safely.

Step-by-step methods to get water out of headphones
No single method fits all. Use a stepwise approach depending on the type of headphones.
-
Wired on-ear or over-ear headphones
- Unplug and power off. Remove removable pads. Use a microfiber cloth to absorb visible moisture.
- Point the earcups down and lightly tap the rear to encourage water to move out.
- Use low, warm airflow (room-temperature hair dryer on cool/low or a fan) at a distance of 12 inches for 10–20 minutes per side.
- Leave to air-dry 24–48 hours before testing.
-
True wireless earbuds and in-ear monitors
- Remove tips and charging case insert. Wipe external surfaces with a dry cloth.
- Gently tap the earbud stems against a soft surface, driver facing down, to dislodge trapped water.
- Use silica gel packs placed around earbuds in a sealed container for 24–48 hours; this is often more effective and safer than rice.
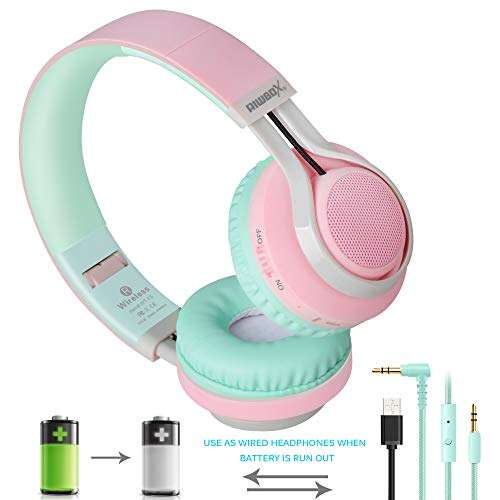
- Do not put earbuds in the charging case until fully dry to avoid shorting the case.
-
Open-back and ventilated designs
- These often dry faster because air can pass through. Still follow cloth drying, tapping, and low airflow.
- Avoid pouring liquid or trying to blow high-pressure air directly into the grill.
-
Non-removable cushions or sealed drivers
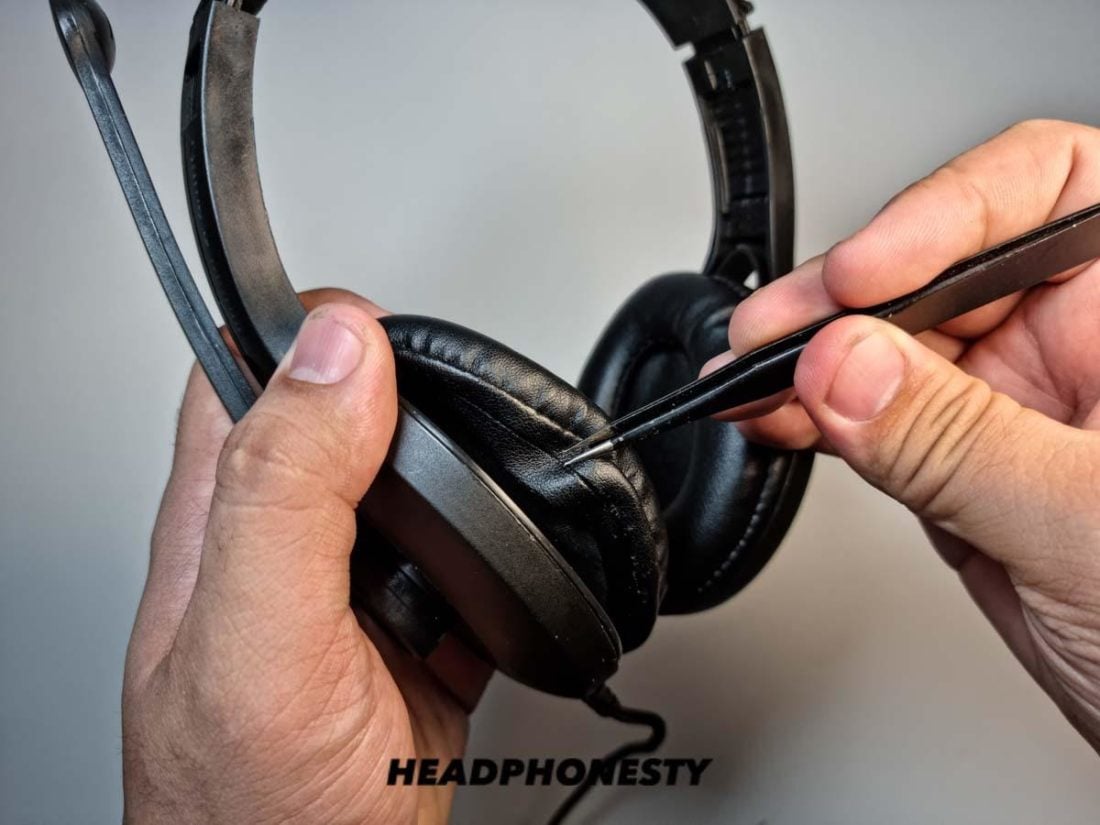
- Use small wads of dry tissue at the cushion edge to wick moisture away. Replace foam pads if they stay damp or smell.
People also ask:
Can I use rice to dry headphones?
Rice can absorb moisture but is slow and leaves dust particles. Use silica gel packs instead when possible.
Is a hair dryer safe for wet headphones?
A hair dryer on cool or low heat and held at a distance is generally safe. Never use high heat or hold it close to drivers and plastic, which can warp or melt.

Methods to avoid and safety warnings
Avoid high heat, direct sunlight, and compressed air aimed at the driver. Do not submerge non-waterproof headphones in rice or alcohol. Opening sealed units yourself can void warranties and damage delicate components. If your device is rated IPX water-resistant, follow manufacturer guidelines—water resistance is not the same as waterproof.

Testing and troubleshooting after drying
After 24–48 hours of drying, run these checks in order.
-
Visual and smell inspection
- Look for water residue, corrosion, or persistent damp smell. If present, continue drying or seek repair.
-
Functional test
- Power on with low volume. Listen for distortion, crackling, or dropouts.
- Test each driver and microphone independently to detect partial damage.
-
Reset and firmware updates
- For wireless models, reset pairing and update firmware before concluding a hardware fault. Software fixes can resolve connectivity oddities after water exposure.
If problems remain after proper drying, professional cleaning or component repair may be needed. Taking the wrong action can worsen corrosion, so weigh repair costs against replacement.

Long-term care and prevention
Prevention saves time and money. Use these habits to avoid needing to learn how to get water out of headphones again.
- Keep cases and bags waterproof or water-resistant.
- Remove earbuds before swimming or showering and avoid wearing them in heavy rain.
- Dry sweat after workouts and keep spare tips to swap when one pair is wet.
- Store silica gel packs with gear and replace them periodically.

My experience and practical tips
From years of fixing wet headphones, I learned three key lessons. First, act quickly—minutes matter for electronics. Second, gentle tapping and gravity are underrated; many users skip them and then force air or heat that causes damage. Third, silica gel works far better than rice and won’t introduce dust. Once, I saved a pair of wireless earbuds by removing tips, tapping water out, then sealing them with six silica packs for 48 hours; the earbuds worked like new.

Frequently Asked Questions of how to get water out of headphones
How long should I dry my headphones after they get wet?
Drying times vary by model and exposure. Expect 24–48 hours for most earbuds and up to 72 hours for heavily soaked over-ear headphones.
Can I use rubbing alcohol to dry headphones?
Small external wipes of isopropyl alcohol can help clean and displace water, but do not pour alcohol into drivers or charging contacts. Use alcohol sparingly and only on non-electrical surfaces.
Will warranty cover water damage to my headphones?
Most warranties exclude water damage unless the product is explicitly waterproof. Check manufacturer policy and document the incident for claims.
Are silica gel packs better than rice for drying headphones?
Yes. Silica gel absorbs moisture faster and without leaving dust. Use multiple packs in a sealed container for best results.
What if my headphones sound muffled after drying?
Muffled sound often means water is still in the driver or ear tips. Remove tips, tap and dry longer, and test again. If muffling persists, professional service may be required.
Conclusion
Rescuing wet headphones is usually possible with calm, correct steps: power off, remove parts, wick away moisture, use gentle airflow or silica gel, and test carefully. Take this advice and act quickly to avoid permanent damage—your chances of recovery improve dramatically when you follow proven drying steps. If you found this helpful, try these tips next time or share your experience below, and consider subscribing for more practical audio care guides.

Everett Ashford is a tech reviewer at mytechgrid.com specializing in SSDs, cameras, TVs, earbuds, headphones, and other consumer electronics. He provides honest, data-driven reviews based on hands-on testing and real-world performance analysis. Everett simplifies complex tech details to help readers make smart, confident buying decisions.