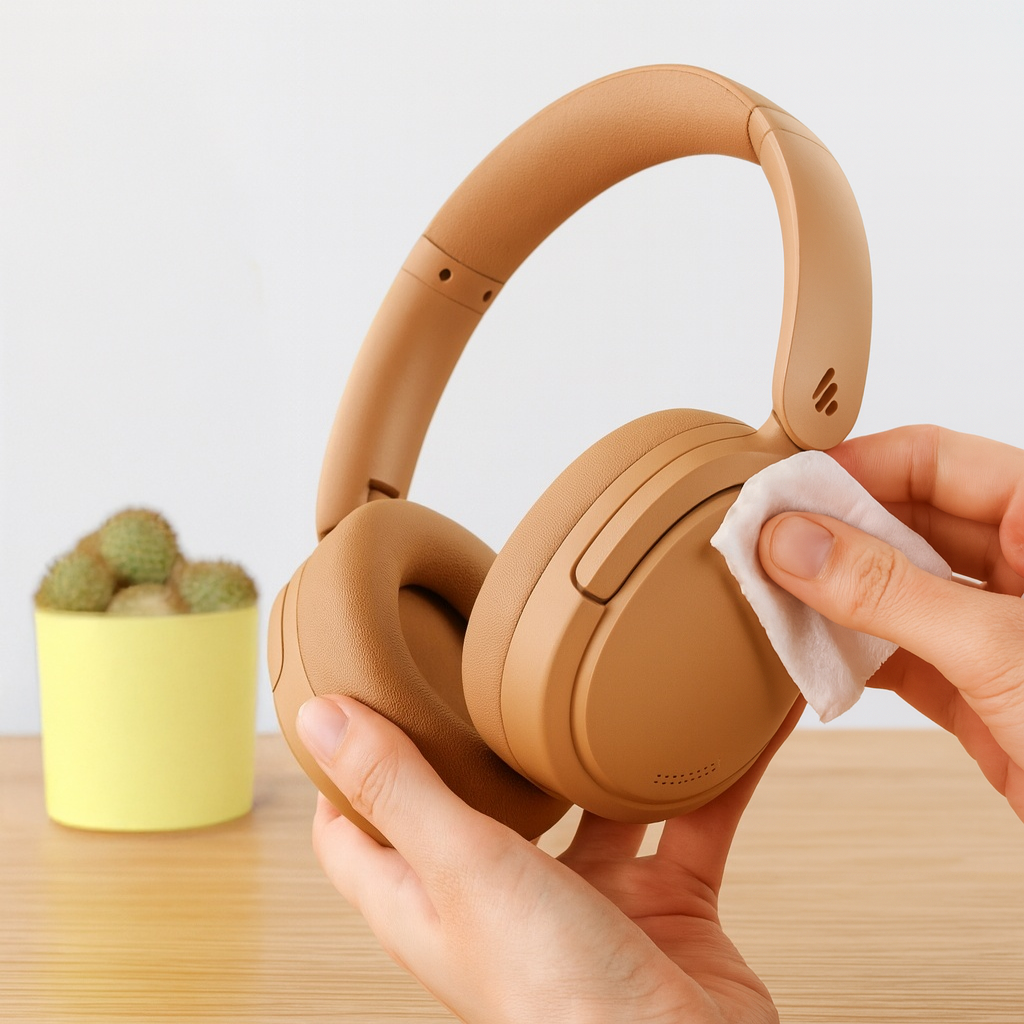
Clean over ear headphones pads with gentle soap, water, and careful drying — removeable pads can be hand‑washed.
I’ve spent years testing audio gear and fixing headphones for friends and clients. In this guide I’ll show exactly how to clean over ear headphones pads safely, step by step. You’ll learn what tools to use, how to handle different pad materials, how often to clean, and when to replace pads. Follow these clear steps and tips and your headphones will stay fresh, last longer, and sound better.

Why clean over ear headphones pads
Clean pads feel better and protect your ears. Dirt, sweat, and oils build up fast on pads. That buildup can smell, damage foam, and change sound seal. Cleaning pads keeps them hygienic and extends their life.
You should clean pads more often if you use them for workouts or share them. I recommend a quick wipe after heavy use and a deeper clean every 2–3 months. This simple habit prevents long-term damage and bad odors.

What you need before you start
Prepare a small kit so the job goes fast and safe:
- Soft microfiber cloth for wiping
- Mild dish soap or gentle laundry detergent
- Isopropyl alcohol 70% for quick disinfecting
- Cotton swabs for crevices
- Small bowl of warm water (not hot)
- Towel for drying
- Optional: replacement pads or covers
Check your headphone manual first. Some brands warn against water or certain cleaners. If pads are removable, take them off before you soak or wipe.
Step-by-step: how to clean over ear headphones pads safely
Use this clear routine whether your pads are leather, pleather, velour, or fabric.
- Inspect and remove
- Turn off and unplug headphones.
- Remove pads if they detach. Note how they fit so you can reattach them later.
- Quick daily wipe
- Dampen a microfiber cloth with water and a drop of soap.
- Wipe both sides of the pads and the cup rims. Keep water light near seams.
- Hand-wash removable pads
- Mix warm water and a small amount of soap in a bowl.
- Gently press and rub pads in the soapy water. Do not submerge foam inserts for long.
- Rinse with a damp cloth. Avoid wringing foam.
- Disinfect and remove oils
- Lightly wipe synthetic leather with a 70% isopropyl alcohol solution on a cloth.
- For fabric or velour, test a small area first to avoid color loss.
- Dry properly
- Pat pads with a towel to remove excess moisture.
- Air dry on a flat surface away from direct sun or heat. Dry time varies but allow 8–24 hours.
- Reattach and check
- Refit pads when fully dry. Check for loose seams or glue failures before reuse.
If pads are glued on and non-removable, skip soaking. Use damp cloths and cotton swabs to clean seams and gaps. For strong odors, repeat cleaning or use a targeted odor treatment (see next section).

How to clean specific pad materials
Different materials need different care. Use the right method for best results.
- Synthetic leather and pleather
- Use mild soap and water. Avoid soaking the backing. Disinfect with 70% isopropyl alcohol if needed.
- Real leather
- Avoid heavy water. Use a leather cleaner and a tiny oil or conditioner to prevent cracking.
- Velour and fabric
- Hand-wash gently. You can use a mild detergent. Rinse fully and air dry to keep the nap soft.
- Memory foam inside pads
- Keep foam from staying wet. Lightly sponge clean. Do not machine wash.
If unsure, follow the manufacturer’s care notes. When in doubt, start with a damp cloth and mild soap.

How to remove stubborn stains and bad odors
For deep stains or persistent sweat odors, try these safe fixes.
- Baking soda paste
- Make a thin paste of baking soda and water. Dab on stains, let sit 15 minutes, then brush off and wipe clean.
- Vinegar solution for odor
- Mix one part white vinegar to four parts water. Lightly mist a cloth and wipe the pads. Vinegar neutralizes odor but air the pads well.
- Enzyme cleaner
- Use on organic sweat stains. Apply sparingly and test on a hidden spot first.
- Replace padding if needed
- If foam smells permanently or crumbles, replacement is better than deeper cleaning.
Remember: strong chemicals can harm finishes. Use small amounts and test before you commit.

Routine care and prevention tips
Small habits keep pads clean longer and reduce the need for deep cleans.
- Wipe pads after heavy use
- A quick wipe removes sweat and oils.
- Use headphone covers
- Washable covers protect pads and are cheap to replace.
- Store in a clean case
- Keep headphones in a dry case to avoid dust and sweat buildup.
- Avoid cosmetics and hair products
- Those products speed up pad wear.
- Rotate headphones
- Give pads time to air out between long listening sessions.
These steps keep your pads fresh and save you time and money.

Troubleshooting and when to replace pads
Cleaning can’t fix everything. Know when to replace pads.
- Signs to replace
- Cracked or flaking surface
- Foam that feels dense or crumbly
- Persistent odor after cleaning
- Loose or torn seams
- How replacement helps
- New pads restore comfort, seal, and sound balance.
- Choosing replacements
- Match size, material, and compatibility. Generic pads can work but check reviews.
If you try cleaning twice and problems persist, replacement is often the best choice.
Personal experience: common mistakes and lessons learned
I once soaked a pair of glued pads and ruined the glue. That taught me to remove pads whenever possible and to avoid submerging glued models.
Here are quick lessons from years of cleaning gear:
- Always check if pads are removable before using water.
- Test cleaners on a small hidden spot.
- Dry fully before using to avoid electronics damage.
- Keep a spare set of pads; they’re inexpensive insurance.
These tips come from hands-on repair work and repeated trial and error. They’ll save you time and money.

Related topics and safety notes
A few extra points to keep in mind when you clean over ear headphones pads.
- Warranty and manufacturer rules
- Some warranties void if you alter pads or use liquids. Check first.
- Safe cleaners
- Avoid bleach and harsh solvents. These will ruin materials and adhesives.
- Electronics caution
- Keep moisture away from drivers and ports. If water gets inside, let headphones dry for several days before powering on.
Being careful preserves both pads and the headphone electronics.
Frequently Asked Questions of how to clean over ear headphones pads
Are removable pads better for cleaning?
Removable pads are much easier to clean and often last longer. They allow full washing without risking internal electronics.
Can I use alcohol on pleather pads?
Yes, 70% isopropyl alcohol can disinfect pleather safely when used sparingly. Avoid soaking and test a small area first.
How often should I clean over ear headphones pads?
Wipe pads after heavy use and do a deeper clean every 2–3 months. Clean more often if you sweat or share headphones.
Will cleaning change sound quality?
Proper cleaning usually improves seal and sound by removing buildup. Aggressive cleaning or damage to foam can negatively affect sound.
Can I machine wash headphone pads?
Machine washing is not recommended unless the manufacturer explicitly says it’s safe. Machine washing can deform foam and ruin adhesives.
Conclusion
Cleaning over ear headphones pads is simple and worth the small effort. Use mild soap, gentle drying, and the right method for your pad material. Test cleaners first, dry fully, and replace pads when they fail. Start with a quick wipe after use and schedule deeper cleans every few months to keep sound and comfort at their best. Try these tips on your next cleaning session, share what worked for you, or subscribe for more headphone care guides.

Everett Ashford is a tech reviewer at mytechgrid.com specializing in SSDs, cameras, TVs, earbuds, headphones, and other consumer electronics. He provides honest, data-driven reviews based on hands-on testing and real-world performance analysis. Everett simplifies complex tech details to help readers make smart, confident buying decisions.