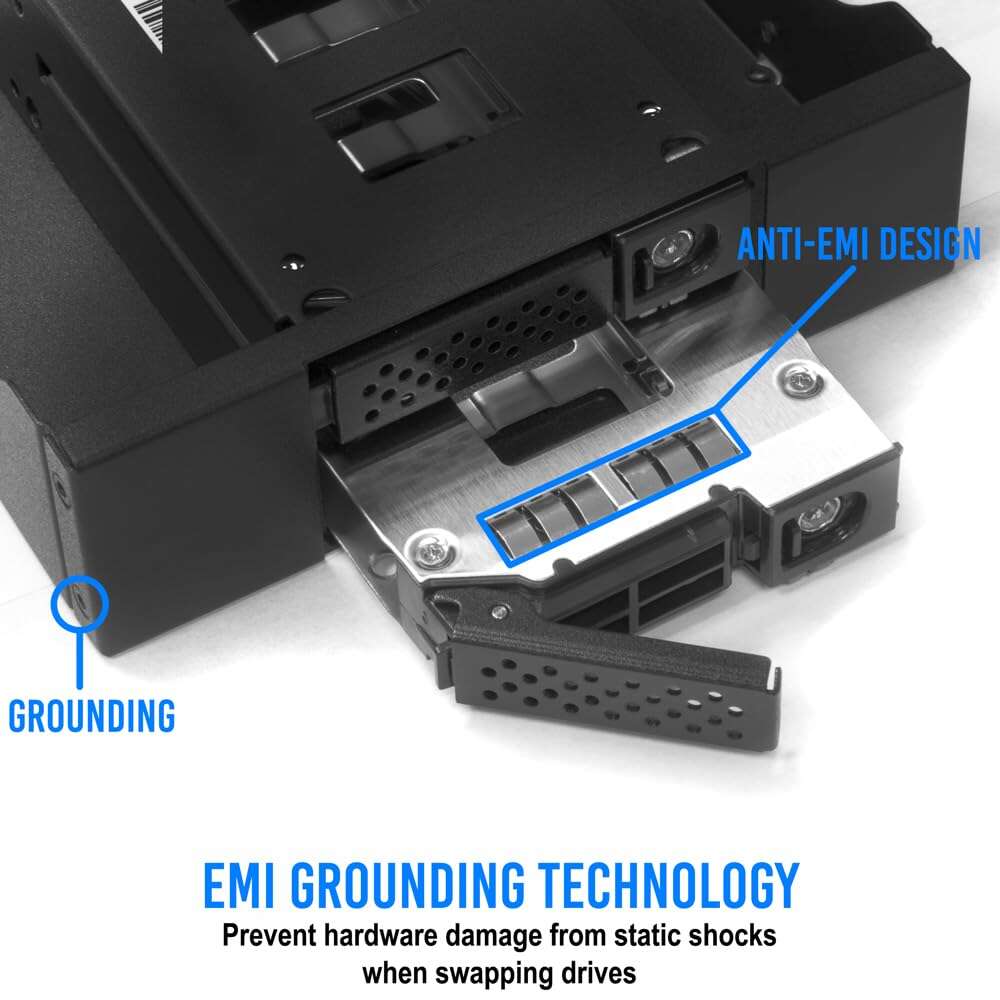
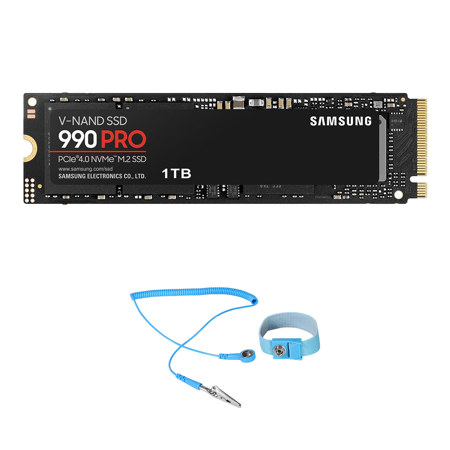
Ground yourself, use an anti-static mat and wrist strap to prevent SSD static damage.
I’ve installed dozens of SSDs in desktops and laptops. I know how fragile modern flash storage can be. In this guide I’ll explain how to prevent static damage when installing SSD in clear, practical steps. You’ll learn simple prep, the right tools, and actions to avoid. Read on and save your drive from unseen harm.

Why static matters when installing an SSD
Static electricity can destroy tiny circuits. A small shock can damage NAND cells or the SSD controller. That damage may not show right away. Your drive can fail later or behave unpredictably.
Knowing how to prevent static damage when installing SSD helps protect your data and your wallet. A safe install lowers risk and extends device life. Follow steps below even for quick upgrades.

Understanding electrostatic discharge (ESD) basics
ESD happens when two objects at different electric charges touch. Human bodies pick up charge from carpets, clothes, and chair fabrics. The voltage from a fingertip can exceed what SSD components tolerate.
When you learn how to prevent static damage when installing SSD, you stop ESD before it reaches the drive. The concept is simple. Control the charge and you control the risk.
Preparing your workspace to prevent static damage when installing SSD
Create a clean, uncluttered work area on a non-conductive surface. Avoid carpets and soft chairs. A hard table with good lighting is ideal.
Gather tools and parts before you start. Keep the SSD in its anti-static bag until you’re ready. Planning reduces fumbles and accidental contact.
I once did a mid-build on a rug. I lost a drive weeks later. Now I always prepare the space first. This real case shows why preparation matters when learning how to prevent static damage when installing SSD.
Tools and protective gear to prevent static damage when installing SSD
Use a grounded wrist strap. Clip the strap to the computer chassis or another grounded point.
Use an anti-static mat under the PC. Place small components on the mat. Keep the SSD in its anti-static bag until you’re ready.
Wear simple, tight-fitting clothes to cut friction. Avoid wool or nylon that cause static. These small steps make a big difference when thinking about how to prevent static damage when installing SSD.
Helpful tools
- Grounded wrist strap with a coiled cord
- Anti-static mat with grounding snap
- Anti-static bags for storage
- Plastic tweezers or ESD-safe tools
- A grounded power supply or grounded outlet tester

Step-by-step: How to prevent static damage when installing SSD
- Power down and unplug the PC. Remove the power cable and the battery on laptops if possible.
- Touch a grounded metal object to discharge any residual charge from your body.
- Put on a grounded wrist strap and connect it to the chassis or a known ground.
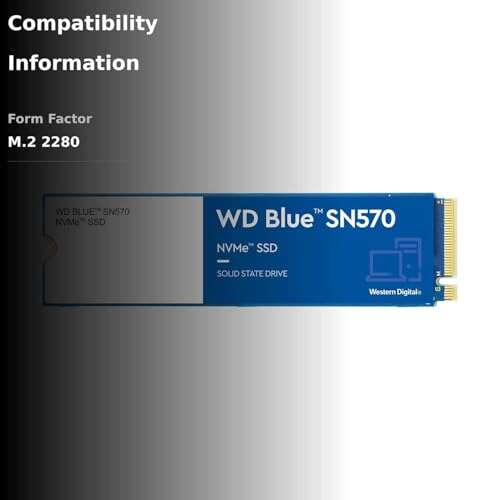
- Remove the SSD from its anti-static bag only when ready to mount.
- Handle the SSD by the edges. Avoid touching the gold contacts or exposed chips.
- Mount the SSD in the drive bay or M.2 slot by following the motherboard manual. Insert gently and secure screws slowly.
- Re-check screws and cables. Keep hands grounded until you replace the case or close the laptop.
Repeat the key phrase mentally: how to prevent static damage when installing SSD. Stick to the steps every time, even for quick swaps. Doing the sequence helps reduce mistakes and keeps your drives safe.

Troubleshooting and what to do after a suspected ESD event
If an SSD behaves oddly after installation, stop and power down immediately. Re-seat the drive and cables. Test the SSD in another system if possible.
If the drive fails to initialize or shows SMART errors, back up any readable data right away. Contact support or seek replacement under warranty. Knowing how to prevent static damage when installing SSD lowers the chance you’ll face these steps, but it helps to be prepared.
Best practices and quick tips
- Always work on a grounded surface and stay grounded. This reduces accidental discharge.
- Keep SSDs in anti-static packaging until installation. Open them only when ready.
- Avoid touching circuitry. Handle by edges and connector only.
- Use ESD-safe tools and fasten screws gently. Over-tightening can warp connectors.
- Power down fully. Remove CMOS battery or laptop battery when required.
- Check motherboard manuals. Some boards have dedicated M.2 standoffs and preventors.
- Avoid humid extremes. Very dry air increases static; mild humidity reduces it.
From my experience, the simplest habit that prevents the most problems is touching the metal chassis after walking across a room. Small checks prevent big data loss. When you practice how to prevent static damage when installing SSD, you reduce risk and build confidence.

Frequently Asked Questions of how to prevent static damage when installing ssd
What is the single best thing to do to prevent static damage when installing SSD?
Wear a grounded wrist strap and connect it to the chassis. That keeps your body at the same potential as the computer and prevents most ESD events.
Can I install an SSD without an anti-static mat?
Yes, but avoid carpets and wear a wrist strap. Keep the SSD in its anti-static bag until you mount it and work on a hard, non-conductive table.
Does touching the SSD edge still risk damage?
Touching the edge is much safer than touching contacts or chips. Always handle drives by the edges and avoid contact with exposed circuitry.
Will turning off the power protect the SSD from static?
Powering off helps, but it does not prevent static discharge from your body. Grounding yourself is required in addition to powering down.
How do I know if an SSD was damaged by static?
Typical signs are failure to be recognized, SMART errors, or unexplained data corruption. Run diagnostics and test in another system to confirm.
Conclusion
You can protect your SSD with simple, repeatable habits. Ground yourself, use anti-static gear, handle the drive by its edges, and work on a proper surface. These steps keep circuits safe and data intact.
Start today: gather a wrist strap and anti-static mat, plan your workspace, and follow the step-by-step routine next time you install a drive. If this helped, try these tips on your next upgrade, subscribe for more guides, or leave a comment with your questions.

Everett Ashford is a tech reviewer at mytechgrid.com specializing in SSDs, cameras, TVs, earbuds, headphones, and other consumer electronics. He provides honest, data-driven reviews based on hands-on testing and real-world performance analysis. Everett simplifies complex tech details to help readers make smart, confident buying decisions.