
To install Windows 11 on a new SSD, create a bootable USB, select the SSD, and complete setup in UEFI mode.
Installing Windows 11 on a new SSD can make an older computer feel new again. The process is safe when you prepare a backup, confirm your PC supports Windows 11, and choose the correct drive during setup. This guide explains how to install Windows 11 on a new SSD, from BIOS settings and USB creation to drivers, activation, and common errors.
What You Need Before Installing Windows 11
Before you install Windows 11 on a new SSD, gather the right tools and check your computer. A clean installation removes data from the selected drive, so preparation matters more than speed.
You will need:


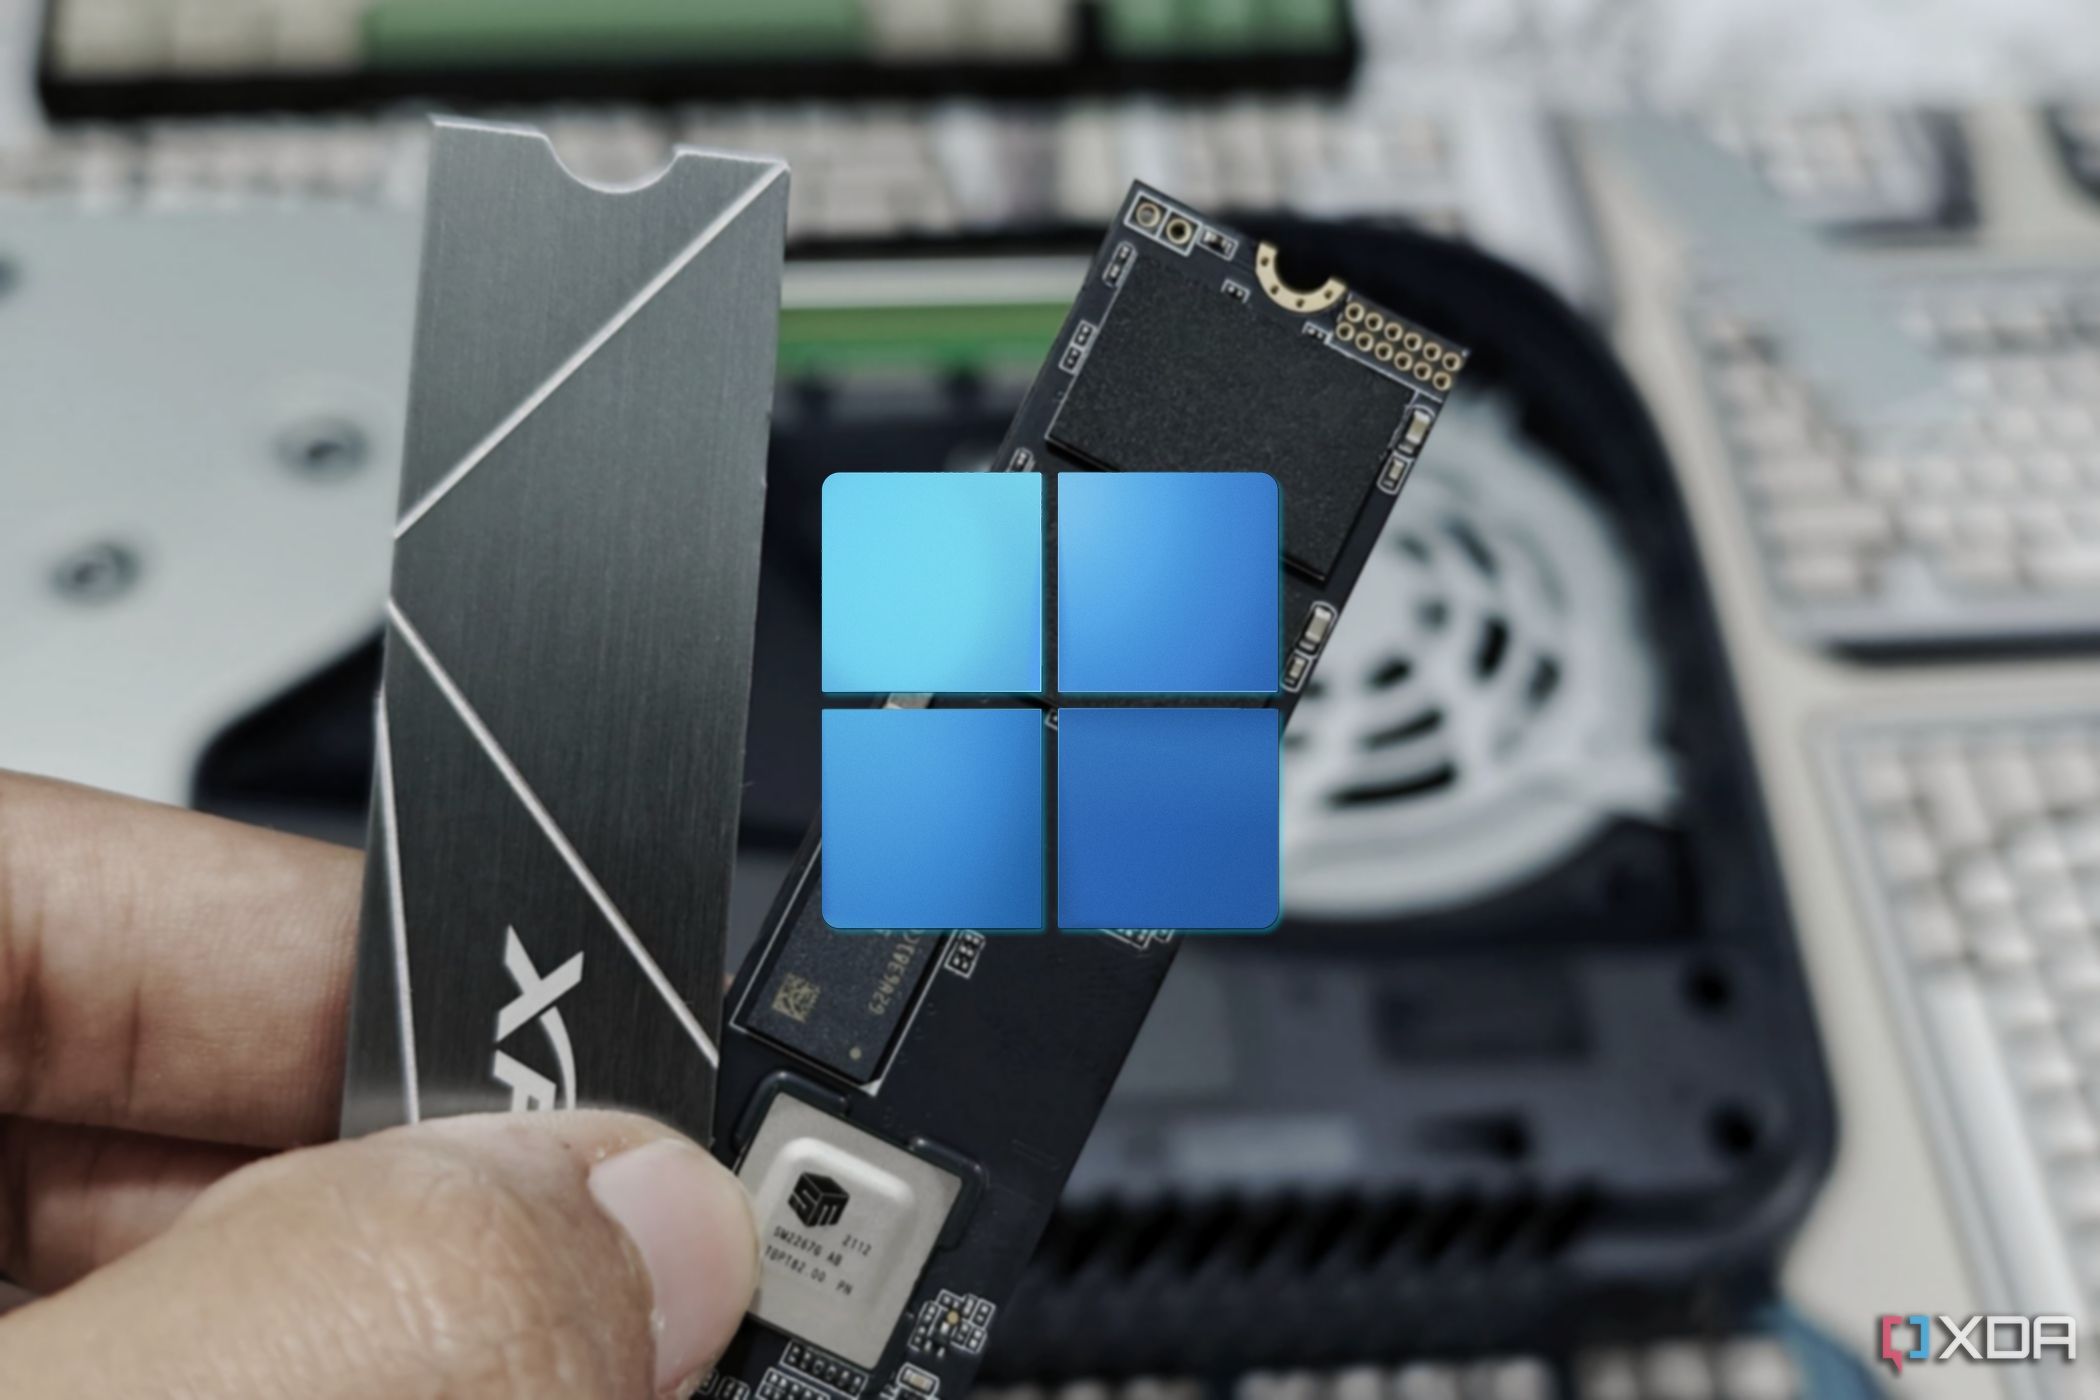
- A new internal SSD installed in your computer
- A working Windows PC with internet access
- A USB flash drive with at least 8 GB of space
- A Windows 11 license or an existing digital license
- A backup of important files
- Your Wi-Fi password
- A second USB drive, if you need storage or network drivers
Microsoft lists these basic Windows 11 requirements:
- A compatible 64-bit processor
- At least 4 GB of RAM
- At least 64 GB of storage
- UEFI firmware with Secure Boot support
- TPM 2.0
- A DirectX 12-compatible graphics device
- An internet connection during setup for many editions
The 64 GB requirement is only the minimum. In practice, a 500 GB SSD gives Windows, apps, updates, and personal files much more room.
If your computer uses Intel VMD, Intel RST, or a RAID storage mode, Windows Setup may not see the SSD at first. Download the correct storage driver from your computer or motherboard maker before starting.
Back Up Your Files and Check Your Windows License
A clean Windows 11 installation can erase every partition on the target SSD. Back up documents, photos, browser bookmarks, game saves, email files, and password data before you begin.
Good backup options include:


- An external hard drive
- OneDrive or another trusted cloud service
- A second computer
- A full system image, if you may need to restore the old setup
If the old SSD still contains Windows, open Settings, select System, and choose Activation. Confirm that Windows is activated and note whether the license is linked to your Microsoft account.
Most modern Windows 10 computers can activate Windows 11 automatically after you connect to the internet. Activation usually depends on the device’s digital license, not the physical SSD. However, major motherboard changes can affect activation.
If you bought a separate product key, keep it in a safe place. Do not share it online or store it in a plain text file that other people can access.
A useful lesson from many Windows installs is simple: never assume a backup worked. Open the backup and test a few files before wiping the old drive.
Create a Bootable Windows 11 USB Drive
The easiest way to install Windows 11 on a new SSD is with Microsoft’s official Media Creation Tool. It downloads Windows and turns a USB drive into installation media.
Follow these steps:
- Connect the USB flash drive to a working Windows computer.
- Open Microsoft’s official Windows 11 download page.
- Download the Windows 11 Media Creation Tool.
- Run the tool as an administrator.
- Accept the license terms.
- Choose the option to create installation media.
- Select the correct language and Windows edition.
- Choose a USB flash drive.
- Select your USB drive carefully.
- Let the tool download Windows and make the USB bootable.
The USB drive will be erased during this process. Do not use a drive that contains files you need.
You can also download a Windows 11 ISO file and create bootable media with another trusted tool. The official Media Creation Tool is usually the simplest choice because it handles the required files and boot settings for most users.
When the process ends, safely eject the USB drive. Keep the computer connected to power, especially if it is a laptop.
Configure BIOS or UEFI for the New SSD
Before you install Windows 11 on a new SSD, confirm that the computer detects the drive. Start the computer and open the firmware settings. Common keys include F2, Delete, F10, and Esc, but the correct key depends on the manufacturer.
Look for a menu named Storage, NVMe Configuration, SATA Information, or Boot. The new SSD should appear there.
Next, check these settings:
- Boot mode should be UEFI rather than Legacy or Compatibility Support Module
- Secure Boot should be enabled when possible
- TPM 2.0 should be enabled
- The USB drive should be available in the boot menu
- SATA mode should match the existing storage setup
TPM may appear under names such as Intel Platform Trust Technology, AMD fTPM, Security Device Support, or Trusted Computing.


If you have a newer NVMe SSD, it may appear under an NVMe information page rather than a SATA page. If it does not appear anywhere, shut down the computer and check the physical installation.
For a desktop, make sure the M.2 drive is fully inserted and secured with its screw. For a 2.5-inch SATA SSD, check both the data cable and power cable. Some laptops have more than one M.2 slot, but only one may support a particular drive type.
Save changes and restart. On many systems, pressing a boot menu key lets you choose the USB without permanently changing the boot order.
Install Windows 11 on the New SSD
Now you can begin the clean installation. Connect the Windows 11 USB drive and boot from it.
Use these steps:
- Start the computer and select the Windows USB from the boot menu.
- Choose your language, time format, and keyboard layout.
- Select Install now.
- Enter your product key if requested.
If you previously activated Windows on this computer, choose I don’t have a product key. Select the same Windows edition that was licensed before, such as Home or Pro. Choosing the wrong edition can prevent automatic activation.
- Accept the license terms.
- Choose Custom: Install Windows only.
- Find the new SSD in the drive list.
- Select the correct SSD.
- Delete its existing partitions if you want a completely clean drive.
- Select the unallocated space.
- Click Next.
Windows Setup creates the required system, recovery, and primary partitions automatically. Do not create partitions manually unless you have a specific reason.
The most important step is identifying the correct drive. Compare the drive size with the manufacturer’s listed capacity. If the old drive is still connected, it may be difficult to tell the drives apart.
When I help troubleshoot installation mistakes, deleting partitions on the wrong disk is one of the most painful errors. Disconnecting the old SSD or hard drive before installation is often the safest option.
Windows will copy files and restart several times. Remove the USB drive when the computer begins booting from the SSD, or choose the SSD from the boot menu if Setup starts again.

Finish the Windows 11 First-Time Setup
After the files are installed, Windows 11 opens its first-time setup screen. Follow the prompts to select your region, keyboard layout, network, and user account.
You may need to sign in with a Microsoft account. This helps connect your digital license, sync some settings, and use services such as OneDrive. Some Windows editions and device setups require internet access during this stage.
Create a strong sign-in method, such as a PIN or Windows Hello fingerprint. Avoid using the same password for your Microsoft account and other important services.


Review privacy settings carefully. You can adjust options for location, diagnostic data, tailored experiences, and advertising after setup. The best choices depend on your needs.
Once you reach the desktop, wait a few minutes before installing many applications. Windows may still be completing background setup.

Install Updates, Drivers, and Essential Software
A fresh Windows 11 installation may use basic drivers at first. These drivers can be enough to start the computer, but manufacturer drivers often improve performance and stability.
Open Settings and go to Windows Update. Install all available updates, restart the computer, and check again. Repeat this process until no important updates remain.
Then install drivers in this order:
- Chipset or platform driver
- Storage or Intel RST driver, if required
- Graphics driver
- Network or Wi-Fi driver
- Audio driver
- Touchpad, card reader, and other device drivers
Use the support page for your exact computer, motherboard, or laptop model. Avoid random driver download websites. They may offer outdated files or unwanted software.
Open Device Manager and check for yellow warning icons. A warning usually means Windows needs a driver for that device.
After drivers are complete, install your browser, security tools, office software, games, and backup software. Restore personal files from your backup only after you confirm that the new system works correctly.
A practical tip is to save your computer model and driver page in your password manager or notes app. It can save time after a future reinstall.

Confirm SSD Health and Windows Activation
After installing Windows 11 on a new SSD, verify that the system is using the correct drive.
You can check the installation by opening File Explorer and confirming that the Windows drive has the expected capacity. You can also open Task Manager, select Performance, and inspect the Disk section.
To check activation:
- Open Settings.
- Select System.
- Select Activation.
- Confirm that Windows is activated.
To check the partition style, right-click the Start button and open Disk Management. Right-click the disk label, not a partition, and open Properties. Under Volumes, look for GUID Partition Table, also called GPT.


Windows 11 normally works best with UEFI and GPT. If the installation used Legacy mode and MBR, Secure Boot may not work correctly, and the setup may not meet the expected Windows 11 configuration.
You can also check Secure Boot and TPM through System Information and Windows Security. Windows Security includes a Device Security area that can show security processor and Secure Boot status.
Do not use third-party “activation” tools. They can contain malware, damage system files, and create future update problems.

Common Problems When Installing Windows 11 on a New SSD
Even a well-prepared installation can run into trouble. Most errors have a clear cause.
The SSD does not appear in Windows Setup
Check whether the SSD appears in BIOS or UEFI. If it is missing there, turn off the PC and inspect the drive, slot, cables, and power connection.
If BIOS detects the SSD but Windows Setup does not, the computer may use Intel VMD, Intel RST, or RAID mode. Download the correct storage driver from the manufacturer, place it on a second USB drive, and choose Load driver in Windows Setup.
Windows says the PC cannot run Windows 11
Check TPM 2.0, Secure Boot, UEFI mode, RAM, processor support, and available storage. Firmware updates may add support for TPM or improve compatibility.
Do not bypass Windows 11 requirements on a main computer unless you understand the security and support limits. Unsupported installations may not receive the same level of support or reliable updates.
The computer keeps returning to the USB installer
Remove the USB drive after the first restart. You can also open the boot menu and select Windows Boot Manager on the new SSD.
If Windows Boot Manager is missing, the installation may not have used UEFI mode correctly. Return to firmware settings and confirm that UEFI is enabled.
Windows activates the wrong edition
This often happens when Windows Home is installed on a computer licensed for Pro, or the reverse. Install the edition that matches the digital license, then connect to the internet and check Activation again.
The SSD is slower than expected
Check whether the drive is installed in the correct slot and whether the system supports its full interface speed. A PCIe 4.0 SSD in a PCIe 3.0 slot can work, but it will operate at the older slot’s speed.
Also check for firmware updates, chipset drivers, thermal throttling, and low free space. SSD performance can drop when a drive is nearly full.
Clean Installation Versus Cloning the Old Drive
A clean install gives you a fresh Windows environment. It removes old drivers, unused software, accumulated settings, and many hidden problems.
Cloning copies the old Windows installation to the new SSD. It keeps applications, settings, and files, so it can save time. However, cloning can also copy corrupted files, unwanted programs, boot errors, and old drivers.
Choose a clean installation when:
- You want the best possible fresh start
- The old Windows installation is slow or unstable
- You changed from Legacy BIOS to UEFI
- You replaced several major components
- You want to remove years of unused software
Choose cloning when:
- You need your current setup unchanged
- You have many programs that are difficult to reinstall
- You have verified backups
- The old installation is healthy
- You understand how to repair boot records if needed
Regardless of the method, keep the old drive untouched until the new system works. It is a useful safety net.
Tips for a Smooth Windows 11 SSD Installation
Small choices can prevent large problems. Use this checklist before you begin:
- Back up files and test the backup
- Record your Windows edition
- Save Wi-Fi and application login details
- Download network and storage drivers in advance
- Use an official Windows 11 installation source
- Disconnect extra drives during a clean install
- Confirm the SSD size before deleting partitions
- Use UEFI and GPT
- Enable TPM 2.0 and Secure Boot when supported
- Keep the computer connected to reliable power
- Allow Windows Update to finish
- Confirm activation before removing the old drive
If the computer is a laptop, keep the charger connected throughout the installation. If it is a desktop, avoid changing cables while the computer is running.
Do not rush the drive selection screen. That one pause can protect years of photos and work.
Frequently Asked Questions About How to Install Windows 11 on a New SSD
Can I install Windows 11 directly on a blank SSD?
Yes. Create a bootable Windows 11 USB, boot from it, choose a custom installation, and select the blank SSD. Windows Setup will create the required partitions automatically.
Do I need to format the new SSD before installing Windows 11?
No. Windows Setup can format and partition the SSD during installation. For a clean installation, select the target SSD, delete its existing partitions, choose the unallocated space, and continue.
Will I lose Windows activation when I install Windows 11 on a new SSD?
Usually, no. If the computer has a digital license, Windows can reactivate after you connect to the internet. Install the same Windows edition that was previously licensed.
Why can’t Windows 11 see my new SSD?
The SSD may not be installed correctly, disabled in firmware, or hidden by Intel VMD, Intel RST, or RAID mode. Check BIOS first, then load the correct storage driver during Windows Setup if necessary.
Should I remove my old SSD before installing Windows 11?
Removing the old drive is recommended during a clean installation. It reduces the chance of deleting the wrong disk and helps Windows place its boot files on the new SSD.
Does Windows 11 need GPT for a new SSD?
Windows 11 is designed to run with UEFI and GPT. Windows Setup normally creates a GPT layout when the computer boots the installer in UEFI mode.
Can I install Windows 11 without a Microsoft account?
The available account options depend on the Windows edition, device, and setup version. Microsoft commonly requires internet access and may request a Microsoft account during setup, so prepare one if needed.
Conclusion
Learning how to install Windows 11 on a new SSD is mostly about careful preparation. Back up your files, create official installation media, use UEFI and GPT, select the correct SSD, and install the right drivers after reaching the desktop.
Take your time at the partition screen and keep the old drive untouched until activation, updates, and hardware checks are complete. Follow these steps, and your new SSD can give Windows 11 a clean, fast, and reliable foundation. Share your installation experience or explore more Windows setup guides for your next upgrade.

Everett Ashford is a tech reviewer at mytechgrid.com specializing in SSDs, cameras, TVs, earbuds, headphones, and other consumer electronics. He provides honest, data-driven reviews based on hands-on testing and real-world performance analysis. Everett simplifies complex tech details to help readers make smart, confident buying decisions.