How To Move Windows To SSD: Easy Step-By-Step Guide
Moving Windows to an SSD is easiest by cloning your current drive, then booting from the new SSD.
If your Windows PC feels slow, moving Windows to an SSD can make startup, app loading, and file access feel much faster. The process is safe when you plan it well, but a wrong disk selection or missing backup can cause serious problems.
This guide explains how to move Windows to SSD using cloning software or a clean installation. It covers preparation, disk space, UEFI settings, activation, common errors, and practical tips learned from real upgrade work.
Why Move Windows to an SSD?
A solid-state drive, or SSD, stores data on flash memory. It has no spinning disks or moving read heads. A hard disk drive, or HDD, uses mechanical parts, so it is slower and more sensitive to movement.
When Windows runs from an SSD, you may notice:
• Faster startup and shutdown
• Quicker app launches
• Less waiting during Windows updates
• Faster file searches
• Better system response during multitasking
• Lower noise and heat than many hard drives
An SSD does not always increase your internet speed, game frame rate, or processor power. However, it removes one of the most common storage bottlenecks in older computers.
The best method for how to move Windows to SSD depends on your situation. Cloning keeps your apps, files, settings, and license. A clean install gives you a fresh system but requires more setup.
Check Whether Your PC Supports the SSD
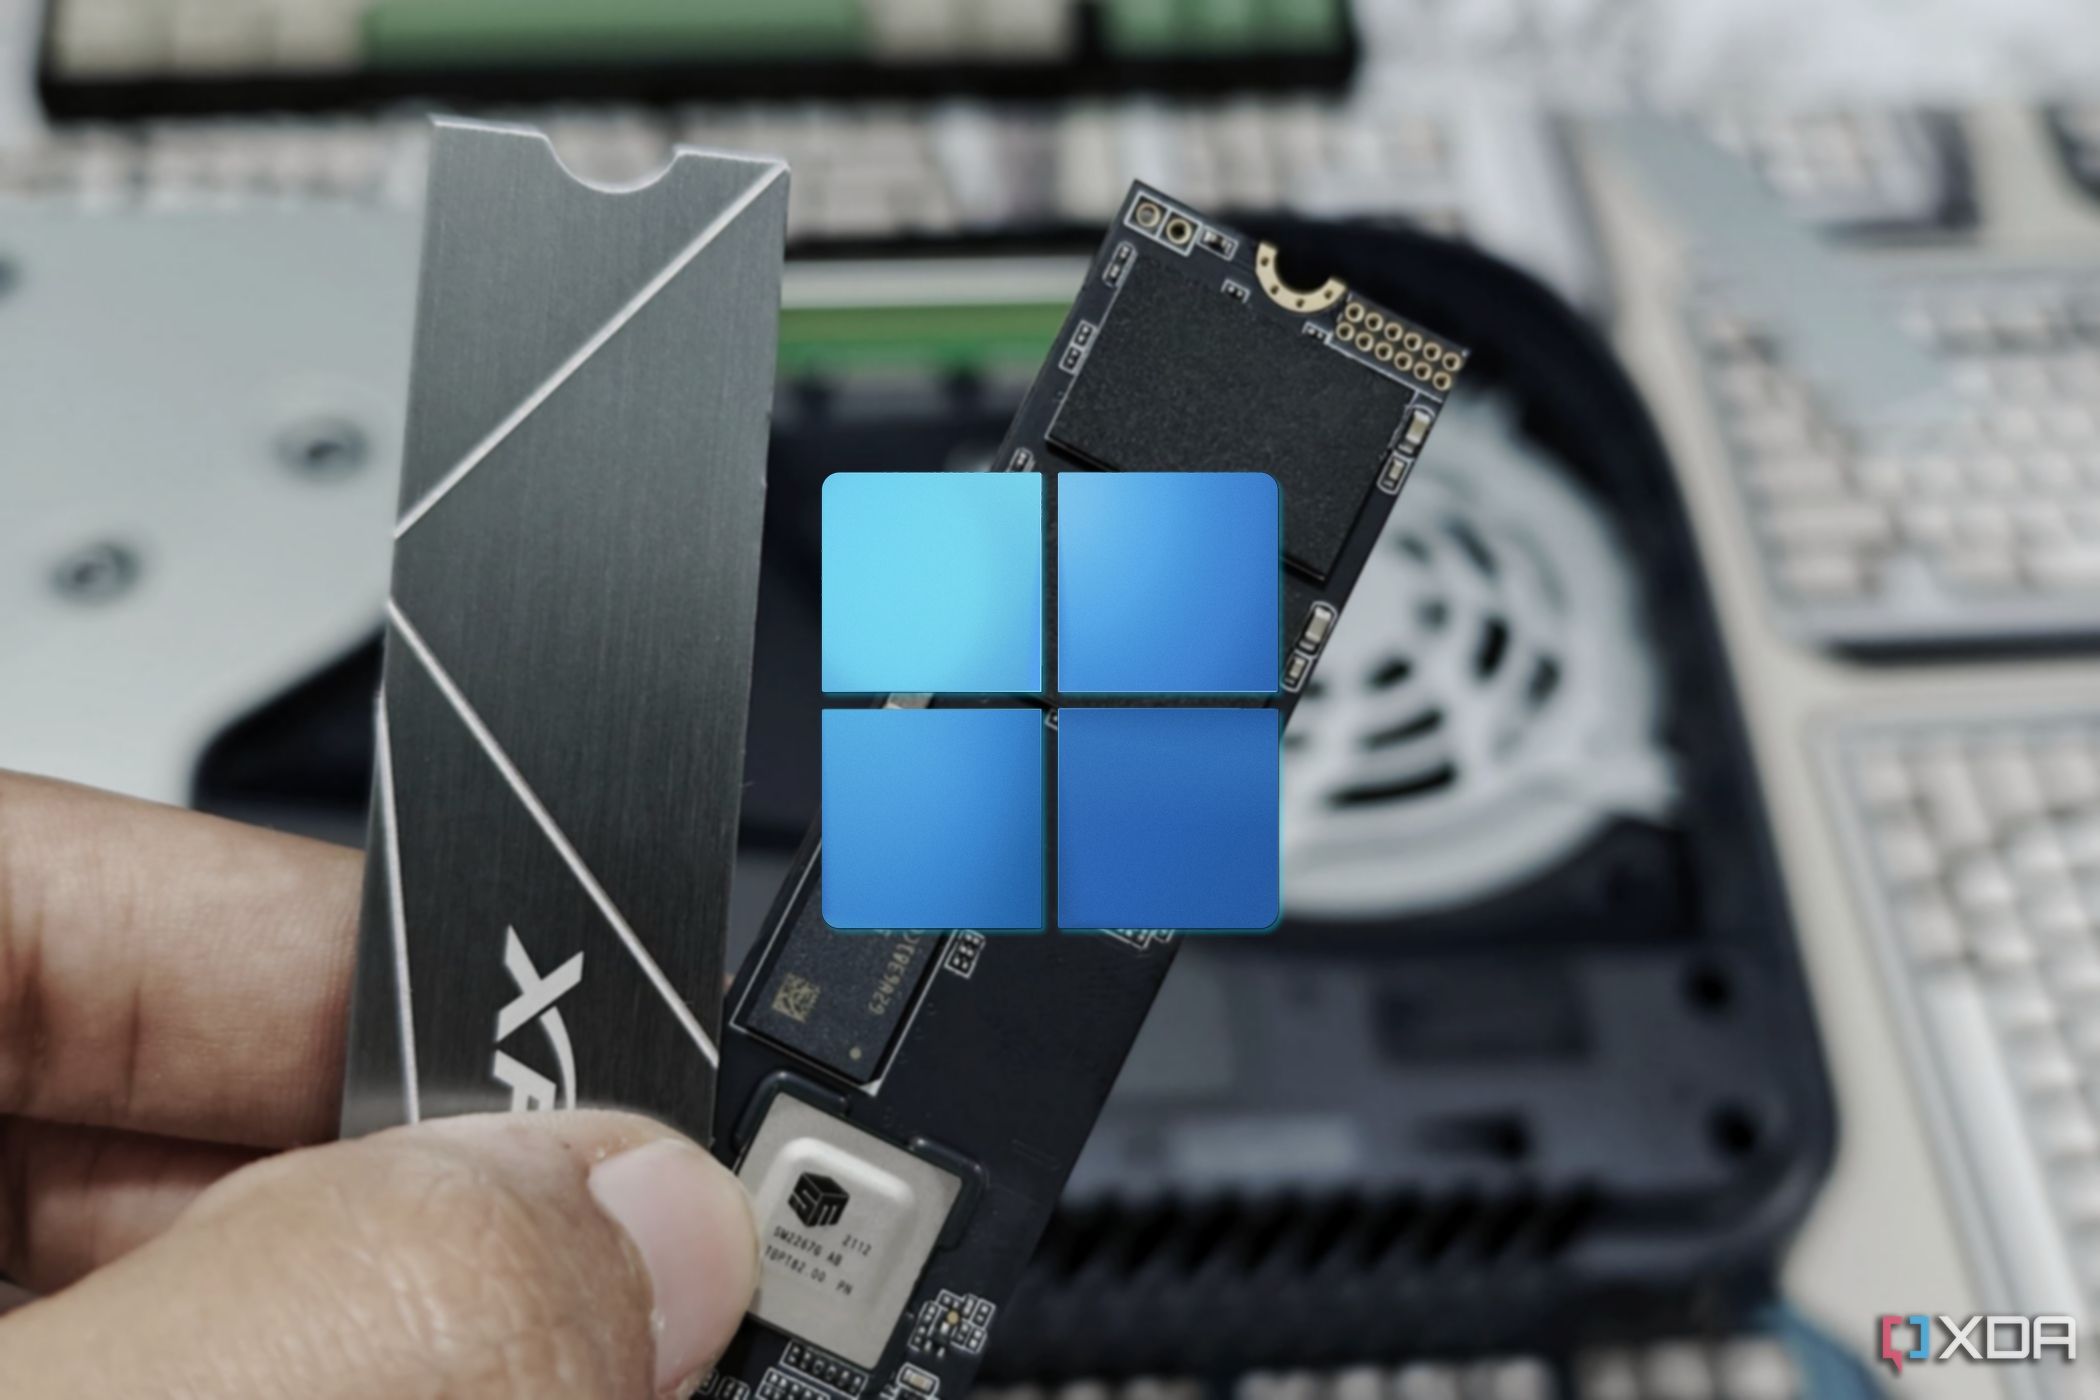
Before learning how to move Windows to SSD, confirm that your computer can use the new drive. Most modern desktops support 2.5-inch SATA SSDs, M.2 SATA drives, or M.2 NVMe drives.
Check these details:
• Desktop or laptop model
• Available SATA ports
• Available M.2 slots
• M.2 drive type supported by the motherboard
• Physical space inside the computer
• SSD storage capacity
A SATA SSD uses a cable and power connector. An M.2 SSD fits directly into a small slot on the motherboard. NVMe drives can be much faster than SATA drives, but your computer must support the NVMe protocol.
For a laptop, check the service manual before opening the case. Some laptops have one drive bay. Others have a fixed SSD and no room for a second drive. In that case, you may need a USB-to-SATA adapter or an external NVMe enclosure during the cloning process.
Your new SSD should have enough space for the data on the Windows partition. For example, if the old drive contains 180 GB of used data, a 250 GB SSD may work. A 500 GB or 1 TB SSD gives you more room for updates, applications, and personal files.

Prepare Windows Before Cloning
Good preparation prevents most problems when moving Windows. Do not begin until your important files are backed up to another drive or a trusted cloud service.
Use this checklist:
• Back up documents, photos, videos, and work files
• Save browser bookmarks and password data
• Record software license keys when needed
• Create a Windows recovery drive
• Run a malware scan
• Install pending Windows updates
• Empty the Recycle Bin
• Remove apps and files you no longer need
• Check the health of the old drive
you can use Windows tools to check the file system. Open Terminal or Command Prompt as an administrator and run:
chkdsk C: /scan
If Windows reports file system errors, repair them before cloning. A failing hard drive can produce a damaged copy, even if the cloning program appears to finish successfully.
If BitLocker or device encryption is enabled, save your recovery key. You can temporarily suspend encryption during the migration, then turn it back on after Windows starts from the SSD. Never delete the recovery key before testing the new drive.
In my own upgrade work, the most common mistake was not the cloning tool. It was starting the process without checking backup files or recovery keys. A few minutes of preparation can save hours of recovery work.

Choose Between Cloning and a Clean Install
There are two main ways to move Windows to an SSD.
Clone the Existing Windows Drive
Cloning creates a copy of the old drive on the SSD. It normally transfers:
• Windows system files
• Installed programs
• User accounts
• Desktop settings
• Personal files
• Recovery partitions
• Boot information
Cloning is the best choice when your current Windows setup works well and you want the shortest path to a familiar system.
Perform a Clean Windows Installation
A clean installation formats the target drive and installs Windows from the beginning. You will need to reinstall apps, restore files, and adjust settings.
Choose a clean install when:
• Windows has serious errors
• The old system contains malware
• You want to remove years of unused software
• The old drive uses a confusing partition layout
• You are changing from Legacy BIOS to UEFI
• Cloning software cannot copy the disk correctly
Cloning is like moving your entire room into a new house. A clean install is like moving only what you need and buying a fresh set of shelves. Both work, but they suit different needs.
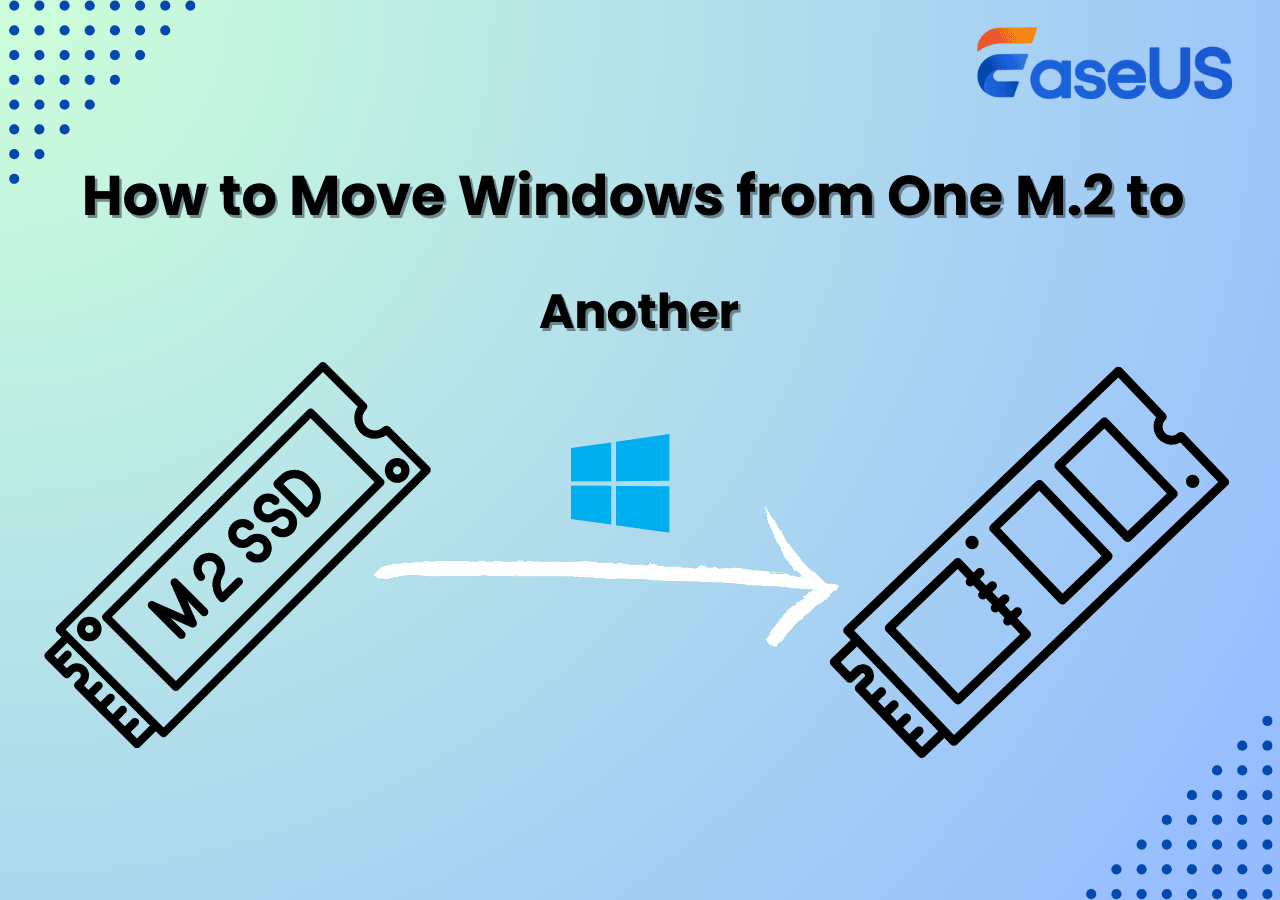
How to Move Windows to SSD by Cloning
The cloning method is usually the simplest answer to how to move Windows to SSD without reinstalling programs.
Step 1: Connect the New SSD
Connect the SSD to your computer before starting the cloning program.
For a desktop, install it in an open drive bay or M.2 slot. For a laptop, connect the SSD through a compatible USB enclosure or adapter if there is no second internal slot.
Make sure Windows detects the drive:
-
Right-click the Start button.
-
Select Disk Management.
-
Find the new SSD in the drive list.
-
Confirm its approximate capacity.
-
Initialize it only if the cloning program requires this step.
For most modern systems, GPT is the preferred partition style. Older computers that use Legacy BIOS may require MBR. Do not convert the drive randomly. The partition style must match the firmware and boot mode you plan to use.
Step 2: Install Reliable Cloning Software
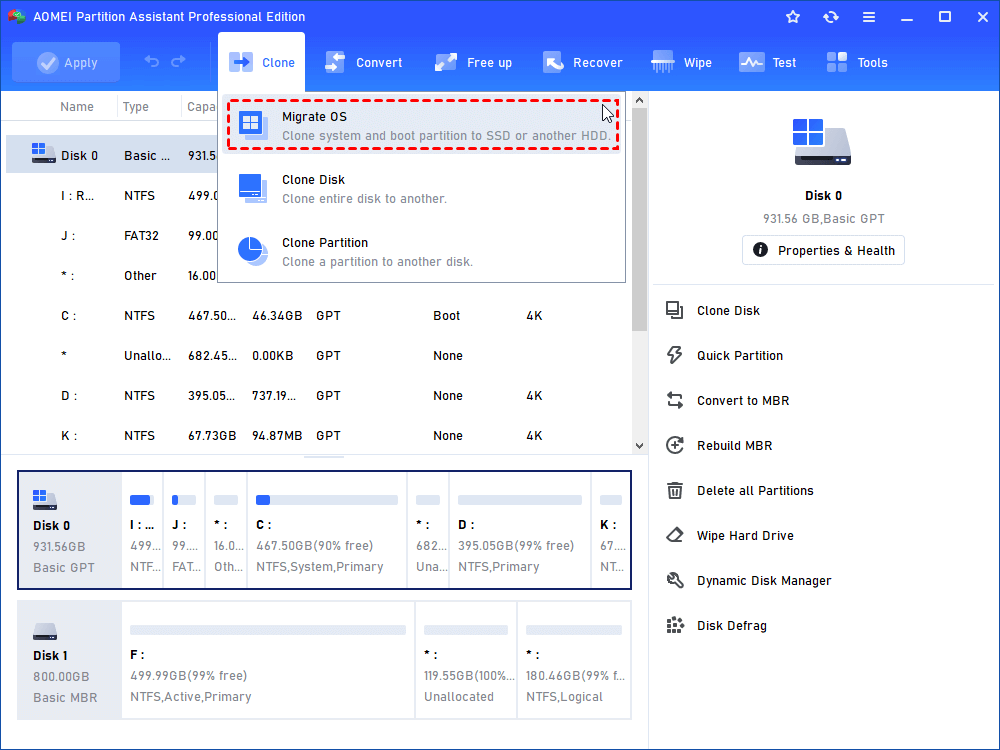
Use a reputable disk cloning application that supports your drive types. The software should copy all required partitions, not just the visible C: drive.
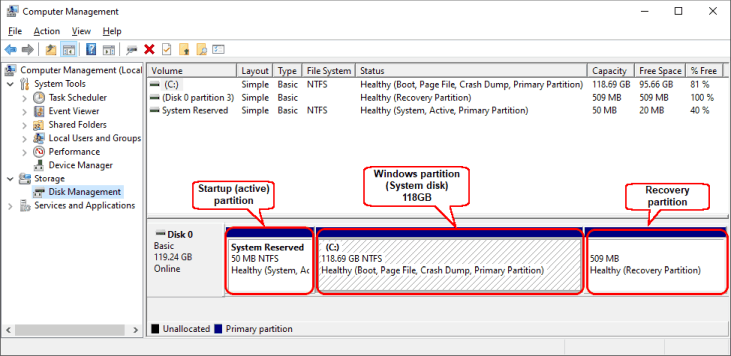
A Windows installation often includes several partitions:
• EFI System Partition
• Microsoft Reserved partition
• Windows partition
• Recovery partition
If you copy only the C: drive, the SSD may contain your files but fail to boot. Select the entire source disk when the software provides that option.
Step 3: Select the Source and Destination Correctly
The source is your old Windows drive. The destination is the new SSD.
Check the disk size and model carefully. This step deserves your full attention. Selecting the wrong destination can erase your personal files.
Most cloning tools show a visual map of each disk. Compare:
• Total capacity
• Existing partitions
• Used space
• Drive model
• Connection type
If the SSD is smaller than the old drive, shrink the Windows partition first. The total used space on the source must fit on the destination. Some cloning tools can automatically resize partitions, but review the layout before confirming.
Step 4: Start the Clone
Begin the cloning process and avoid using the computer while it runs. The time can range from 20 minutes to several hours, depending on the amount of data and the connection speed.
Do not disconnect the SSD. Do not shut down the computer. If the laptop is plugged into power, keep it connected until the operation finishes.
A successful message does not always mean the computer will boot from the new drive. You still need to change the boot order and test the result.
Step 5: Boot Windows from the SSD
After cloning finishes, shut down the computer. If possible, disconnect the old drive for the first test. This prevents the system from accidentally booting from the old disk.
Turn on the computer and open the firmware menu. Common keys include:
• F2
• F10
• F12
• Delete
• Esc
The correct key depends on the computer maker. In the boot menu, select Windows Boot Manager associated with the SSD.
If Windows starts normally, check the system drive:
-
Press Windows key and R.
-
Type
diskmgmt.msc. -
Confirm that the SSD contains the active Windows partitions.
-
Open File Explorer and verify your apps and files.
Once the new SSD works, reconnect the old drive if needed. Keep it untouched for several days. It acts as a safety net while you confirm that everything works.

Expand the Windows Partition After Cloning
Sometimes a clone copies the old partition at its original size. If the SSD is larger, Windows may show unallocated space after the C: drive.
You can expand the partition with Disk Management:
-
Right-click the Start button.
-
Select Disk Management.
-
Right-click the Windows partition.
-
Choose Extend Volume.
-
Follow the wizard.
The unallocated space must usually sit directly after the partition you want to expand. If another recovery partition is between them, Windows Disk Management may not extend the volume. A trusted partition manager can move or resize partitions, but back up your files first.
Do not delete a recovery or EFI partition simply because it looks small. These partitions may be needed for startup, recovery tools, or firmware-based booting.
How to Move Windows to SSD With a Clean Install
A clean installation is another reliable method for how to move Windows to SSD. It takes longer, but it can solve deep system problems.
You will need:
• A working computer
• An empty USB flash drive of at least 8 GB
• A Windows installation tool
• Your Windows edition information
• A backup of personal files
Create a bootable Windows USB using Microsoft’s official installation media. Then install the SSD in the computer and boot from the USB drive.
During setup:
-
Choose your language and keyboard layout.
-
Select Install Windows.
-
Enter a product key if requested.
-
Choose the same Windows edition as before.
-
Select Custom installation.
-
Choose the SSD.
-
Delete old partitions on the SSD only.
-
Select the unallocated space.
-
Start the installation.
Be very careful when deleting partitions. If more than one drive is connected, identify the SSD by its model and capacity. Disconnecting the old drive during installation is often the safest option.
After Windows starts, install motherboard, chipset, graphics, network, and storage drivers. Then run Windows Update, activate Windows, reinstall your apps, and restore your personal files.
On many systems, Windows activates automatically after you connect to the internet. Activation may depend on a digital license linked to the device or your Microsoft account. If you replace major hardware at the same time, activation may require additional steps.
Fix Common SSD Boot Problems
If the computer does not boot from the SSD, do not panic. Most boot problems have a clear cause.
The SSD Is Not Listed
Check the physical connection first. Reseat the M.2 drive or replace the SATA cable. On some motherboards, using an M.2 slot disables one or more SATA ports.
Check the firmware settings as well. The storage controller should use the mode supported by the original installation, often AHCI. Changing this setting without preparation can cause a Windows stop error.
The Computer Boots to the Old Drive
Shut down the computer and disconnect the old drive temporarily. Then choose the SSD’s Windows Boot Manager in the boot menu.
If the SSD works alone, reconnect the old drive and set the SSD first in the boot order. You can later erase the old Windows partitions after confirming your backup.
Windows Shows an Inaccessible Boot Device Error
This may happen when the storage mode changes, the boot files were not copied, or the clone is incomplete. Check UEFI and Legacy settings, then use Windows recovery tools to repair startup.
From Windows Recovery Environment, Startup Repair may rebuild the required boot files. Advanced users can also use command-line tools, but avoid changing partitions unless you understand the result.
The SSD Has the Wrong Partition Style
Modern Windows installations usually use GPT with UEFI firmware. Older systems may use MBR with Legacy BIOS.
A conversion can be possible, but it should be planned and backed up. Do not convert a working disk as a first troubleshooting step. Confirm the current boot mode and partition style before making changes.
Windows Starts but Some Apps Fail
Some programs store files on the old drive or use drive letters that changed. Open Disk Management and check drive letters. You may also need to reinstall programs that use hardware-specific drivers or copy missing data folders.
Optimize Windows After Moving to the SSD
Windows normally detects an SSD and manages it correctly. You do not need to run a traditional disk defragmenter on an SSD.
Check these settings after the move:
• Confirm TRIM is enabled
• Keep at least 10% to 20% free space when practical
• Install current chipset and storage drivers
• Keep Windows updated
• Enable automatic backups
• Turn on device encryption if appropriate
You can check TRIM from an administrator Command Prompt:
fsutil behavior query DisableDeleteNotify
A result of 0 generally means that delete notifications are enabled. This helps the operating system manage unused blocks on supported drives.
Do not use old “SSD optimizer” programs that promise huge speed gains. Some disable useful Windows services or create unnecessary write activity. Modern Windows versions already handle most SSD maintenance tasks.
An SSD can still fail. Keep backups of important files on a separate device or trusted cloud service. A cloned drive is not the same as a backup because changes and deleted files may also be copied.
Mistakes to Avoid When Moving Windows
The following mistakes cause many failed migrations:
• Cloning to the wrong disk
• Skipping a backup
• Forgetting BitLocker recovery information
• Copying only the C: partition
• Using an SSD that is too small
• Interrupting the cloning process
• Leaving the old drive connected during the first boot
• Deleting recovery partitions without checking them
• Changing BIOS storage settings without preparation
• Erasing the old disk too soon
One lesson I have learned from real system upgrades is to test the new SSD before cleaning up the old drive. Start Windows several times. Open your most important apps. Check documents, printers, email, games, and cloud folders.
A migration is not complete when the cloning tool says “finished.” It is complete when your daily work runs normally from the SSD.
How Long Does Moving Windows to an SSD Take?
The time depends on the amount of data, the connection type, and the drive speed. A small clone over a fast internal connection may finish in under an hour. A larger clone through USB can take several hours.
A clean installation often takes 30 to 90 minutes, but driver updates, app installation, and file restoration add more time.
Do not judge the process only by the clock. A careful migration with a verified backup is better than a rushed migration that causes data loss.
Frequently Asked Questions About How to Move Windows to SSD
Can I move Windows to an SSD without reinstalling it?
Yes. You can clone the entire old Windows drive to the SSD. The clone should include the EFI, Windows, and recovery partitions so the SSD can boot correctly.
Do I need to format the SSD before cloning Windows?
Usually, no. Many cloning tools prepare or overwrite the destination drive during the process. Always review the destination disk because existing data on it may be erased.
Can I clone Windows to a smaller SSD?
Yes, if the used space on the old drive fits on the smaller SSD. You may need to shrink the Windows partition before cloning.
Will Windows remain activated after moving to an SSD?
In most cases, replacing the storage drive does not remove a digital Windows license. Activation can be more complicated if you also replace the motherboard or make other major hardware changes.
Should I keep the old hard drive after cloning?
Keep it for several days or weeks while testing the SSD. Once you confirm that Windows and your files work correctly, erase or repurpose the old drive only after creating a separate backup.
Is cloning better than a clean Windows installation?
Cloning is faster and keeps your existing setup. A clean installation can provide a cleaner system and may be better when Windows has errors, unwanted software, or malware.
Why does my SSD show less space than advertised?
Drive makers use decimal capacity units, while Windows reports capacity differently. Partitions, recovery tools, and formatting also use some space, so the displayed capacity is normally lower.
Conclusion
Moving Windows to an SSD can make an older PC feel new again. For most users, cloning is the fastest way to move Windows to SSD while keeping apps, settings, and files. A clean installation is better when the old system is damaged or cluttered.
Back up your data, confirm the SSD type, select the correct source and destination, and test the new drive before erasing the old one. Take the process step by step, and the upgrade should be smooth and low risk.
Ready to improve your computer’s speed? Choose the right SSD, follow this guide carefully, and share your migration experience or questions in the comments.

Everett Ashford is a tech reviewer at mytechgrid.com specializing in SSDs, cameras, TVs, earbuds, headphones, and other consumer electronics. He provides honest, data-driven reviews based on hands-on testing and real-world performance analysis. Everett simplifies complex tech details to help readers make smart, confident buying decisions.