Install the SSD, migrate or clean-install your OS, then set the SSD as the first boot device.
I’ve helped dozens of people speed up their PCs by showing exactly how to set SSD as primary boot drive. In this guide I’ll walk you through planning, hardware setup, cloning or fresh install options, BIOS/UEFI boot-order changes, and post-migration checks. I write from real hands-on experience with laptops and desktops, and I’ll share tips, common pitfalls, and quick fixes so you can finish confidently and keep your system fast and stable.

Why put an SSD as the primary boot drive?
Putting an SSD as the primary boot drive gives your system much faster startup, snappier app launches, and better overall responsiveness. SSDs have no moving parts, so access times and read/write speeds beat traditional HDDs by a large margin.
Benefits include:
- Much faster boot times and shutdowns.
- Quicker app loading and file access.
- Lower power use and noise on laptops.
- Improved system longevity when paired with backup strategies.
I’ve done builds where swapping the OS to an SSD cut boot time from 90 seconds to under 15 seconds. That difference alone makes the process worth it for many users.
Prep: what you need before you start
Before you begin, gather these items and checks to make the process smooth.
- Solid-state drive sized for your OS and files.
- SATA cable or M.2 screw, depending on your SSD type.
- External USB to SATA adapter or enclosure for cloning (optional).
- OS installation media (USB) if you plan a clean install.
- Backup of important files to external storage or cloud.
- Current system image or recovery disk recommended.
Also note the target computer’s interface: SATA, M.2 NVMe, or PCIe. M.2 NVMe drives require NVMe-capable slots and drivers for full speed.

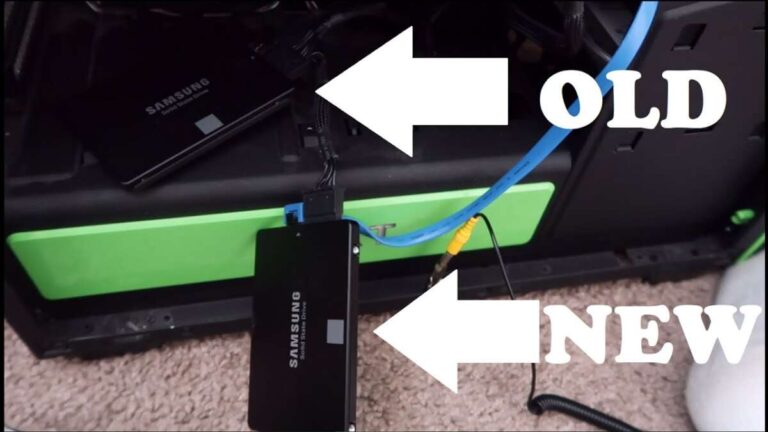
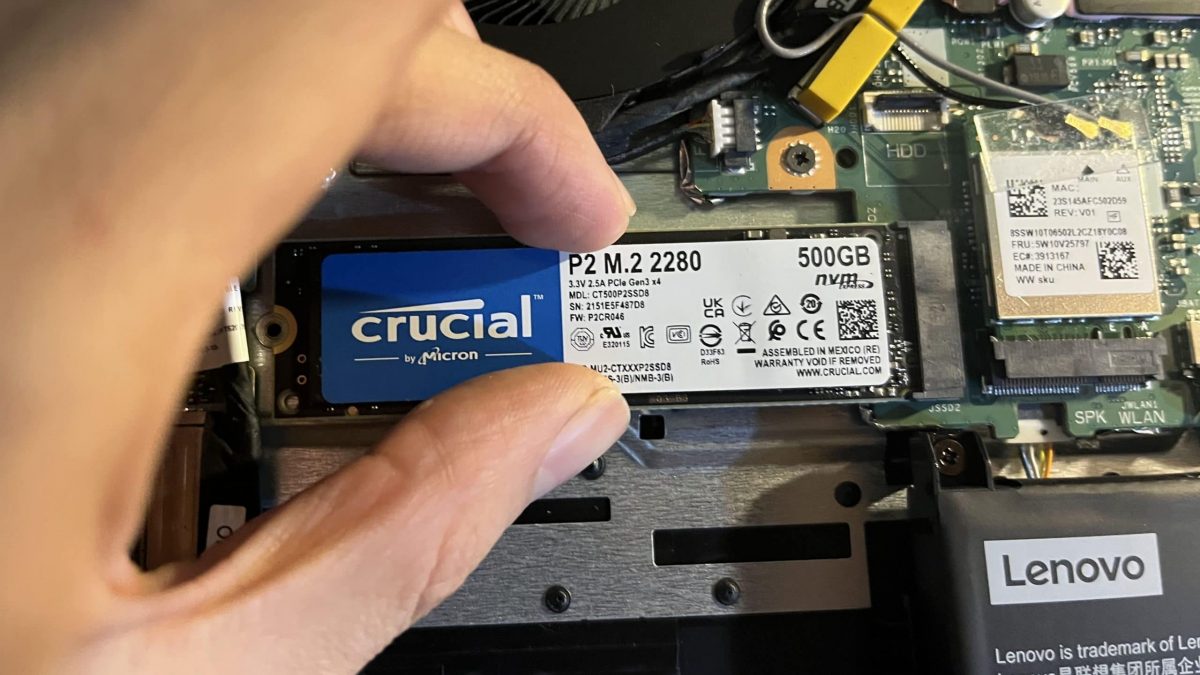
Step-by-step: install the SSD physically
Follow these concise steps for a desktop or laptop install.
- Power down and unplug the computer. Remove battery for laptops if possible.
- Open the case or access panel. Ground yourself to avoid static damage.
- Locate the M.2 slot or SATA bay. For 2.5" SATA SSDs, use a drive tray or bracket.
- Secure the SSD with the screw or connector. Connect the SATA cable and power for SATA drives.
- Reassemble the case and reconnect power.
If you’re not comfortable opening the machine, a trusted technician can assist. Simple mistakes like loose cables or wrong screw torque are the main physical risks I’ve seen.

Two main paths: clone your existing OS or do a fresh install
You can either migrate your current system to the SSD or install the OS from scratch. Each has pros and cons.
Cloning (migrate):
- Pros: Keeps your programs, settings, and files intact. Less setup time after migration.
- Cons: Can carry over old clutter or boot issues. Requires cloning software and possibly resizing partitions.
Fresh install:
- Pros: Clean system, fewer legacy issues, optimal performance.
- Cons: Requires reinstalling apps and restoring files. Takes longer up front.
I typically recommend cloning for quick upgrades and a fresh install when you want a clean start. When I cloned a client’s PC, I trimmed unused apps afterward to avoid leftover bloat.

How to clone your OS to the SSD (practical steps)
Cloning tools and a simple workflow make this straightforward.
- Install a reputable cloning utility on your current drive.
- Attach the SSD via internal connection or USB adapter.
- Run the cloning tool and choose source (current drive) and target (SSD).
- Enable resizing if the SSD is a different size. Confirm bootable clone option if offered.
- After cloning, shut down, disconnect the old drive if you want to test, and boot from the SSD.
If cloning fails, check that the partition table type matches (MBR vs GPT). Converting between them may be required for UEFI systems.

How to do a fresh OS install on the SSD
A fresh install often yields the best long-term performance.
- Create a bootable USB with the OS installer.
- Insert the USB and boot into BIOS/UEFI to set the USB as temporary boot device.
- During installation, select the SSD as the target disk. Delete old OS partitions if present.
- Let the installer format the SSD and complete the installation.
- Install drivers and run Windows Update or equivalent.
I usually install chipset and storage drivers first, then security software and core apps. This order prevents driver conflicts and speeds setup.
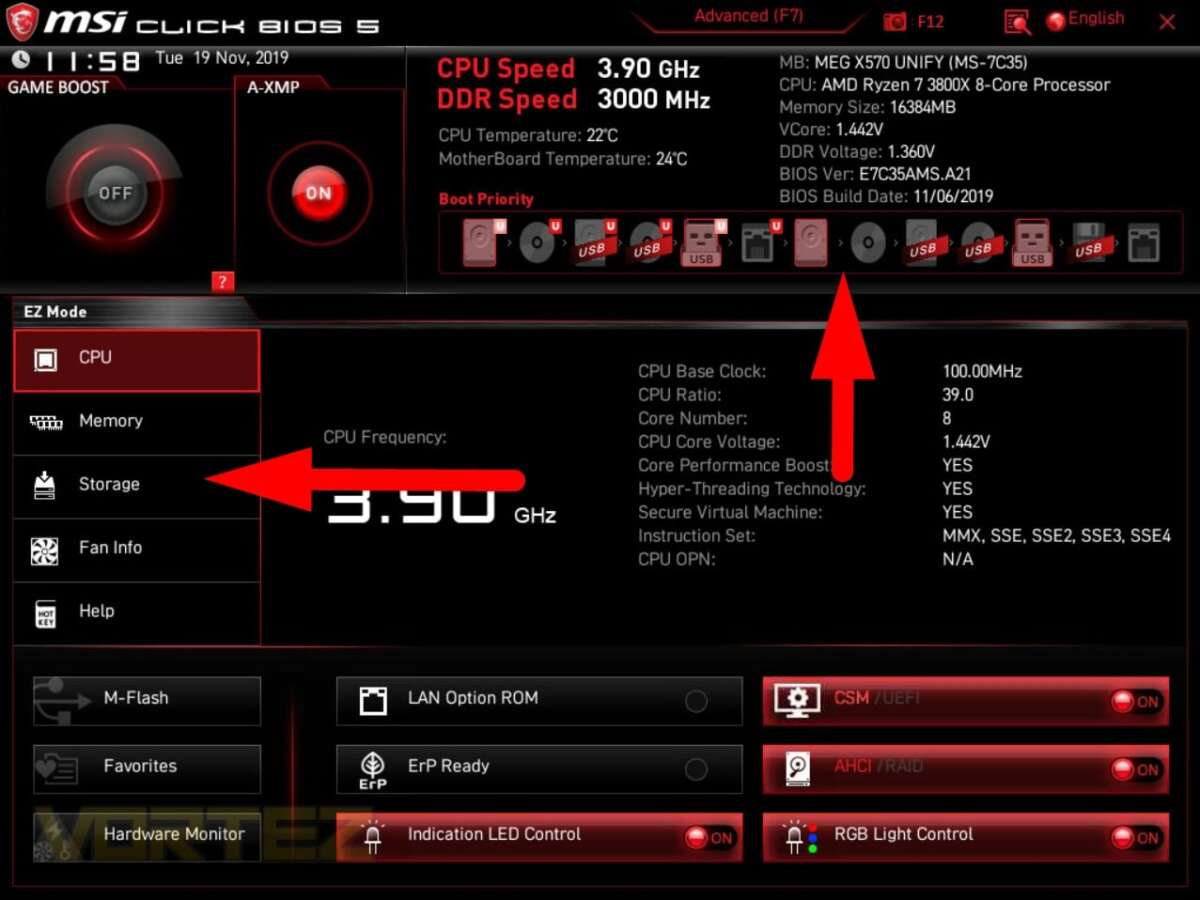
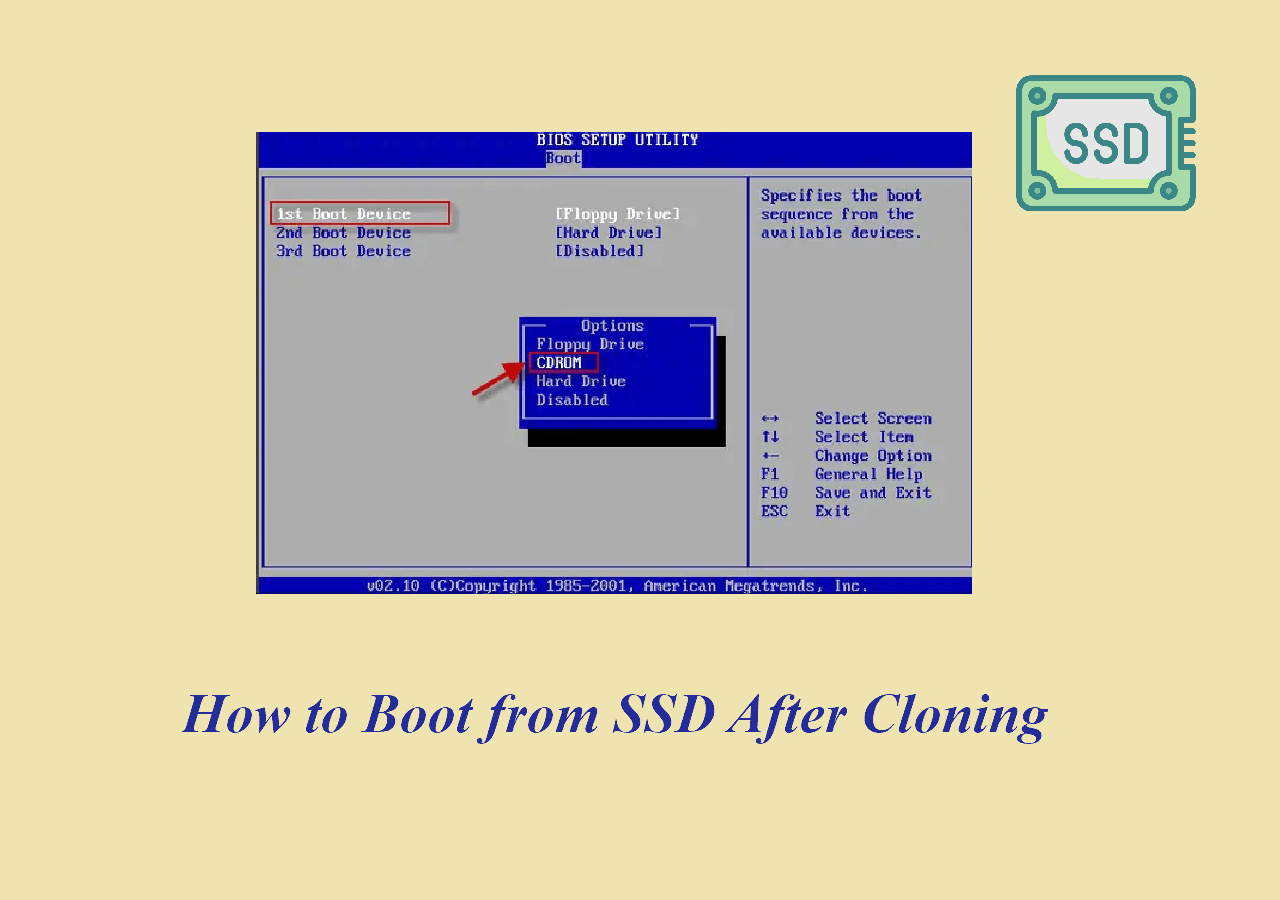
Change boot order in BIOS/UEFI to make SSD primary
After installing or cloning, you must set the SSD as the primary boot drive.
- Restart your computer and press the BIOS/UEFI key at startup. Common keys: F2, Del, Esc, F12.
- Find Boot or Boot Order in the firmware menu.
- Move the SSD to the top of the list or choose it as the first boot device in UEFI mode.
- Save changes and exit. The machine should restart from the SSD.
If your system uses Secure Boot or requires UEFI mode, ensure the SSD has a GPT partition and proper bootloader. I once overlooked UEFI/Legacy mismatch and the system wouldn’t boot until I changed the firmware mode.

Post-migration checks and optimization
After you boot from the SSD, verify and optimize these items.
- Confirm the OS reports the SSD as the primary drive in Disk Management or Disk Utility.
- Enable TRIM (most modern OSes enable TRIM automatically). TRIM preserves SSD performance.
- Move large non-OS files to a secondary HDD if you want to save SSD space.
- Update drivers and firmware for the SSD for reliability and speed.
Run a quick benchmark only after all drivers are installed. Benchmarks help confirm you’re getting expected NVMe or SATA speeds.
Troubleshooting common problems
If the SSD doesn’t boot or behaves oddly, try these fixes.
- Recheck BIOS boot order and UEFI vs Legacy settings.
- Ensure SATA mode is AHCI in BIOS for best SSD performance.
- If cloning didn’t work, run repair tools or reinstall the bootloader from recovery media.
- Check cables and connections for SATA SSDs. Replace adapters if needed.
In my experience the most common cause of failed boots after cloning is an incorrect boot mode or missing EFI partition. Rebuilding the EFI using recovery tools usually solves it.
Performance tips and SSD longevity
Small habits help keep the SSD fast and healthy.
- Keep at least 10–20% free space for wear-leveling and performance.
- Avoid frequent large-write tasks (like constant disk-based backups) on the SSD.
- Use sleep modes smartly on laptops to reduce wear.
- Periodically update SSD firmware for fixes and speed improvements.
SSDs wear based on writes, but modern drives last many years for typical consumer workloads. I’ve seen SSDs remain healthy for 5–8 years in normal use.
Personal lessons and mistakes to avoid
Here are a few things I learned the hard way.
- Don’t skip backups. Always back up before cloning or repartitioning.
- Match partition table and boot mode early—avoid later headaches.
- Use good-quality SATA or M.2 screws and connectors to avoid intermittent issues.
- After cloning, leave the old drive connected until you confirm the SSD boots cleanly.
These tips saved me hours when helping friends move to SSDs. Small prep prevents big fixes later.
Frequently Asked Questions of how to set ssd as primary boot drive
How do I tell if my computer supports an SSD boot drive?
Most modern desktops and laptops support SATA SSDs; NVMe M.2 support depends on the motherboard. Check your system manual or look for M.2 or SATA connectors on the board.
Can I clone a larger HDD to a smaller SSD?
Yes, if the used data fits the SSD capacity. Use cloning tools that allow resizing partitions and ensure important data is under the SSD size limit.
Do I need to change BIOS settings after installing the SSD?
Usually you need to set the SSD as the first boot device and verify UEFI vs Legacy mode. Also set SATA mode to AHCI for best SSD performance.
Will my programs break if I move the OS to an SSD?
Most programs run normally after cloning. Licensing or activation may need reauthorizing for a few apps, but major programs remain intact.
How do I keep my SSD healthy long-term?
Enable TRIM, leave free space, avoid excessive writes, and install firmware updates. Regular backups also protect your data in case of failure.
Conclusion
Making an SSD your primary boot drive is one of the best upgrades for speed, responsiveness, and user satisfaction. Follow the prep steps, choose cloning or a fresh install based on your needs, and set the SSD first in BIOS/UEFI. Back up data, verify settings, and optimize after migration to get the best results.
Take action today: pick the right SSD, back up your system, and try the upgrade. If you run into issues, leave a comment or consult a technician—your PC can feel new again with this change.

Everett Ashford is a tech reviewer at mytechgrid.com specializing in SSDs, cameras, TVs, earbuds, headphones, and other consumer electronics. He provides honest, data-driven reviews based on hands-on testing and real-world performance analysis. Everett simplifies complex tech details to help readers make smart, confident buying decisions.