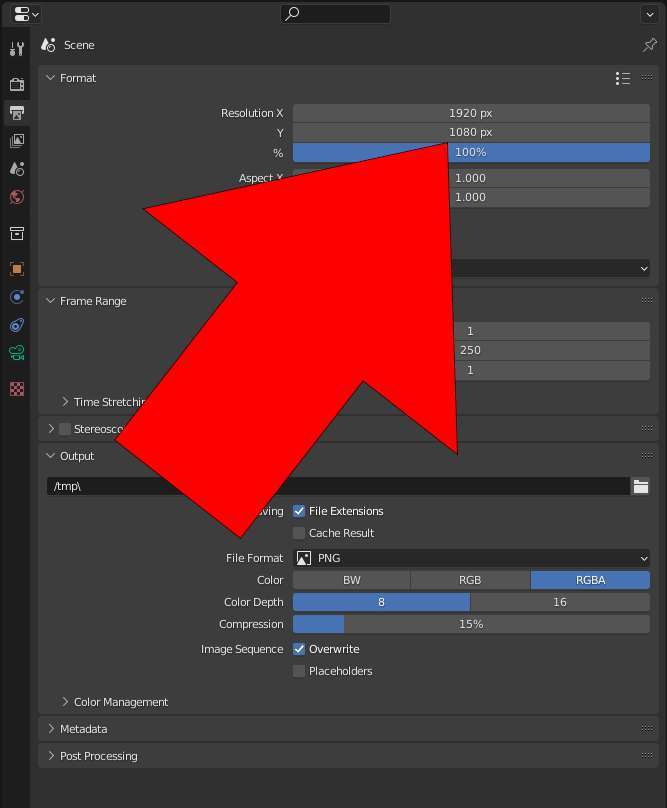
Select the camera, move the 3D cursor to your target, then use Set Origin and align Camera to View.
I have used Blender for years on both hobby and professional projects, and I’ll show you clear, reliable ways to recenter the camera in Blender so your shots start exactly where you want. This guide covers simple hotkeys, step-by-step workflows, advanced constraints, common mistakes, and practical tips drawn from real projects. If you want fast, repeatable results for animation, rendering, or layout, you’ll find everything you need here about how to recenter camera in blender.

Why you should know how to recenter camera in Blender
A camera that’s off-center breaks framing and wastes render time. Learning how to recenter camera in Blender saves time and keeps shots consistent. These methods work for single objects, whole scenes, and animation rigs.

Quick methods to recenter camera in Blender
Here are the common ways to recenter the camera in Blender. Each method answers a slightly different need—snap, reset, or align.
-
Align camera to view
- Enter Camera View with Numpad 0. Position your viewport. Press Ctrl+Alt+Numpad 0 to move the active camera to match the current view.
- This is the fastest way when framing by eye.
-
Snap camera to an object or origin
- Select your target object. Shift+S → Cursor to Selected. Select the camera. Object → Set Origin → Origin to 3D Cursor or Object → Snap → Selection to Cursor (Keep Offset off).
- Use this to place the camera exactly at a chosen point.
-
Reset transforms (position and rotation)
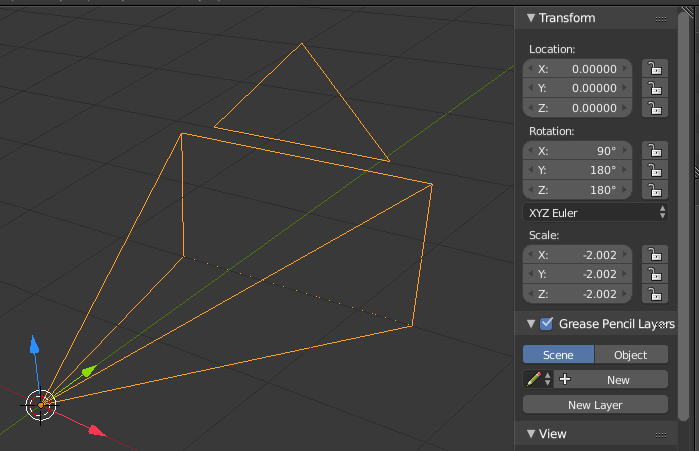
- Select the camera. Press Alt+G to clear location and Alt+R to clear rotation.
- This returns the camera to its object origin and removes accidental offsets.
-
Parent or constrain to an empty
- Create an empty at the desired location. Parent the camera to the empty, or add a Track To / Child Of constraint.
- This gives precise control and keeps camera movement predictable.
These quick options cover most needs when you want to recenter camera in Blender without rebuilding scenes.

Step-by-step: Recenter camera to an object or the scene origin
Follow these steps for precise control when you need the camera exactly centered.
-
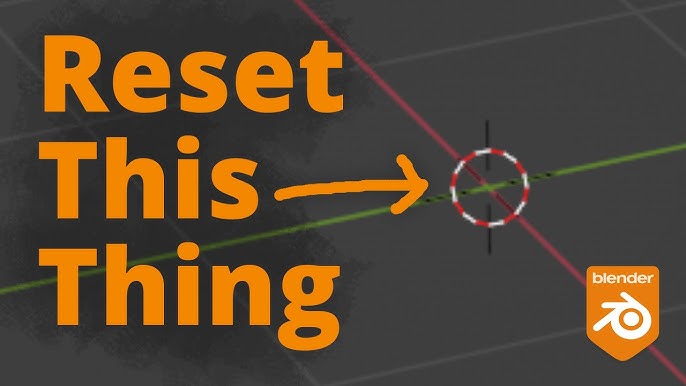
Select your target object or place the 3D cursor
- Click the object in Object Mode or press Shift+S and choose Cursor to Selected. For the scene center, choose Cursor to World Origin.
-
Move the camera’s origin to the cursor
- Select the camera. Open the Object menu → Set Origin → Origin to 3D Cursor. This changes the camera’s pivot to the chosen point.
-
Snap the camera to the origin or object
- With the camera selected, go to Object → Snap → Selection to Cursor. Make sure Keep Offset is unchecked if you want exact overlap.
-
Align rotation if needed
- To match the view, enter the view you like, then press Ctrl+Alt+Numpad 0. Or clear rotation with Alt+R and rotate manually.
-
Lock or parent for animation
– Parent the camera to an empty or add a Child Of constraint to animate reliably from the new center.
Use this workflow whenever you need strict placement. It’s ideal for studio shots and product renders where precision matters.

Advanced options: constraints, parenting, and scripting
For complex scenes or repeated tasks, advanced tools help when you recenter camera in Blender.
-
Track To and Damped Track
- Add a Track To constraint so the camera always faces a target. This recenters aim without changing the camera’s location.
-
Child Of and Copy Transforms
- Use Child Of to temporarily follow an object, then keyframe influence to switch control. Copy Transforms replicates another object’s transform exactly.
-
Parent to an empty or bone
- Parent the camera to a control empty or rig bone for animation rigs. Move the parent to recenter the camera without editing the camera object.
-
Python scripting for batch work
- For many cameras or repeated tasks, a short script can set camera.location and camera.rotation_euler to desired values. This automates recentering across multiple shots.
Advanced setups save time on large projects and ensure repeatable results when you need to recenter camera in Blender across many frames or scenes.
Quick Q&A (PAA-style)
h3 What if my camera rotates after snapping?
- It likely keeps its rotation offset. Clear rotation with Alt+R or use Ctrl+Alt+Numpad 0 to match the current view.
h3 Can I recenter multiple cameras at once?
- Yes. Select all cameras and use snapping or a small Python loop to set transforms for each camera in one pass.
h3 Will parenting change my camera’s local transforms?
- Parenting keeps local transforms but changes world transforms. Apply parent inverse or clear transforms if you need exact world placement.
Troubleshooting common problems when you recenter camera in Blender
Here are fixes for issues you’ll often see.
-
Camera appears in the wrong place after snapping
- Check whether “Keep Offset” was enabled. Reset transforms (Alt+G, Alt+R) and repeat the snap with Keep Offset off.
-
View doesn’t match final render
- Make sure the correct camera is active (Ctrl+Numpad 0) and that you didn’t add render-only constraints. Check the camera lock in the N-panel.
-
Camera pivots awkwardly while rotating
- Set the camera origin to the desired pivot. Use an empty as a parent for smoother rotations.
-
Snapping to complex meshes feels off
- Snap to a vertex or create an empty at the exact position. Use the 3D cursor to place the origin precisely.
These fixes will handle most errors you face while trying to recenter camera in Blender.

Tips from personal experience
I once lost hours aligning a camera for a product render because I forgot to apply object scale. Apply Scale with Ctrl+A before snapping. Small things like that save time.
- Always apply scale and rotation first to avoid offsets.
- Use Ctrl+Alt+Numpad 0 to quickly lock framing, then tweak with the camera’s transform values.
- Create a named empty for standard shot positions. Reuse it across scenes for consistent framing.
- Save a small startup file with a camera rig if you recenter camera in Blender often.
These practices kept my animation projects faster and more predictable.

Frequently Asked Questions of how to recenter camera in blender
How do I move the camera to my current viewport?
Select the camera, position your viewport, and press Ctrl+Alt+Numpad 0. This moves and rotates the active camera to match the view.
How can I snap the camera to an object’s location?
Select the object, Shift+S → Cursor to Selected. Select the camera, then use Object → Snap → Selection to Cursor with Keep Offset disabled.
How do I reset the camera’s position and rotation?
Select the camera and press Alt+G to clear location, then Alt+R to clear rotation. This resets transforms to the object origin.
Can I make the camera always point at an object?
Yes. Add a Track To or Damped Track constraint and set the target object. The camera will then aim at the target automatically.
What if my camera moves when I parent it?
Parenting changes world transforms. Use Object → Parent → Clear and Keep Transform or apply parent inverse to prevent jumps.
Conclusion
Recentering the camera in Blender is a simple skill that improves framing, reduces wasted renders, and speeds up workflow. Use snapping, Set Origin, and view-alignment for quick results. For predictable rigs, parent the camera to empties or use constraints and scripts for batch control. Try the quick steps now: pick a target, set the 3D cursor, and snap the camera—then save that setup for reuse. If this guide helped, try the methods in your next scene and leave a comment with your outcome or questions.

Everett Ashford is a tech reviewer at mytechgrid.com specializing in SSDs, cameras, TVs, earbuds, headphones, and other consumer electronics. He provides honest, data-driven reviews based on hands-on testing and real-world performance analysis. Everett simplifies complex tech details to help readers make smart, confident buying decisions.