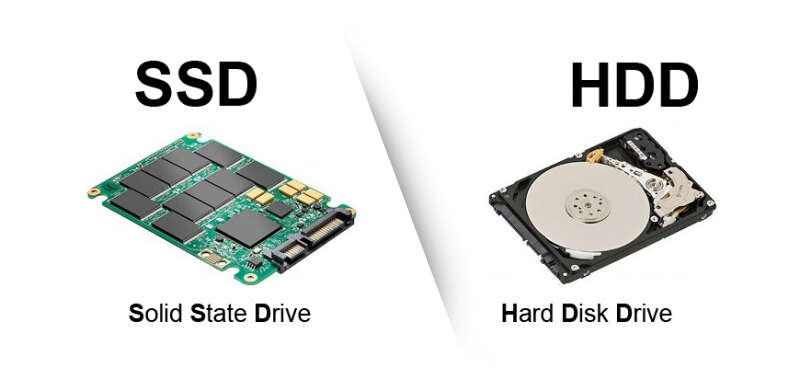
Connect an SSD, clone or clean-install your OS, then swap drives for a fast, reliable upgrade.
I’ve guided dozens of people through how to upgrade hdd to ssd, from simple desktop swaps to tight laptop upgrades. I know the checkpoints that trip people up, the tools that save time, and the real-world performance gains you can expect. Read on and you’ll get a clear, step-by-step plan, compatibility checks, troubleshooting tips, and hands-on advice so you can upgrade with confidence.
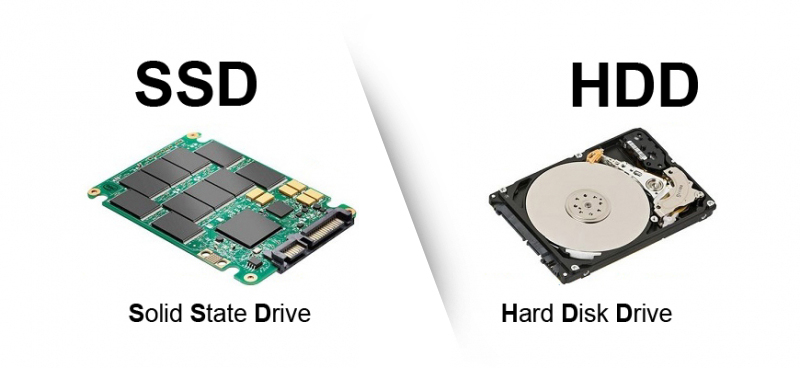
Why upgrade from HDD to SSD?
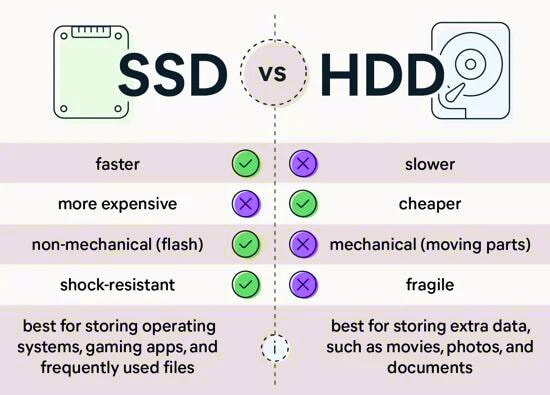
Upgrading from an HDD to an SSD is one of the best upgrades you can make for speed and reliability. SSDs use flash memory and have no moving parts. That means much faster boot times, snappier apps, and fewer mechanical failures.
Benefits are clear and measurable. You’ll get faster file transfers, better system responsiveness, and often improved battery life in laptops. For many users, learning how to upgrade hdd to ssd is a low-cost way to breathe new life into an older computer.
Common reasons people ask how to upgrade hdd to ssd include slow boot times, laggy apps, and wanting a quieter machine. If those sound familiar, an SSD upgrade may pay for itself in saved time and less frustration.
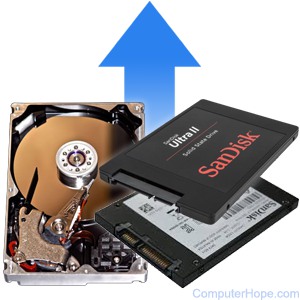
Understanding SSD types and compatibility
There are a few SSD types to know before you start. The main types are SATA 2.5-inch drives and NVMe M.2 drives. SATA drives fit most desktops and many laptops. NVMe M.2 drives are faster but require a compatible M.2 slot and motherboard support.
Check these compatibility points when checking how to upgrade hdd to ssd:
- Motherboard interface: SATA or M.2 NVMe
- Physical space in laptops: 2.5-inch bay or M.2 slot
- Connector type: SATA III for best speeds on SATA drives
- BIOS/UEFI support: NVMe boot support for M.2 drives
If you pick the wrong form factor, the drive won’t fit. If your system doesn’t support NVMe, a SATA SSD is still a major speed upgrade. Knowing these basics makes the upgrade smooth and reduces surprises.
Step-by-step guide to upgrade HDD to SSD
These steps work for desktops and most laptops. I recommend reading the list fully before starting.
-
Prepare and plan
- Back up your data to an external drive or cloud. Backups protect you if something goes wrong.
- Verify which SSD type fits your device. Measure or check the manual.
-
Choose the right SSD
- Match the form factor and interface.
- Pick a capacity that fits your current data plus growth. SSDs perform best with some free space.
-
Decide cloning or clean install
- If you want the same system image, clone the HDD to the SSD. Cloning keeps your apps and settings.
- If you want a fresh start, do a clean install of your OS on the SSD. Clean installs remove old clutter.
-
Clone or install
- For cloning, use reliable cloning software and follow its guidance for resizing partitions.
- For a clean install, create a bootable USB with your OS and install directly onto the SSD.
-
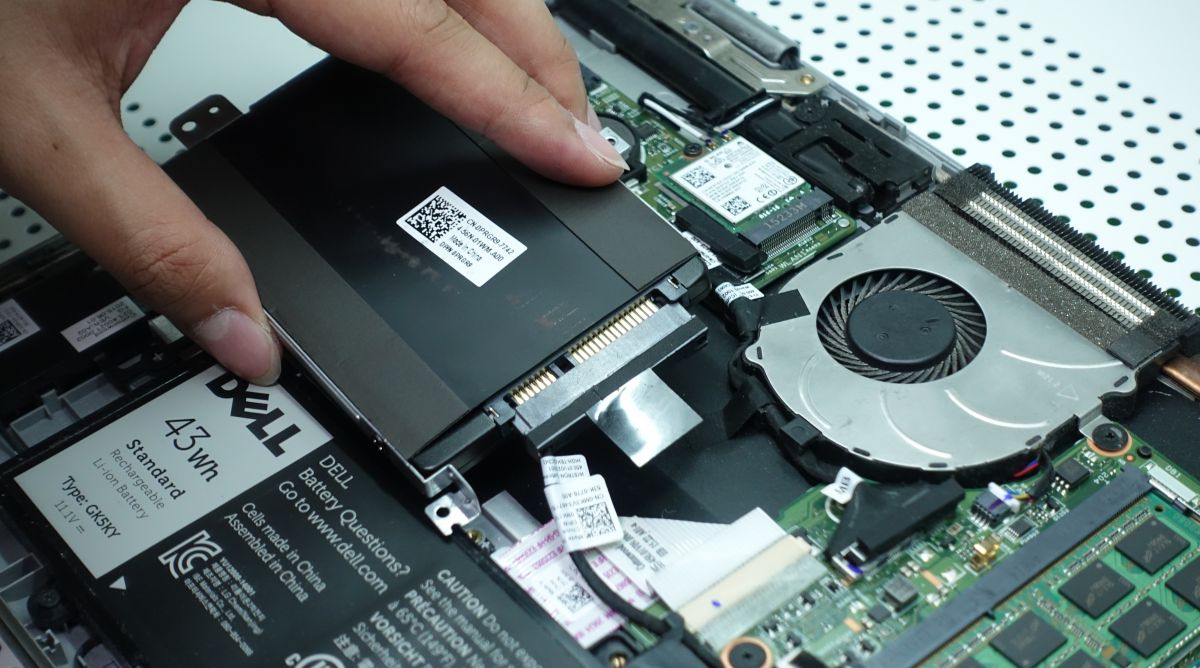
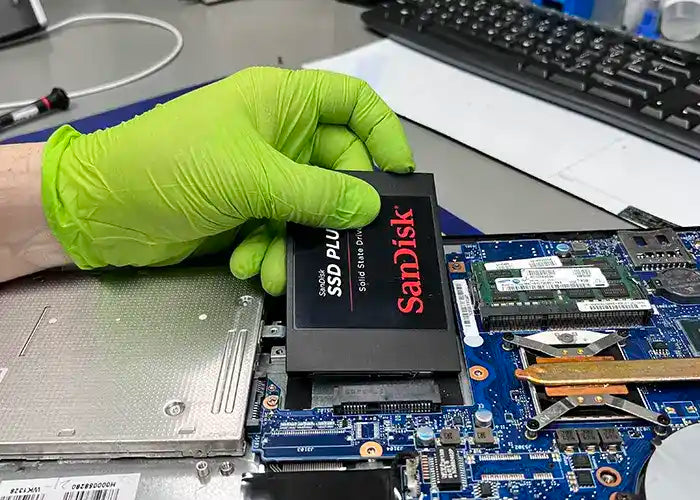
Physically install the SSD
- Power down, unplug, and ground yourself to avoid static.
- Replace the HDD with the SSD or install the SSD in a free slot. Secure the drive and reconnect cables.
-
Boot and verify
- Boot into BIOS/UEFI and ensure the SSD is the primary boot device.
- Check disk management and verify capacity and partitions. Run a simple speed test to confirm gains.
-
Final cleanup
- If you cloned, wipe or repurpose the old HDD for backups or extra storage.
- Enable TRIM in your OS for SSD longevity and check firmware updates for the drive.
Follow these steps when doing how to upgrade hdd to ssd and you’ll avoid most common issues. Keep a recovery USB handy in case the boot config needs repair.
Cloning vs clean install: which should you choose?
Cloning keeps everything as-is. It’s fast and convenient. You avoid reinstalling apps. But cloning can carry over old problems like registry errors or unwanted software.
A clean install starts fresh. You get a lean system and fewer legacy issues. The downside is you must reinstall apps and restore settings.
PAA-style question: Do I need to reinstall Windows when I switch to an SSD?
- If you clone the drive, you usually do not need to reinstall Windows. A clean reinstall is required only when you choose that route or if cloning fails.
PAA-style question: Will my programs work after cloning to an SSD?
- Most programs work fine after a proper clone. Licensing or activation may need a quick reactivation for some apps.
PAA-style question: Can I clone a larger HDD to a smaller SSD?
- Yes, if your used data fits on the smaller SSD and you shrink partitions before cloning. Cloning tools often handle resizing automatically.
Decide based on time, cleanliness, and how much you want a fresh system. My rule: clone if you need to get back to work quickly; clean install if you want long-term stability and speed.
Tools and materials you need
Gather these before you start so the upgrade flows smoothly:
- SSD of the correct type and capacity
- USB-to-SATA adapter or external enclosure for cloning (for 2.5-inch SATA SSDs)
- Screwdrivers and small tools for your device
- Reliable cloning software or a bootable OS installer
- External backup drive or cloud storage
- Antistatic wrist strap (optional but helpful)
I once forgot the adapter and had to wait 48 hours for a part. That delay taught me to always prep all tools in advance. It saves time and stress.
Troubleshooting and common issues
If the system won’t boot after the upgrade, check BIOS/UEFI first. Ensure the SSD is listed and set as the boot device. If cloning created mismatched partitions, you may need to repair the bootloader.
If performance seems slow, verify that:
- The SSD is connected to a full-speed port (SATA III or NVMe)
- TRIM is enabled in the OS
- Firmware is up to date
If your laptop shows reduced battery life after an SSD install, check power settings and AHCI mode in BIOS. Switching from IDE to AHCI can improve SSD performance; changing modes sometimes needs a registry tweak before reboot to avoid errors.
These tips come from hands-on upgrades and a few troubleshooting sessions with stubborn machines. Most issues are fixable with a quick BIOS check or a boot repair tool.
Cost, performance expectations, and limitations
Expect big speed boosts in everyday tasks. Boot times often drop from a minute to 10–20 seconds. App load times and file transfers are much faster. NVMe SSDs provide the greatest gains for heavy workloads like video editing.
Costs have fallen, but NVMe drives cost more per gigabyte than SATA SSDs. Also note:
- SSDs have limited write cycles, but normal users won’t hit those limits in years.
- Old systems may not show the full speed of new NVMe drives due to interface limits.
- Very old laptops may lack a compatible slot, requiring adapters or an external SSD.
When planning how to upgrade hdd to ssd, weigh cost vs benefit. For most users, even an affordable SATA SSD delivers a very noticeable improvement.

Personal experience and tips
I upgraded my daily driver laptop from a 500 GB HDD to a 1 TB SATA SSD. Boot time dropped from 90 seconds to 12 seconds. Applications launched instantly, and battery life improved by about 15 minutes under light use.
Tips I learned:
- Always back up before cloning. I once lost a small folder by skipping a backup. Don’t repeat that mistake.
- Label the old HDD and keep it as a backup for a few weeks after the switch.
- Update the SSD firmware and enable TRIM to keep performance steady over time.
- If you’re unsure about cloning, practice with a non-critical machine first.
A friendly tip: plan a weekend morning for the upgrade. It usually takes 1–2 hours including backups and checks. That will keep the process relaxed and safe.
Frequently Asked Questions of how to upgrade hdd to ssd
Is upgrading from HDD to SSD worth it?
Yes. You’ll get much faster boot times, better app responsiveness, and a quieter system. For most users, the productivity gains make it worthwhile.
Can I upgrade a laptop HDD to an SSD myself?
Many laptops allow DIY upgrades, especially those with 2.5-inch bays or M.2 slots. Check your laptop manual and gather the right tools before starting.
How long does it take to upgrade an HDD to an SSD?
The physical swap and setup typically take 30–90 minutes for most users. Cloning or reinstalling the OS can add another 30–60 minutes depending on data size and speed.
Will I lose my files when I upgrade to an SSD?
You won’t lose files if you back up properly and follow cloning instructions. Always create a full backup before beginning the upgrade to be safe.
Do I need special software to clone my HDD to an SSD?
You need cloning software or a disk-imaging tool. Many SSD manufacturers include free cloning tools, but there are also reliable third-party options available.
Can I use my old HDD after upgrading to an SSD?
Yes. You can repurpose it as an external backup drive, internal secondary storage, or for media files. Wipe it safely if you plan to sell or discard it.
Conclusion
Upgrading an HDD to an SSD is a high-impact, affordable way to boost system speed and reliability. Follow the steps here, check compatibility, back up your data, and decide whether cloning or a clean install fits your needs. With basic tools and a little patience, you can complete the upgrade in a weekend and enjoy a noticeably faster system.
Take action today: check your device’s compatibility, pick the right SSD, and schedule time to perform the upgrade. If you found this guide useful, leave a comment with your device model and questions, or subscribe for more hands-on tech guides.

Everett Ashford is a tech reviewer at mytechgrid.com specializing in SSDs, cameras, TVs, earbuds, headphones, and other consumer electronics. He provides honest, data-driven reviews based on hands-on testing and real-world performance analysis. Everett simplifies complex tech details to help readers make smart, confident buying decisions.