Use an RF-to-AV converter, then connect the Atari 2600 through an HDMI upscaler to your modern TV.
Learning how to hook Atari 2600 to modern TV is easier once you understand the console’s old RF signal. The best method depends on your Atari model, your TV’s inputs, and whether you want the simplest setup or the clearest picture. This guide explains each safe option, common mistakes, picture limits, and practical steps that work with most original Atari 2600 consoles.
What You Need to Hook an Atari 2600 to a Modern TV
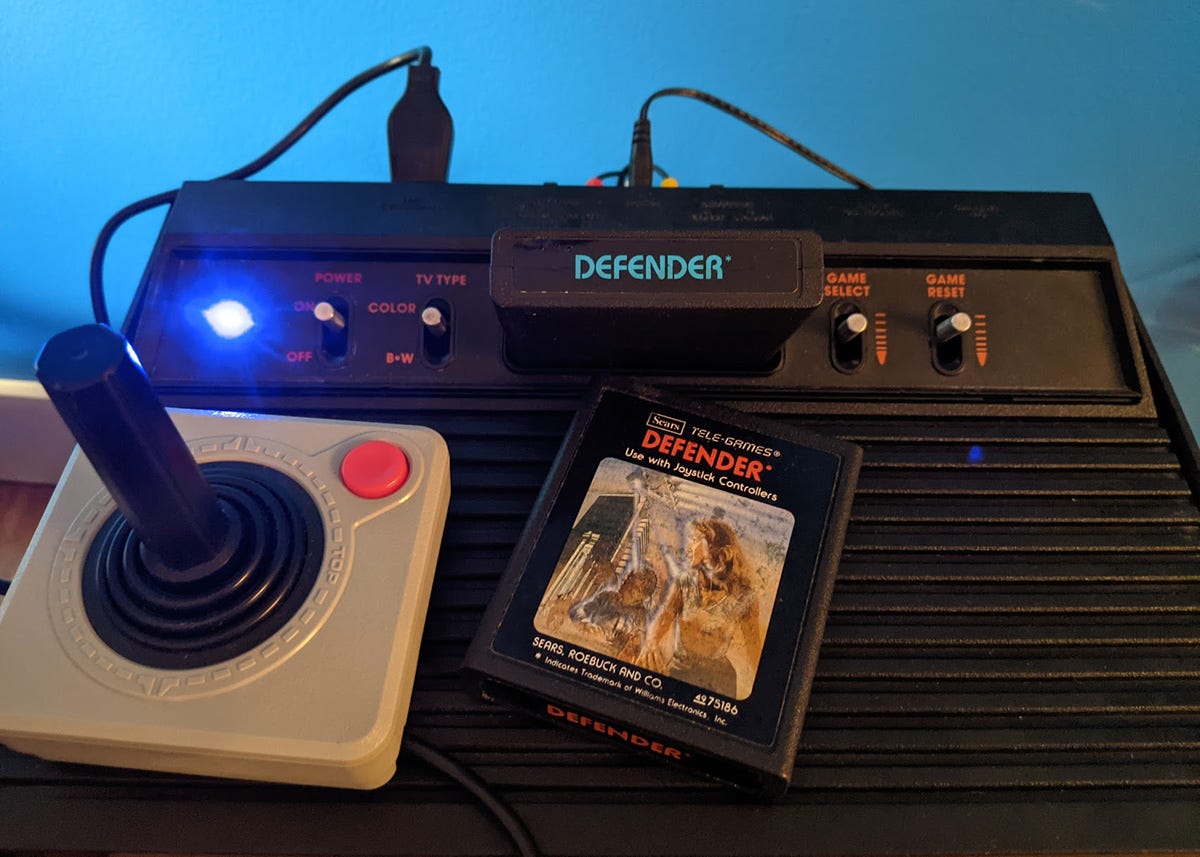
Before learning how to hook Atari 2600 to modern TV, check the ports on both devices. Original Atari 2600 consoles usually send video through an RF connection. Most modern TVs focus on HDMI and may not include an analog tuner.
The exact parts you need depend on your setup:
• Atari 2600 console with its original power supply
• Original Atari RF cable or switch box
• Coaxial cable with an F connector
• RF-to-AV demodulator, if the TV has no analog tuner
• Composite-to-HDMI converter or gaming upscaler
• HDMI cable
• Compatible game cartridge and controller
The original Atari 2600 does not produce HDMI or standard composite video in its stock form. Its video signal travels through radio frequency output, much like an old cable TV channel.
A key detail matters here: an RF modulator and an RF demodulator do different jobs. An RF modulator turns audio and video into an RF signal. An RF demodulator takes RF and turns it into composite video and audio. For a stock Atari 2600, you need the second type.

How to Hook Atari 2600 to Modern TV Using the RF Input
Some modern televisions still include a coaxial antenna input and an analog TV tuner. If yours supports analog channel tuning, this may be the most direct method.
Step 1: Connect the Atari switch box
Connect the Atari 2600 to its original switch box or RF adapter. Many systems use a short RCA-style plug from the console to the switch box.
Set the switch box to the game position. Some older switch boxes use a small two-position slider marked “TV” and “GAME.”
Step 2: Connect the coaxial cable
Attach a coaxial cable from the switch box output to the TV’s antenna or cable input. Tighten the connector by hand. Do not force it.
If your console has a two-screw antenna connection instead of a standard coaxial connection, use a 300-ohm-to-75-ohm adapter. These adapters are inexpensive and widely available.
Step 3: Select the correct channel
Atari 2600 systems commonly use channel 3 or channel 4. The setting varies by console model and region.
Set the TV to the matching channel. Then open the TV’s channel setup menu and choose an option such as:
• Analog scan
• Air scan
• Antenna scan
• Cable search
The menu name differs by brand. A digital-only scan will not find the Atari signal.
Step 4: Turn on the system
Insert a cartridge, connect a controller, and turn on the Atari 2600. Start the TV scan while the console is powered on.
If the scan does not find the game, manually tune channel 3 or 4. Some televisions hide analog channels until you enable the analog tuner in the setup menu.
This method is simple, but it has limits. Many new TVs no longer support analog NTSC signals, and some accept coaxial input only for digital broadcasts. In that case, the TV may show snow, a blank screen, or a “no signal” message.

How to Hook Atari 2600 to Modern TV Without an Analog Tuner
For many people, how to hook Atari 2600 to modern TV means converting the RF signal before it reaches the television. This is usually the most reliable stock-console method.
You need two conversion stages:
• RF-to-composite demodulator
• Composite-to-HDMI converter or upscaler
The signal path looks like this:
Atari 2600 → RF switch box → RF-to-AV demodulator → HDMI converter → modern TV
Follow these steps:
-
Connect the Atari 2600 to its switch box.
-
Run a coaxial cable from the switch box to the RF input on the demodulator.
-
Connect the demodulator’s yellow video and red or white audio outputs to the composite-to-HDMI converter.
-
Connect the converter to the TV with an HDMI cable.
-
Plug in the required power adapters.
-
Set the TV to the correct HDMI input.
-
Turn on the Atari and select the proper input on each device.
Use a device that clearly states it accepts analog RF on channel 3 or 4. Many cheap “AV to RF” products go in the opposite direction and will not work with the Atari’s output.
A VCR or older DVD recorder with an analog tuner can sometimes replace the RF demodulator. Connect the Atari to the device’s antenna input, tune the correct channel, and use its composite output. This can work well, but old VCRs often need cleaning and may have worn belts or faulty capacitors.

How to Hook Atari 2600 to Modern TV With a Composite Mod
A composite video modification changes the console so it produces a cleaner video signal than the original RF output. A professional technician can install a compatible composite mod kit inside the Atari 2600.
After the modification, the connection usually looks like this:
Modified Atari 2600 → composite-to-HDMI converter → modern TV
The yellow plug carries video. The red and white plugs usually carry audio, though some Atari mods use mono audio through one connector.
Composite video is often easier to use than RF because it avoids channel tuning. It can also reduce interference from the old switch box and RF cable. However, a composite mod does not create high-definition graphics. It only provides a cleaner, easier signal path.
This option is best for people who use the console often. It keeps the original cartridge and controller experience while making the TV connection simpler.
Do not open the console unless you understand electronics and safe discharge practices. The Atari 2600 uses low voltage during normal play, but careless work can damage the motherboard, RF section, or power circuit. A technician who regularly repairs classic consoles is the safer choice.
How to Hook Atari 2600 to Modern TV With an HDMI Mod
An HDMI modification is the cleanest modern solution, but it is also the most involved. This type of mod adds an HDMI output to the console and may improve signal stability, scaling, and input compatibility.
The connection becomes:
HDMI-modded Atari 2600 → HDMI cable → modern TV
Benefits can include:
• No RF tuning
• Fewer cables
• More stable video
• Better compatibility with modern displays
• Possible low-latency scaling
The quality depends on the mod board and the installer. A poor installation can introduce noise, damage the console, or create controller problems.
HDMI mods also vary in how they handle the original Atari picture. Some preserve the classic look. Others add filters or scaling options. Ask the installer whether the system will output 240p, 480p, or another format, and confirm that your TV supports it.
For a valuable original console, keep all removed parts and document the work. This helps with future repairs and preserves the system’s history.

Choosing the Best Method for Your Setup
The right answer to how to hook Atari 2600 to modern TV depends on your goals.
Choose direct coaxial connection if:
• Your TV has an analog tuner
• You want the lowest cost
• You do not mind tuning channel 3 or 4
• You want to keep the console fully original
Choose an RF-to-AV converter if:
• Your TV has HDMI but no analog tuner
• You want to avoid opening the console
• You already own the original RF switch box
• You want a reversible setup
Choose a composite mod if:
• You play often
• You want a cleaner cable connection
• You want to keep the original console shell
• You are comfortable paying for professional installation
Choose an HDMI mod if:
• You want the simplest daily setup
• You want modern display compatibility
• You care about low lag and stable scaling
• You are willing to modify the console
For most casual players, an RF-to-AV demodulator followed by a good HDMI converter offers the best balance. It is not the sharpest method, but it avoids permanent changes and works with many stock consoles.
Troubleshooting Atari 2600 Video Problems
When how to hook Atari 2600 to modern TV does not work on the first try, check the signal path one part at a time.
No picture
Confirm that the console has power and that the game cartridge is fully inserted. Clean the cartridge contacts with 90% or higher isopropyl alcohol and a soft, lint-free swab. Let the cartridge dry before testing it again.
Next, check the TV input. If you use HDMI, make sure the TV is set to the exact HDMI port connected to the converter.
Snow or static
Snow often means the TV is not receiving the correct RF channel. Try channel 3 and channel 4, then run an analog channel scan.
A damaged RF cable, loose switch box, or dirty cartridge can also cause noise. Replace one part at a time so you know which item fixed the problem.
Black screen with sound
This often points to a video conversion problem. Confirm that the yellow composite plug is connected to the video input, not a green component input.
Some HDMI converters also need their own USB power cable. Connect that cable directly to a stable USB power adapter.
Rolling or unstable image
An unstable image may come from a weak power supply, poor RF shielding, or an incompatible converter. Original Atari power adapters can become unsafe with age, especially if the cable is cracked or the adapter becomes unusually hot.
Replace damaged power equipment with a compatible, regulated supply. Match the required voltage, polarity, and current rating for your Atari model.
Delayed controls
Some modern TVs add image processing that creates input lag. Enable Game Mode, Low Latency Mode, or a similar setting.
Avoid passing the signal through several low-cost converters. Each device can add delay or create compatibility problems.

Improving Atari 2600 Picture Quality
The Atari 2600 was designed for analog televisions, so its graphics will not look like modern pixel-art games on every TV. The original signal is soft by nature, and that softness is part of the system’s character.
You can still improve the result:
• Use short, shielded cables
• Clean the cartridge and console connector
• Use a stable power supply
• Choose a low-latency converter
• Enable Game Mode on the TV
• Keep the console away from large power bricks
• Avoid unnecessary cable adapters
A dedicated retro gaming upscaler usually performs better than a basic generic HDMI converter. These devices are built to handle older 240p-style signals more accurately.
Do not expect a normal converter to add real detail. Upscaling makes the signal fit the screen; it does not recreate information that was never present.
Older games may also look different on a flat-panel display because modern screens have fixed pixels. Some players prefer a sharp image, while others prefer scanline or CRT-style filters. Both choices are valid.
Safety and Compatibility Tips
Safety is an important part of how to hook Atari 2600 to modern TV. The console may be decades old, and its power accessories can be more dangerous than the video connection.
Use these precautions:
• Do not use a cracked or frayed power adapter
• Stop using the system if the adapter smells hot or burns your hand
• Keep liquids away from the console and power strip
• Unplug the system before cleaning or changing internal parts
• Never force a connector into a port
• Check voltage and polarity before buying a replacement adapter
• Do not connect an RF output directly to an HDMI input
Also check whether your Atari is an NTSC, PAL, or SECAM model. Regional systems use different video standards and may behave differently with modern converters. A converter that works with an NTSC Atari may not correctly process a PAL system.
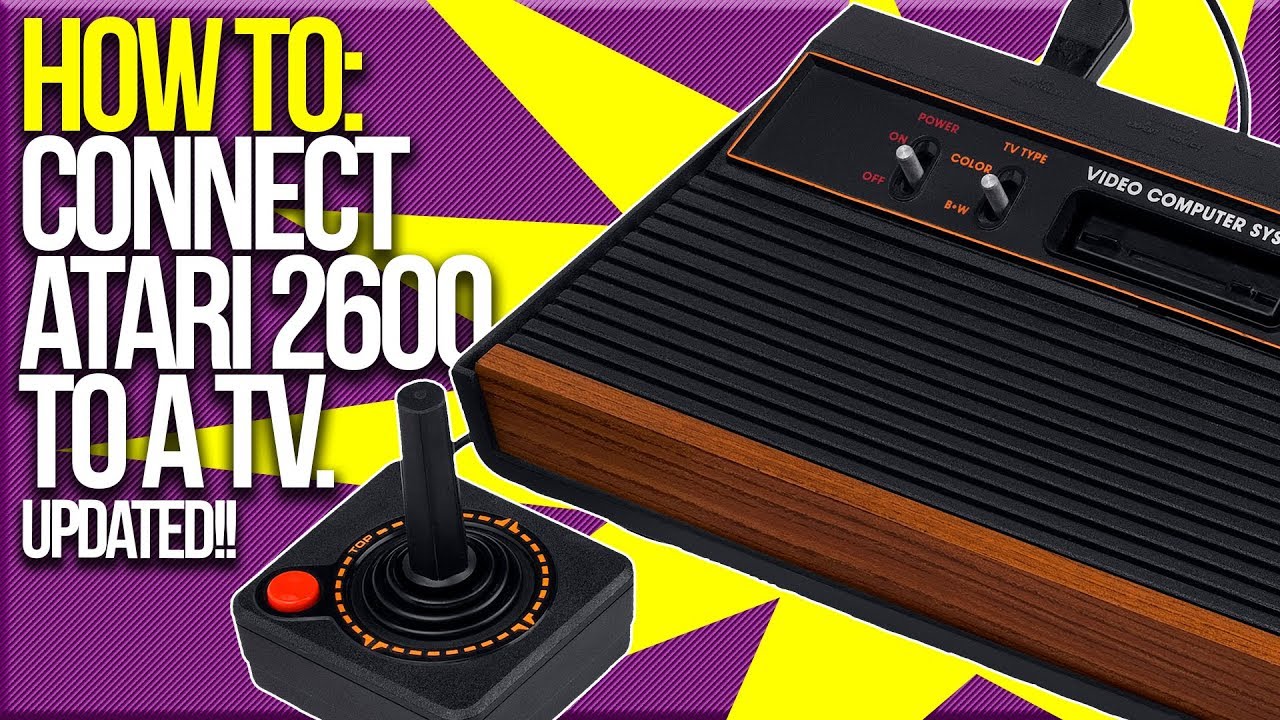
The original Atari 2600 also came in several revisions, including the six-switch and four-switch models, the Atari 2600 Jr., and regional variants. Their video connectors and internal circuits can differ, so identify the model before ordering a mod or replacement cable.
Common Mistakes to Avoid
Many failed setups come from using the wrong type of converter. The most common mistake is buying an AV-to-RF modulator when the Atari needs an RF-to-AV demodulator.
Other mistakes include:
• Plugging the yellow video cable into a green component input
• Forgetting to power the HDMI converter
• Scanning only digital channels
• Using the wrong HDMI input
• Leaving the RF switch box in the TV position
• Assuming every coaxial TV input accepts analog channels
• Using a PAL console with an NTSC-only converter
• Blaming the TV before testing the cartridge and cable
A simple test routine saves time. Test the console with a known-working cartridge, confirm power, verify the RF channel, and then test each converter separately.
When I troubleshoot a vintage setup, I treat each cable and box like a link in a chain. Testing the links one by one is faster than replacing everything at once.
Frequently Asked Questions
Can I connect an Atari 2600 directly to an HDMI port?
No. A stock Atari 2600 outputs RF, while HDMI expects a digital video signal. You need an RF-to-AV device plus an HDMI converter, or a professional HDMI modification.
Will an Atari 2600 work with any modern TV?
Not always. TVs with analog tuners may accept the original RF signal, but many modern TVs support only digital broadcasts through the coaxial port. An RF-to-AV converter is usually needed for those sets.
Do I need an RF modulator for an Atari 2600?
Usually, no. The console already produces an RF signal, so you normally need an RF demodulator that converts RF to composite video. An RF modulator usually converts composite video into RF and performs the opposite task.
Why does my Atari 2600 show a black screen?
The cause may be a dirty cartridge, weak power supply, loose RF connection, wrong channel, or incorrect TV input. Test the cartridge, channel 3 and 4, cables, and converter power before assuming the console has failed.
Can I use a VCR to connect an Atari 2600 to a modern TV?
Yes, if the VCR has an analog tuner and composite video output. Connect the Atari to the VCR’s antenna input, tune the correct channel, and send the VCR’s composite output through an HDMI converter.
Is a composite mod better than an RF connection?
A composite mod usually gives a simpler and cleaner connection, with no channel tuning. It costs more and requires opening the console, so an external RF-to-AV converter is better if you want a reversible setup.
Conclusion
Learning how to hook Atari 2600 to modern TV starts with identifying the console’s RF output and the television’s available inputs. If the TV has an analog tuner, connect the console through the switch box and tune channel 3 or 4. If it does not, use an RF-to-AV demodulator followed by a composite-to-HDMI converter.
For frequent play, a professional composite or HDMI mod can provide a cleaner and easier connection. Use safe power equipment, confirm regional compatibility, and troubleshoot each part of the signal chain in order.
With the right adapter, your classic Atari can still bring back that simple joystick-and-cartridge magic. Set up your console, try a favorite game, and share your results or setup questions in the comments.

Everett Ashford is a tech reviewer at mytechgrid.com specializing in SSDs, cameras, TVs, earbuds, headphones, and other consumer electronics. He provides honest, data-driven reviews based on hands-on testing and real-world performance analysis. Everett simplifies complex tech details to help readers make smart, confident buying decisions.