Use Sony | Headphones Connect or Sony Firmware Updater to install the latest firmware quickly.
I’ve updated many Sony models over the years, from compact earbuds to noise-canceling over-ears. This guide shows exactly how to update Sony headphones step by step. You’ll learn when to update, which tools to use, how to troubleshoot, and tips I learned from real updates. Read on to master how to update sony headphones with confidence and avoid common mistakes.

Why update your Sony headphones?
Firmware updates fix bugs and add features. They can improve sound, battery life, and Bluetooth stability. Sony often sends small updates to fine-tune noise canceling and app features.
Updating keeps your headphones secure and compatible with phones and computers. Old firmware can cause dropouts or poor call quality. If you notice odd behavior, an update often fixes it.
I once updated a pair that had random volume drops. After the update, the issue stopped. That quick win shows why learning how to update sony headphones is worth the few minutes it takes.
Prepare before updating
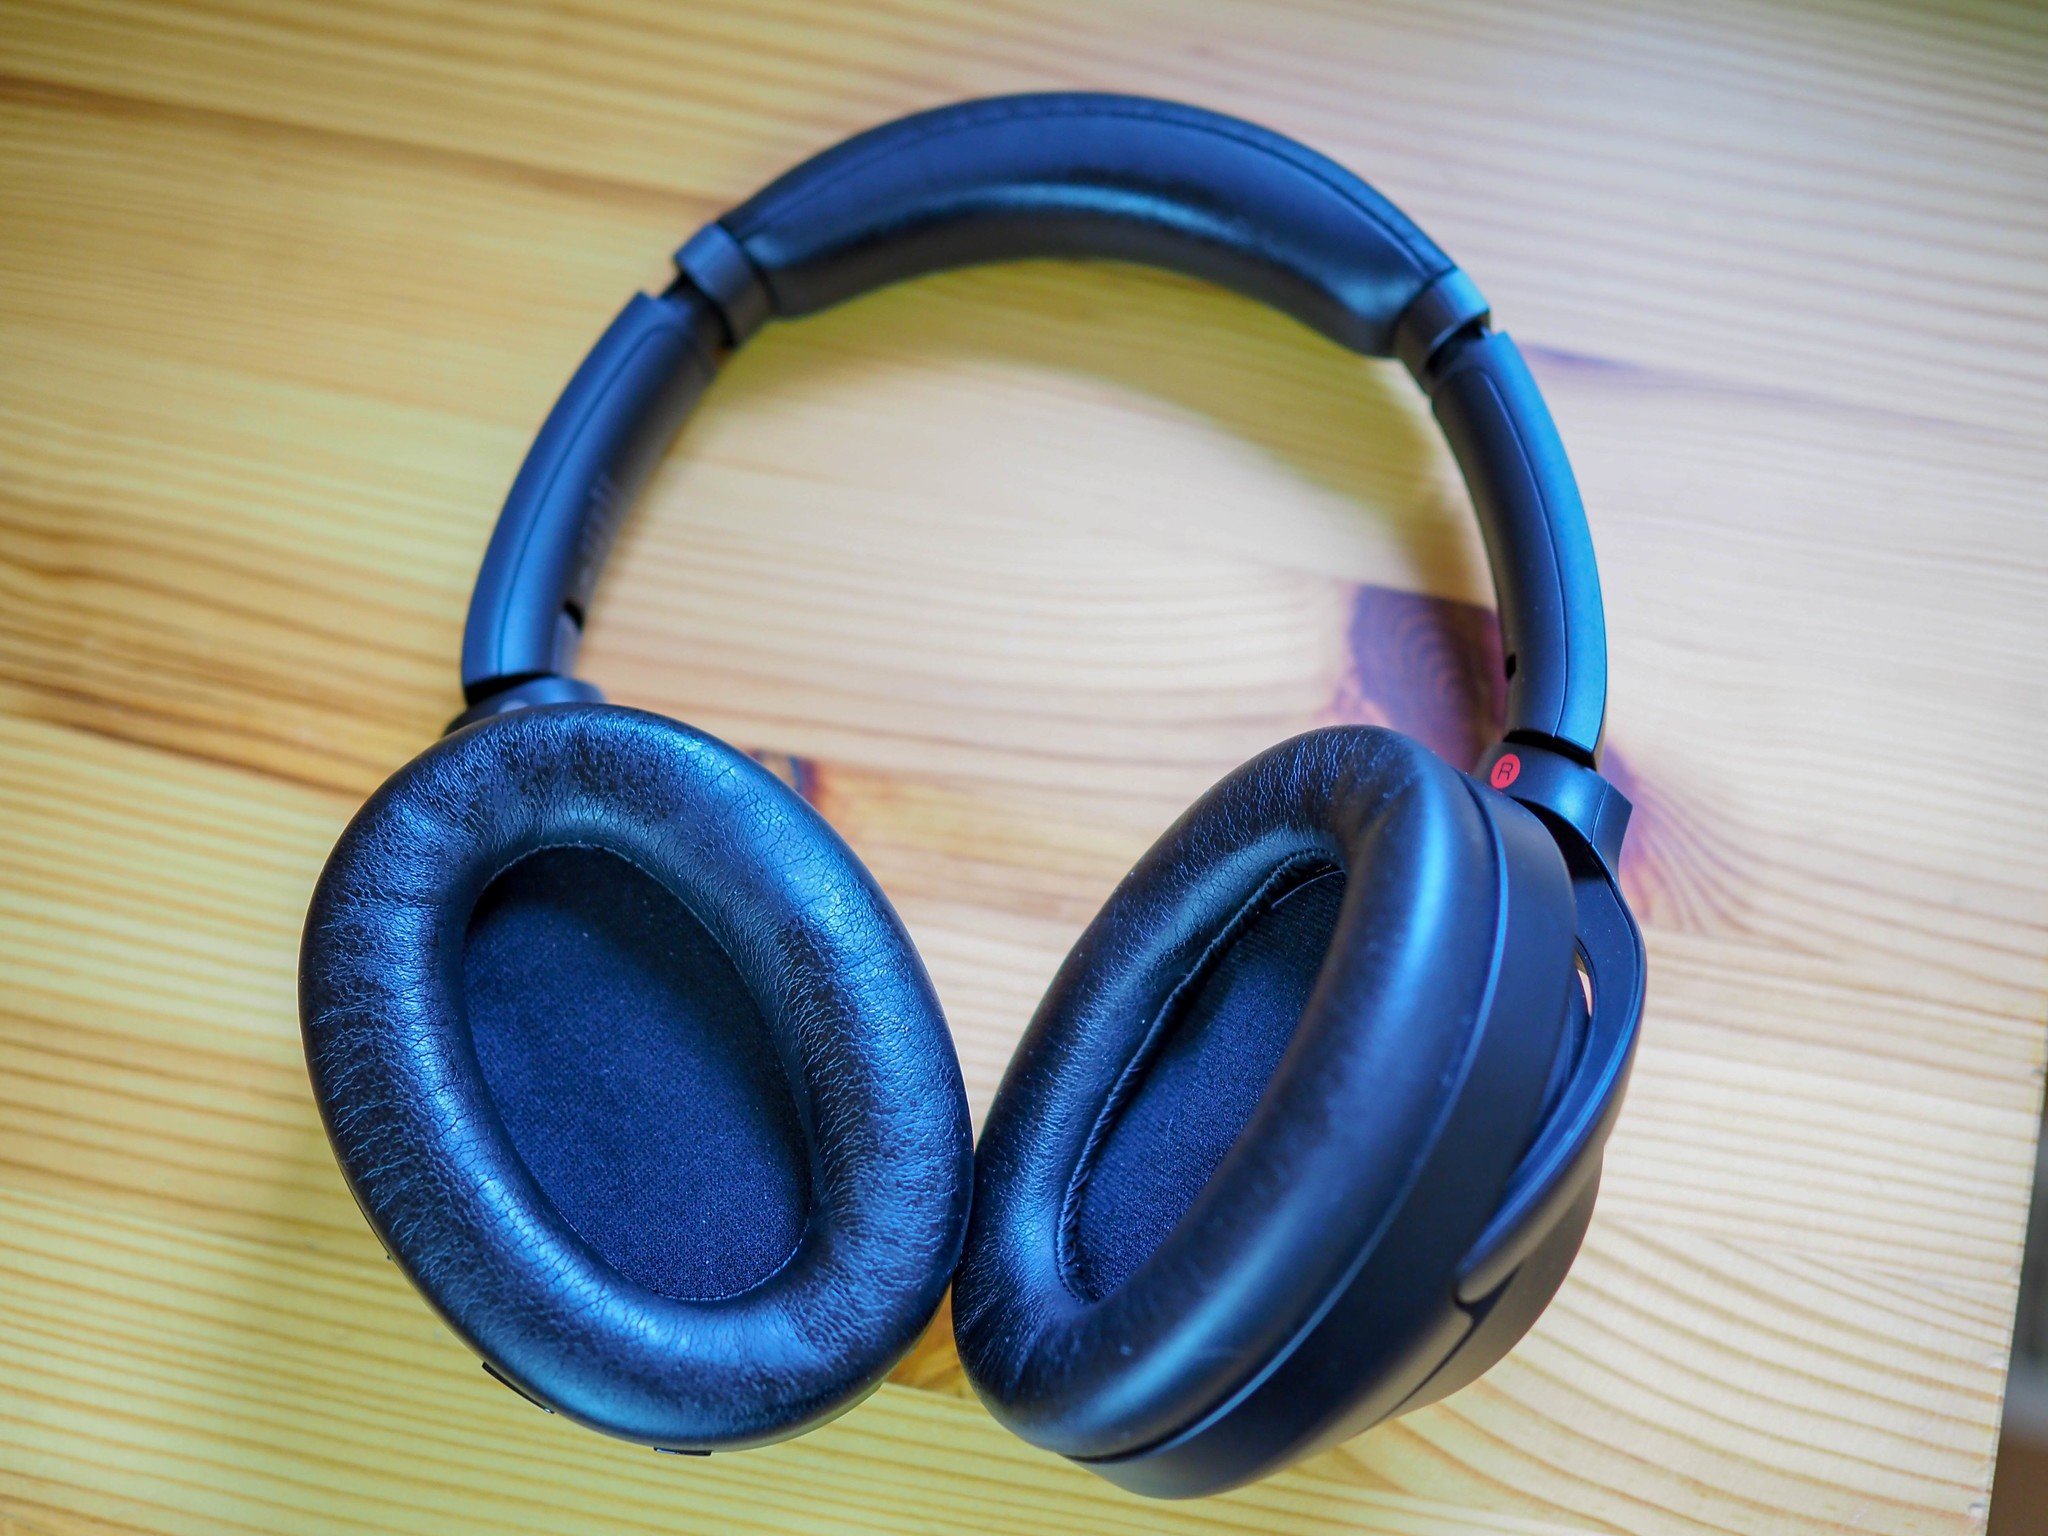
Check battery level. Keep headphones charged above 50% before starting. Low battery can interrupt firmware changes.
Use a stable Wi-Fi or USB connection. For app updates use a strong Wi-Fi. For PC updates, use a good USB cable and a stable port.
Close other Bluetooth devices near your phone when using the app. This lowers the chance of connection drops. Back up any custom equalizer presets in your app if possible.
Turn off power-saving modes on your phone or PC. These modes can pause the update. Also avoid notifications that might disrupt the process.

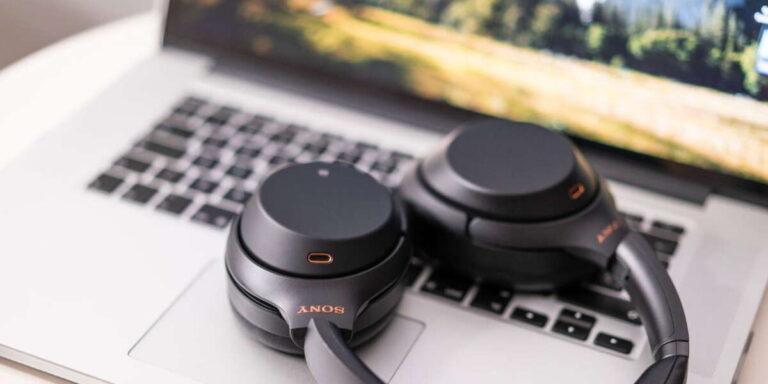
How to update Sony headphones with the Sony | Headphones Connect app
This is the most common method. The app works on iPhone and Android for most Sony models.
- Install and open Sony | Headphones Connect app.
- Grant Bluetooth and location permissions if asked.
- Power on your headphones and pair them with your phone.
- Ensure they appear in the app as connected.
- Look for a firmware update prompt.
- The app checks and shows “Firmware update” when available.
- Follow the on-screen steps.
- Keep your phone close to the headphones.
- Do not use the headphones or phone during the update.
- Wait until the app shows “Update complete.”
- The headphones may restart automatically.
If the app stalls, close and reopen it and retry. If it fails again, try the PC updater method described below.
Using the app is simple and fast. This method works well for how to update sony headphones when you want a quick update without a computer.
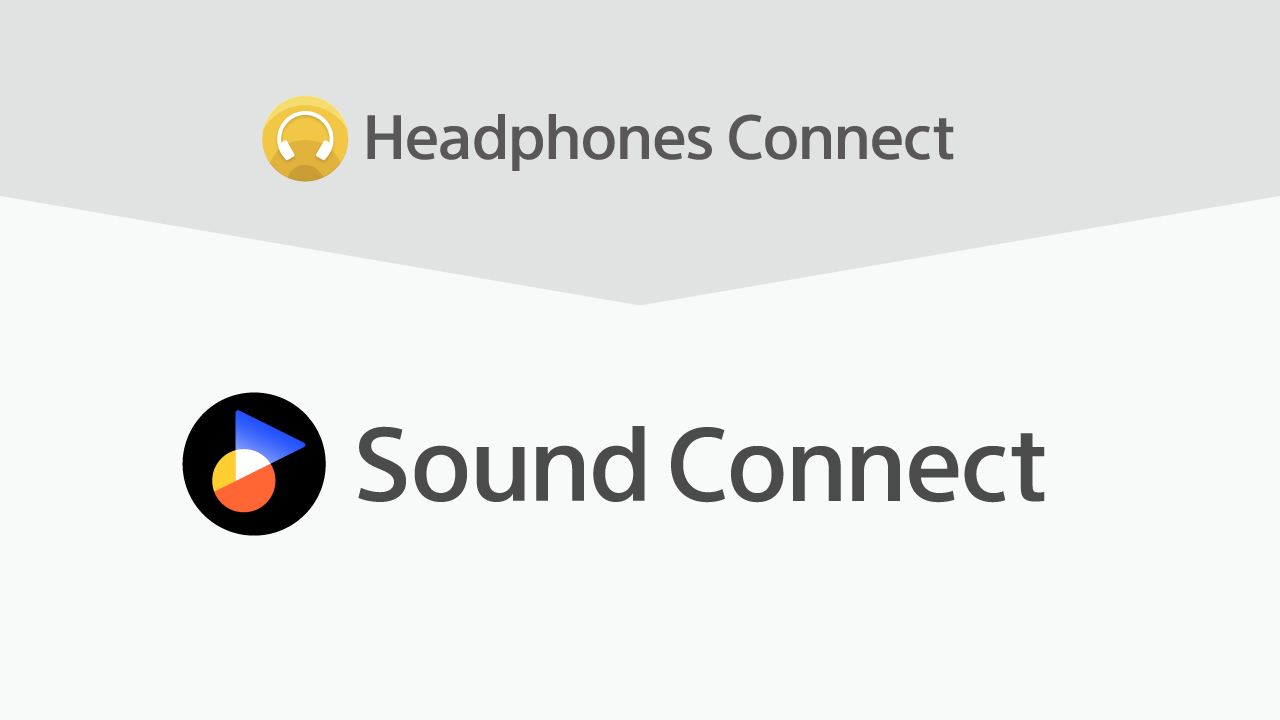
How to update Sony headphones via PC (Sony Firmware Updater)
Some models support updates through a computer. This is common for older models or when app updates fail.
- Download and install Sony Firmware Updater on your PC or Mac.
- Follow the installer instructions carefully.
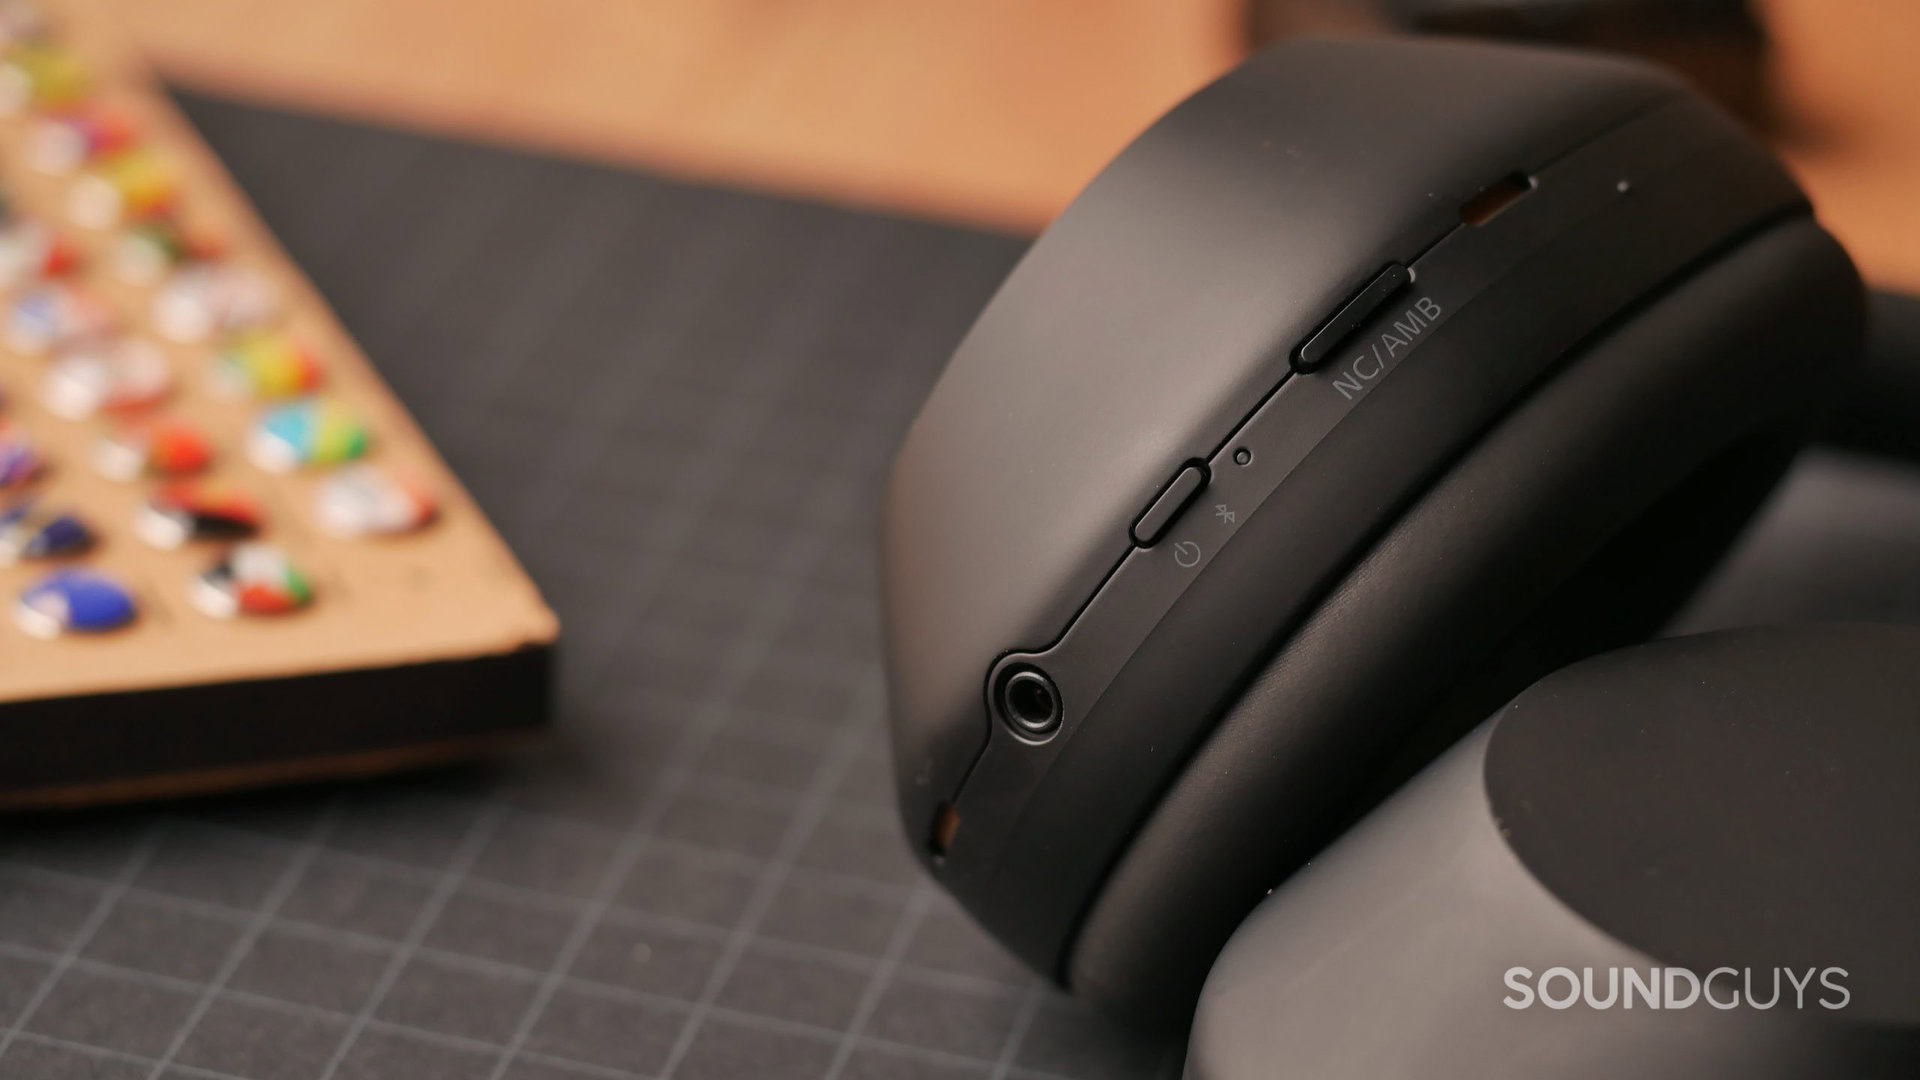
- Turn off your headphones and connect them by USB.
- Use the original cable if possible.
- Launch the Firmware Updater tool.
- The tool will detect your headphone model.
- Follow on-screen steps to start the update.
- Do not disconnect the cable during the update.
- Wait until the software shows “Update finished.”
- Unplug and restart the headphones.
If detection fails, try a different USB port or cable. On Windows, check Device Manager to confirm the device appears. This PC method is reliable and useful when learning how to update sony headphones for stubborn cases.

Troubleshooting common update issues
Update fails or gets stuck:
- Keep devices charged and try again.
- Reboot your phone or PC, then retry the update.
- Use the PC method if the app fails.
Headphones disconnect mid-update:
- Move away from interference and keep devices close.
- Disable other Bluetooth devices nearby.
- Use a fresh USB cable for PC updates.
Update completed but features missing:
- Restart headphones and phone after update.
- Reinstall the Sony app and sign in again.
- Reset settings if problems persist.
If nothing works, factory reset your headphones. Check model-specific support if you still have issues. These steps will help you solve most problems when updating and when figuring out how to update sony headphones.
Tips, best practices, and post-update checks
Check version history in the app to confirm the update. Note the build number for future reference.
Test sound, mic, and ANC after the update. Use an app to play tracks and make a short call to confirm call quality.
Keep firmware current. Set a reminder to check updates every few months. New releases can improve performance.
If you rely on critical calls, update at home, not right before an important meeting. That avoids surprises. From my experience, updating during downtime prevents issues.
Frequently Asked Questions of how to update sony headphones
How long does a firmware update usually take?
Most updates finish within 5 to 15 minutes. Larger updates can take up to 30 minutes, so be patient.
Will updating erase my settings or presets?
Most updates keep your settings. Rarely, a reset may be needed after a major firmware change.
Can I update without Wi‑Fi?
App updates need internet on your phone. PC updates use your computer, so Wi‑Fi is not required for that path.
What if the update fails repeatedly?
Try restarting devices, use the original USB cable, or switch to the PC updater. If it still fails, contact support.
Is it safe to update while charging?
Yes. Charging during the update is fine and often recommended to avoid low-battery interruptions.
Conclusion
Keeping firmware up to date keeps your headphones working at their best. Use the Sony | Headphones Connect app for most updates and the PC updater for stubborn cases. Charge gear, use a stable connection, and test after the update. Take action today: check your firmware version and update if needed to enjoy improved sound and stability. Share your update win or ask questions below to keep the conversation going.

Everett Ashford is a tech reviewer at mytechgrid.com specializing in SSDs, cameras, TVs, earbuds, headphones, and other consumer electronics. He provides honest, data-driven reviews based on hands-on testing and real-world performance analysis. Everett simplifies complex tech details to help readers make smart, confident buying decisions.