Format an SSD on Mac using Disk Utility or Terminal with APFS, GUID, and optional encryption.
I’ve worked on Macs for years and helped many people format drives safely. This guide covers how to format SSD on Mac step by step, with clear choices, commands, and real tips I learned the hard way. Read on to learn which format to pick, how to back up, exact Disk Utility steps, Terminal commands, and how to avoid common mistakes when you format an SSD on Mac.
Why you might need to format an SSD on Mac
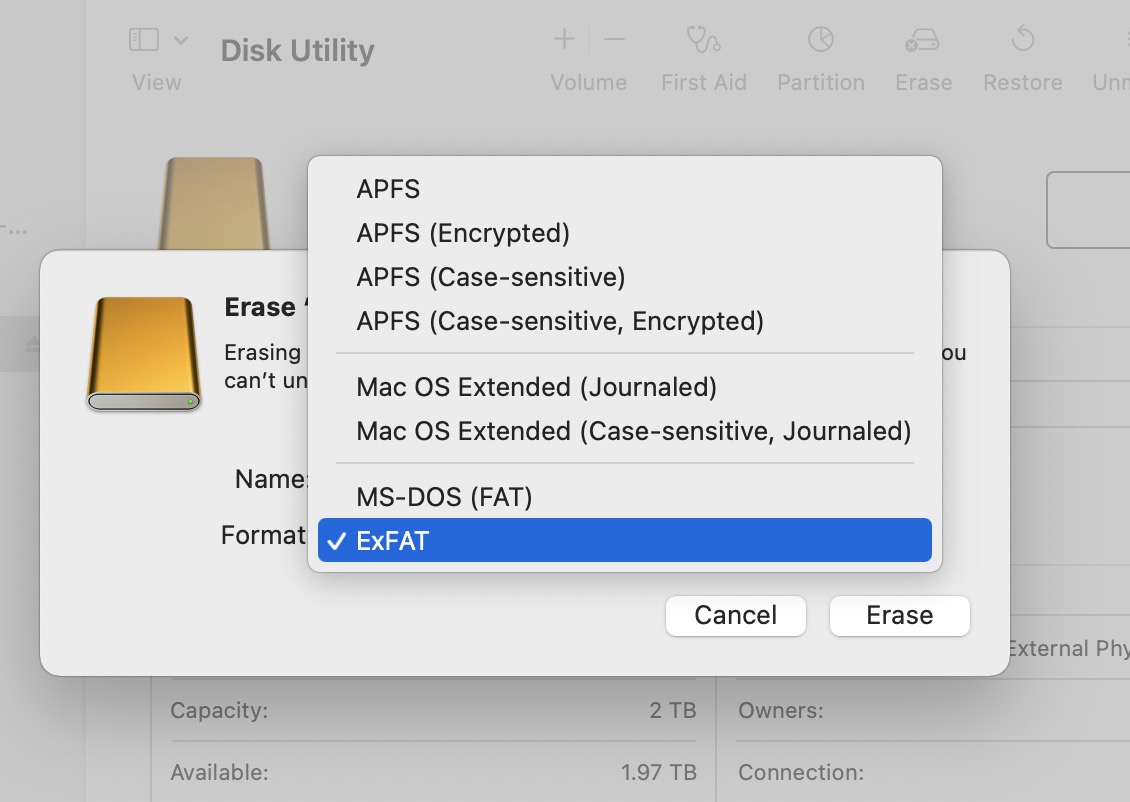
Formatting clears data, sets a filesystem, and lets macOS use the drive correctly. You might format to erase sensitive data, change the filesystem to APFS, prepare a drive for Time Machine, or fix a drive that shows errors. Knowing how to format SSD on Mac helps you choose the right options and keep your data safe.
Before you start: backup and prep
Formatting deletes everything on the SSD. Always back up first. Use Time Machine, a clone app, or copy important files to another drive or cloud.
- Check power: do this with a charged Mac or plugged-in MacBook.
- Note your apps: write down licenses and settings.
- Confirm firmware: check the SSD maker for firmware updates if the SSD is external.
These steps reduce risk and speed recovery if something goes wrong while you format an SSD on Mac.
Understand format options on Mac
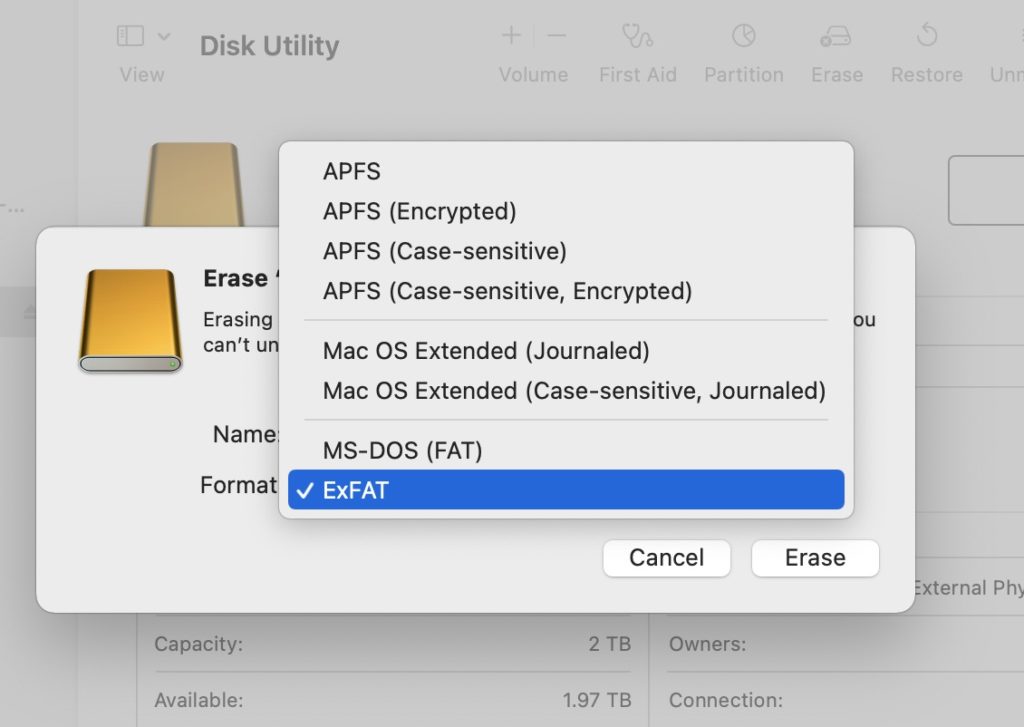
Pick the right filesystem for your needs. The main options are:
- APFS (Apple File System)
- Best for modern macOS and SSDs.
- Supports snapshots, fast directory sizing, and encryption.
- APFS (Encrypted)
- Same as APFS but prompts for a password when mounted.
- Good if you carry sensitive files on the drive.
- Mac OS Extended (Journaled)
- Older Macs and some software may still need this.
- Not optimized for SSD performance compared with APFS.
- exFAT
- Cross-platform with Windows and Linux.
- Good for large files and sharing between systems.
- MS-DOS (FAT)
- Use only for small drives or legacy devices with file size limits.
When you format an SSD on Mac today, APFS is usually the right choice unless you need Windows compatibility or an older macOS.
Step-by-step: Format an external SSD with Disk Utility
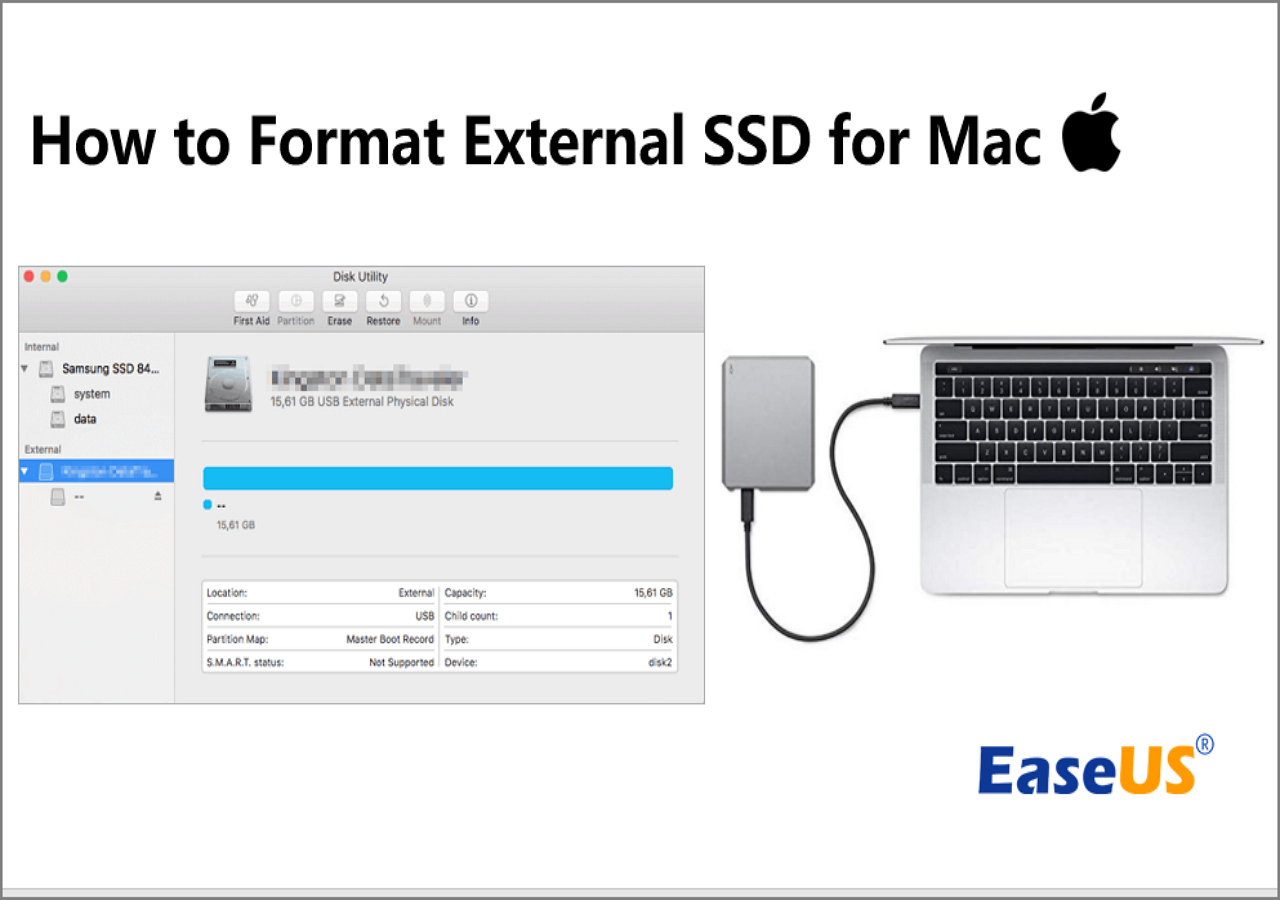
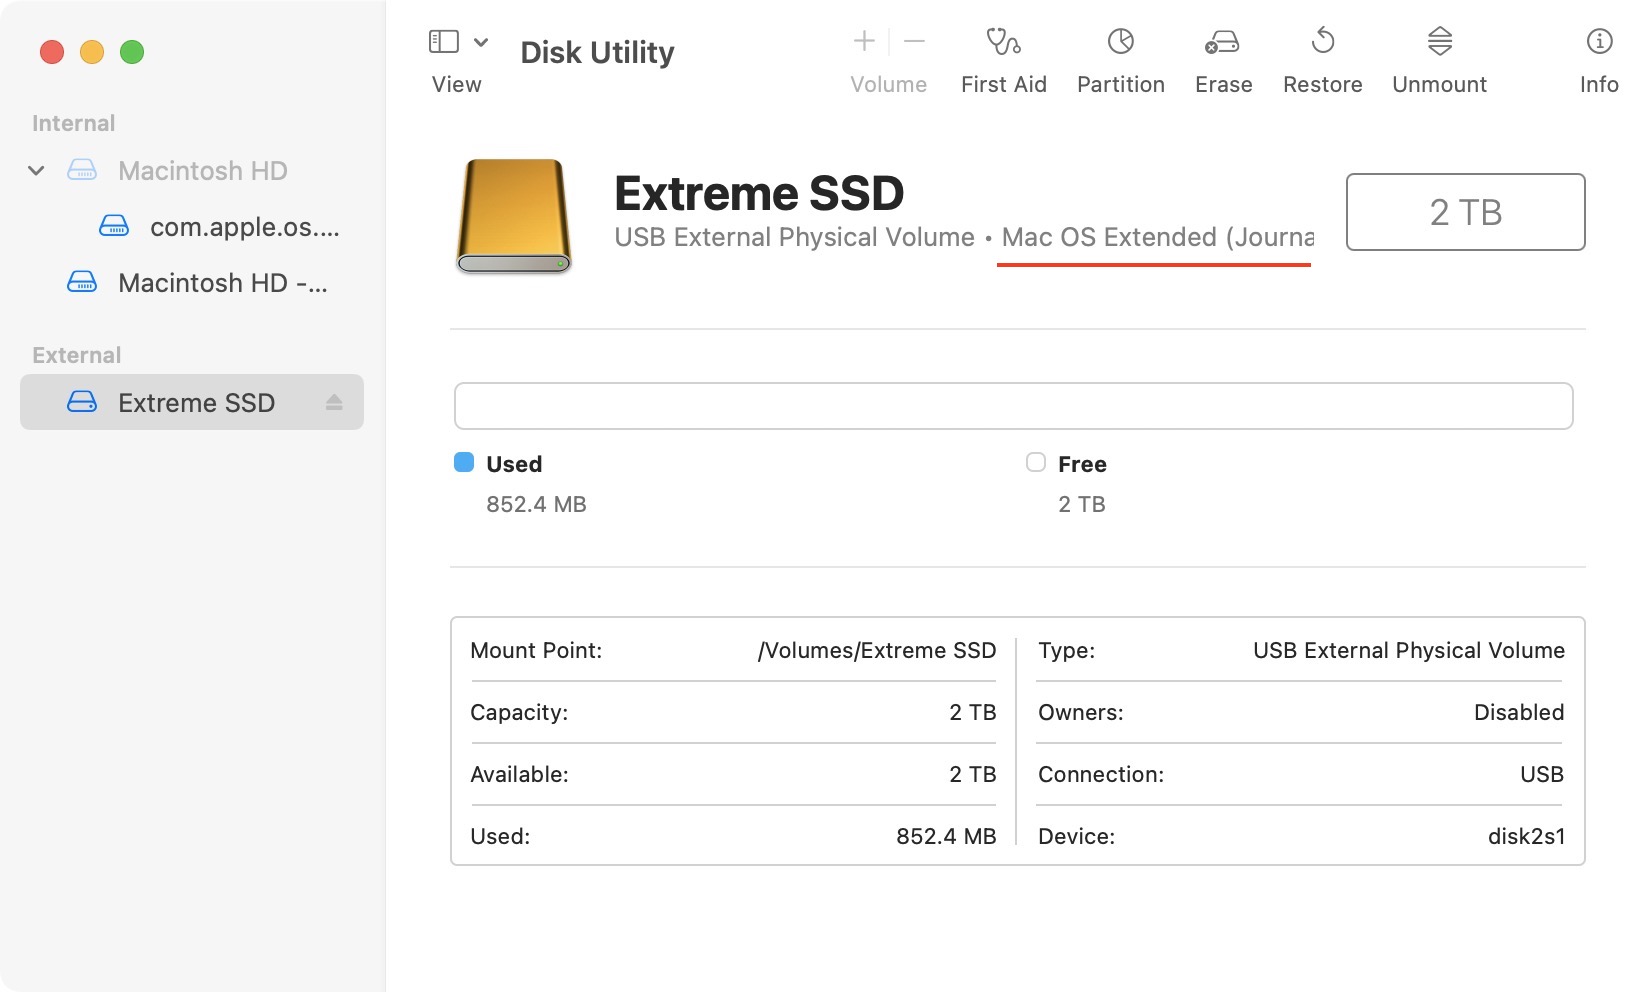
Disk Utility is the safest and easiest way to format an SSD on Mac. Follow these steps.
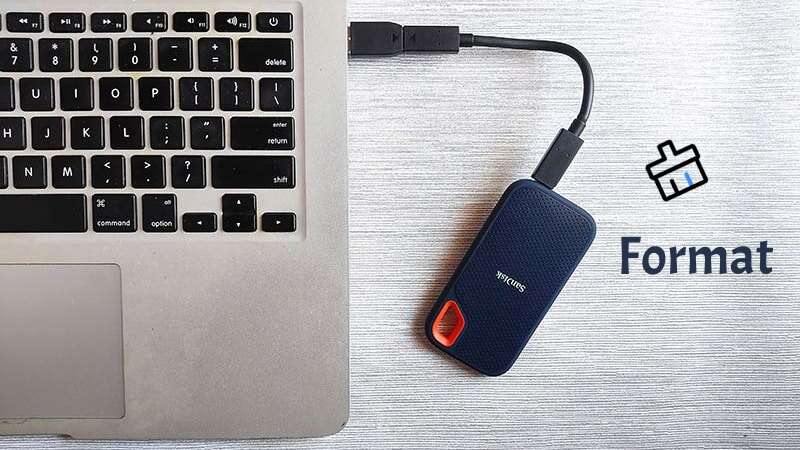
- Connect the SSD to your Mac.
- Open Applications > Utilities > Disk Utility.
- Choose View > Show All Devices to see the physical drive.
- Select the SSD (the device, not a volume).
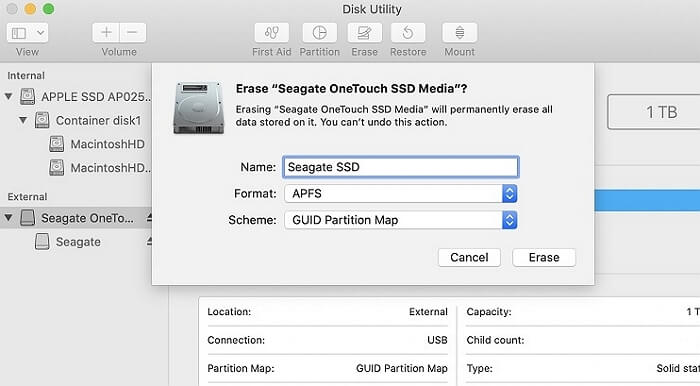
- Click Erase.
- Set these options:
- Name: pick a friendly name.
- Format: choose APFS for most cases or exFAT for Windows compatibility.
- Scheme: choose GUID Partition Map.
- Click Erase and wait. Disk Utility will finish in a few moments.
If the SSD fails to erase, try unmounting it first or connect via a different cable or port. These steps cover the common case when you format an SSD on Mac externally.
 internal or startup SSD”
style=”max-width: 100%; height: auto; border: 2px solid black; border-radius: 10px; display: block; margin: 0 auto;”
loading=”lazy”
/>
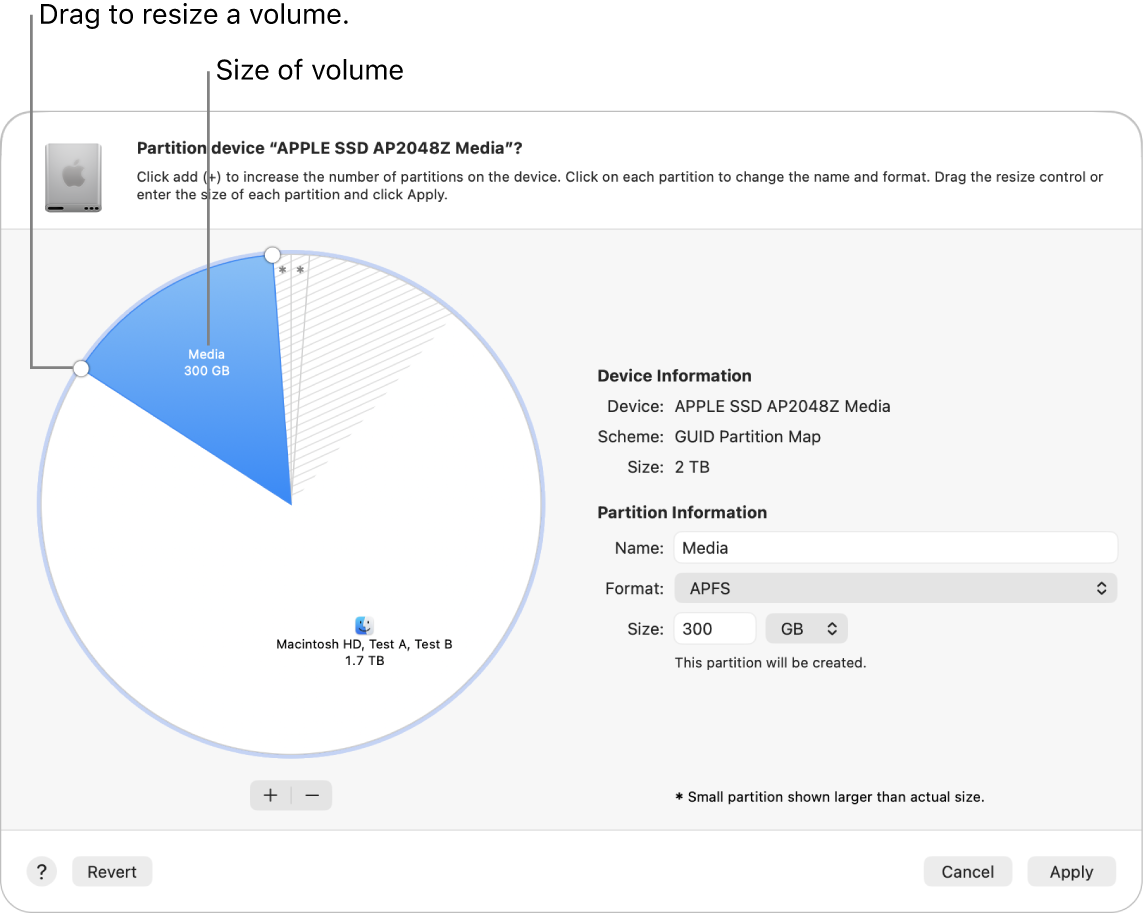
Step-by-step: Format an internal or startup SSD
Formatting the internal drive requires care because it holds your macOS system.
- Back up your Mac with Time Machine or clone software.
- Create a bootable macOS installer or use macOS Recovery.
- Restart and boot into Recovery: hold Command-R or Option-Command-R depending on your macOS version.
- Open Disk Utility from Recovery.
- Choose View > Show All Devices, select the internal SSD device.
- Click Erase, pick APFS (or APFS Encrypted) and GUID Partition Map.
- After erase completes, exit Disk Utility.
- Reinstall macOS from Recovery or your bootable installer.
If you plan to sell or repurpose the Mac, enable FileVault after reinstalling to secure user data. This is the standard method when you format an SSD on Mac that contains your system.
Use Terminal to format SSD (advanced)
Terminal gives precise control and scriptability for power users. Use these commands carefully.
- List drives
- Run: diskutil list
- Note the identifier like disk2 for the SSD you want.
- Erase and format to APFS
- Example: diskutil eraseDisk APFS MySSD GPT /dev/disk2
- Erase and format to exFAT
- Example: diskutil eraseDisk ExFAT MySSD MBRFormat /dev/disk2
- Enable TRIM for third-party SSDs
- Run: sudo trimforce enable and follow prompts. Reboot when asked.
Always double-check the disk identifier before running eraseDisk to avoid wiping the wrong drive. Using Terminal is fast when you format an SSD on Mac repeatedly or automate tasks.

Common mistakes and how to fix them
Formatting has pitfalls. Here are frequent problems and simple fixes.
- Choosing the wrong scheme
- If you pick MBR instead of GUID, the Mac may not boot. Reformat with GUID Partition Map.
- Picking Mac OS Extended for an SSD
- Performance won’t be optimal. Reformat to APFS for modern macOS.
- Drive not showing in Disk Utility
- Check cables, ports, and adapters. Use diskutil list in Terminal to confirm.
- Failing to enable TRIM for third-party SSDs
- Use trimforce; the OS may not enable it automatically.
- Formatting when backup is missing
- Stop and back up. Formatting erases all data and recovery is hard.
These tips reduce stress and help you succeed when you format an SSD on Mac.

SSD maintenance and best practices
Keep your SSD healthy and fast with a few habits.
- Leave some free space: 10–20% free helps performance.
- Enable TRIM for non-Apple SSDs to keep write speeds stable.
- Use APFS for better SSD wear handling.
- Update firmware and macOS to benefit from fixes.
- Keep regular backups. SSDs can fail without warning.
Good maintenance keeps your SSD reliable long after you format an SSD on Mac.

Personal experience and tips from real use
I once helped a client who formatted their SSD without a backup. They lost years of photos. Since then I always urge a clone and a trial boot after reinstall. Another time a USB-C adapter caused corruption during erase. I recommend using a quality cable and adapter.
My practical tips:
- Run diskutil list twice before any erase to confirm the target.
- If you plan dual-boot with Windows, format the internal drive with Boot Camp Assistant rather than manual partitioning.
- If you need secure erase for an SSD, rely on firmware-based secure erase tools from the SSD vendor or use encryption before disposing of the drive. Avoid multi-pass zeroing; it’s not effective on modern SSDs.
These lessons come from hands-on work with Macs and SSDs. They make the process of how to format SSD on Mac smoother and safer.
Frequently Asked Questions of how to format ssd on mac
How do I choose between APFS and Mac OS Extended when I format an SSD on Mac?
APFS is optimized for SSDs and modern macOS features. Choose Mac OS Extended only for compatibility with older macOS versions or legacy software.
Will formatting an SSD on Mac erase recovery partitions or firmware?
Erasing a drive removes user partitions and recovery volumes. It does not change SSD firmware. Use a bootable installer to recreate recovery if needed.
Can I format an SSD on Mac to use with both Windows and macOS?
Yes. Use exFAT for cross-platform read/write access. Note that exFAT lacks macOS snapshot and encryption benefits that APFS provides.
Is secure erase needed for SSDs when I format an SSD on Mac?
Not usually. SSDs handle wear leveling and garbage collection. Use encryption or vendor secure-erase tools to reliably protect data before disposal.
Why does Disk Utility say “operation failed” when I try to format an SSD on Mac?
Common causes include bad cable/adapter, drive errors, or the wrong device selected. Try a different port, run First Aid, and use diskutil in Terminal to diagnose.
Conclusion
Formatting an SSD on Mac is straightforward when you plan and follow the right steps. Back up first, choose APFS for macOS, use GUID Partition Map, and prefer Disk Utility for standard tasks. For power users, Terminal commands offer speed and repeatability. Take the time to confirm the target drive and keep backups to avoid data loss.
Now take action: back up your data, pick the right filesystem, and try formatting a spare drive to practice. If you found this useful, leave a comment or subscribe for more Mac tips and step-by-step guides.

Everett Ashford is a tech reviewer at mytechgrid.com specializing in SSDs, cameras, TVs, earbuds, headphones, and other consumer electronics. He provides honest, data-driven reviews based on hands-on testing and real-world performance analysis. Everett simplifies complex tech details to help readers make smart, confident buying decisions.