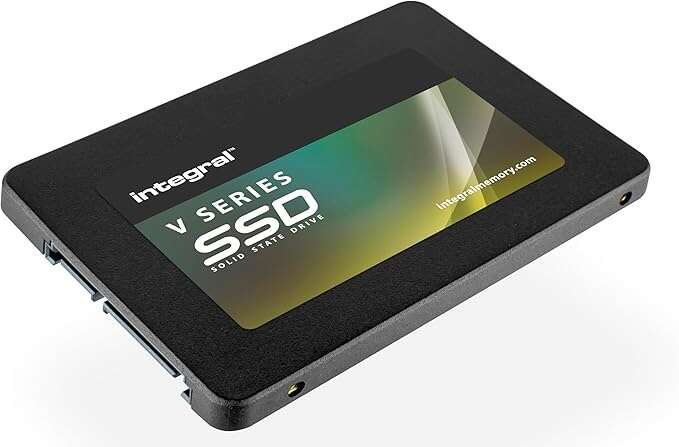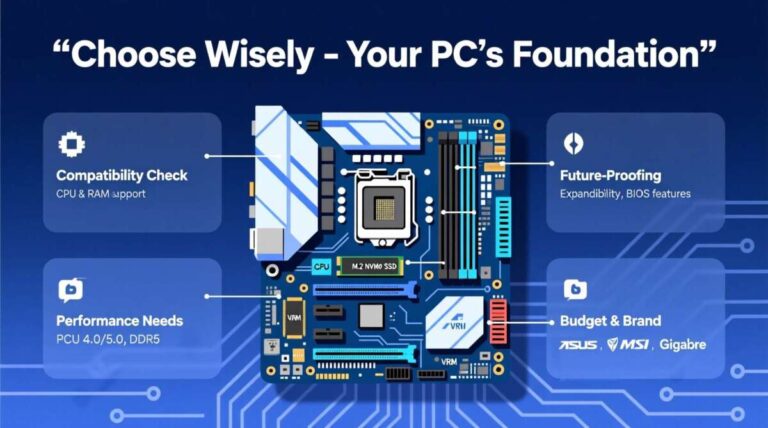
Installing an M.2 SSD in a Windows 11 PC has two parts: fitting the small drive into the motherboard and setting it up in Windows. In most cases, you can complete the job in under an hour with a screwdriver, the correct M.2 slot, and a backup of your files.
This guide covers both common needs in the United States:
- Adding an M.2 SSD as extra storage
- Installing Windows 11 on a new M.2 SSD
- Replacing an older drive with an M.2 SSD
- Fixing common errors, such as an SSD not appearing
The exact steps depend on whether the drive uses NVMe PCIe or M.2 SATA. These drives can look alike, but they are not always supported by the same M.2 slot.


Before You Install the M.2 SSD
Check compatibility before opening the computer. An M.2 SSD must match the motherboard, laptop, or expansion card that will use it.
Confirm the SSD type
Most modern M.2 SSDs are NVMe PCIe drives. They use PCIe lanes and are usually the best choice for a new Windows 11 installation.
M.2 SATA drives use the SATA storage interface. They may work in a slot labeled for both SATA and PCIe drives, but an NVMe-only slot will not support an M.2 SATA drive.
Check the motherboard or laptop manual for terms such as:
- M.2 PCIe
- M.2 NVMe
- M.2 SATA
- PCIe x4
- Socket 3
- 2242, 2260, or 2280
The number in a drive size, such as 2280, means the drive is 22 millimeters wide and 80 millimeters long. The 2280 size is common in desktop PCs and laptops, but the mounting position must still match.
Check the M.2 slot
A motherboard may have more than one M.2 slot. They may differ in speed, supported drive type, and connection to the CPU or chipset.


Read the manual before choosing a slot. It may also explain whether installing an M.2 drive disables certain SATA ports. This is normal on some motherboards.
Prepare the tools and files
You may need:
- A small Phillips screwdriver
- The M.2 screw or retention clip supplied with the motherboard
- A clean work area
- A backup of important files
- Another computer and a USB flash drive if you need Windows 11 installation media
- A Windows 11 license or a PC that was already activated
Use a USB flash drive with at least 8 GB of space for Windows installation media. The media creation process can erase the USB drive, so copy off any files first.
Back up your data
Back up important documents, photos, work files, and browser data before replacing a drive. If you are cloning the old drive, keep the old drive untouched until the new drive starts correctly.
A backup is especially important if you plan to delete partitions during Windows Setup. Deleted partitions can remove the operating system and personal files.
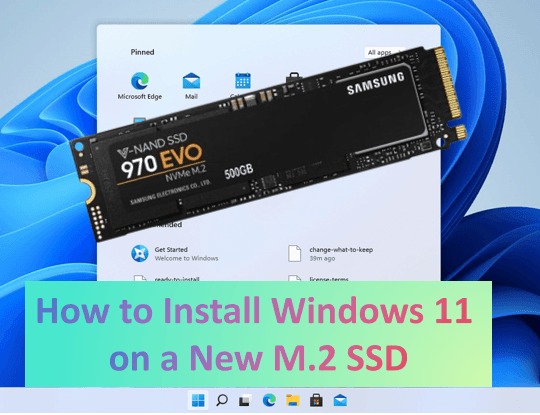
How to Physically Install an M.2 SSD
Turn the computer off, unplug it, and remove the power cable before installing the drive. A laptop should also be fully shut down, not placed in sleep mode.
Install an M.2 SSD in a desktop PC
- Shut down Windows 11.
- Turn off the power supply if the PC has a power switch.
- Unplug the power cable.
- Press the PC’s power button for a few seconds to discharge stored power.
- Remove the side panel.
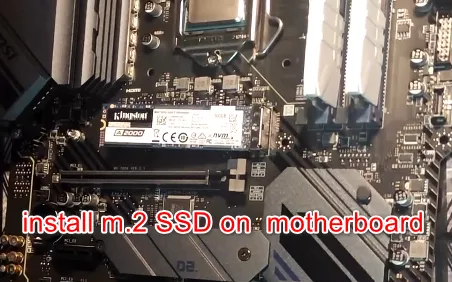
- Find the correct M.2 slot on the motherboard.
- Remove the M.2 heatsink if one covers the slot.
- Check that the standoff is in the position that matches the SSD length.
- Hold the SSD by its edges.
- Insert the connector end into the slot at about a 20- to 30-degree angle.
- Lower the drive until it rests flat.
- Secure it with the M.2 screw or the board’s retention latch.
- Reinstall the heatsink if the motherboard includes one.
- Replace the side panel and reconnect the power cable.
Do not force the drive into the slot. The notch in the SSD connector must match the key in the M.2 socket.
If the motherboard has a thermal pad under an M.2 heatsink, remove only the protective plastic film that covers the pad. Do not remove the pad itself.
Install an M.2 SSD in a laptop
Laptop designs vary, so use the service manual for the exact model.
The general process is:
- Shut down the laptop.
- Disconnect the charger.
- Remove the bottom cover.
- Disconnect the internal battery if the service guide requires it.
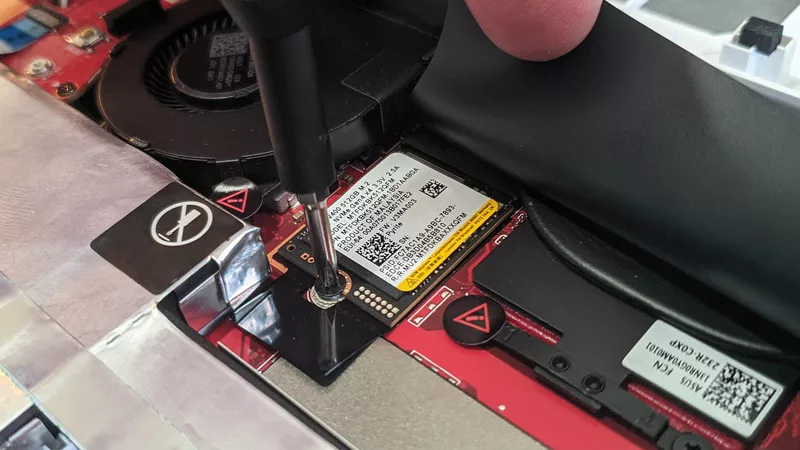
- Remove the M.2 retaining screw.
- Insert the SSD at a slight angle.
- Lower the SSD and replace the screw.
- Reconnect the battery.
- Replace the bottom cover.
- Start the laptop.
Some laptops use a 2242 or 2230 drive instead of a 2280 drive. A 2280 SSD may not fit even if the connector looks correct.

How to Set Up a New M.2 SSD in Windows 11
If Windows 11 already runs from another drive, use Disk Management to prepare the new SSD. This process makes the drive available for files and apps, but it does not move Windows to the new drive.
Open Disk Management
- Press Windows key + X.
- Select Disk Management.
- Find the new SSD in the lower part of the window.
- Confirm its size before making changes.
A new disk may appear as Unknown, Not Initialized, or Unallocated.


Initialize the SSD
When Windows asks you to initialize the disk, choose GPT for a modern Windows 11 PC.
GPT, or GUID Partition Table, supports UEFI systems and large drives. MBR is an older partition style and is usually not the right choice for a new Windows 11 installation.
To initialize the disk:
- Right-click the disk label on the left.
- Select Initialize Disk.
- Choose GPT.
- Select OK.
Create a volume
After initialization:
- Right-click the unallocated space.
- Select New Simple Volume.
- Follow the wizard.
- Assign a drive letter.
- Format the volume as NTFS.
- Give it a clear name, such as
GamesorProjects.
The SSD should then appear in File Explorer.
Do not format a disk if it contains files you need. If Disk Management shows an existing partition with data, stop and confirm which disk you are working on.
Confirm that the drive works
Copy a test file to the new SSD, open it, and remove it. You can also check the drive in:
Settings > System > Storage > Advanced storage settings > Disks & volumes
The reported usable capacity will be lower than the number printed on the box. Manufacturers use decimal units, while Windows reports storage in a different way.
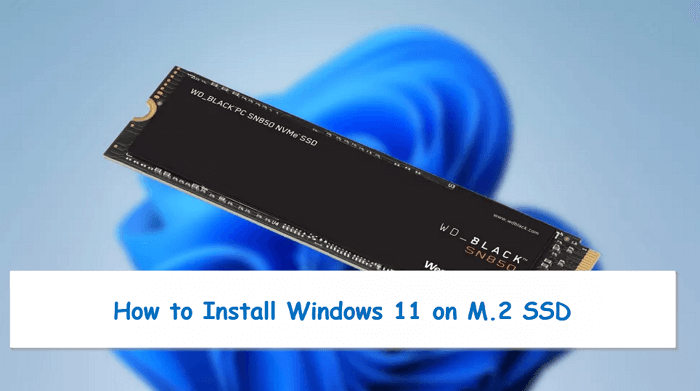
How to Install Windows 11 on an M.2 SSD
To make the M.2 SSD the Windows 11 boot drive, install Windows onto it through Windows Setup. A clean installation removes the old Windows installation from the target drive, so back up your files first.
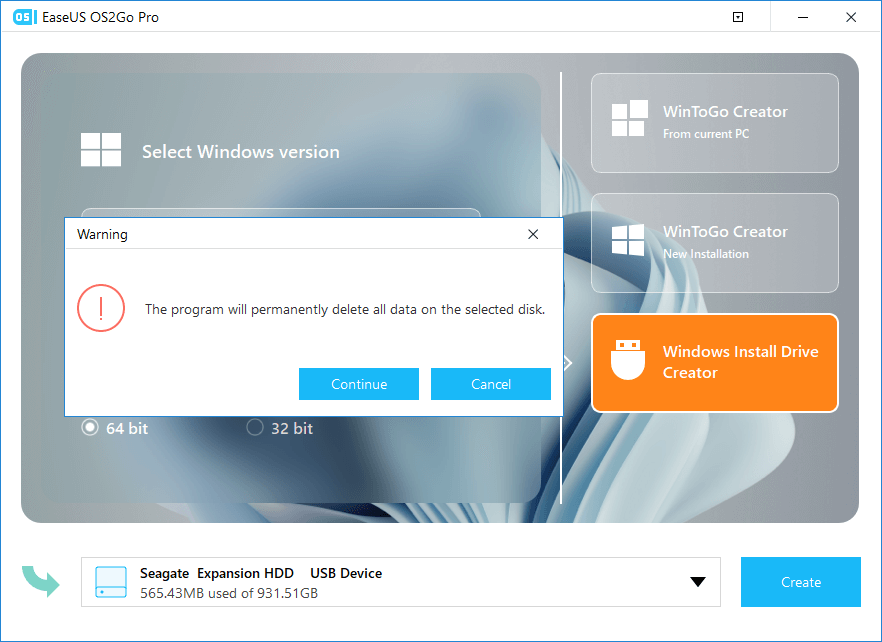
Create a Windows 11 USB installer
Use Microsoft’s official Windows 11 download page to create installation media:
On a working Windows PC:
- Connect a blank USB flash drive.
- Open Microsoft’s Windows 11 download page.
- Download the Media Creation Tool.
- Run the tool as an administrator.
- Accept the license terms.
- Choose the language and Windows 11 edition.
- Select the USB flash drive.
- Let the tool create the installer.
The tool downloads Windows files and formats the USB drive. This can take time, depending on the internet connection and USB drive.


Start the computer from the USB drive
- Insert the Windows 11 USB installer.
- Start or restart the computer.
- Open the boot menu during startup.
- Select the USB drive.
Common boot-menu keys include F12, F11, F9, and Esc, but the correct key depends on the computer maker or motherboard. The startup screen or manual usually identifies it.
You can also enter the UEFI firmware settings and place the USB drive first in the boot order.
Install Windows 11 on the M.2 SSD
When Windows Setup starts:
- Select the language, time, and keyboard layout.
- Select Install now.
- Enter a product key if prompted.
- Choose the correct Windows 11 edition.
- Accept the license terms.
- Choose Custom: Install Windows only.
- Identify the M.2 SSD by its capacity.
- Select the target drive.
- Delete old partitions on that target drive only.
- Select the resulting unallocated space.
- Click Next.
Windows Setup creates the required GPT and UEFI partitions automatically on a compatible modern system.
Be very careful at the partition screen. Drive names and sizes can be easy to confuse. Disconnecting other storage drives before a clean install can reduce the chance of selecting the wrong disk.
The computer will restart several times. Remove the USB drive when the PC begins booting from the new SSD, or select the M.2 SSD as the boot device if the system returns to Setup.
Finish Windows 11 setup
After Windows starts:
- Connect to the internet.
- Sign in with your Microsoft account if desired.
- Run Settings > Windows Update > Check for updates.
- Install motherboard, chipset, graphics, and network drivers from the PC or motherboard maker when needed.
- Confirm activation under Settings > System > Activation.
- Restore your personal files from the backup.
Windows 11 works best when the PC boots in UEFI mode and the system disk uses GPT. Secure Boot and TPM 2.0 are also part of Microsoft’s supported Windows 11 requirements, but they are separate from the physical M.2 installation.
How to Move Windows 11 to an M.2 SSD Without Reinstalling
A cloning tool can copy the existing Windows installation to the new M.2 SSD. This avoids reinstalling apps, but it requires careful drive selection and enough space on the new drive.
The target SSD must have enough usable space for the data on the old drive. For example, a 500 GB SSD may not hold a nearly full 1 TB system drive.
A typical cloning process is:
- Install the M.2 SSD.
- Start Windows from the old drive.
- Install a reputable disk-cloning application.
- Select the old system drive as the source.
- Select the M.2 SSD as the destination.
- Copy all required system partitions.
- Shut down the computer when cloning finishes.
- Disconnect the old drive, if practical.
- Start the computer and open UEFI settings.
- Select Windows Boot Manager on the M.2 SSD.
Disconnecting the old drive during the first boot helps prevent the computer from using the old boot files by mistake.
After Windows starts from the M.2 SSD, check:
Settings > System > Storage


You can also open Disk Management and confirm the M.2 drive contains the boot, system, and primary Windows partitions.
Keep the old drive unchanged until you have confirmed that Windows, apps, files, and activation work correctly. Only then should you erase or reuse it.
What to Do If Windows 11 Does Not See the M.2 SSD
An M.2 SSD that does not appear can have several causes. Start with the safest checks before changing firmware settings.
The SSD is missing from Disk Management
Check these items:
- Confirm the SSD is fully inserted.
- Confirm the retaining screw holds it flat.
- Check that the slot supports the SSD type.
- Test another M.2 slot if the manual permits it.
- Look for the drive in UEFI firmware.
- Update the motherboard firmware if the manufacturer lists storage compatibility fixes.
- Check whether the M.2 slot disables a SATA port that another device uses.
If the SSD appears in UEFI but not in Windows, it may need initialization and a new volume. If it appears in neither place, suspect installation, slot support, firmware, or a faulty drive.
The SSD appears in UEFI but not in Windows Setup
Possible causes include:
- Missing storage-controller drivers
- A storage mode setting in UEFI
- A drive that Windows Setup cannot access correctly
- An unsupported M.2 SATA and NVMe combination
Check the motherboard or laptop support page for Windows 11 storage drivers. Do not change RAID, AHCI, or VMD settings without checking the manual. Changing storage mode after Windows is installed can cause a boot error.
Windows Setup says it cannot install to the disk
Common reasons include:
- The disk uses MBR instead of GPT
- The computer booted the installer in Legacy mode
- The wrong disk was selected
- Old partitions are interfering with setup
For a clean installation, boot the USB installer in UEFI mode and use GPT. If you are certain the target disk contains no needed data, delete its partitions in Windows Setup and install to unallocated space.
Another option is to open Command Prompt from Windows Setup and use DiskPart, but this is risky because the clean command erases the selected disk. Use it only when you can identify the disk with certainty.
The computer boots to the old drive
Enter UEFI firmware settings and select:
Windows Boot Manager — [your M.2 SSD]
If the old drive remains connected, the firmware may keep choosing its boot entry. Temporarily disconnecting the old drive can make the correct boot path clear.

Common M.2 SSD Installation Mistakes
Avoid these errors during an M.2 SSD upgrade:
Buying the wrong type
An M.2 label describes the shape, not the connection standard. Confirm whether the slot supports NVMe PCIe, M.2 SATA, or both.
Installing the drive at the wrong angle
Insert the SSD into the connector first. Do not press straight down into the slot. The drive should slide in at a slight angle and then lower flat.
Forgetting the standoff
The SSD must rest on the correct standoff. Without it, tightening the screw can bend the circuit board.
Leaving the heatsink film in place
If a heatsink has a thermal pad, remove the clear protective film before reinstalling the heatsink. Do not remove the thermal pad.
Selecting the wrong disk in Windows Setup
Compare drive capacities. If possible, disconnect other drives before a clean install. This is one of the simplest ways to protect personal data.
Assuming an SSD upgrade always speeds up every task
An NVMe SSD can reduce boot and load times compared with a hard drive. The improvement may be smaller when replacing an already fast SATA SSD. CPU speed, memory, software, and the type of workload also affect system performance.
M.2 SSD Installation Checklist
Use this checklist before closing the PC or laptop:
- The SSD type matches the M.2 slot.
- The drive length matches the mounting point.
- Important files are backed up.
- The SSD is fully inserted.
- The correct standoff and screw are used.
- The heatsink pad’s protective film is removed.
- The drive appears in UEFI or Disk Management.
- GPT is selected for a new Windows 11 system disk.
- Windows is installed on the intended drive.
- Windows Update and needed drivers are installed.
- The correct Windows Boot Manager is selected.
- The old drive is kept until the new installation is verified.

Frequently Asked Questions
Can I install an M.2 SSD without reinstalling Windows 11?
Yes. Install the SSD and use Disk Management if you want extra storage. To move Windows without reinstalling, clone the old system drive and set the new SSD’s Windows Boot Manager as the first boot option.
Should I choose NVMe or M.2 SATA for Windows 11?
Choose NVMe if the computer supports it and the price and capacity fit your needs. NVMe uses PCIe, while M.2 SATA uses the SATA interface. An M.2 SATA drive will not work in every M.2 slot.
Do I need to format a new M.2 SSD?
A new storage SSD usually needs initialization and a volume before Windows can use it. Windows Setup can create the required partitions automatically during a clean installation.
Why is my new M.2 SSD not showing in File Explorer?
The drive may not be initialized, partitioned, or assigned a drive letter. Open Disk Management and check its status. If it is not listed there or in UEFI, check installation and hardware compatibility.
Will installing an M.2 SSD delete my files?
Installing the hardware does not delete files by itself. Formatting, deleting partitions, cloning over a disk, or using DiskPart can erase data. Back up your files and verify the target disk before making changes.
Can I use the old SSD after installing Windows 11 on the new one?
Yes, but do not erase the old SSD until the new system boots correctly and your files are restored. After verification, you can format the old drive and use it for storage.
Conclusion
To install an M.2 SSD for Windows 11, first confirm the drive type, size, and motherboard support. Install it at an angle, secure it with the correct screw, and use Disk Management for extra storage.
For a new Windows 11 system, boot from Microsoft’s installation USB, choose the M.2 SSD, and install to unallocated space using UEFI and GPT. If you want to preserve your current setup, clone the old drive instead and verify the new boot entry before erasing anything.

Everett Ashford is a tech reviewer at mytechgrid.com specializing in SSDs, cameras, TVs, earbuds, headphones, and other consumer electronics. He provides honest, data-driven reviews based on hands-on testing and real-world performance analysis. Everett simplifies complex tech details to help readers make smart, confident buying decisions.