Clone your boot drive to a new SSD with disk-cloning software, then replace the old drive and verify the system boots.
Learning how to clone boot drive to new SSD can save hours of reinstalling Windows, apps, settings, and personal files. The process is safe when you choose the correct source and destination, create a backup first, and check the new SSD’s boot mode before switching drives. This guide explains the full process in simple steps, including Windows, Mac, laptop, desktop, UEFI, BitLocker, and troubleshooting tips.

What does it mean to clone a boot drive?
To clone a boot drive means to make an exact copy of the drive that starts your computer. This copy can include the operating system, boot files, apps, settings, user accounts, and personal data.


When you clone boot drive to new SSD, the new drive becomes a working replacement. It should look and behave like the old drive after the switch.
A clone is different from a normal file backup:
• A file backup saves selected files for later recovery.
• A system image saves the operating system and partitions in a backup file.
• A disk clone copies the full drive structure directly to another drive.
Think of cloning as moving your entire home into a new house. Your furniture, room layout, and daily setup stay the same. A clean Windows install, by contrast, gives you an empty house.


Why clone your boot drive to a new SSD?
The most common reason to clone boot drive to new SSD is to replace a slow hard disk drive. SSDs have no moving parts, so they usually provide much faster startup, app loading, and file access.
You may also want to clone a boot drive when:
• Your old drive is nearly full.
• The old drive shows health warnings.
• You are upgrading from a SATA SSD to an NVMe SSD.
• You want to move Windows to a larger drive.
• You are replacing a failing laptop drive.
• You want to keep your current apps and settings.
• You need a larger drive for games or creative work.
A clone can reduce downtime. Instead of spending a full day reinstalling programs and adjusting settings, you can often move to the new SSD in less time.
Still, cloning is not a substitute for a backup. If the old drive has file errors, malware, or damaged system files, those problems may copy to the new SSD.
What you need before cloning a boot drive
Before you clone boot drive to new SSD, prepare the hardware and software. A few minutes of planning can prevent the most common mistakes.
A compatible new SSD
Check whether your computer uses:


• A 2.5-inch SATA SSD
• An M.2 SATA SSD
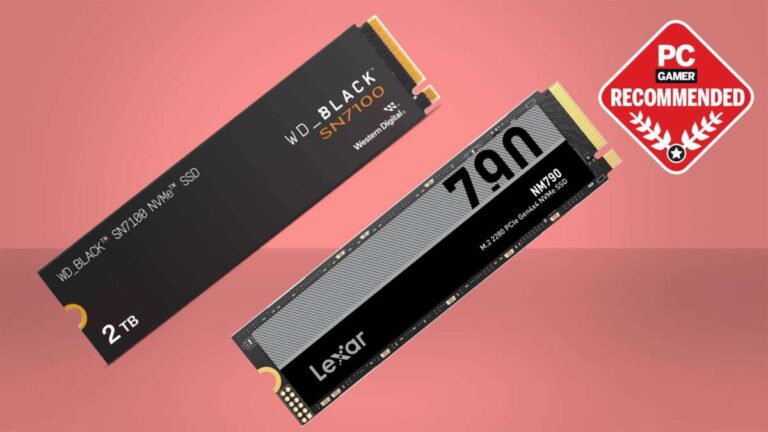
• An M.2 NVMe SSD
• A PCIe expansion card
An M.2 drive may look similar to another M.2 drive, but the key type and protocol may differ. An M.2 SATA drive does not always work in an NVMe-only slot.
Check your computer manual or motherboard specifications before buying the drive. Also confirm the physical size. Common M.2 sizes include 2280, 2260, and 2242.
Enough storage space
the new SSD must have enough capacity for the data being cloned. Many cloning tools compare used space rather than total source capacity, but this behavior depends on the software and file system.
For example, a 1 TB source drive with only 300 GB used may clone to a 500 GB SSD. A 1 TB source drive with 700 GB used usually cannot fit on a 500 GB SSD without moving or deleting files first.
A way to connect the new SSD
For a desktop computer, you may install the new SSD inside the case before cloning. A laptop often needs an adapter or external enclosure.
Useful options include:
• SATA-to-USB adapter for a 2.5-inch SATA SSD
• M.2 NVMe USB enclosure for an NVMe SSD
• M.2 SATA USB enclosure for an M.2 SATA SSD
• Extra internal SATA data and power cables for a desktop
Use an enclosure that matches the drive type. A SATA enclosure will not operate an NVMe drive.


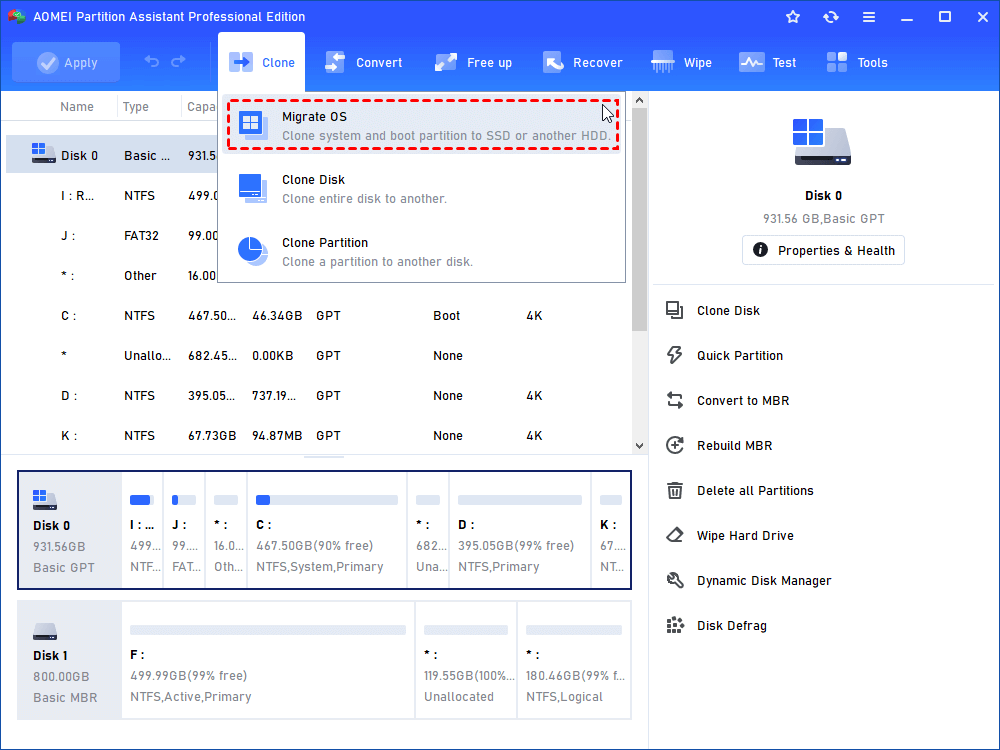
Disk-cloning software
Choose a trusted cloning tool that supports your operating system, partition style, and drive type. Common features to look for include:
• Full disk cloning
• Automatic partition resizing
• GPT and MBR support
• SSD alignment
• Boot partition copying
• Recovery partition support
• Verification after cloning
The exact buttons vary by program, but the core process remains similar.
A current backup
Copy important files to another drive or a reliable cloud service. Include documents, photos, browser data, password database files, and work projects.
If your computer uses BitLocker or another encryption system, save the recovery key before you begin. The recovery key may be needed after hardware changes or boot repair.

How to clone boot drive to new SSD on Windows
The following method works with most modern Windows cloning tools. The names may differ, but the choices are usually the same.
1. Check the old boot drive
Before you clone boot drive to new SSD, check the health and contents of the source drive.
Open File Explorer and confirm that your files are present. Then check the drive in Disk Management:


-
Right-click the Start button.
-
Select Disk Management.
-
Identify the drive that contains the Windows partition.
-
Note the disk number, total size, and partition layout.
Do not guess based only on drive letters. Windows may assign different letters to the same drive in different situations.
You can also check drive health with a trusted monitoring tool. If the source drive reports serious errors, copy your files first and consider a file-based recovery method instead of a direct clone.
2. Install or connect the new SSD
Connect the new SSD to the computer. If you use a USB enclosure, plug it into a stable USB port.
A new SSD may appear as unallocated space. That is normal. Many cloning tools can prepare the disk automatically.
If Windows asks to initialize the disk, choose the partition style that matches your system:
• GPT is normally used with modern UEFI computers.
• MBR is mainly used with older BIOS systems.
Do not format or initialize the drive if your cloning program instructs you to leave it untouched. Follow the program’s guidance.
3. Open the cloning tool
Start the cloning software with administrator rights if required. Select the current Windows disk as the source.
The source drive usually contains several partitions, such as:
• EFI System Partition
• Microsoft Reserved Partition
• Windows partition
• Recovery partition
Copy all required system partitions. Selecting only the C: drive may create a clone that contains your files but cannot boot.
4. Select the new SSD as the destination
Choose the new SSD as the destination disk. This is the most important step.
Cloning normally erases the destination drive. Check the model number, capacity, and connection type before confirming. If the destination contains files, copy them somewhere else first.
A useful safety habit is to disconnect other external drives during the operation. This reduces the chance of selecting the wrong disk.
5. Resize the partitions if needed
If the new SSD is larger, many tools let you expand the Windows partition during cloning. This allows Windows to use the extra space immediately.
If you skip this step, the clone may boot correctly but show the additional capacity as unallocated space. You can usually extend the Windows partition later through Disk Management.
If the new SSD is smaller, reduce the source partition first. Make sure the total used data fits on the target drive.
6. Start the cloning process
Begin the clone and wait for it to finish. The time depends on the amount of data, drive speed, USB connection, and software.
Avoid using the computer during the clone. Do not unplug the SSD or force the computer to shut down.
A cloning process may take from several minutes to several hours. A slow USB connection can make the process much longer than an internal connection.
7. Shut down and boot from the new SSD
When the clone finishes, shut down the computer completely. Do not simply restart if you are about to remove the old drive.
Then choose one of these methods:
• Remove the old drive and install the new SSD in its place.
• Keep both drives installed and change the boot order.
For a permanent upgrade, removing or disconnecting the old drive is safer during the first test. If both drives contain identical boot files, the firmware may start from the wrong one.
8. Confirm that Windows uses the new SSD
After Windows starts, open Disk Management and check the drive model. You can also open Task Manager and review the Performance tab.
Verify that:
• Windows starts normally.
• Your apps open.
• Your files are present.
• The system shows the new SSD model.
• The expected storage capacity is available.
• Device encryption or BitLocker behaves as expected.
Keep the old drive untouched for a few days if possible. It acts as a fallback until you confirm that the new SSD works properly.
How to clone boot drive to new SSD in a laptop
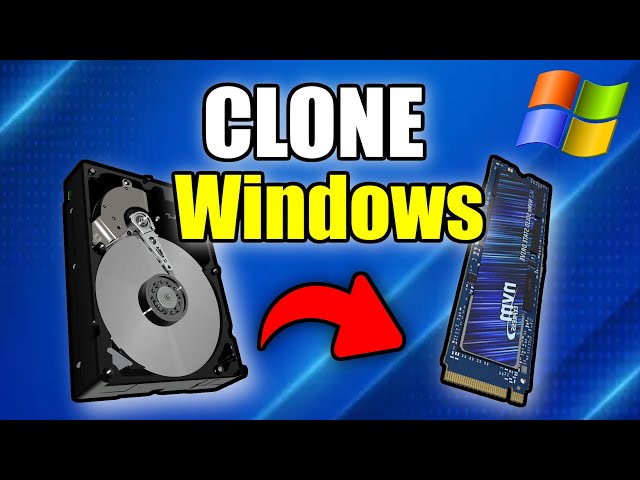
Laptop upgrades require extra care because many models have only one internal drive bay. In that case, connect the new SSD through a USB adapter or enclosure before removing the old drive.
Use this process:
-
Charge the laptop or connect its power adapter.
-
Back up important files.
-
Connect the new SSD through a compatible enclosure.
-
Clone the internal boot drive to the external SSD.
-
Shut down the laptop.
-
Remove the bottom cover according to the manufacturer’s instructions.
-
Disconnect the battery if the service manual recommends it.
-
Replace the old drive with the cloned SSD.
-
Reassemble the laptop and start it.
Some thin laptops use a proprietary SSD or a drive that is difficult to access. Opening the case may affect warranty terms or damage delicate cables. If you are not comfortable working inside the laptop, use a qualified repair shop.
A common mistake is buying an NVMe drive for a laptop that supports only M.2 SATA. Always check the laptop’s service manual before buying.
How to clone boot drive to new SSD on a desktop
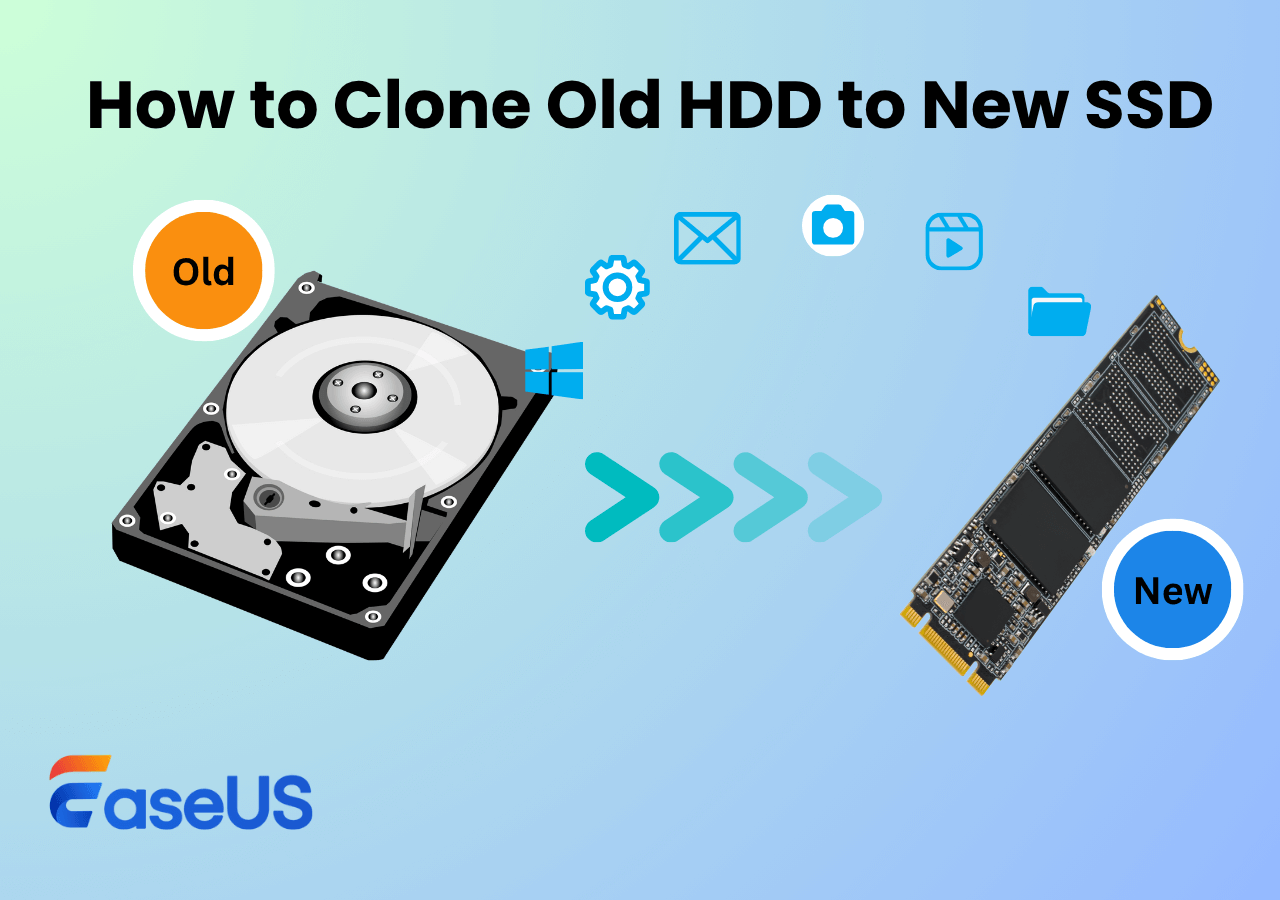
Desktop computers often make the process easier because they can hold multiple drives at once.
Install the new SSD in an available slot or connect it with the correct cables. For a 2.5-inch SATA SSD, you need both a SATA data cable and a power connection. For an M.2 SSD, you usually need a compatible motherboard slot and a small mounting screw.
After cloning, enter the firmware setup if the computer does not start from the new drive. Common keys include Delete, F2, F10, and F12, but the correct key depends on the manufacturer.
In the boot menu, select the new SSD or its Windows Boot Manager entry. On UEFI systems, selecting Windows Boot Manager is often more reliable than choosing the raw drive name.

How to clone boot drive to new SSD with UEFI and GPT
Modern Windows computers commonly use UEFI firmware and the GPT partition style. Older computers may use Legacy BIOS and MBR.
The source and target should normally use a compatible setup. If a cloned disk does not boot, check these items:
• The computer is set to UEFI when the disk uses GPT.
• The computer is set to Legacy or BIOS mode when the disk uses MBR.
• The EFI System Partition was copied.
• Windows Boot Manager appears in the boot menu.
• Secure Boot settings are compatible.
You can check the partition style in Disk Management. Right-click the disk label, such as Disk 0, and choose Properties. The Volumes tab usually shows whether the disk uses GPT or MBR.
Changing firmware settings without understanding the current setup can make Windows temporarily unbootable. Record the original settings before changing them.

What to do with BitLocker before cloning
BitLocker protects data by encrypting the drive. Many modern Windows computers enable device encryption automatically.
You can clone an encrypted drive, but the process may be more sensitive. The destination may trigger a recovery-key request because the hardware or boot environment changed.
Before cloning boot drive to new SSD:
• Confirm that you have the BitLocker recovery key.
• Save the key in a secure location.
• Check whether encryption is active.
• Consider suspending BitLocker during the upgrade.
Suspending protection is different from decrypting the entire drive. Suspending usually keeps the data encrypted while allowing the system to update its boot measurements.
After the new SSD starts successfully, confirm that BitLocker protection is active again. Never delete the old drive until you know you can access the recovery key.

How to clone boot drive to new SSD on a Mac
Mac cloning depends on the macOS version and the Mac model. Intel Macs, Apple silicon Macs, and older systems do not all use the same boot process.
On many modern Macs, the internal storage is integrated into the logic board and cannot be replaced like a standard PC SSD. An external SSD may still work as a startup disk in some cases, but the setup can require erasing the drive, installing macOS, and migrating data.
For older Intel Macs with replaceable storage, a cloning tool may copy the startup volume. However, macOS uses special system volumes, snapshots, and security features that can affect direct cloning.
A safer Mac migration plan often includes:
-
Back up the Mac with Time Machine.
-
Connect the new external or internal SSD.
-
Use Disk Utility to prepare the drive when appropriate.
-
Install macOS or use a supported migration tool.
-
Transfer users, apps, and files.
-
Test startup and access to important data.
Check Apple’s current support guidance for your exact Mac model and macOS version. A method that works on an Intel Mac may not work on an Apple silicon Mac.
Common problems after cloning a boot drive
The computer says no boot device found
This usually means the firmware cannot find the boot files or is starting from the wrong disk.
Try these steps:
• Check the boot order.
• Select Windows Boot Manager.
• Confirm that the EFI partition was cloned.
• Match UEFI or Legacy mode to the disk format.
• Run Windows Startup Repair from a Windows installation drive.
The clone boots but the storage size is wrong
The cloning tool may have copied the original partition size without expanding it. Open Disk Management and extend the Windows partition into unallocated space.
You may need to move or remove a recovery partition before Windows can extend the main partition. Use caution because deleting recovery partitions can remove built-in repair tools.
Windows asks for a BitLocker recovery key
This can happen after a drive replacement or firmware change. Enter the saved recovery key, then check BitLocker settings once Windows loads.
If you do not have the key, recovery may be difficult or impossible. This is why saving the key before cloning is essential.
The new SSD runs slowly
Check whether the SSD is connected through a slow USB port or an older adapter. Also confirm that the drive uses the correct slot and that its firmware and motherboard drivers are current.
An NVMe SSD connected through a basic USB adapter may not reach its full internal speed. It can still work, but the connection becomes the limit.
Windows starts from the old drive
Disconnect the old drive and start the computer again. If the new SSD now fails to boot, repair its boot files or review the UEFI boot entry.
When both drives remain connected, identical Windows installations can confuse the firmware. Testing with only the new drive avoids this problem.
Mistakes to avoid when cloning a boot drive
The biggest error is selecting the wrong destination. A clone can erase the destination within minutes, so check the drive model and capacity twice.
Other mistakes include:
• Cloning only the C: partition instead of all required system partitions.
• Skipping the backup.
• Forgetting the BitLocker recovery key.
• Using an incompatible M.2 enclosure.
• Interrupting the clone.
• Changing UEFI settings without recording the original values.
• Formatting the source drive too soon.
• Assuming the clone worked without testing it.
• Ignoring warning signs from a failing source drive.
One lesson learned from real upgrade work is that the final boot test matters as much as the copy itself. A progress bar can reach 100 percent while the firmware still lacks a valid boot entry. Always shut down, disconnect the old drive, and test the new SSD by itself.
How to verify the cloned SSD
After you clone boot drive to new SSD, verify the system before treating the upgrade as complete.
Check the following:
• Windows starts without the old drive connected.
• The new SSD appears in Task Manager.
• Your desktop and user files are present.
• Important programs open normally.
• Your browser profiles and saved data are available.
• The Windows activation status remains correct.
• BitLocker or device encryption is working.
• The SSD reports a healthy condition.
• The system has the expected free space.
Open several files and applications. Do not rely on one quick startup test. A proper check is like a short road test after a car repair. You want to know that the whole system works, not just that the engine turns on.
Keep the old drive for several days or weeks. Once you are certain the new SSD is stable, erase the old drive securely before selling, recycling, or reusing it.
Is cloning better than a clean Windows install?
Cloning is usually better when you want to keep your current environment. Your programs, settings, accounts, and files move with the system.
A clean install may be better when:
• Windows has years of unused software.
• The system has malware.
• System files are badly damaged.
• You want to change from Legacy BIOS to UEFI.
• You want a fresh setup.
• The old drive has serious read errors.
Cloning saves time, but it also preserves clutter and problems. A clean install takes longer but can provide a cleaner foundation.
Some users choose a hybrid approach. They clone first for a quick upgrade, then perform a clean install later when they have more time.
Frequently asked questions about how to clone boot drive to new SSD
Can I clone a boot drive to a smaller SSD?
Yes, but the smaller SSD must have enough space for all used data and required partitions. Reduce the source Windows partition before cloning if the cloning tool cannot resize it automatically.
Will cloning a boot drive delete the old drive?
No, cloning normally copies data from the source to the destination. The old drive remains unchanged unless you later format or erase it.
Can I use my computer while cloning?
You can, but it is safer to avoid heavy use. Open files may change during the process, and reduced activity lowers the chance of inconsistent data.
Do I need to format the new SSD first?
Usually, no. Many cloning tools prepare the destination automatically. If the software requires a partition style, follow its instructions and confirm that you selected the correct disk.
Why does the cloned SSD not boot?
The boot partition may not have been copied, the boot order may be wrong, or the firmware mode may not match the disk. Check UEFI settings, select Windows Boot Manager, and run startup repair if needed.
Can I clone an encrypted BitLocker drive?
Often, yes, but encryption can trigger a recovery-key request after the hardware changes. Save the recovery key first and verify protection after the new SSD boots.
How long does it take to clone a boot drive to an SSD?
The time depends on the amount of data, connection speed, drive health, and cloning software. A small clone may take minutes, while a large drive connected through USB may take several hours.
Can I clone an HDD to an NVMe SSD?
Yes, if the computer supports the NVMe drive and the cloning tool can copy the required partitions. You may need to install storage drivers or repair the boot entry after the move.
Conclusion
Learning how to clone boot drive to new SSD is one of the easiest ways to upgrade storage without rebuilding your entire computer. Back up your data, confirm SSD compatibility, copy every required system partition, and test the new drive with the old one disconnected.
Take your time when selecting the source and destination. That single habit prevents most serious mistakes. Once the new SSD works reliably, keep a regular backup plan so your next upgrade or drive failure is far less stressful.

Everett Ashford is a tech reviewer at mytechgrid.com specializing in SSDs, cameras, TVs, earbuds, headphones, and other consumer electronics. He provides honest, data-driven reviews based on hands-on testing and real-world performance analysis. Everett simplifies complex tech details to help readers make smart, confident buying decisions.