The easiest way to record the TV screen is with a capture card, DVR, smart TV feature, or phone camera.
Learning how to record the TV screen depends on what you want to capture. You may want to save live TV, record a streaming app, create a tutorial, or film the physical display. Each method has different equipment, video quality, and copyright limits. This guide explains the safest and clearest ways to record the TV screen in the United States, with simple steps and practical tips.
Choose the Best Way to Record the TV Screen
Before you start, decide what kind of recording you need. Recording a television show from an antenna is different from recording a game console, streaming service, or physical TV display.
The main options are:
• Use a DVR or cable box to record live television.
• Use a capture card to record an HDMI signal.
• Use a smart TV or streaming device feature when supported.
• Use a phone or camera to film the physical TV screen.
• Use screen mirroring or casting when the device allows recording.
A capture card usually gives the cleanest result. A DVR is best for live channels. A phone or camera is the simplest choice when you only need a quick clip, but it often creates glare, flicker, and poor sound.
How to Record the TV Screen With a Capture Card
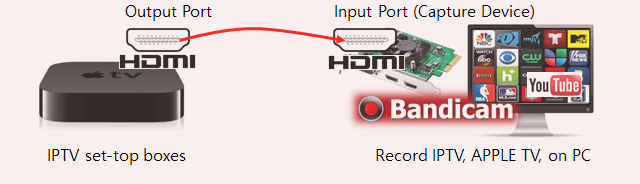
A capture card records video from a source device, such as a game console, cable box, streaming box, or computer. It connects between the video source and the TV, then sends a copy of the signal to a computer.
You will usually need:
• A capture card with HDMI input and output
• An HDMI cable from the source to the capture card
• A second HDMI cable from the capture card to the TV
• A computer with recording software
• A USB cable, if the capture card uses USB
Follow these steps to record the TV screen:
-
Connect the HDMI output from your cable box, console, or streaming device to the capture card’s HDMI input.
-
Connect the capture card’s HDMI output to the TV.
-
Connect the capture card to your computer with USB.
-
Open recording software, such as OBS Studio or the software supplied with the capture card.
-
Add the capture card as a video source.
-
Select the correct resolution and frame rate.
-
Start a short test recording.
-
Check the video, sound, and file location before recording the full program.
A capture card does not normally record the image shown by the TV panel itself. It records the HDMI signal before it reaches the TV. This distinction matters because some protected content may show a blank or black screen through the capture card.
Recommended Capture Settings
For most home recordings, 1080p at 30 or 60 frames per second works well. Use 60 frames per second for sports and games, where motion looks smoother.
Choose a recording format carefully:
• MP4 is easy to play and share.
• MKV is safer during long recordings because a sudden shutdown is less likely to ruin the entire file.
• H.264 offers broad compatibility.
• H.265 can create smaller files but may need newer hardware.
In OBS Studio, you can record to MKV and remux the file to MP4 later. This is a useful habit for long sessions because it reduces the risk of losing a complete recording after a power or software failure.

How to Record Live TV With a DVR
A DVR, or digital video recorder, is often the easiest way to record live television. Many cable and satellite receivers include a DVR feature. Some over-the-air TV devices also record channels received through an antenna.
To record live TV:
-
Open the channel guide on your cable box or DVR.
-
Select the program you want to save.
-
Choose Record or Schedule Recording.
-
Set the start and end times.
-
Confirm the recording location and available storage.
-
Open the recorded program later from the DVR library.
A DVR is convenient because it records the broadcast directly. You do not need a computer, capture card, or extra software. It also lets you pause live TV and schedule future programs.
However, DVR recordings may be locked to the device or service account. Some providers do not allow you to export the file to a computer or external drive. Storage can also fill quickly, especially when recording high-definition channels.
For important programs, add extra time before and after the scheduled event. Live sports and award shows often run late, and a strict recording window can cut off the ending.
How to Record the TV Screen on a Smart TV
Some smart TVs offer recording through a USB drive, built-in tuner, or connected storage device. This feature usually works only with live channels received through the TV’s antenna or cable tuner.
To check whether your TV supports recording:
• Open Settings or the Channel menu.
• Look for Recording, PVR, Time Shift, or USB Recording.
• Connect a compatible USB flash drive or hard drive.
• Allow the TV to format the drive if required.
• Select a live channel and press the Record button.
Many televisions format the USB drive in a way that makes it readable only by that TV. The recording may not open on a computer or another television. Some models also prevent recording while using HDMI devices or streaming apps.
Smart TV recording features vary by brand, model, country, and tuner type. Read your television’s manual before buying storage. A basic flash drive may not have enough speed or space for reliable high-definition recording.
How to Record the TV Screen From a Streaming Device
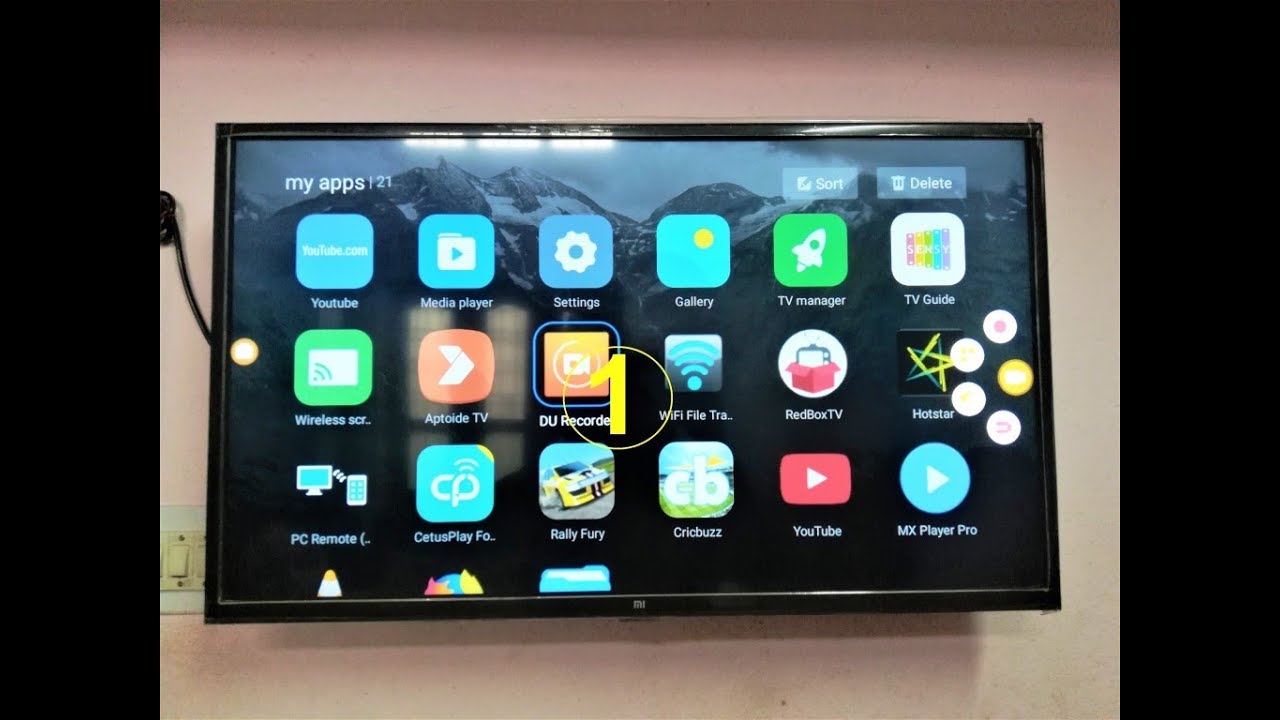
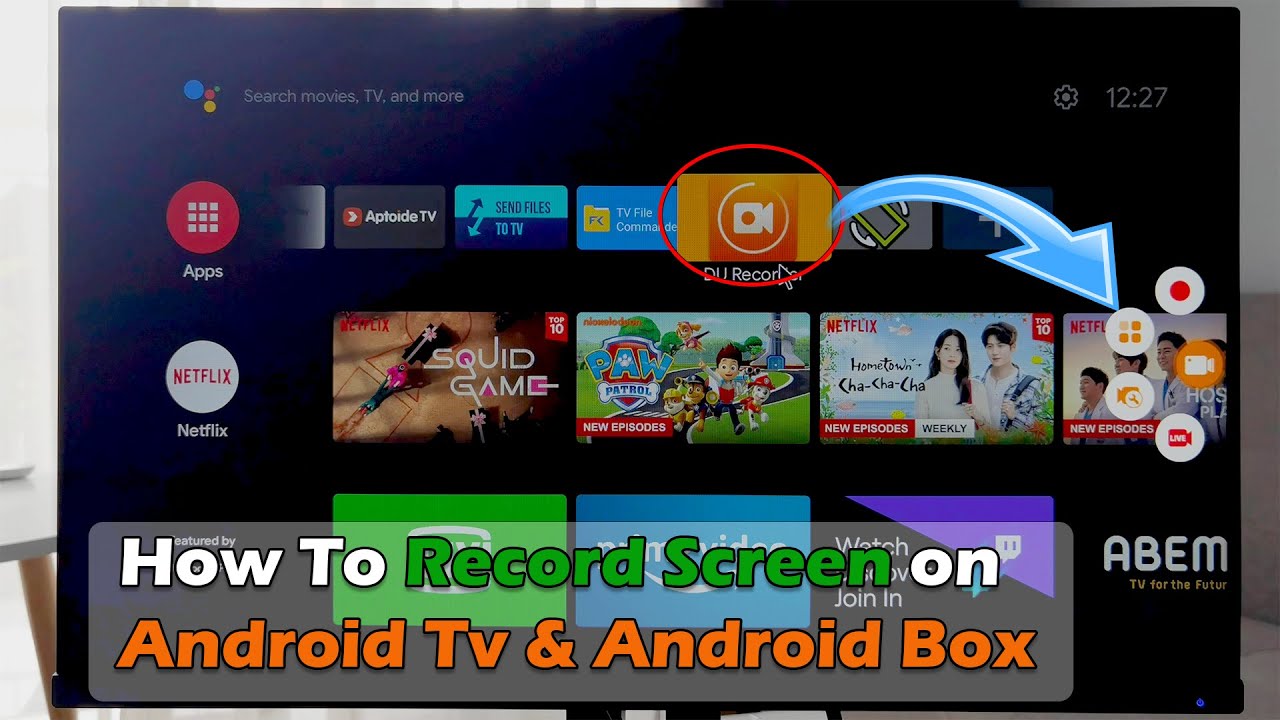
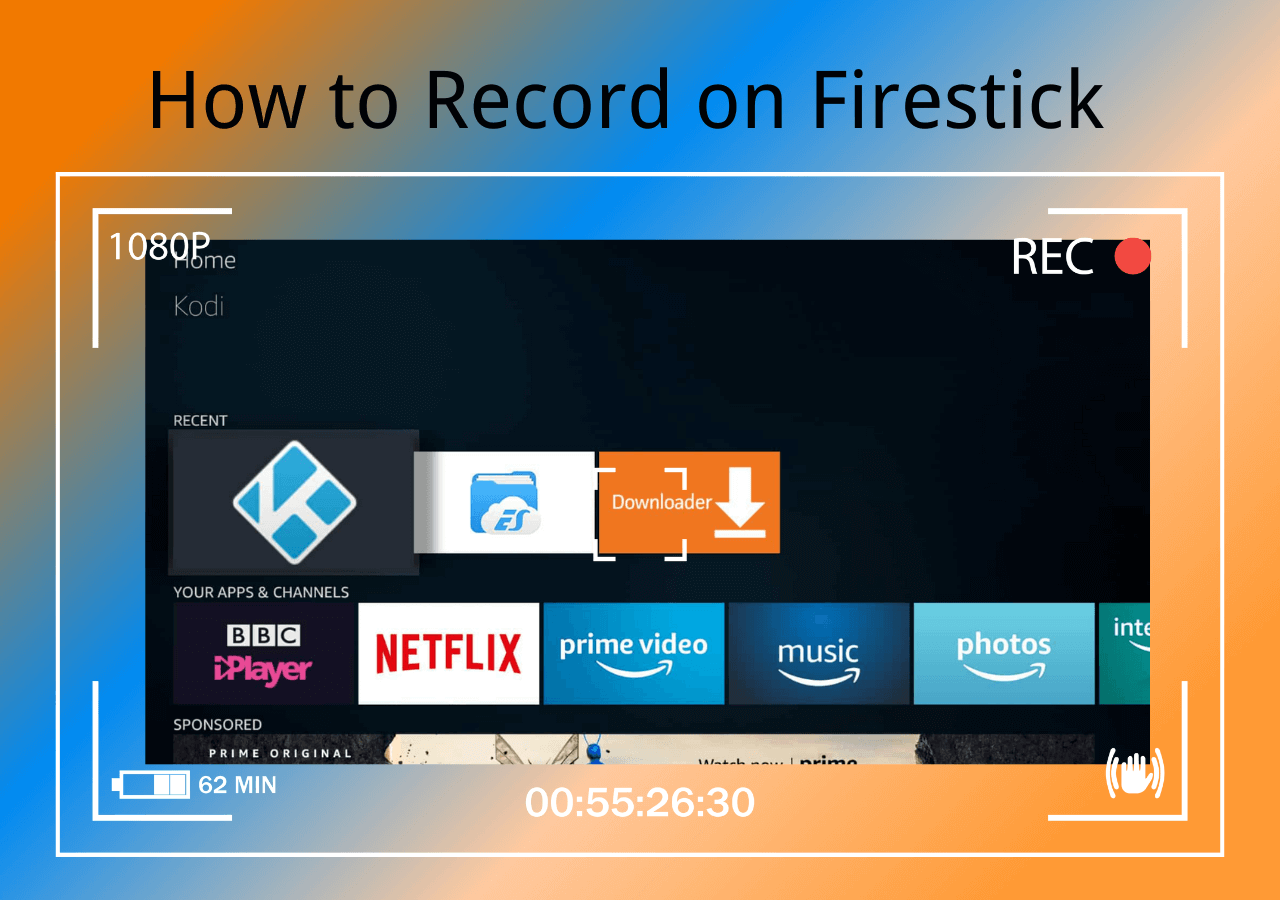
Streaming devices include products such as Roku, Apple TV, Fire TV, and Google TV devices. Most of them do not offer a general feature for recording movies or shows from streaming apps.
This limitation exists because streaming services often use digital rights management. DRM protects licensed video from being copied. HDMI connections may also use HDCP, a protection system that can block capture devices from recording protected content.
You may still be able to record:
• Your own menus and settings
• A tutorial you created
• Public-domain video
• Compatible live channels from a supported service
• Gameplay from a console, when the signal is not blocked
Do not assume that a recording tool can legally or technically capture every app. A black screen, missing audio, or an error message often means the content is protected. Do not try to bypass that protection. Instead, use the service’s official download or offline-viewing feature when available.
How to Record the TV Screen With a Phone
Using a phone is the fastest way to record the physical TV screen. It can work for a short demonstration, a family moment, or a quick reference clip.
Place the phone on a stable surface or tripod. Keep the camera level with the TV and frame the full display. Then follow these steps:
-
Clean the TV screen to remove dust and fingerprints.
-
Turn off nearby lights that reflect on the panel.
-
Set the TV brightness to a moderate level.
-
Open the phone camera.
-
Tap the TV image to lock focus and exposure.
-
Reduce exposure if bright areas look white.
-
Record a five-second test.
-
Review the test for flicker, glare, and sound.
-
Record the full clip.
If the TV flickers, change the camera frame rate. Many phones let you choose 30 or 60 frames per second. You can also try a shutter-speed setting in a manual camera app. Flicker happens when the camera shutter and the TV’s refresh cycle do not match.
For better sound, connect an external microphone to the phone or record audio separately. The TV’s built-in speakers may sound thin or echo inside the room.
How to Record the TV Screen With a Camera
A dedicated camera can produce a better physical recording than a phone. This approach is useful for filming a TV display in a classroom, store, event, or production setting.
Use a tripod and keep the camera square to the screen. Adjust the white balance so the image does not look too blue or orange. Lower the exposure until bright details remain visible.
Watch for these common problems:
• Moiré patterns caused by the camera sensor and screen pixels
• Rolling bands caused by mismatched shutter speed
• Glare from lamps and windows
• Keystoning caused by filming from an angle
• Reflections from people or objects in the room
A polarizing filter may reduce reflections, although it can also make the image darker. The best first step is usually to control the room lighting rather than buy extra equipment.
When I have tested recordings of physical displays, the biggest improvement came from moving the camera closer, turning off overhead lights, and locking exposure. Extra resolution helped less than careful lighting and stable framing.
How to Record the TV Screen Using a Computer
You can record a TV-related display if the video appears on your computer. This works well when a computer acts as the source or when you are recording your own presentation.
On Windows, the built-in Xbox Game Bar can record many apps. Press Windows + G, open the capture controls, and start recording. Windows also includes Snipping Tool screen recording on supported versions.
On a Mac, press Command + Shift + 5 to open the screen recording controls. You can record the full screen or a selected area.
For more control, use OBS Studio. It lets you choose:
• A display or window
• A capture card
• A microphone
• Desktop audio
• Camera video
• Custom layouts
Remember that computer screen recording is not the same as recording the physical TV screen. If you want to record what appears on a separate television, connect the source to a capture card or use a camera.

How to Improve TV Screen Recording Quality
Good equipment helps, but setup matters just as much. A few small changes can make the recording cleaner and easier to watch.
Use these practical tips:
• Match the recording resolution to the source. Recording 4K from a 1080p source will not add real detail.
• Use a wired connection when possible to reduce signal problems.
• Keep the TV and camera steady.
• Record a short test before the main session.
• Monitor audio with headphones.
• Leave free storage space on the computer or recording device.
• Disable notifications on connected computers and phones.
• Use a surge protector for long recording sessions.
• Give the recording device enough airflow.
File size can grow quickly. A one-hour 1080p recording may use several gigabytes, depending on the codec and bitrate. Check storage before pressing Record, especially for sports or long events.
Audio deserves special attention. Viewers often forgive a slightly soft image, but they notice delayed, distorted, or missing sound right away. Set the audio sample rate consistently, such as 48 kHz, and test lip sync before recording.
Common Problems When Recording a TV Screen
The recording shows a black screen
A black screen often means the signal is protected by HDCP or another DRM system. It can also result from a loose HDMI cable, an incorrect input, or unsupported equipment.
Check the cable path and input settings first. If only protected content fails, use an authorized viewing or download option instead of trying to defeat the protection.
The recording has no sound
Open the recording software’s audio mixer and confirm that the capture card or system audio is active. Also check the TV volume, HDMI audio settings, and the correct input device.
A common mistake is recording video through a capture card while recording audio from the wrong microphone. Test both together before the main recording.
The video flickers
Flicker usually comes from a mismatch between the TV refresh rate and the camera shutter or frame rate. Try 30 fps, 60 fps, or a manual shutter speed that matches the local power frequency.
In the United States, indoor lighting commonly relates to 60 Hz power. This is a useful starting point, but the best setting depends on the camera and TV.
The recording looks delayed
A small delay can happen when the signal passes through a capture card. This may be normal for monitoring, but it can affect live commentary.
Use the TV’s direct HDMI output for viewing and the computer preview for recording control. If needed, adjust audio sync in the recording software.
The file is too large
Lower the bitrate, use a more efficient codec, or record at a lower resolution. Do not reduce quality too far if you plan to edit or share the video later.
Legal and Privacy Considerations
Recording a TV screen for personal use is not automatically legal in every situation. Copyright rules depend on what you record, why you record it, where you share it, and how the recording affects the rights holder.
Keep these points in mind:
• Do not upload copyrighted shows or sports broadcasts without permission.
• Do not sell or publicly distribute recordings you do not own.
• Do not bypass DRM or HDCP protections.
• Ask permission before recording people, private conversations, or personal information shown on a screen.
• Use licensed, public-domain, or self-created material when publishing recordings.
Some uses may qualify as fair use in the United States, but fair use is a fact-specific legal doctrine, not a blanket permission. Commercial use, complete copies, and public distribution can create greater legal risk. When the purpose is business, education, or publication, get permission or legal advice.
The safest rule is simple: record content you created, own, or have clear permission to use. Store personal recordings securely, especially if they include account details or private messages.
A Simple Recording Workflow
If you are unsure how to record the TV screen, use this basic workflow:
-
Identify the source. Decide whether it is live TV, a game console, a streaming device, or the physical screen.
-
Choose the method. Use a DVR for live channels, a capture card for HDMI sources, and a camera for the physical display.
-
Check permissions. Confirm that you may record and use the content.
-
Connect the equipment. Follow the signal path from the source to the TV and recording device.
-
Set video and audio quality. Choose a practical resolution and confirm the audio source.
-
Make a short test. Watch the test before recording the entire program.
-
Record with extra time. Add a few minutes for live events that may run late.
-
Save and back up the file. Keep a second copy if the recording matters.
-
Edit only what you need. Trim dead space, fix audio levels, and export in a widely supported format.
This process prevents most beginner mistakes. A five-second test can reveal a missing cable, blocked signal, muted audio track, or full storage drive before it becomes a major problem.
Frequently Asked Questions About How to Record the TV Screen
Can I record the TV screen without a capture card?
Yes. You can use a DVR, a supported smart TV USB recording feature, or a phone and camera. A capture card is mainly useful when you want a clean digital recording from an HDMI source.
Can I record Netflix or other streaming services from my TV?
Most streaming services block direct recording through DRM and HDCP. Use the service’s official offline feature when available, and do not try to bypass its copy protection.
What is the best device for recording live TV?
A DVR is usually the most convenient option for live television. It can schedule programs, pause broadcasts, and store recordings without requiring a computer.
Why does my TV recording have a black screen?
A black screen may indicate HDCP protection, an incorrect HDMI connection, or an unsupported capture device. Test the cables and source first, then check whether the problem affects only protected content.
Can I record the TV screen with my iPhone or Android phone?
Yes. Place the phone on a stable surface, reduce reflections, lock focus and exposure, and test for flicker. A tripod and an external microphone can improve the result.
What resolution should I use to record the TV screen?
Use the same resolution as the source whenever possible. Choose 1080p for most content, or 4K if the source, capture device, storage, and computer all support it.
Conclusion
The best way to record the TV screen depends on your source and your goal. Use a DVR for live channels, a capture card for compatible HDMI signals, a smart TV feature for supported broadcasts, and a phone or camera when you need to film the physical display.
Always test the video and audio before a full recording. Watch for DRM restrictions, flicker, glare, storage limits, and copyright concerns. Choose the method that fits your equipment, record content you are allowed to use, and explore more recording guides or share your results in the comments.

Everett Ashford is a tech reviewer at mytechgrid.com specializing in SSDs, cameras, TVs, earbuds, headphones, and other consumer electronics. He provides honest, data-driven reviews based on hands-on testing and real-world performance analysis. Everett simplifies complex tech details to help readers make smart, confident buying decisions.