To set up a Samsung TV, connect the hardware, choose your settings, join Wi-Fi, and scan for channels.
Learning how to set up a Samsung TV is easier when you follow the right order. I have helped set up many Samsung smart TVs, and most problems come from skipped steps, weak Wi-Fi, or choosing the wrong input. This guide covers everything from unboxing and account setup to picture settings, streaming apps, sound, and troubleshooting.

Before You Set Up a Samsung TV
A little preparation can make how to set up a Samsung TV much smoother. First, place the TV near a power outlet and your home router if possible. Keep the screen upright during assembly, and ask another person to help with larger models.


Check the box for these items:
• Samsung TV and stand or wall-mount parts
• Remote control
• Batteries or a rechargeable remote
• Power cable
• User guide and warranty information
• One Connect Box and cable, if your model uses them
• Screws for the stand
You may also need an HDMI cable, Ethernet cable, antenna cable, or soundbar cable. HDMI cables are often not included, so check your existing equipment before you begin.
Choose the Best TV Location
Place the TV where you can view it without glare from windows or bright lamps. Keep space around the vents on the back and sides. Good airflow helps prevent heat buildup.
Do not place the TV on an unstable table. If you have children or pets, use the included safety strap or secure the TV to the wall. A large screen can tip forward if it is pulled.
Decide Between a Stand and Wall Mount
A stand is the simplest choice. Follow the screw positions in the Samsung manual, and do not force screws into the wrong holes.


For wall mounting, use a VESA-compatible mount that supports your TV’s size and weight. The correct screw length matters. Screws that are too long can damage internal parts, while short screws may not hold the TV safely.
How to Assemble and Connect Your Samsung TV
Start by placing the screen face down on a clean, soft surface. A thick blanket on the floor can help protect the panel, but keep pressure away from the screen.
Attach the stand or connect the wall mount according to the model guide. Samsung TV designs differ, so do not assume that the screw pattern or stand parts from another model will fit.
Once the TV is secure, connect the main cables:
- Plug the power cable into the TV or One Connect Box.
- Connect an antenna cable if you watch over-the-air channels.
- Connect HDMI devices, such as a cable box, game console, Blu-ray player, or streaming device.
- Connect an optical or HDMI eARC cable if you use a soundbar.
- Connect an Ethernet cable if you prefer wired internet.
- Leave access to the ports so you can change devices later.
Understanding HDMI Ports
HDMI ports carry both video and sound. If your TV includes HDMI eARC, use it for a compatible soundbar or AV receiver. eARC can support higher-quality audio formats than a basic optical connection.
For a game console, use a port that supports the features you need, such as 4K resolution, high refresh rates, or variable refresh rate. The exact port features vary by model, so check the specifications for your TV.
Turn On the TV
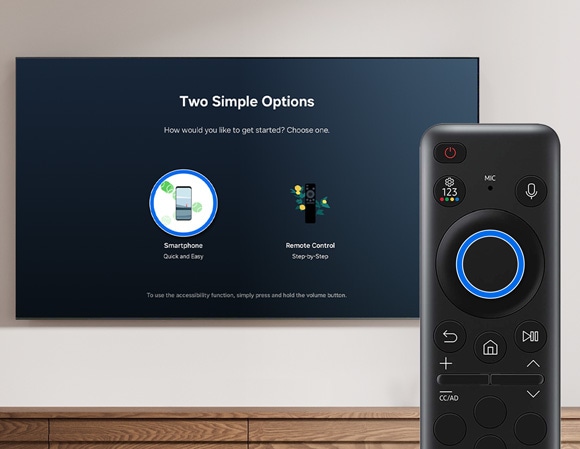
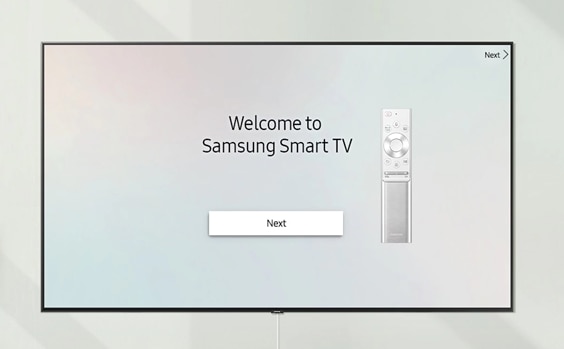
Insert the batteries into the remote, or charge the remote if it has a built-in battery. Press the power button and wait for the first setup screen.
If the TV does not turn on, check the wall outlet, power cable, and surge protector. Try the TV’s physical power button if the remote does not respond.

How to Connect a Samsung TV to Wi-Fi
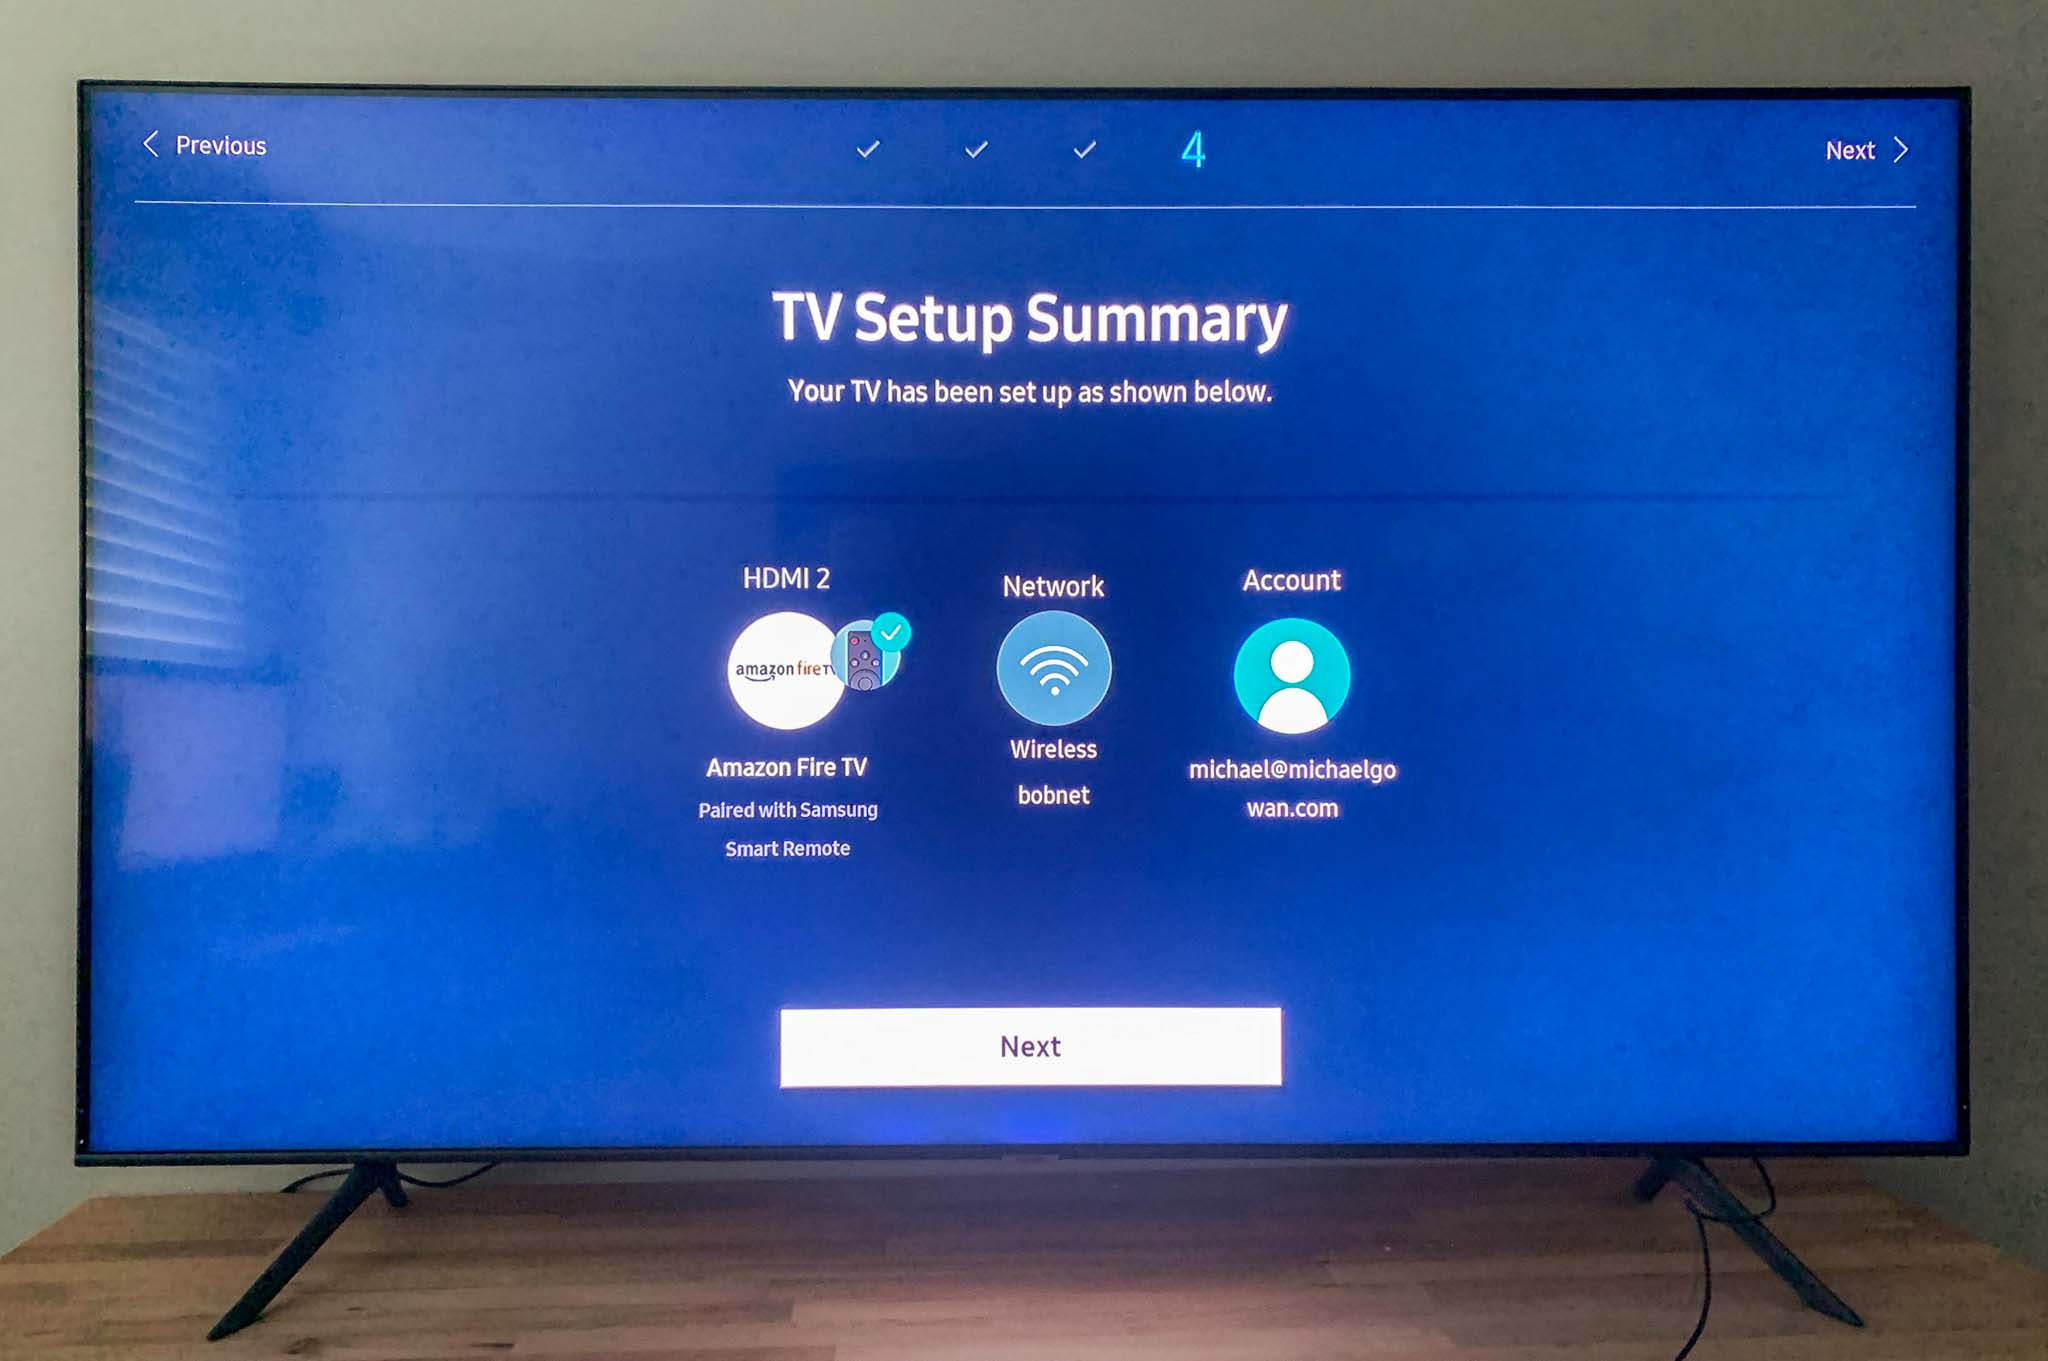
Connecting to the internet is a key part of how to set up a Samsung TV. It lets you use streaming apps, download software updates, control the TV with supported mobile devices, and access smart features.
During the setup process:
- Select your language and region.
- Choose a wireless network from the list.
- Enter your Wi-Fi password carefully.
- Wait for the connection test.
- Accept the required terms and continue.
Use the 5 GHz Wi-Fi band when the TV is close to the router. It can offer faster speeds and less congestion. The 2.4 GHz band often works better over longer distances or through thick walls.
Use Ethernet for a More Stable Connection
An Ethernet cable can provide a steadier connection than Wi-Fi. This is useful when the TV is far from the router, the wireless signal is weak, or you stream high-quality 4K video.
Connect the cable to the LAN port on the TV or One Connect Box. The TV should detect the wired connection automatically. If it does not, open the network settings and select wired connection.


Fix Wi-Fi Setup Problems
If the TV cannot find your network, restart both the TV and router. Make sure the network name is not hidden, and confirm that other devices can connect.
If the TV connects but streaming stops, move the router closer or remove objects that block the signal. A mesh Wi-Fi system can help in larger homes.
Avoid guessing the password. One wrong letter or space can stop the connection. Also, some older Samsung TV models may not support newer wireless security settings or certain network bands.
Set Up a Samsung Account
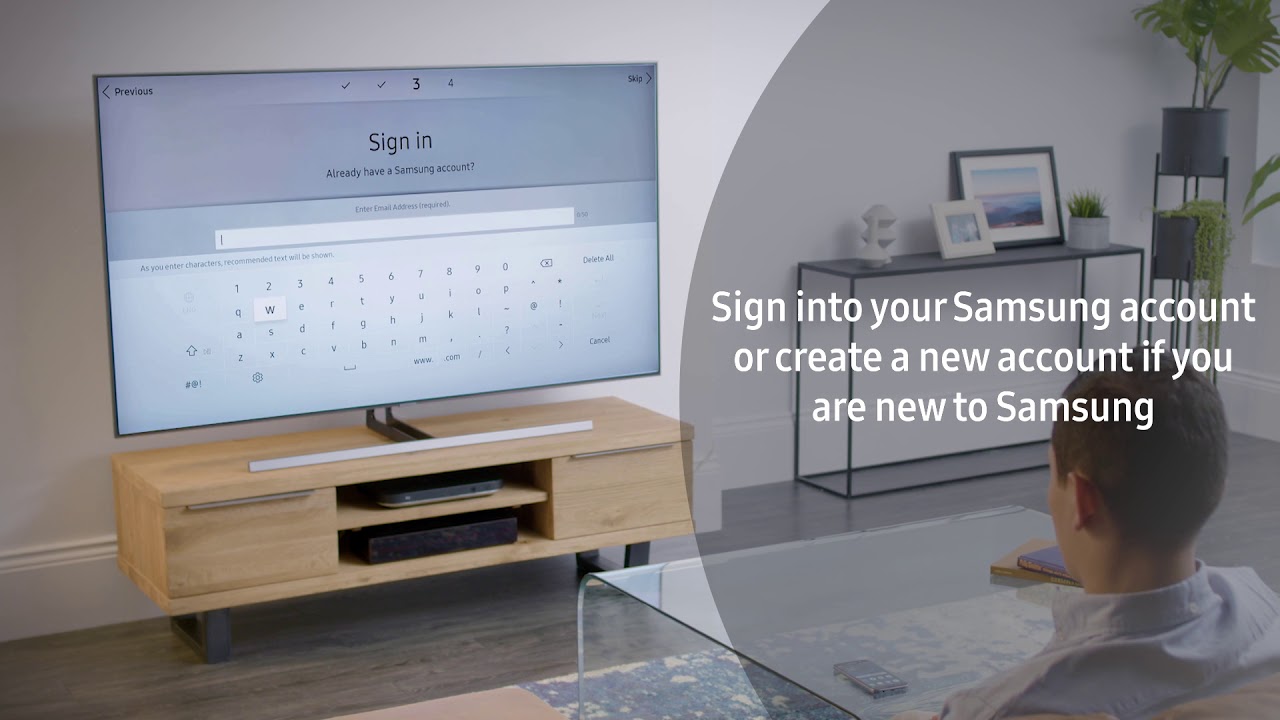
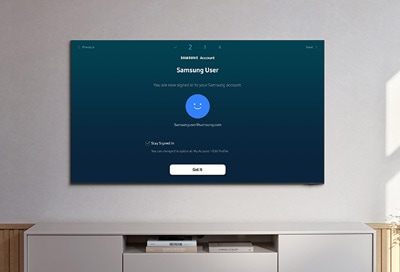
A Samsung account is useful for downloading apps, syncing some settings, and using selected Samsung services. You may create one during setup or sign in later.
Use an email address that you check often. Enable two-step verification when available, and use a unique password. This protects your account if you use payment details or connect other Samsung devices.
You can usually sign in with the remote, scan a QR code with your phone, or use the SmartThings app. The exact options depend on the TV model and software version.
Review Privacy and Terms
Read the privacy choices before accepting them. Some smart features collect information about app use, voice commands, viewing habits, or device performance.
You do not need to enable every optional feature. If you prefer more privacy, turn off optional personalization, voice recognition, or advertising settings. You can change many of these choices later in the TV’s settings menu.
How to Set Up Samsung TV Channels
If you use an antenna or cable connection, connect the cable to the antenna or RF input. Then open the broadcasting or channel menu and start an automatic channel scan.
Choose the correct signal type:
• Air for an antenna
• Cable for a cable service
• Both when you want the TV to search for both types
The scan may take several minutes. Do not turn off the TV during the process.
If channels are missing, check that the antenna cable is tight. Move an indoor antenna near a window or higher location, then scan again. Digital channel signals can be very sensitive to walls, metal objects, and weather.


Use a Cable Box or Satellite Receiver
If you use a cable box, connect it to the TV with HDMI. You do not need to scan channels on the TV because the cable box manages the channel list.
Press the Source button and choose the HDMI port used by the box. If you see a “No Signal” message, confirm that both devices are on and that you selected the correct HDMI input.

How to Set Up Samsung TV Picture Settings
Samsung TVs often start in a bright retail-style mode. For home viewing, choose a picture mode that matches your room and content.
Common modes include:
• Standard for balanced everyday viewing
• Movie or Filmmaker Mode for a more natural image
• Dynamic for very bright rooms
• Game Mode for lower input delay during gaming
For most homes, Movie or Filmmaker Mode is a good starting point for films and shows. Standard mode may look better during the day if your room has strong sunlight.
Adjust Brightness and Contrast
Brightness controls the dark parts of the image, while contrast controls the light parts. Avoid pushing both to the maximum because the picture can lose detail.
Use a dark scene and a bright scene when testing. You should see detail in shadows without making the image gray. Bright objects should look clear without large areas turning completely white.
Turn Off Unwanted Motion Smoothing
Motion smoothing can make movies look like live video. Some viewers enjoy the smoother image, while others prefer the original film look.
Look for settings such as Auto Motion Plus, Picture Clarity, or motion processing. Turn them down or off if you notice a “soap opera” effect.
Set Up HDR and Game Mode
HDR content can look brighter and more colorful, but the TV may use different settings when HDR is active. Adjust HDR while playing real HDR content, not only from a standard menu.
For a game console, enable Game Mode when available. It can reduce input delay. However, some picture processing features may be limited in this mode.
How to Set Up Sound on a Samsung TV
The TV speakers work automatically after the first setup. To improve sound, open the sound settings and choose a mode that fits your content.


Standard sound is suitable for general viewing. Adaptive Sound can adjust audio based on the content, while Amplify may help some viewers hear dialogue more clearly.
If voices sound quiet, try raising the center or dialogue setting if your model offers one. Avoid turning the volume up too high, since loud background effects can still cover speech.
Connect a Samsung Soundbar
For the best connection, use HDMI ARC or eARC when both the TV and soundbar support it.
- Connect one end of the HDMI cable to the TV’s HDMI ARC or eARC port.
- Connect the other end to the soundbar’s HDMI OUT ARC or eARC port.
- Turn on the soundbar.
- Open the TV sound settings.
- Select the HDMI receiver or receiver output.
- Enable Anynet+ if required for HDMI control.
You can also use an optical cable. It is reliable, but it may not support every advanced audio format.
Use Bluetooth Headphones
Open the sound output menu and select Bluetooth speaker list. Put your headphones into pairing mode, then choose them from the list.
Bluetooth audio may have a slight delay. If voices do not match lip movement, try wired headphones or a sound device connected through a different port.
Update the Samsung TV Software
Software updates can fix bugs, improve compatibility, and add features. During how to set up a Samsung TV, allow the TV to check for updates if your internet connection is ready.
To check manually:
- Open Settings.
- Select Support.
- Choose Software Update.
- Select Update Now.
Menu names can vary by model and year. Keep the TV connected to power during an update. Do not unplug it until the process is complete.
Automatic updates are convenient, but they are optional on many models. If your internet data is limited, review the update setting before enabling it.

Install and Organize Streaming Apps
Open the app section from the Home screen. Search for services such as Netflix, YouTube, Prime Video, Disney+, Hulu, or other apps available in your region.
Select an app, install it, and sign in with your account. Some apps require a phone or computer to enter a code. Use the official app and avoid unknown downloads.
Arrange your most-used apps near the front of the Home screen. This small change makes daily use much easier, especially for children or older family members.
Set Up Live TV and Streaming Together
If you use both an antenna and streaming apps, name your HDMI devices and place your favorite apps in an easy order. You can also use the TV guide when supported by your model and region.
Remember that app availability, subscription costs, and features vary by country. A smart TV does not make paid services free, and some content may require a separate subscription.
Connect External Devices to a Samsung TV
Most devices connect through HDMI. After plugging in a device, press Source and choose the matching input.
Use clear labels such as “Game Console,” “Cable Box,” or “Blu-ray.” This helps everyone in the home find the right input without guessing.
Game Console Setup
Connect the console to a compatible HDMI port. Then open the TV’s game settings and enable Game Mode if you want faster response.
If the console supports 4K or 120 Hz, use a suitable HDMI cable and port. Turn on input signal enhancement if the TV requires it for higher bandwidth. If the screen goes blank, lower the console output temporarily and check the cable.
Connect a Computer
Use HDMI from the computer to the TV. Set the TV input to the correct port, then choose a resolution that the TV supports.
For comfortable reading, enable PC mode when available. Increase text size on the computer rather than making the TV picture overly sharp.
Set Up the SmartThings App
The SmartThings app can help you control a compatible Samsung TV from a phone. Install the app, sign in, and add the TV while both devices use the same network.
The app may let you adjust volume, change inputs, open apps, and use a phone keyboard. Some features depend on the TV model, phone type, region, and software version.
In my experience, the phone keyboard is one of the most useful features. Typing a long Wi-Fi password or streaming login with a remote can feel like writing a letter with a pencil stub.
Common Samsung TV Setup Problems
Even when you follow how to set up a Samsung TV correctly, small issues can appear. The steps below solve many common problems.
The TV Shows “No Signal”
Check that the external device is powered on and connected to the correct HDMI port. Select the matching source on the TV.
Then reseat both ends of the HDMI cable. If possible, test another cable or HDMI port. A damaged cable or incorrect source is often the cause.
The Remote Does Not Work
Replace the batteries or charge the remote. Point it toward the TV and remove objects blocking the front sensor.
For a smart remote, hold the pairing buttons shown in the on-screen instructions. The button combination can differ by model, so check the manual if pairing fails.
The TV Will Not Connect to Wi-Fi
Restart the TV and router. Confirm the Wi-Fi password and test the network with a phone.
If the TV still fails, connect it with Ethernet. You can also reset the network settings, but this removes saved wireless details.
Apps Freeze or Close
Check for TV software and app updates. Restart the TV by holding the power button on the remote for several seconds, or unplug it briefly if the manual permits.
If one app fails while others work, the issue may be with that service rather than the TV. Reinstalling the app can also help.
The Picture Looks Too Dark
Turn off energy-saving settings and check whether the content is HDR. A dark room may also make a cinema-style picture seem dim.
Do not increase brightness to maximum right away. First test Standard or Movie mode, then adjust the backlight or brightness for your room.
Samsung TV Setup Tips for Better Long-Term Use
A good setup is more than getting the picture on the screen. These habits can improve safety, performance, and ease of use.
• Keep the TV software updated.
• Clean the screen with a soft, dry microfiber cloth.
• Never spray cleaner directly on the display.
• Keep vents clear of dust and objects.
• Use a surge protector in areas with unstable power.
• Keep account passwords private.
• Turn off the TV when it will not be used for a long time.
• Review voice, privacy, and advertising settings.
• Label HDMI inputs for easy access.
Do not use paper towels, abrasive cleaners, or ammonia-based products on the screen. They can leave marks or damage the display coating.
Also, avoid placing a soundbar or decoration directly in front of the TV’s remote sensor. This simple mistake can make the remote seem broken.
How to Reset a Samsung TV
A reset can help when settings are confused, apps fail, or the TV is being sold. Before resetting, write down your Wi-Fi password and streaming account details.
Open Settings and look for General and Privacy, Support, or Reset. The exact path depends on the model and software version.
A factory reset removes personal settings, installed apps, network information, and accounts. It does not repair physical damage, a broken screen, or a failing power board.
If the TV is still under warranty, contact Samsung support or the retailer before attempting repairs. Do not open the TV yourself because internal parts can hold dangerous electrical charges.
Frequently Asked Questions About How to Set Up a Samsung TV
How long does it take to set up a Samsung TV?
Basic setup usually takes about 20 to 40 minutes. The full process may take longer if you install many apps, update the software, connect a soundbar, or scan antenna channels.
Do I need a Samsung account to use the TV?
You can use some basic TV functions without a Samsung account. However, an account may be needed for certain apps, SmartThings features, downloads, and Samsung services.
Can I set up a Samsung TV without Wi-Fi?
Yes. You can watch content from an antenna, cable box, game console, Blu-ray player, or other HDMI device without Wi-Fi. Internet access is needed for most smart apps and online updates.
Why does my Samsung TV say “No Signal”?
The TV may be set to the wrong input, or the external device may be off. Check the HDMI connection, select the correct source, and test another cable or port if needed.
How do I connect a soundbar to a Samsung TV?
Use HDMI ARC or eARC when both devices support it. Connect the cable to the matching ARC or eARC ports, then select the soundbar or receiver as the TV’s sound output.
Should I use Dynamic or Movie mode on my Samsung TV?
Movie or Filmmaker Mode usually gives a more natural picture for films and shows. Dynamic mode is brighter and may work better in a very bright room, but it can look less accurate.
How do I connect my Samsung TV to an antenna?
Plug the antenna cable into the TV’s antenna or RF input. Open the broadcasting menu, choose Air, and run an automatic channel scan.
Conclusion
Setting up a Samsung TV is simple when you work in order: assemble it safely, connect your devices, join Wi-Fi, scan channels, update the software, and adjust the picture and sound. Take a few extra minutes to review privacy settings, label HDMI inputs, and test every device.
If a problem appears, check the input, cable, power, network, and software before assuming the TV is faulty. Use this guide as your setup checklist, explore the settings at your own pace, and share your experience or questions in the comments.

Everett Ashford is a tech reviewer at mytechgrid.com specializing in SSDs, cameras, TVs, earbuds, headphones, and other consumer electronics. He provides honest, data-driven reviews based on hands-on testing and real-world performance analysis. Everett simplifies complex tech details to help readers make smart, confident buying decisions.