Use a secure erase or crypto-key revocation, then reinstall Windows and verify with vendor tools.
I’ve guided dozens of people through secure disk wipes. I will show you clear, tested ways to fully erase a SSD including Windows. You will learn what works, why some common steps fail, and how to verify the wipe. I blend real-world tips and expert commands so you can erase a drive safely and with confidence.

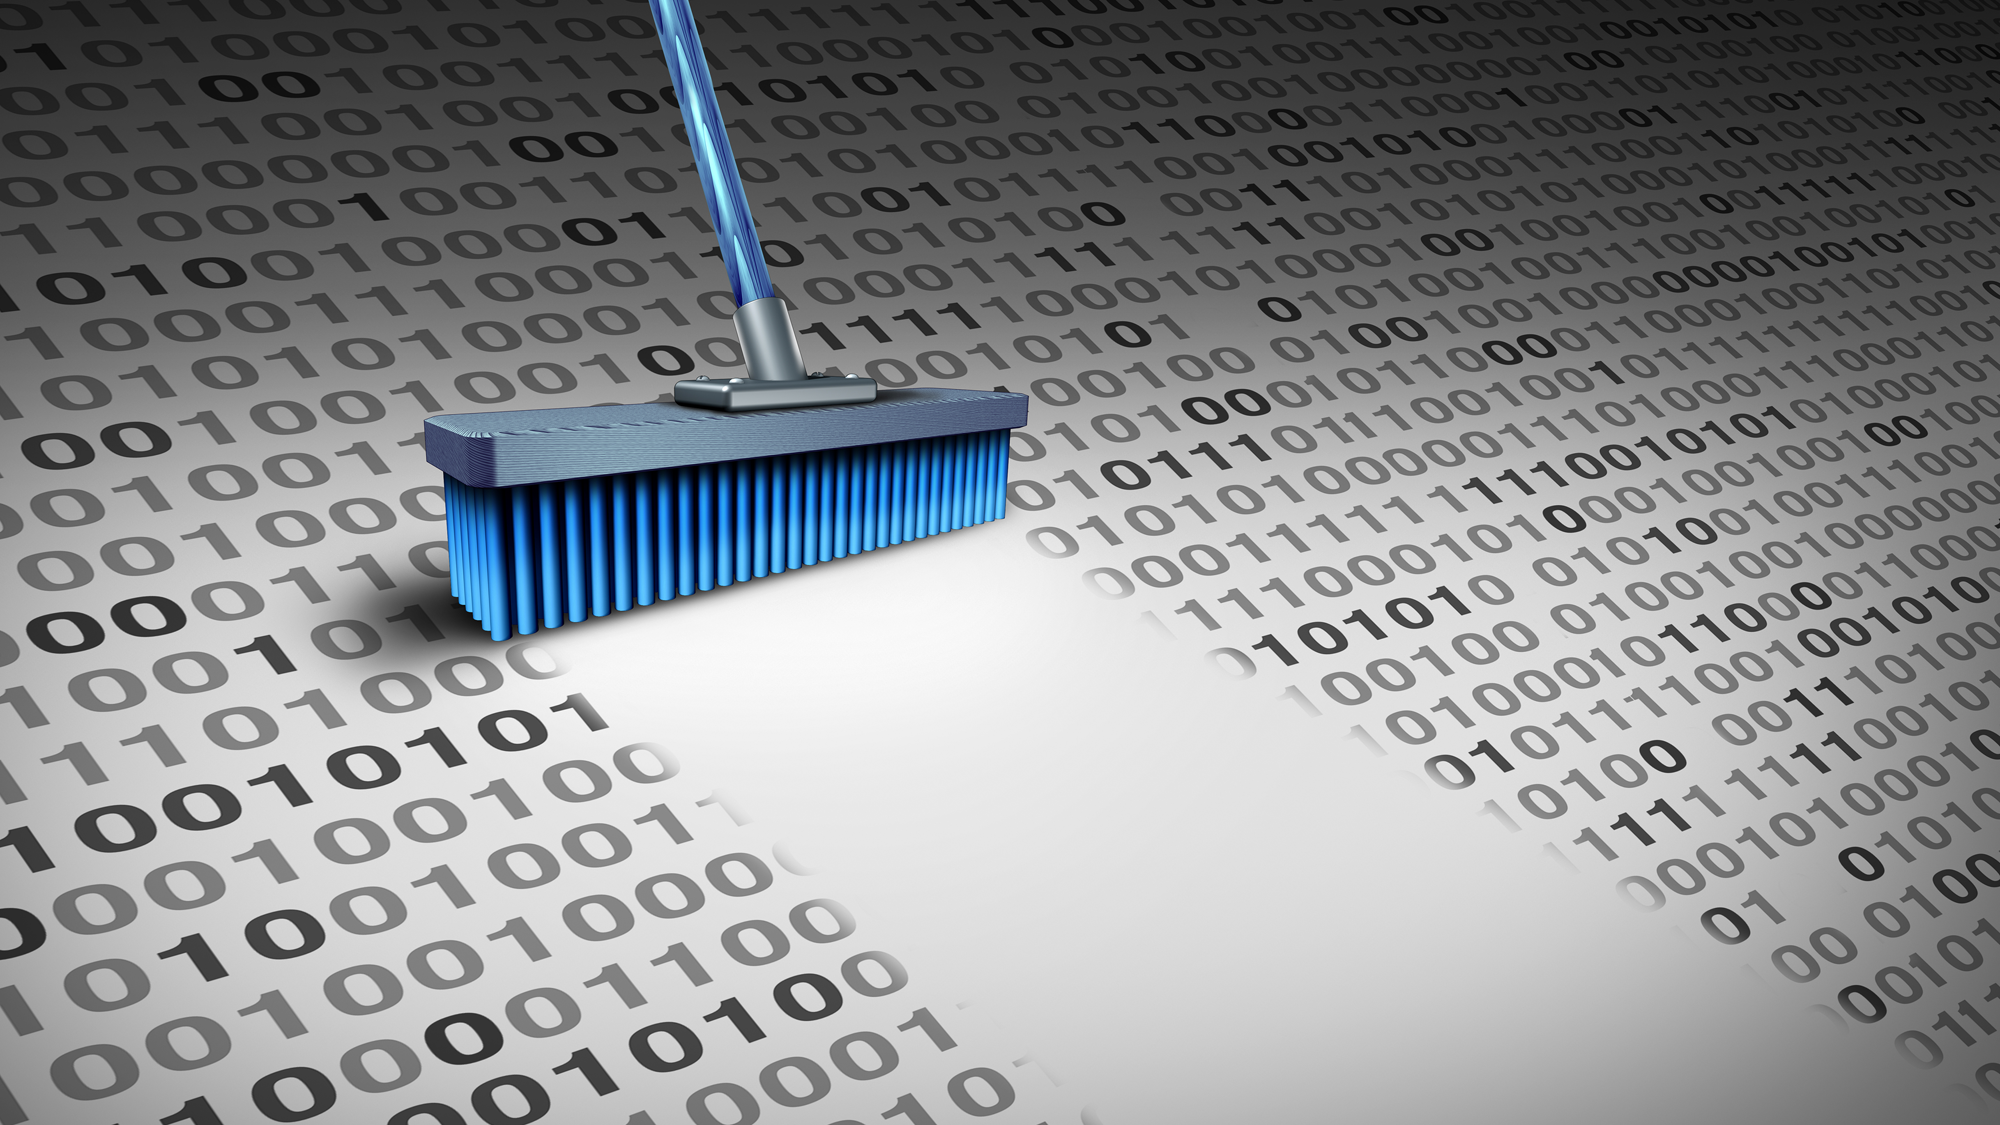
Why you should fully erase a SSD including Windows
If you sell, donate, or recycle a PC, you must protect your data. SSDs behave differently from HDDs. That means the usual quick format can leave data behind. This guide shows you how to fully erase a SSD including Windows so your files cannot be recovered. I explain both software and hardware methods and when to use each.

How SSDs store data and why wiping differs from HDDs
SSDs use flash cells and a controller. The controller maps logical blocks to physical cells. The drive may relocate data for wear leveling. This means overwriting a logical sector may not touch the old physical cell. Simple zero-fill can fail. TRIM tells the drive a block is unused. But TRIM does not guarantee secure erasure of previously remapped cells. Understanding this helps you pick the right method to fully erase a SSD including Windows.

Preparation: backup, firmware, and encryption
Make a backup now. Copy files to an external drive or cloud. Confirm that you have Windows install media and product keys. Check the SSD firmware on the manufacturer site. Firmware updates can fix sanitization bugs. If the drive uses hardware encryption, know the encryption type and PSID (printed on the label). This matters for fast, secure erasure. Failing to prepare can leave you without data or with a drive you can’t erase.

Safe, practical methods to fully erase a SSD including Windows
Below are tested options. Use the fastest secure option for modern drives: built-in secure erase or crypto-erase. I list tools and step-by-step actions. Pick the method that fits your drive type and comfort level.
Method 1 — Windows Reset and full clean install (basic)
This is simple. It is OK for casual reuse but not for secure disposal.
- Open Settings > Update & Security > Recovery.
- Choose Remove everything and select Clean the drive fully.
- Reinstall Windows from media if desired.
Notes: This uses Windows’ reset to overwrite some blocks. It may not reach remapped cells. Do not rely on this alone for sensitive data.
Use this only when you keep the drive.
Method 2 — Use manufacturer’s secure erase tool (recommended)
Most SSD makers supply tools that trigger ATA Secure Erase or NVMe sanitize.
- Download the vendor tool and a bootable USB if required.
- Follow their secure erase or sanitize instructions.
- Reboot and confirm status.
Benefits: Tools are tuned for the drive. They use built-in erase commands safely. This is often the best balance of speed and security.
Method 3 — ATA Secure Erase with hdparm (SATA SSD)
This runs on Linux. It issues the drive’s secure erase command.
- Boot a Linux live USB.
- Install hdparm if needed.
- Check drive identity with sudo hdparm -I /dev/sdX.
- If frozen, sleep the system or use vendor tools to unfreeze.
- Set a temporary password: sudo hdparm –user-master u –security-set-pass PASS /dev/sdX
- Run secure erase: sudo hdparm –user-master u –security-erase PASS /dev/sdX
Notes: This will restore the drive to factory state if supported. It can take minutes to hours.
Method 4 — NVMe sanitize or secure erase with nvme-cli (NVMe SSD)
NVMe drives use sanitize commands or format with secure erase.
- Boot a Linux live USB.
- Install nvme-cli.
- Check capability: sudo nvme id-ctrl /dev/nvme0n1
- Run sanitize: sudo nvme sanitize /dev/nvme0n1 –ses 1
- Or use format: sudo nvme format /dev/nvme0n1 -s 1
Notes: Use manufacturer docs. Some sanitize operations are destructive and fast.
Method 5 — PSID revert for hardware-encrypted drives
Some SSDs use hardware crypto and allow PSID revert.
- Find the PSID on the drive label.
- Use vendor tool or opensource utilities to run PSID revert.
- This erases the encryption key and all data quickly.
Notes: This is secure and fast. It returns the drive to factory default.
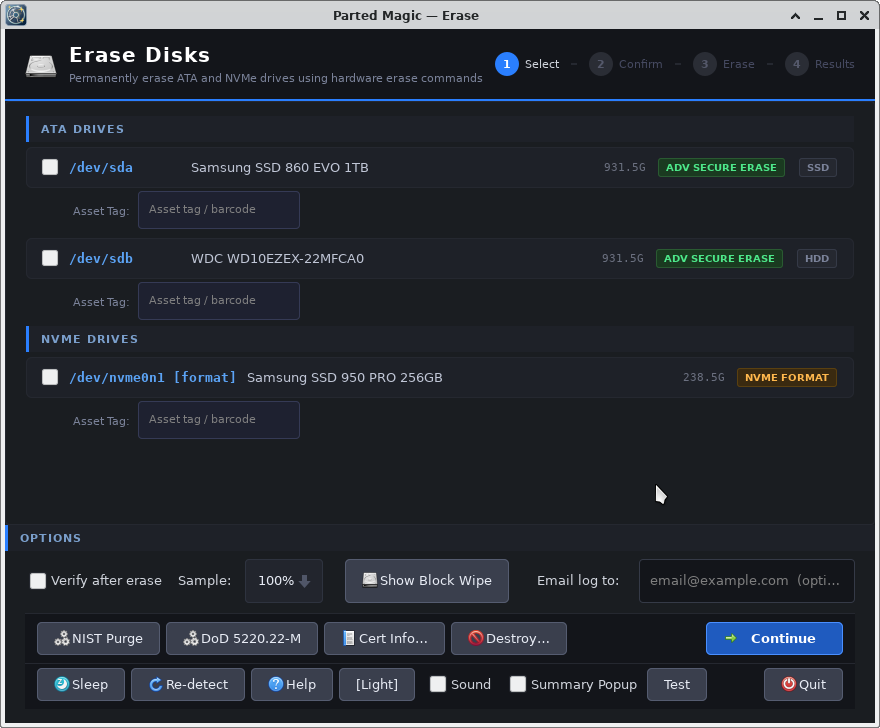
Method 6 — Parted Magic (paid, user-friendly)
Parted Magic bundles secure erase tools with a GUI.
- Boot Parted Magic USB.
- Use the Secure Erase GUI or hdparm GUI.
- Follow prompts and run the secure erase.
Notes: It is convenient and well tested for many drives.
Method 7 — Physical destruction (last resort)
If the drive holds highly sensitive data and must never be recovered, destroy it.
- Remove the PCB and NAND chips.
- Shred, drill, or incinerate the NAND.
Notes: Follow safe and legal disposal rules. This is final.
Use the method that matches your risk level. For most cases, vendor secure erase or crypto-key erase is best. These methods fully erase a SSD including Windows when done correctly.

Verification: how to confirm the SSD is clean
After erasing, verify the results. Simple checks help catch errors.
- Boot the drive from a live USB and check free space.
- Run a block read scan: dd if=/dev/sdX of=/dev/null bs=1M status=progress
- Use forensic tools to attempt file recovery. If no files appear, you likely succeeded.
- For NVMe, check sanitize or format status in drive logs.
Do not assume. Always verify when security matters. These steps tell you whether your erase actually removed data and comply with your reason for wiping.
Common causes of failed erasure and how to avoid them
SSD remapping, frozen firmware, and encryption mismatches are the top culprits.
- Frozen state prevents secure erase. Use sleep or vendor unfreeze.
- Remapped blocks bypass overwrites. Use ATA/NVMe secure erase or crypto-erase.
- Encrypted drives without PSID can be hard to revert. Note the key or PSID first.
- Using DiskPart clean on Windows may not reach all cells.
Plan ahead and pick the right tool to fully erase a SSD including Windows.
PAA-style questions (quick answers)
Will a format fully erase my SSD?
No. A quick format removes the filesystem table. It does not securely wipe remapped blocks or residual data. Use secure erase for full removal.
Is TRIM enough to erase old files?
TRIM helps with space management. It is not a guaranteed secure erase for all physical cells. Secure erase or encryption key removal is better.
Can I use diskpart clean all on an SSD?
Clean all overwrites on logical sectors. It may not cover remapped or over-provisioned areas. Prefer secure erase or vendor tools.
Limitations, ethics, and legal considerations
Some data may be covered by regulations. Follow data handling laws for your region. If you are erasing workplace drives, follow company policies. Note that secure erase may fail on very old firmware. Be transparent if you sell a drive. Document the method used. These steps protect you and your data recipients.

Personal experience and practical tips
I once tried DiskPart clean on a laptop before donating it. Months later, a recovery scan found remnants. I then used the vendor secure erase and a verification scan. No traces remained. Lesson: trust the drive’s own secure commands. Other tips:
- Save the PSID before erasing hardware-encrypted SSDs.
- Use a battery or connect power to avoid interruptions during sanitize.
- Keep firmware current to avoid known sanitize bugs.
These habits save time and reduce risk.
Frequently Asked Questions of how to fully erase a ssd including windows
How long does it take to fully erase a SSD including Windows?
Time varies. Secure erase commands are fast and can finish in minutes. Full overwrite methods may take hours for large drives.
Will reinstalling Windows erase the old data?
A clean reinstall does not guarantee secure removal. Choose Reset with full clean or run a secure erase for stronger assurance.
Can deleted files be recovered after secure erase?
If secure erase worked correctly, recovery is extremely unlikely. For very advanced lab recovery, only physical remnants might remain, and they are typically unrecoverable.
Is encryption the same as erasing?
No. Encryption protects data while it exists. Erasing removes or invalidates data. Crypto-erase can erase by deleting the key, which is very effective.
Do I need special tools to erase M.2 NVMe drives?
Yes. Use NVMe-aware tools like vendor utilities, nvme-cli, or Parted Magic to trigger sanitize or secure erase operations.
Conclusion
You can fully erase a SSD including Windows with the right method. Use vendor secure erase, NVMe sanitize, or crypto-key erase as first choices. Prepare backups, note PSID or keys, and verify the wipe. If you handle sensitive data, choose secure erase or physical destruction. Take action now: pick a method, back up your files, and run a verified secure erase. If you found this guide helpful, try the steps on a spare drive or leave a comment with your questions.

Jamie Lee is a seasoned tech analyst and writer at MyTechGrid.com, known for making the rapidly evolving world of technology accessible to all. Jamie’s work focuses on emerging technologies, product deep-dives, and industry trends—translating complex concepts into engaging, easy-to-understand content. When not researching the latest breakthroughs, Jamie enjoys exploring new tools, testing gadgets, and helping readers navigate the digital world with confidence.