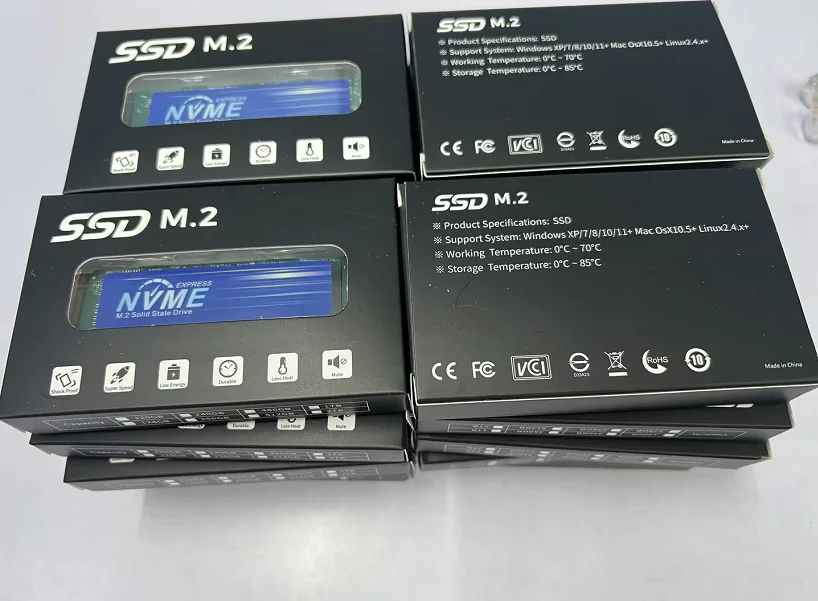
Partition a new SSD by deciding layout, creating aligned partitions, choosing filesystems, and formatting.
I’ve set up dozens of drives for work and for friends, and I’ll walk you through how to partition a new SSD with clear steps, real tips, and the reasoning behind each choice. This guide covers Windows, macOS, and Linux, explains alignment and over-provisioning, and shows how to avoid common mistakes so your SSD runs fast and lasts longer. Read on to get confident making partitions that match your needs.

Why partition a new SSD?
Partitioning shapes how you use your SSD. It divides the drive into areas for the operating system, programs, data, backups, or multiple OS installs. When you learn how to partition a new SSD, you get more control, better organization, and a safer upgrade path.
Benefits include:
- Cleaner backups and easier restores.
- Separation of OS and data for faster imaging.
- Support for multiple operating systems or special filesystems.
- Ability to set aside space for over-provisioning.
PAA-style questions:
Q: How many partitions should I make?
A: It depends on use. Common layouts use one OS partition and one data partition, or three partitions for OS, apps, and personal files.
Q: Should system and data be separate?
A: Yes. Keeping system files separate helps with backups and reinstallations.
Preparation: tools, backups, and decisions
Before you change a drive, prepare. Bad steps here can cost data or time.
Steps to prepare:
- Back up any data on the drive elsewhere. Even new drives can have issues.
- Decide operating systems and filesystems you need. This affects partition count and format.
- Download required tools: Disk Management for Windows, Disk Utility for macOS, GParted or parted for Linux. Keep an admin account ready.
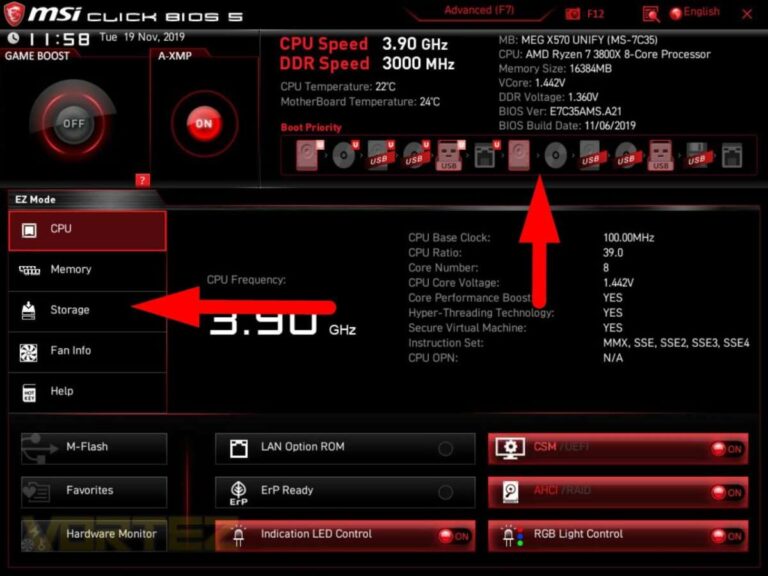
- Check BIOS/UEFI mode. Use GPT with UEFI for modern systems. Use MBR only for older legacy setups.
Personal tip: I always clone a working system image to an external drive before partitioning. It saved me twice when a reinstall went sideways.

How to partition a new SSD on Windows (Disk Management and DiskPart)
Windows offers two main tools: a GUI (Disk Management) and a command-line tool (DiskPart). Both can create aligned, properly sized partitions.
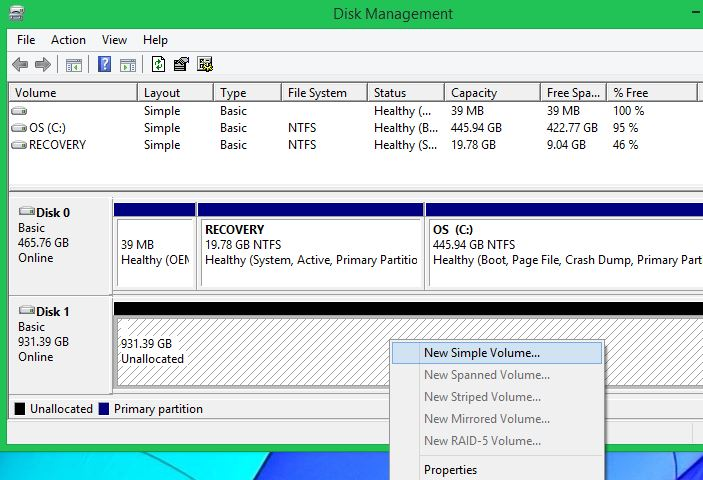
Disk Management steps:
- Open Start, type diskmgmt.msc, and run Disk Management as admin.
- Initialize the new SSD. Choose GPT for modern systems.
- Right-click unallocated space and choose New Simple Volume.
- Set size and assign a drive letter.
- Format as NTFS (or exFAT for cross-platform use) with a quick format.
- Repeat for additional partitions.
DiskPart quick steps (power users):
- Open Command Prompt as admin.
- Run diskpart, then list disk and select disk N (replace N).
- clean (wipes the disk), convert gpt, create partition primary size=XXXXX, format fs=ntfs quick, assign letter=X.
- Repeat create commands for other partitions.
Alignment note:
- Modern tools align partitions automatically. If you use older tools, ensure the partition starts at 1,048,576 bytes (sector 2048) to align with 4K/SSD pages.
Why I sometimes use DiskPart:
- I prefer precise sizes and scripting when setting up many machines. It’s faster and repeatable.
When to use NTFS vs exFAT:
- NTFS for Windows-only systems. exFAT when you need large-file transfers between Windows and macOS.

How to partition a new SSD on macOS (Disk Utility and APFS)
macOS simplifies partitioning through Disk Utility. For modern macOS, APFS is usually the best choice.
Disk Utility steps:
- Open Disk Utility (Applications > Utilities).
- Select the SSD and click Erase. Choose GUID Partition Map and an appropriate format.
- For APFS containers, use Partition or Add Volume to create APFS volumes inside one container. APFS volumes share space dynamically.
- For multiple distinct partitions (for Boot Camp or other OS), use Partition and create separate GUID partitions with formats like APFS, Mac OS Extended, or exFAT.
APFS benefits:
- Snapshot support and space sharing make it flexible for macOS systems.
- For dual boot with Windows, create a separate NTFS or exFAT partition formatted later in Windows.
Personal tip: When I set up Macs for clients, I create one APFS container for macOS and a small exFAT partition for file sharing.

How to partition a new SSD on Linux (GParted, parted, and CLI)
Linux gives control. Use GParted for a GUI or parted for CLI. ext4 is common, but other filesystems like btrfs or xfs may suit specific needs.
GParted steps:
- Boot a live USB with GParted if the SSD will be the root drive.
- Select the SSD and create a new GPT table if needed.
- Create partitions: EFI System Partition (FAT32) for UEFI if needed, root (ext4), swap (if you want a swap partition), and home (ext4) for data.
- Apply changes and mount partitions during installation.
Parted/CLI example:
- sudo parted /dev/sdX mklabel gpt
- sudo parted -a optimal /dev/sdX mkpart primary fat32 1MiB 512MiB (for EFI)
- sudo parted /dev/sdX mkpart primary ext4 512MiB 50GiB (for root)
- Format with mkfs.vfat or mkfs.ext4 and set flags.
Swap considerations:
- Use a swap file instead of a swap partition for flexibility.
- If you use hibernation, a swap partition sized to RAM is needed.

Best partitioning practices and tips
Apply proven practices to get top performance and longevity from an SSD.
Key practices:
- Use GPT with UEFI for modern systems.
- Align partitions at 1 MiB (default in modern tools).
- Leave some free space for over-provisioning: 5–10% helps write performance and wear leveling.
- Enable TRIM: ensure OS supports TRIM and it’s active.
- Choose correct filesystem for the OS: NTFS for Windows, APFS for macOS, ext4/btrfs/xfs for Linux.
- Use small partitions for system and larger ones for bulk data. Example: 60–120 GB for OS, rest for apps/data.
- Encrypt where needed: BitLocker, FileVault, or LUKS protect data but may impact performance slightly.
Real-world tip: I once set a 250 GB SSD with 30% dedicated to a fast scratch disk for editing. That kept system responsiveness high during exports.
Common mistakes and troubleshooting
Avoid these common errors when you learn how to partition a new SSD.
Mistakes to avoid:
- Initializing with MBR on a modern UEFI system—use GPT instead.
- Skipping alignment—can drop write speed.
- Formatting as the wrong filesystem for your use case.
- Not enabling TRIM or leaving no over-provisioning.
- Forgetting to back up before partitioning or using clean commands too casually.
Troubleshooting tips:
- If Windows won’t boot after partitioning, check UEFI settings and boot order and ensure EFI partition exists.
- If performance is poor, confirm TRIM is active and check SMART data.
- If partitions don’t appear, re-scan disks in Disk Management or use lsblk/fdisk in Linux.

PAA-style quick questions
What is the best partition size for an OS?
- Aim for 60–120 GB for a modern OS. Increase if you install many programs or games.
Do SSDs need swap partitions?
- No. SSDs can use swap, but a swap file offers more flexibility. Use a swap partition only for hibernation needs.
How much over-provisioning should I leave?
- 5–10% is a good balance for consumer drives. Professional workloads may need more.
Is TRIM required for SSD health?
- TRIM helps garbage collection and maintain speed. Enable it if supported by your OS and drive.
Can I repartition without losing data?
- Often yes, using tools that resize without format, but always back up first.
Frequently Asked Questions of how to partition a new ssd
What is the safest way to partition a new SSD?
Use your OS’s native tools (Disk Management, Disk Utility, or GParted), pick GPT for modern systems, and back up any data. Initialize and format after creating partitions.
Do I need multiple partitions on an SSD?
Not always. One partition is simpler for many users. Multiple partitions help separate OS and data or support multiple OS installs.
How do I ensure partitions are aligned on an SSD?
Use modern partitioning tools; they align to 1 MiB by default. For manual control, start partitions at sector 2048.
Should I enable TRIM after partitioning?
Yes. TRIM keeps SSD performance steady. Most modern OSes enable it automatically, but verify with commands like trim-related checks.
Can I change partition sizes later?
Yes, many tools allow resizing without data loss, but always back up first and avoid resizing system partitions while mounted.
Conclusion
Partitioning a new SSD is a small upfront task that pays off in organization, performance, and safety. Follow the right steps for your OS, keep partitions aligned, reserve space for over-provisioning, and enable TRIM. Start simple: create an OS partition and a data partition, test, and adjust as needed. Try one setup, measure results, and improve from there. If this helped, try partitioning a spare SSD using these steps, or leave a comment with your setup questions.

Everett Ashford is a tech reviewer at mytechgrid.com specializing in SSDs, cameras, TVs, earbuds, headphones, and other consumer electronics. He provides honest, data-driven reviews based on hands-on testing and real-world performance analysis. Everett simplifies complex tech details to help readers make smart, confident buying decisions.