Install Windows by making a bootable USB, then clean-install or clone your old drive.
I’ve installed Windows on dozens of machines and helped friends upgrade older PCs. This guide shows exactly how to install windows on a new ssd step by step. You’ll get clear prep advice, the difference between cloning and clean installs, BIOS settings, optimization tips, and common fixes. Read on to save time and avoid costly mistakes.
Why upgrade to an SSD and what to expect
SSDs boost speed. Boot times drop from minutes to seconds. Apps launch faster. Energy use falls and there are no moving parts to fail like in HDDs. For most users, switching to an SSD feels like getting a new computer.
Benefits you’ll notice
- Faster boot and shutdown times.
- Quicker app and file load speeds.
- Lower noise and heat.
- Better durability against drops and vibration.
Limitations to know
- SSDs wear out slowly with writes, though modern drives last years.
- Cost per gigabyte is higher than HDDs.
- You may need to reconfigure partitions and Windows settings after moving.
From my experience, a simple SSD swap dramatically improves daily responsiveness. On laptops, battery life often improves slightly due to lower power draw. Always weigh cost versus capacity and choose a reputable SSD brand.

What you need before you start installing Windows on a new SSD
Gather a few things. Good prep prevents headaches.
Hardware and supplies
- A compatible SSD (SATA, M.2 NVMe, or M.2 SATA).
- A working PC and internet access.
- A USB flash drive, 8 GB or larger.
- SATA cable or an M.2 screwdriver if you need to open the PC.
Software and accounts
- Windows 10 or 11 ISO or Media Creation Tool.
- Your Windows product key or a linked Microsoft account.
- Cloning software if you plan to clone (some SSDs include free tools).
Data and backup
- Full backup of important files to an external drive or cloud.
- Note your installed apps and license keys.
Experience tip: I always back up twice. Once to an external disk. Once to cloud. It saved me after a failed disk migration.
Clean install vs cloning: which method to choose when you install windows on a new ssd
You can either clean install Windows or clone your current system. Both work. The right choice depends on your goals.
Clean install
- Pros: Fresh system, no old clutter, fewer driver conflicts.
- Cons: You must reinstall apps and transfer files.
Cloning
- Pros: Keeps your OS, apps, and settings intact. Faster to resume work.
- Cons: Can carry over problems. Requires compatible partition layout and enough SSD space.
When to do a clean install
- If your current Windows is slow or unstable.
- If you want to change from BIOS/MBR to UEFI/GPT.
When to clone
- If you want to keep everything as-is with minimal downtime.
- If the disk sizes and partition layouts are compatible.
In my work, I favor clean installs for older systems with years of accumulated software. For new PCs or minor upgrades, cloning is quick and reliable.

Step-by-step: Clean install Windows on a new SSD
A clean install gives the best long-term results. Follow these steps.
-
Back up data
-
Create a full backup of your files and export browser bookmarks, saved keys, and license info.
-
Make a bootable USB
-
Download Windows Media Creation Tool on another PC.
-
Create a bootable USB following the tool instructions.
-
Physically install the SSD
-
Power off and unplug the PC.
-
Ground yourself to avoid static.
-
Open the case, mount the SSD, and connect power and data cables (or insert the M.2 drive and secure it).
-
Enter BIOS/UEFI and set boot device
-
Power on and press the BIOS key (Del, F2, F12, Esc vary by device).
-
Set USB as the first boot device.
-
Ensure SATA mode is AHCI for SATA SSDs.
-
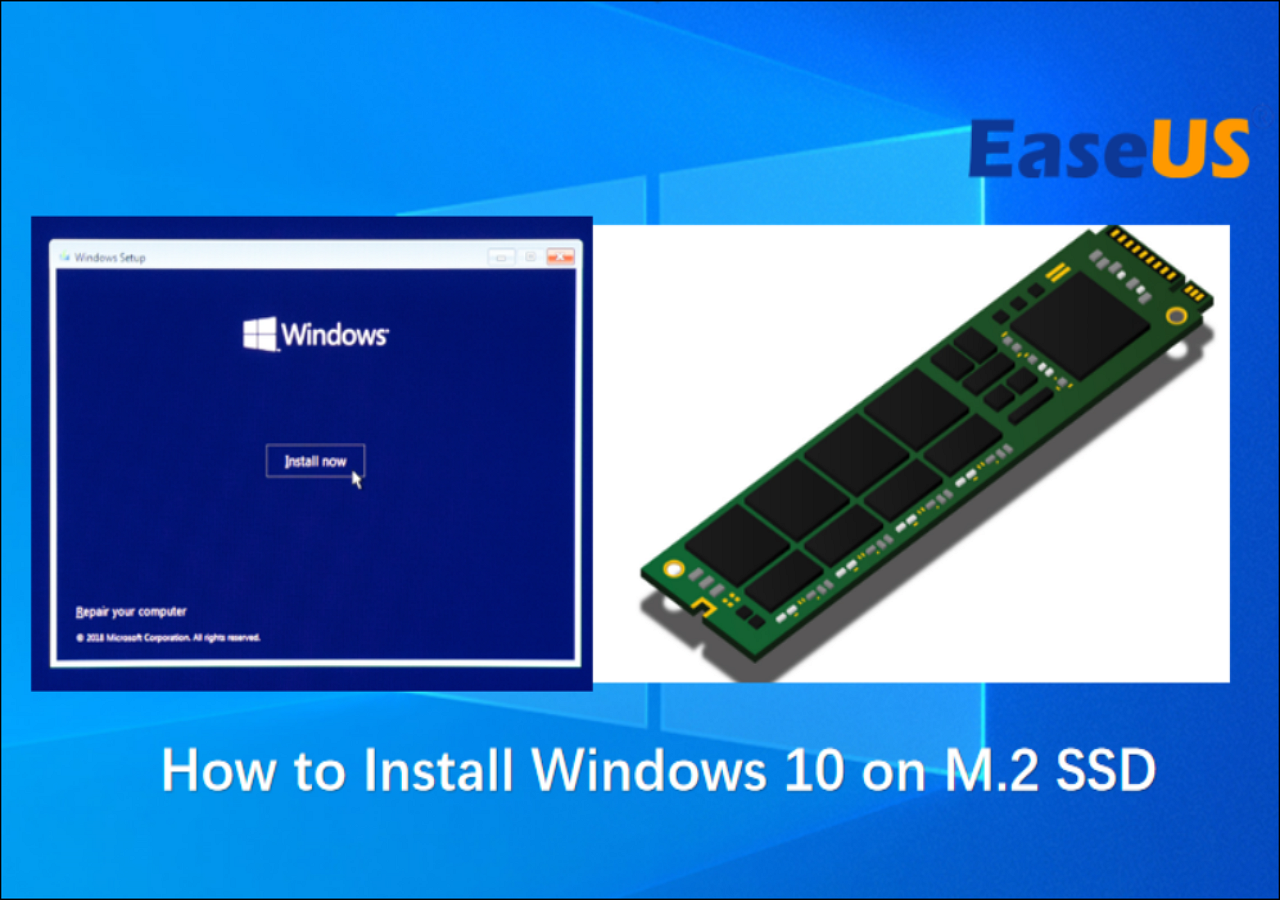
Install Windows
-
Boot from the USB installer.
-
Choose language and click Install Now.
-
Enter product key if asked or skip if you use a digital license.
-
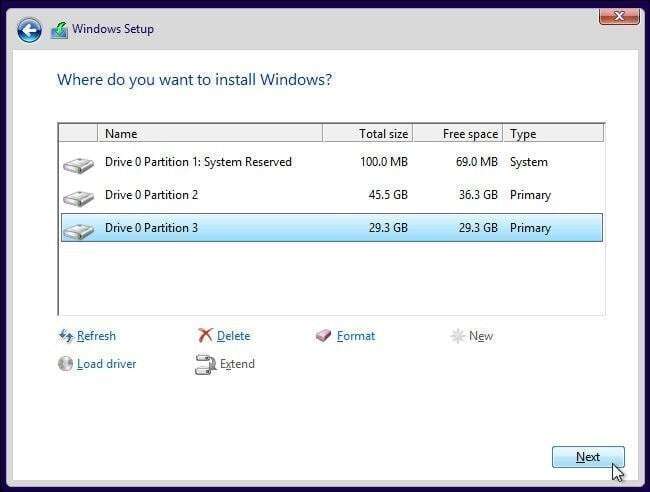
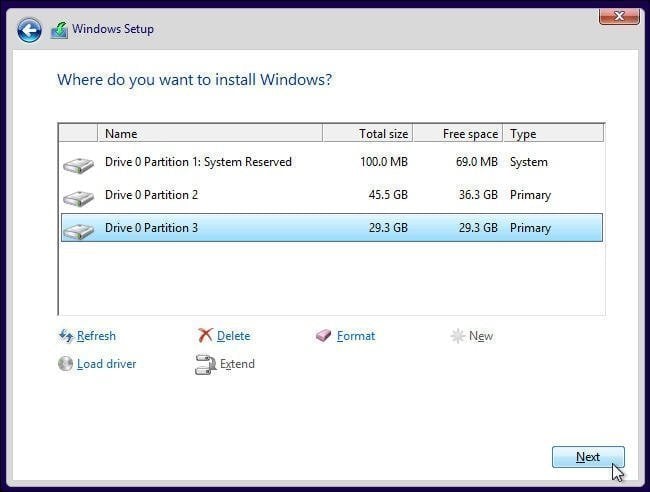
When asked where to install, delete old partitions on the new SSD and select Unallocated Space.
-
Click Next and let Windows install.
-
Final setup
-
Complete Windows setup, connect to Wi‑Fi, and sign in.
-
Install chipset and storage drivers from the PC or motherboard maker.
-
Restore files from backup.
Practical tip: If your PC uses UEFI, install Windows in UEFI mode to get better boot speeds and security features.

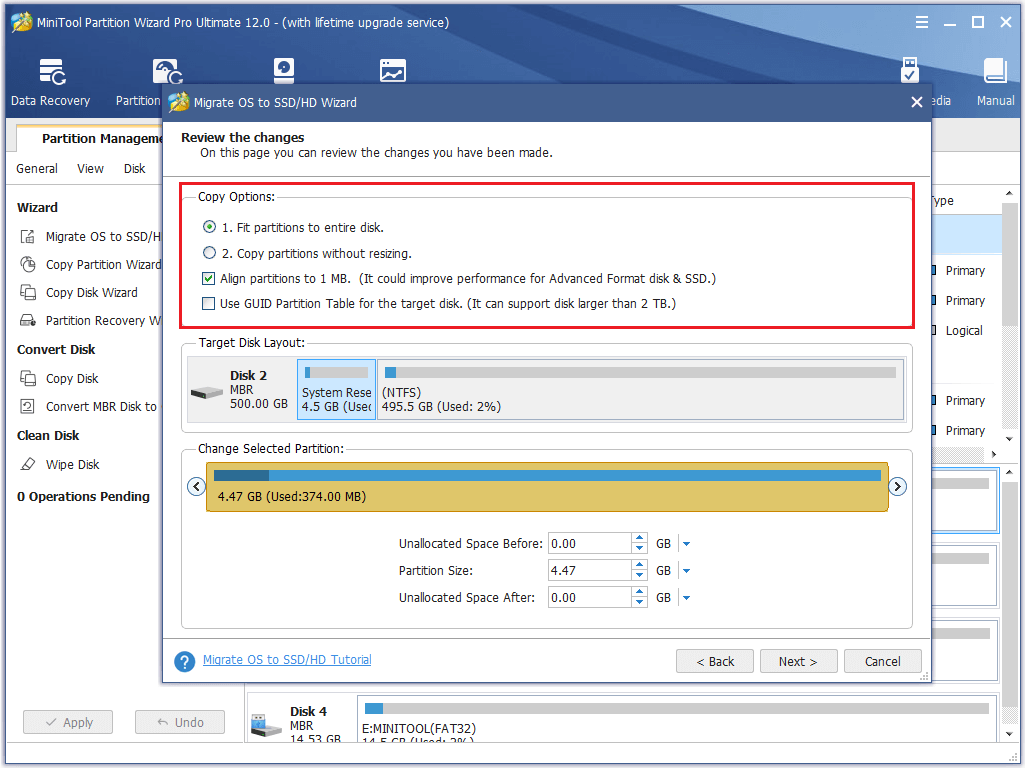
Step-by-step: Clone your existing Windows to the SSD
Cloning copies your current system to the SSD. This is best if you want everything preserved.
-
Prepare the SSD
-
Install the SSD in the PC or connect it using a USB‑to‑SATA adapter.
-
Initialize the SSD in Disk Management if Windows shows it.
-
Choose cloning software
-
Use the SSD maker’s cloning app or a third‑party tool that supports resizing partitions.
-
Examples include free and paid options. Pick one with good reviews.
-
Clone the disk
-
Launch the cloning tool and pick source (old drive) and target (new SSD).
-
Enable resizing if the SSD is smaller but large enough for used data.
-
Start cloning and wait. This can take from minutes to hours.
-
Swap drives and boot
-
Power off, remove or unplug the old drive, and set the SSD as the primary drive.
-
Boot into Windows and verify all apps and files are present.
-
Post-clone cleanup
-
Delete old driver entries and uninstall unused software.
-
Enable TRIM and check alignment.
-
If the clone used MBR but you want GPT/UEFI, consider a clean install.
Personal note: On one laptop, a clone failed because the SSD was too small for hidden recovery partitions. I deleted unnecessary recovery partitions first and then cloned successfully.

BIOS/UEFI settings, partition style, and boot order when you install windows on a new ssd
Correct firmware and partition choices matter.
UEFI vs Legacy BIOS
- UEFI offers faster boot and Secure Boot. Modern systems use UEFI.
- Legacy BIOS uses MBR. Use it only for older systems.
GPT vs MBR
- GPT works with UEFI and supports drives larger than 2 TB.
- MBR is older and limited. Prefer GPT for new installs.
SATA mode and NVMe
- Set SATA mode to AHCI for best SSD performance.
- NVMe drives use PCIe lanes and appear differently in firmware settings.
Boot order and secure boot
- Ensure the SSD is the first boot device after installation.
- Enable Secure Boot for Windows 11 or modern security features.
Quick checklist before installing
- Confirm UEFI vs Legacy mode.
- Switch to AHCI if moving from IDE.
- Enable Secure Boot if required.
Experience tip: Switching from RAID or IDE to AHCI after installing Windows can cause boot issues. Change the mode only before the install or follow specific registry steps if converting later.
Post-install optimization and maintenance for your SSD
Small tweaks extend SSD life and keep Windows snappy.
Essential settings
- Leave TRIM enabled. Windows enables it by default.
- Do not defragment an SSD. Windows will optimize instead.
- Check that the pagefile is set sensibly. Let Windows manage it, or place it on the SSD if you need speed.
Power settings
- Use Balanced or Power Saver on laptops for battery life, unless you need max performance.
Driver updates and firmware
- Install chipset and storage controller drivers.
- Update SSD firmware if the manufacturer recommends it.
Space and cleanup
- Remove old Windows installation files and temporary data.
- Keep at least 10–20% free space on the SSD for performance.
Example: On a desktop I upgraded, enabling AHCI and updating firmware cut application load times in half. I still left System Restore enabled for safety.

Troubleshooting common issues when installing Windows on a new SSD
If something goes wrong, these fixes often help.
SSD not detected in BIOS
- Check cables and power connections.
- For M.2, ensure you used the correct slot and torque.
- Update motherboard firmware.
Cloned system won’t boot
- Check boot order and remove the old drive temporarily.
- Verify partition flags (EFI system partition exists for UEFI).
- Try boot repair from Windows install media.
Slow performance after install
- Ensure AHCI is enabled.
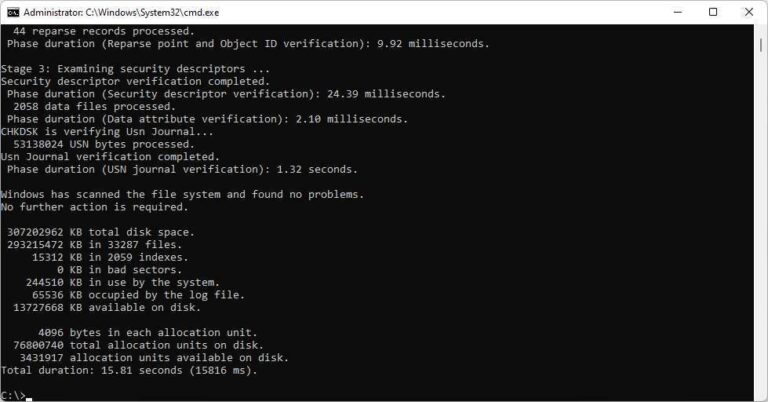
- Confirm TRIM is active using Windows PowerShell.
- Install the latest storage drivers.
Activation or license issues
- Use the same Microsoft account or enter the product key.
- If activation fails, use the digital license troubleshooting steps in Windows settings.
If you hit a roadblock, boot into safe mode and check device manager and disk status. Often a driver or boot entry causes the problem.
People also ask
How long does it take to install Windows on a new SSD?
It varies. A clean install typically takes 20–40 minutes. Cloning can take longer depending on the data size and connection speed.
Can I use my old hard drive after installing Windows on the SSD?
Yes. You can format the old drive and use it for storage. Keep backups before formatting.
Will my programs run faster after moving to an SSD?
Most programs start and load faster. Disk-bound apps see the biggest gains.
Do I need to change BIOS settings for NVMe?
Usually not. Ensure the NVMe slot is enabled, and that UEFI is set for modern boot.
Is TRIM automatic in Windows?
Yes. Windows turns on TRIM automatically for modern SSDs.
Frequently Asked Questions of how to install windows on a new ssd
How do I make a bootable USB to install Windows on a new SSD?
Use the Microsoft Media Creation Tool to download Windows and create a bootable USB. Follow the tool’s prompts. Then boot the target PC from the USB.
Can I install Windows on an M.2 NVMe SSD the same way as a SATA SSD?
Yes. The process is similar. Ensure your motherboard supports NVMe and use the correct M.2 slot. Boot in UEFI mode for best results.
Should I clone or clean install when switching to an SSD?
If you want a fresh start, clean install. If you need minimal downtime and your system is healthy, cloning is faster. Choose based on stability and time.
Do I need to update SSD firmware after installation?
Check the manufacturer’s recommendations. Firmware updates can improve stability and performance but follow instructions carefully.
How do I check if TRIM is enabled after installing Windows on a new SSD?
Open PowerShell and run the command that checks TRIM status. If it shows enabled, the OS will maintain SSD performance automatically.
Conclusion
Upgrading to an SSD and learning how to install windows on a new ssd is one of the best ways to speed up a PC. Prepare with backups, decide between cloning and a clean install, set BIOS/UEFI correctly, and apply simple post-install tweaks. Take your time, follow the steps, and you’ll have a fast, stable system.
Try it this weekend. If you run into a problem, revisit the checklist, or ask a tech forum for step-specific help. If this guide helped you, leave a comment or share your upgrade story.

Jamie Lee is a seasoned tech analyst and writer at MyTechGrid.com, known for making the rapidly evolving world of technology accessible to all. Jamie’s work focuses on emerging technologies, product deep-dives, and industry trends—translating complex concepts into engaging, easy-to-understand content. When not researching the latest breakthroughs, Jamie enjoys exploring new tools, testing gadgets, and helping readers navigate the digital world with confidence.