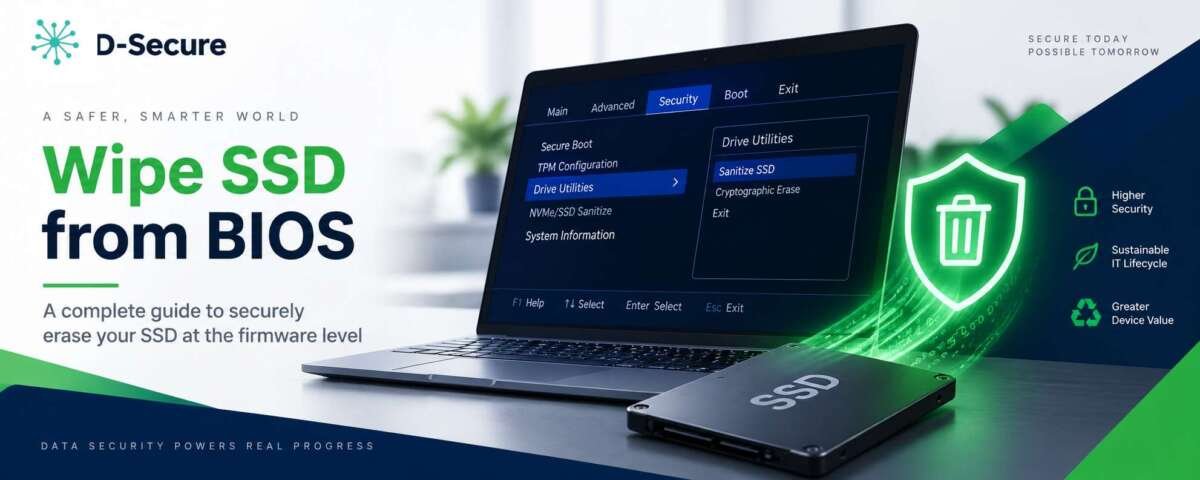
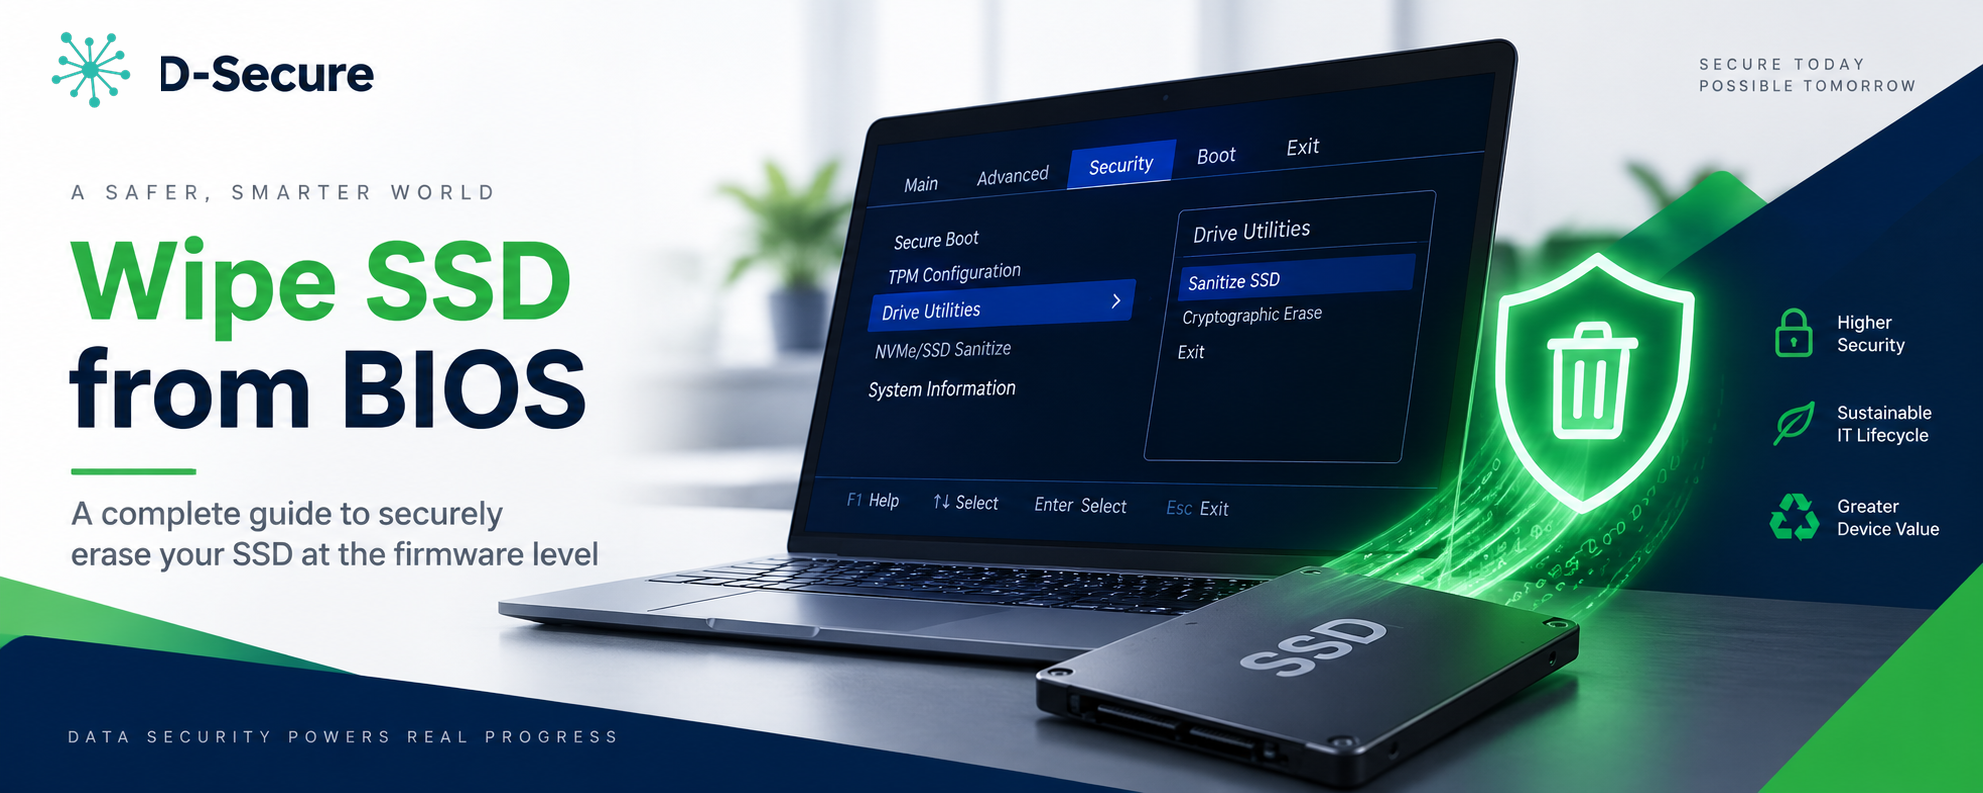
The safest way to wipe an SSD is to use its built-in Secure Erase or Sanitize command.
Learning how to securely wipe an SSD is important before selling, recycling, or reusing a computer. Unlike a hard drive, an SSD moves data between memory cells, so ordinary deletion or repeated overwriting may leave hidden copies. This guide explains the safest methods for Windows, macOS, and Linux, along with common mistakes, limits, and practical steps.
Why securely wiping an SSD matters
Deleting a file does not remove its data at once. It usually removes the file’s directory entry and marks the space as available. Until new data replaces it, recovery software may still find parts of the old file.
SSDs make this issue more complex. Their controllers use wear leveling, garbage collection, and spare memory cells. These features extend drive life, but they also mean that software may not know where every old copy exists.
That is why learning how to securely wipe an SSD requires more than dragging files to the Recycle Bin. A proper wipe must address the drive’s internal storage behavior.
Secure wiping is useful when you:
• Sell or give away a computer
• Return a business laptop
• Recycle an old SSD
• Dispose of a failed drive
• Remove sensitive work, tax, health, or personal files
• Prepare a drive for a new operating system
A secure wipe also protects against an easy mistake: assuming that a quick format makes data unrecoverable. In most cases, it does not.
Secure erase, sanitize, and crypto erase explained
Modern SSDs support several commands that can remove data more effectively than normal formatting. The best option depends on the drive type, operating system, and sensitivity of the information.
Secure Erase
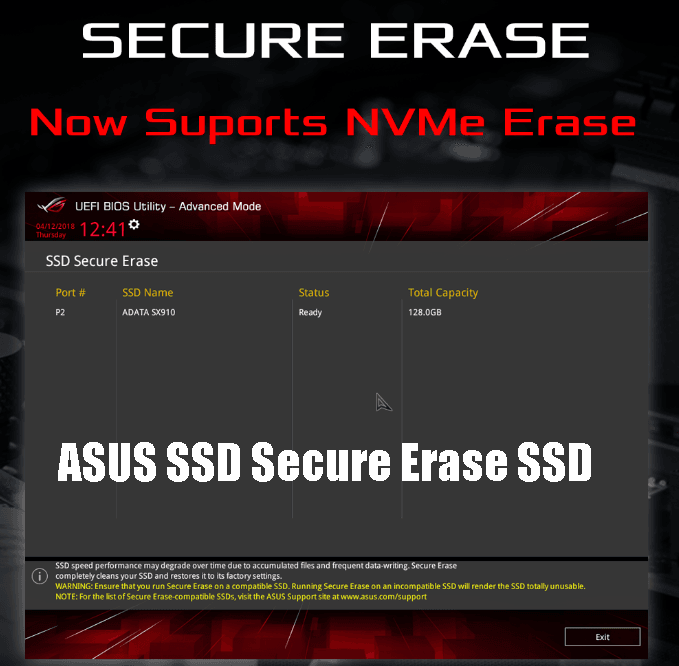
Secure Erase is commonly used with SATA SSDs. It is an ATA command that tells the drive to clear its storage cells. The SSD controller manages the process internally.
A proper Secure Erase is usually faster and more suitable for an SSD than writing zeros across the entire drive. It also avoids unnecessary write cycles.
Sanitize
Sanitize is a newer command found on many SATA and NVMe drives. It is designed to make stored data inaccessible, including data in areas such as overprovisioned space and some retired blocks.
When available, Sanitize is often the strongest built-in option. However, support varies by model and firmware.
Crypto erase
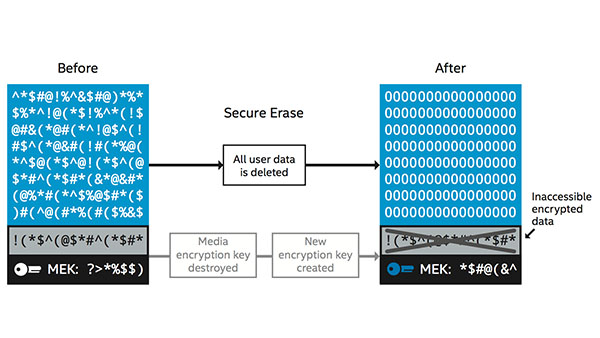
Many modern SSDs encrypt data internally, even when you have not enabled a password. Crypto erase destroys the encryption key. The old data may still exist as electrical patterns, but without the key, it cannot be read.
This method can be very fast. It is also highly dependent on the drive’s encryption design. For the most sensitive data, check the manufacturer’s documentation instead of assuming that every self-encrypting SSD works the same way.
Full-disk overwrite
A full overwrite writes new data across the user-visible space. This method is less useful for SSDs because it may not reach every physical location managed by the controller.
It can be acceptable for some low-risk situations, but it is not usually the first choice for securely wiping an SSD.
Prepare before you wipe an SSD
A secure wipe is permanent. Take a few minutes to prepare before starting. This prevents the most painful mistake: erasing the wrong drive or losing files you still need.
Back up important files
Copy anything you need to another trusted location. Check your backup by opening several files. A backup that cannot be restored is not a useful backup.
Consider saving:
• Documents and photos
• Browser bookmarks and password exports
• Software license keys
• Two-factor authentication recovery codes
• Email archives
• Cryptocurrency wallet data
• Work files stored outside cloud services
If the SSD contains business or regulated data, follow your organization’s data destruction policy.
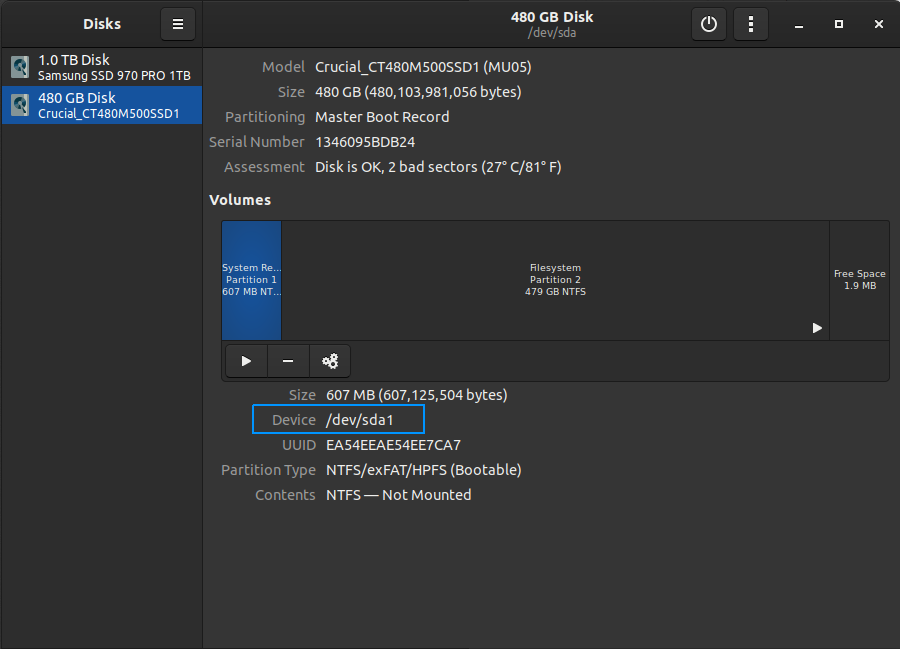
Confirm the correct drive
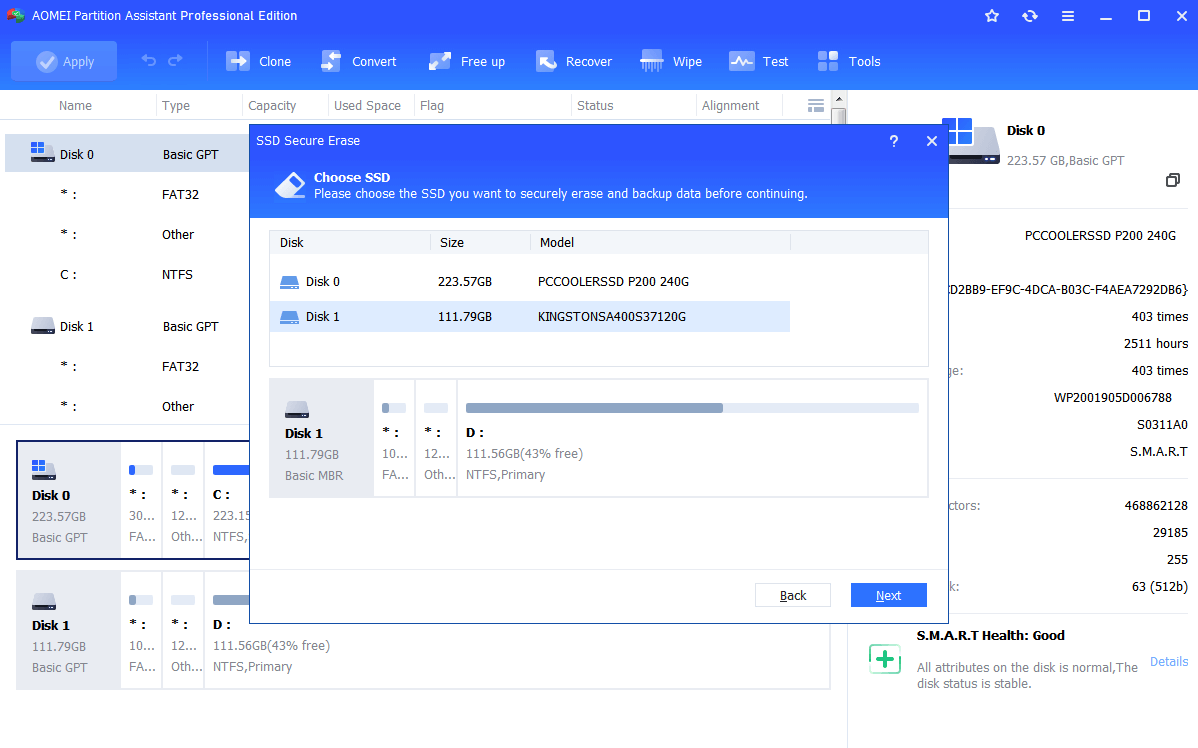
Write down the SSD’s brand, model, capacity, and serial number. Compare those details with the drive shown in the wiping tool.
This step matters when a computer has several storage devices. A wipe utility may show similar capacities, and selecting the wrong disk can erase your backup.
Connect the drive correctly
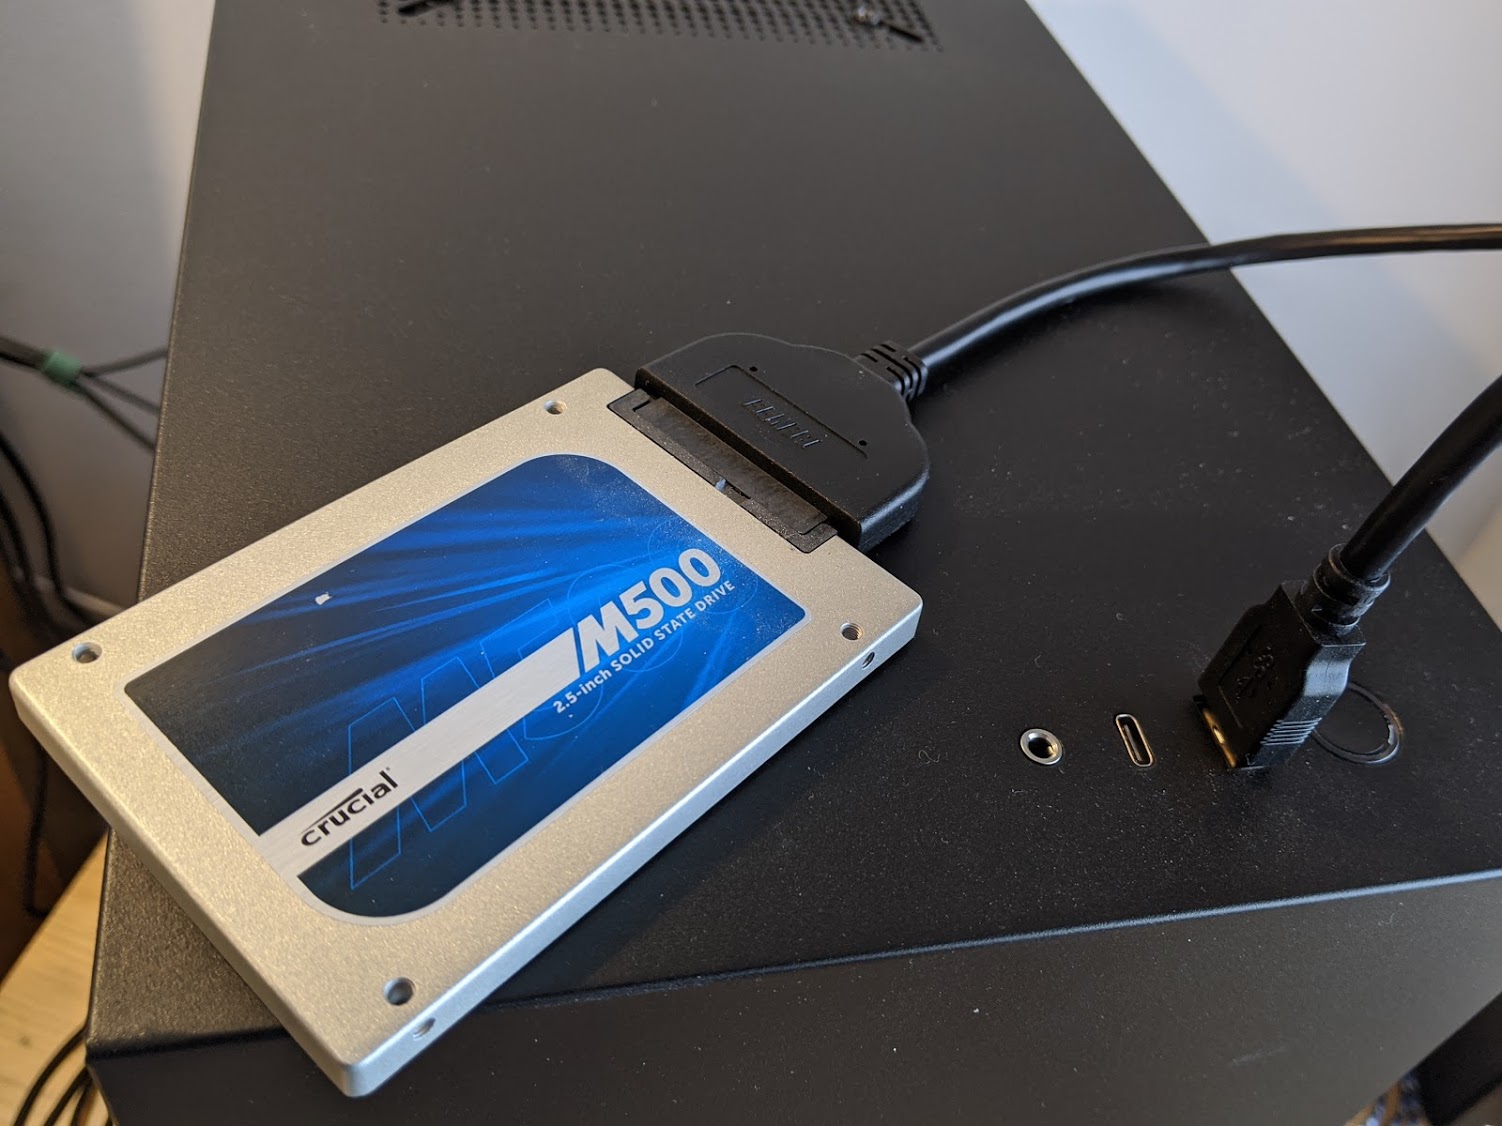
An internal SATA SSD usually works best when connected directly to a motherboard SATA port. Some USB adapters block Secure Erase or Sanitize commands.
NVMe drives should be connected through an internal M.2 slot when possible. External enclosures may hide important commands from the operating system.
Keep power stable
Do not wipe a drive during a storm or with a nearly empty laptop battery. A sudden power loss may interrupt the process. It may not restore the data, but it can leave the drive in an unusual state.
Record proof if needed
For business use, note the drive model, serial number, method, date, and result. Some tools can create a report or certificate. This record can support internal audits and disposal policies.
How to securely wipe an SSD with the manufacturer’s tool
The manufacturer’s utility is often the easiest and safest choice. Examples include tools made for Samsung, Crucial, Kingston, Western Digital, Intel, Solidigm, and other brands.
The names and menus vary, but the process is usually similar:
- Identify the SSD model and download the official utility.
- Install the tool on a working computer, or create its bootable USB option.
- Close all programs and disconnect unnecessary storage devices.
- Open the erase, sanitize, or secure erase feature.
- Confirm the exact SSD model and serial number.
- Read the warning carefully.
- Start the erase process and do not interrupt it.
- Restart the computer when the tool finishes.
- Check that the SSD shows no usable operating system or personal files.
A manufacturer tool may say “Secure Erase,” “Sanitize,” “PSID Revert,” or “Crypto Erase.” These terms are not identical, so read the tool’s help page before choosing an option.
Some utilities cannot wipe the drive that currently runs the operating system. In that case, use the program’s bootable USB feature or connect the SSD to another computer.
This method is usually the best starting point for how to securely wipe an SSD because the utility understands the drive’s controller and supported commands.
How to securely wipe an SSD in Windows
Windows can format and reset a drive, but a normal format is not always the same as a hardware-level Secure Erase. For a secondary SSD, you can use Disk Management or DiskPart to remove partitions, but this mainly prepares the drive for reuse.
For a computer you plan to sell, Windows Reset this PC includes a “Clean data” option on supported versions. It is better than a basic reset, but it may not provide the same assurance as the SSD manufacturer’s Sanitize command.
Use Windows Reset for a complete PC reset
- Open Settings.
- Go to System, then Recovery.
- Choose Reset this PC.
- Select Remove everything.
- Choose the option to clean the drive if it appears.
- Follow the prompts and keep the computer connected to power.
This is convenient when you are giving away the entire computer. It may take longer than a normal reset.
For highly sensitive information, use the manufacturer’s bootable erase tool instead. A Windows reset is not a universal replacement for hardware-level SSD sanitization.
Use DiskPart with care
DiskPart can remove partitions and make a drive appear empty. Its clean command removes partition information. Its clean all command writes zeros across accessible sectors.
These commands are easy to misuse. They may erase the wrong drive, and clean all can create unnecessary writes on an SSD. Use DiskPart only when you understand the difference between preparing a drive and securely wiping an SSD.
Never use a destructive command until you have confirmed the disk number, model, capacity, and backup status.
How to securely wipe an SSD on a Mac
Mac users can use Disk Utility for basic erasure. The available secure erase choices depend on the Mac model, storage type, and macOS version.
For an external or secondary SSD
- Back up the data.
- Open Disk Utility.
- Select View, then Show All Devices.
- Select the physical SSD, not only a volume.
- Click Erase.
- Choose a suitable format.
- Confirm the erase.
On many SSDs, Disk Utility does not offer the old multi-pass secure erase choices that were designed for hard drives. Apple removed or limited those options because repeated overwriting is not reliable for flash storage and can add wear.
For a Mac you plan to sell
Newer Macs include Erase All Content and Settings. This feature is available on many Macs with Apple silicon and some Intel Macs with a T2 security chip.
It removes user accounts, settings, and data while preserving the system needed for the next owner. Open System Settings, select General, choose Transfer or Reset, and select Erase All Content and Settings if available.
If the option is missing, start macOS Recovery and use Disk Utility. For high-risk data, check Apple’s guidance for your exact model and consider the SSD maker’s supported erase method.
FileVault encryption also improves protection. If FileVault was enabled and the Mac was properly reset, the encryption keys are removed, making old data far harder to access.
How to securely wipe an SSD in Linux
Linux offers powerful tools, but they require extra care. A mistake in a command can erase the wrong disk within seconds.
First, identify the drive:
lsblk -o NAME,SIZE,MODEL,SERIAL,TYPE,MOUNTPOINTS
Do not rely only on /dev/sda or /dev/nvme0n1, because device names can change. Match the model, serial number, and capacity.
SATA SSDs with hdparm
Some SATA SSDs support ATA Secure Erase through hdparm. A typical process checks whether the drive is frozen, then issues the appropriate erase command.
Because command syntax and safety checks vary, use the manual for your Linux distribution and SSD model. Do not copy a command from a random forum without checking the target device.
A frozen drive may require suspending and resuming the system or reconnecting the drive. Never force past a safety warning unless you understand why it appears.
NVMe SSDs with nvme-cli
NVMe drives may support Format or Sanitize commands through nvme-cli. The available actions depend on the controller and firmware.
A device can report several supported capabilities, including user data erase and cryptographic erase. Check them first:
sudo nvme id-ctrl /dev/nvme0
The exact command for a format or sanitize operation should come from the drive documentation and the nvme-cli manual. Use the full device path, not a partition such as /dev/nvme0n1p1.
Boot from a live USB
You cannot safely erase the active system drive while Linux is using it. Boot from a trusted live USB, confirm the drive identity, and then run the supported erase method.
If the drive contains encrypted Linux volumes, deleting the encryption headers is not the same as securely wiping the physical SSD. It may make normal access difficult, but it does not prove that every old cell is inaccessible.

How to securely wipe an SSD with encryption
Encryption can make secure disposal much easier. When full-disk encryption is enabled and managed correctly, destroying the keys can make the stored data unreadable.
Common examples include:
• BitLocker on Windows
• FileVault on macOS
• LUKS on Linux
• Self-encrypting drive features built into some SSDs
However, encryption is not magic. If the encryption key was exposed, weakly managed, or copied into an unsafe backup, crypto erase may not provide the expected protection.
For everyday computers, enable full-disk encryption before sensitive data is stored. When disposing of the device, use the operating system’s official erase process or the SSD’s crypto erase feature.
For regulated or highly confidential data, combine strong encryption with a supported Sanitize command. Follow the requirements of your company, industry, or local authority.
This layered approach treats the SSD like a locked filing cabinet: remove the contents, destroy the key, and use the drive’s own disposal function when available.
What not to do when wiping an SSD
Several popular methods sound secure but can create false confidence.
Do not rely on deleting files
Deleting files removes references, not necessarily the underlying data. Recovery tools may restore recently deleted files.
Do not use many overwrite passes
Multiple overwrite passes are useful in some hard-drive discussions, but they are not ideal for SSDs. Wear leveling can redirect writes, leaving old cells outside the visible address range.
Do not trust a quick format
A quick format mainly rebuilds the file system. It does not sanitize every memory cell.
Do not use random third-party cleaners
Some applications claim to erase SSDs but simply overwrite visible space. Choose a reputable manufacturer utility or a well-documented operating system tool.
Do not forget hidden storage areas
An SSD may contain overprovisioned space, reserved blocks, or retired cells. A supported Sanitize or Secure Erase command is more suitable than a simple file deletion tool.
Do not interrupt the erase
Do not close the lid, unplug the drive, or force a restart while a wipe is running. Follow the tool’s instructions, even if the progress bar appears slow.
How to verify that an SSD was wiped
Verification depends on the tool and the level of assurance you need. A basic check is to restart the computer and confirm that the old operating system and files are gone.
You can also:
• Connect the SSD as a secondary drive
• Open Disk Management, Disk Utility, or lsblk
• Confirm that no old partitions or file names appear
• Run a recovery scan on a small test area
• Review the tool’s completion report
• Record the erase status and drive serial number
A blank file system does not prove that every physical cell was cleared. The strongest evidence is a successful result from the drive’s own Secure Erase, Sanitize, or crypto erase function.
For high-security disposal, physical destruction may be required. Shredding or crushing the flash packages is more final, but it destroys the drive and should be done by a qualified recycling or data destruction service.
NIST guidance treats sanitization as a process based on the media type, command support, verification, and risk. No method is perfect for every SSD, especially when the drive is damaged or its firmware cannot be trusted.
A practical SSD wiping checklist
Use this checklist before handing over or recycling a drive:
- Back up all required data.
- Sign out of accounts and remove the device from account dashboards.
- Confirm the SSD’s model, capacity, and serial number.
- Disconnect other drives if possible.
- Check whether the SSD supports Secure Erase, Sanitize, or crypto erase.
- Use the manufacturer’s official utility first.
- Keep the computer connected to stable power.
- Wait for a clear success message.
- Verify that old files and partitions are no longer available.
- Keep a record if the drive contains company data.
- Recycle the SSD through an approved electronics program.
When I review a wipe plan, the two steps most often missed are account removal and drive identification. A technically successful wipe does not protect a person whose cloud account remains signed in, and a perfect command is dangerous if it targets the wrong disk.
Frequently asked questions
Is formatting an SSD enough to securely erase it?
Usually, no. A quick format removes file system information but may leave recoverable data in flash memory. Use the SSD’s Secure Erase, Sanitize, or supported crypto erase feature for stronger protection.
Does a factory reset securely wipe an SSD?
A factory reset removes user data and reinstalls the operating system, but its strength varies by device and operating system. Choose a drive-cleaning option when offered, and use the manufacturer’s erase tool for sensitive data.
Is Secure Erase safe for an SSD?
Yes, when the command is supported by the drive and used correctly. Confirm the model and serial number first, because the process permanently removes data.
Can deleted SSD files be recovered?
Recovery is possible in some cases, especially soon after deletion or formatting. TRIM may reduce recovery chances, but it is not a substitute for securely wiping an SSD.
Should I use DBAN to wipe an SSD?
DBAN was designed mainly for traditional hard drives and is not the best choice for modern SSDs. A manufacturer utility or a supported NVMe Sanitize or ATA Secure Erase command is usually more appropriate.
Does encryption make wiping an SSD unnecessary?
No, but encryption adds an important layer of protection. If the encryption keys are securely removed through a supported crypto erase or reset process, old data becomes much harder to read.
What is the best method for a damaged SSD?
If the SSD still responds, try its supported Sanitize or crypto erase function. If it is badly damaged or contains extremely sensitive data, use a certified destruction service because software verification may not be possible.
Conclusion
Securely wiping an SSD is different from deleting files or running a quick format. The safest approach is to back up your data, identify the correct drive, and use the manufacturer’s Secure Erase, Sanitize, or crypto erase feature whenever supported.
Windows Reset, macOS erase tools, and Linux utilities can help, but their results depend on the device and settings. For sensitive information, verify the wipe and keep a record of the method used.
Take a few careful minutes before you erase anything. Choose the right tool, confirm the drive twice, and recycle the device responsibly. If this guide helped, explore your SSD manufacturer’s documentation or share your own wiping experience in the comments.

Everett Ashford is a tech reviewer at mytechgrid.com specializing in SSDs, cameras, TVs, earbuds, headphones, and other consumer electronics. He provides honest, data-driven reviews based on hands-on testing and real-world performance analysis. Everett simplifies complex tech details to help readers make smart, confident buying decisions.