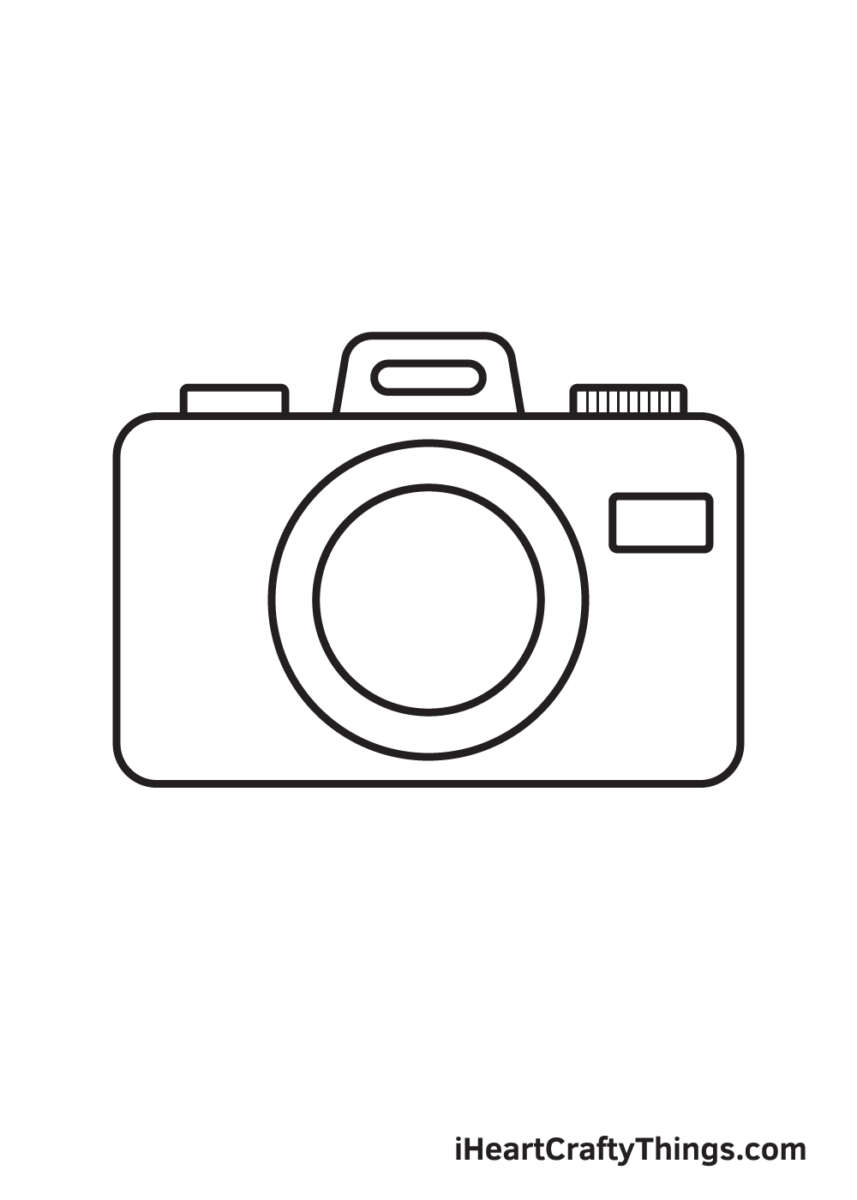
Start with a simple shape, add a circle for the lens, then refine edges and details.
Drawing a camera is a skill anyone can learn with clear steps and steady practice. I’ve taught and sketched camera forms for years, and this guide shows you exactly how do you draw a camera—from basic shapes to realistic detail—so you can draw cameras that look believable and clean. Read on for step-by-step methods, pro tips, simple practice drills, and real mistakes I’ve made and fixed along the way.

Materials and tools
Start with the right tools. Use a soft pencil for sketching and a harder pencil for details. Add an eraser, ruler, and blending stump for shading.
Digital artists can use a tablet and a pressure-sensitive pen. Keep layers named for shape, detail, and shading. Knowing what to use makes drawing a camera easier and faster.
Basic camera shape: step-by-step
This simple method answers how do you draw a camera for beginners. Use small steps. Keep lines light.
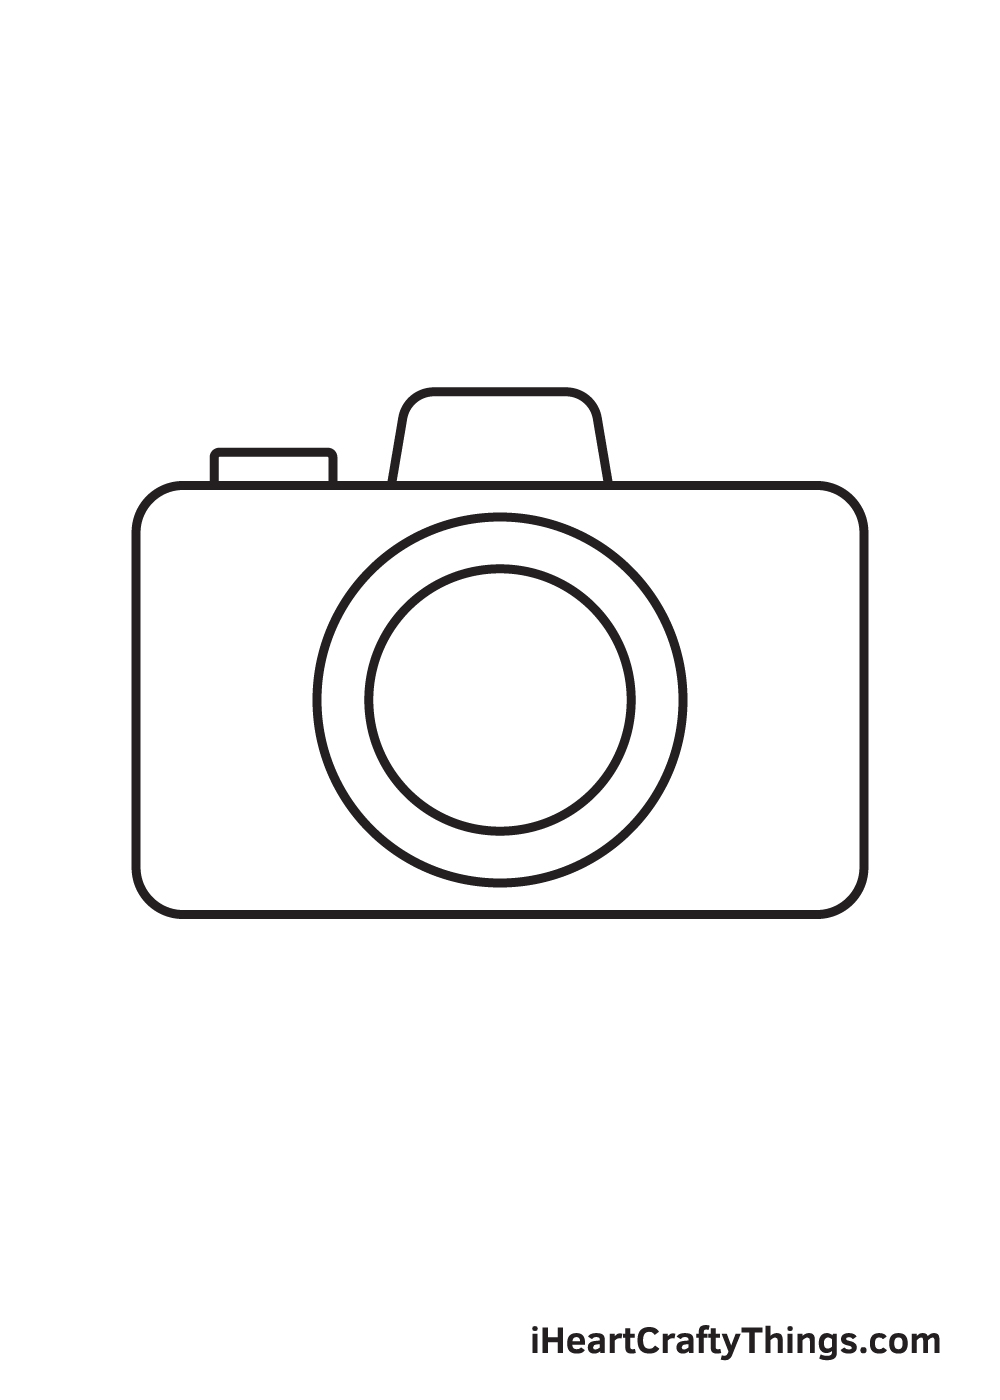
- Draw a rectangle for the body. Use straight lines and soft corners.
- Add a centered circle for the lens. Make it large on the front face.
- Sketch a smaller circle inside for the glass. Add two thin rings around it.
- Draw a small rectangle on top for the viewfinder or flash area.
- Refine the body with a grip curve on one side for a real feel.
- Erase extra guidelines and darken the final lines.
Practice this step until you can do it in under five minutes. This basic path helps you learn how do you draw a camera cleanly and fast.
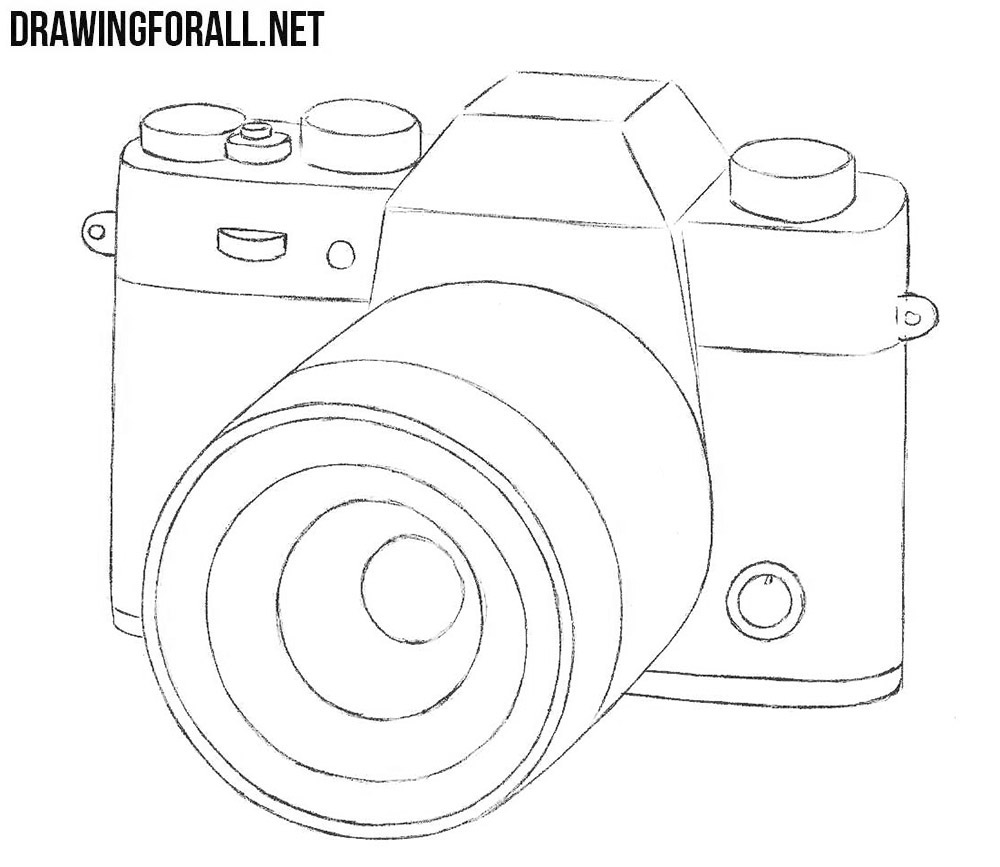
Drawing a DSLR: step-by-step
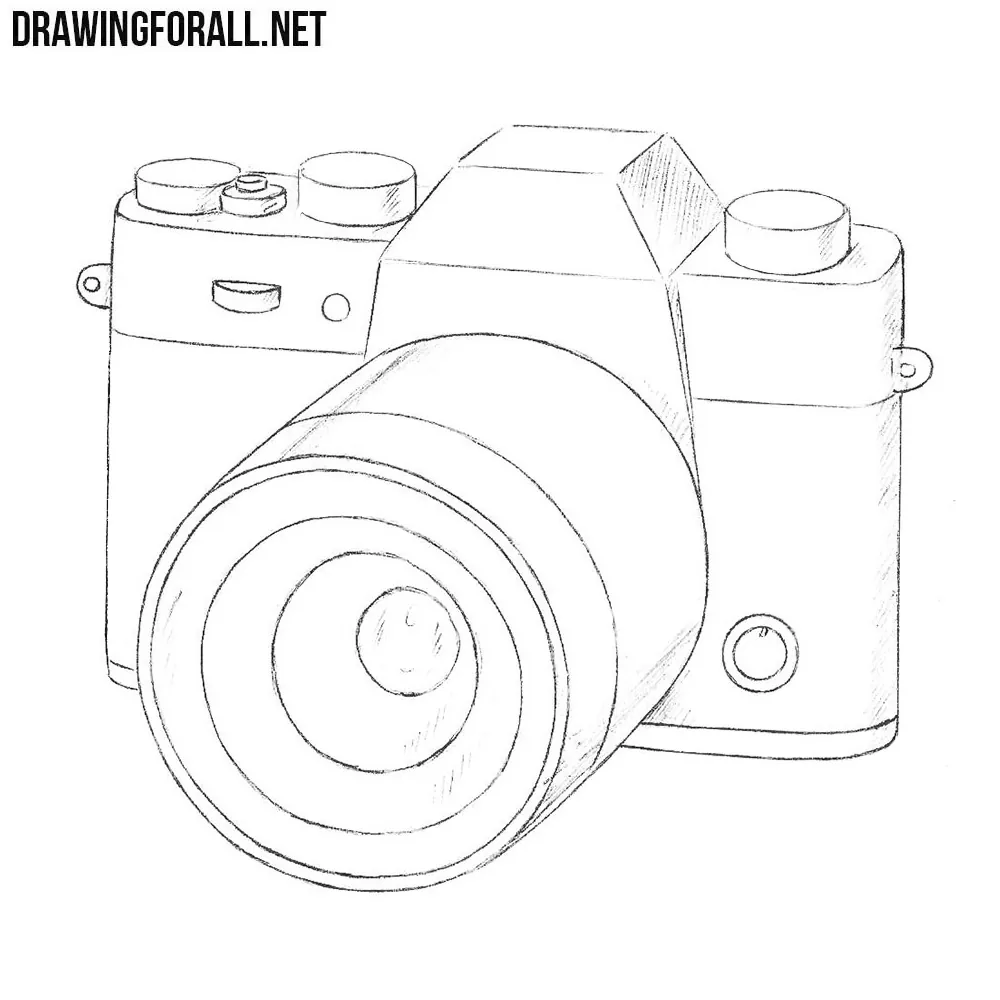
A DSLR has a pronounced grip and a big lens. Keep each part simple.
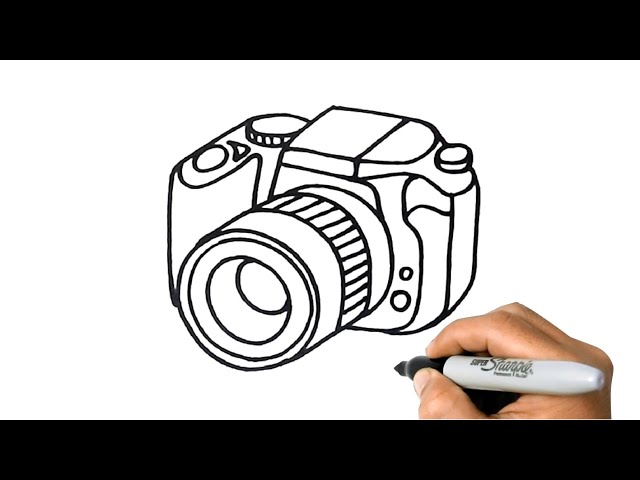
- Block out the main body with a wide rectangle. Add a raised prism shape on top.
- Draw the lens mount as a large circle overlapping the body. Add depth with inner rings.
- Sketch the grip on the right as a curved rectangle that joins the main body.
- Add buttons, a shutter release, a mode dial, and a rear screen as small shapes.
- Use light cross-hatching to show depth and simple reflection on the lens.
Follow these steps to learn how do you draw a camera with a pro look. Break the DSLR into parts and draw each part cleanly.

Drawing a vintage camera: step-by-step
Vintage cameras have box forms and bellows. Use straight edges and repeated patterns.
- Draw a square or rectangle for the body. Add a top plate and latch shapes.
- Sketch a rectangular bellows area with parallel lines that fold inward.
- Add a round lens board at the front. Place two small knobs and a rangefinder window.
- Add leather texture with short strokes and metal highlights with smooth lines.
These steps show how do you draw a camera that looks classic. The key is shape and texture, not perfect precision.
Adding details: lens, buttons, and screen
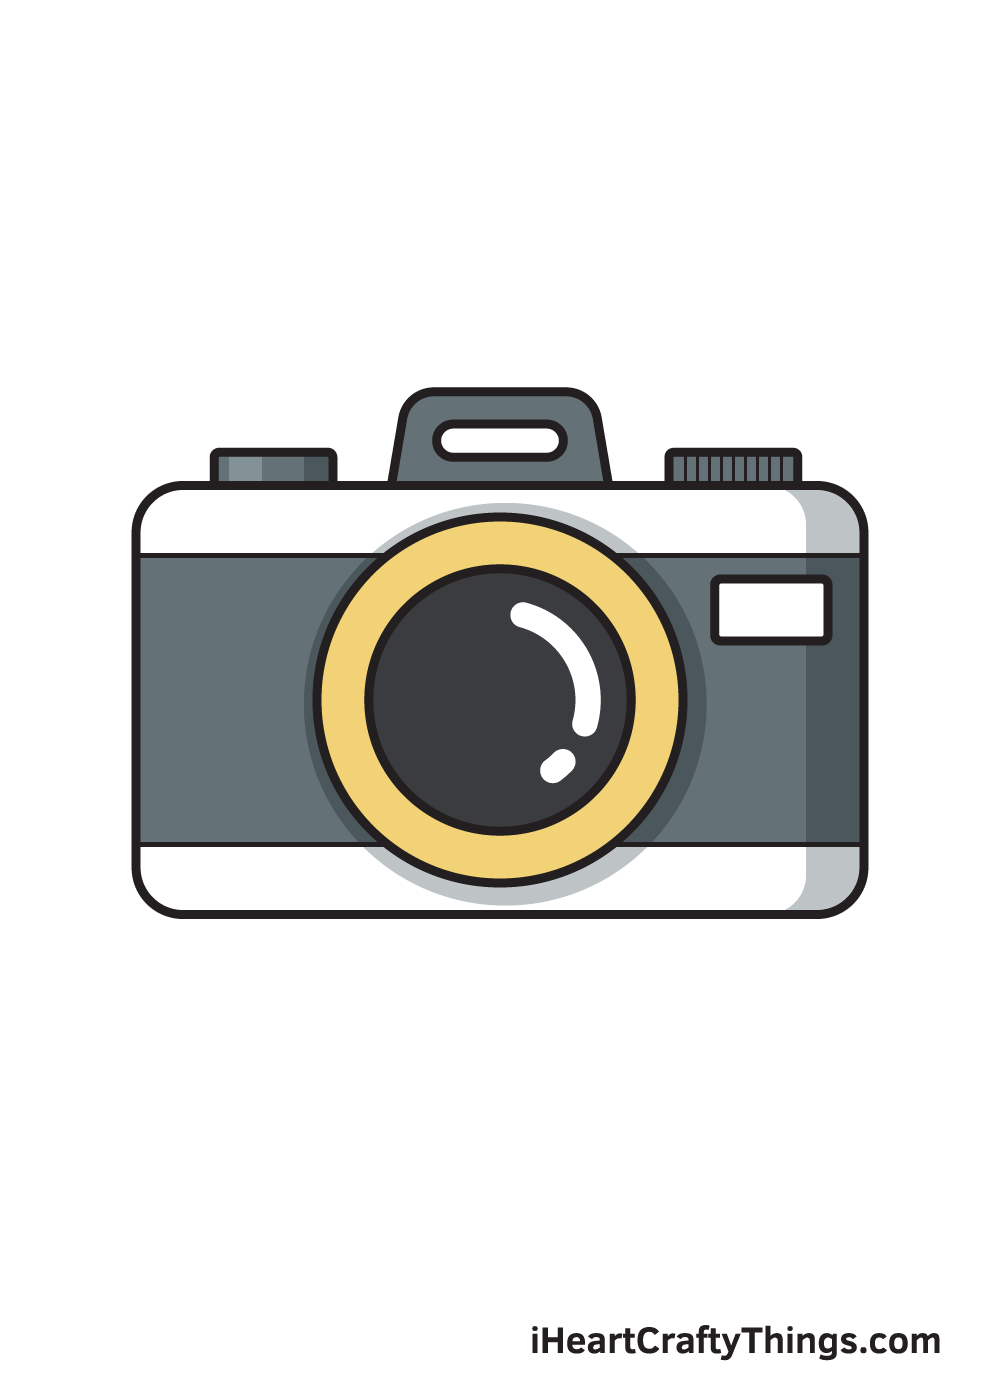
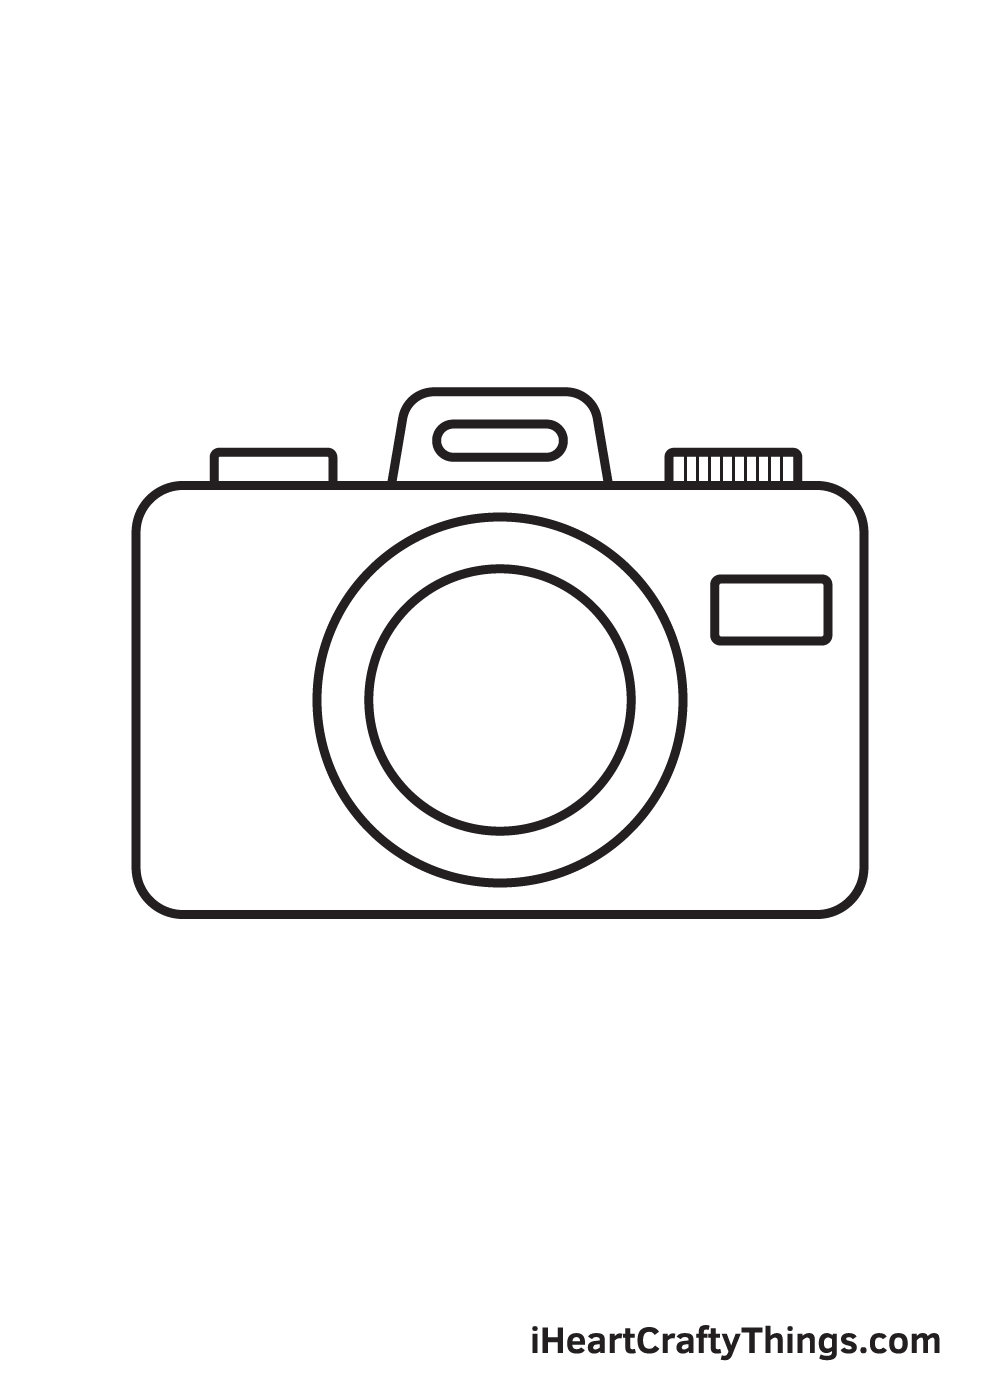
Details bring the camera to life. Focus on the lens first, then small hardware.
- Lens glass
- Draw internal rings and a small catch reflection. This makes the lens look real.
- Buttons and dials
- Use circles and short lines. Place them where a user would touch.
- Screen and viewfinder
- Add thin borders and tiny icons or a grid to suggest a display.
- Strap and seams
- Sketch strap hooks and stitched lines for realism.
Mastering these details improves how do you draw a camera from good to great. Keep shapes simple and repeat common camera motifs.

Shading and texture techniques
Shading defines form. Use soft strokes and follow the shape.
- Basic shading
- Shade the side away from the light first. Gradually build tone in layers.
- Reflections
- Add small white highlights on the lens and metal. Keep them crisp.
- Texture
- Use short, even strokes for leather. Use smooth gradients for plastic and glass.
Practice each technique on a spare sheet. These moves help you understand how do you draw a camera with believable surfaces.
Tips, common mistakes, and practice exercises
Small shifts make a big difference. Keep your work tidy.
- Tips
- Start with light lines. Overwork less; refine more.
- Measure with your pencil. Check proportions often.
- Use references of real models for button placement.
- Common mistakes
- Making the lens flat instead of round. Fix with inner rings and shading.
- Ignoring perspective on the body. Add vanishing points to correct this.
- Practice exercises
- Draw the same camera from three angles.
- Sketch a lens close-up for five minutes.
- Redraw a fast sketch slowly to improve muscle memory.
These tips help you avoid common traps when you learn how do you draw a camera. Short drills build skill fast.
Common quick questions
Here are brief answers to common quick queries about drawing cameras.
How long does it take to learn to draw a camera?
Most people can draw simple camera shapes in a few hours of practice. Realistic shading takes weeks of steady practice.
Do I need to learn perspective to draw cameras?
Basic perspective helps a lot, especially for camera bodies and lenses. Two-point perspective is often enough.
Can I draw a camera from memory?
Yes, after drawing many references you can. Start with simple shapes and add details from memory.
Personal experience and lessons learned
I learned how do you draw a camera by sketching at fairs and repair shops. I used fast sketches to capture key shapes. Mistakes I made early taught me to check perspective and lens roundness first. Today, I sketch three cameras a week to keep skills sharp.
Related concepts: composition, perspective, and scale
Drawing cameras ties into key art ideas. Keep them in mind.
- Composition
- Place the camera where it tells a story. A tilted camera can feel active.
- Perspective
- Use one or two vanishing points for realism.
- Scale
- Keep buttons small and consistent to sell realism.
These ideas enrich how do you draw a camera and help with any style you choose.
Benefits and limitations of drawing cameras
Drawing cameras trains your eye for shape, light, and detail. It’s great for improving technical drawing ability. But cameras have many small parts; that can be time-consuming and sometimes tedious. Accept the limit, and focus your practice on one detail at a time for steady progress.
Frequently Asked Questions of how do you draw a camera
How do I start drawing a camera for the first time?
Begin with simple shapes: a rectangle for the body and a circle for the lens. Keep your lines light and correct proportions before adding detail.
What is the easiest camera to draw?
A point-and-shoot is the easiest due to its simple rectangle body and small lens. Start there to learn proportions and angle.
How do I make a lens look round and realistic?
Use concentric rings, a dark inner aperture, and a few crisp highlights. Shade gently along the curve to show depth.
Do I need special paper or tools to draw cameras?
No special paper is required; standard sketchbook paper is fine. Use a range of pencils and a blending stump for shading.
How can I speed up my camera sketches?
Use fewer lines and focus on key forms first. Practice timed sketches and refine the fastest shapes later.
How do I capture reflections on camera glass?
Place small white highlights and soft gradients that follow the lens curve. Keep reflections simple and avoid over-detailing.
Conclusion
You can learn how do you draw a camera by breaking the process into clear steps: shape, lens, details, and shading. Start small, practice short drills, and focus on one skill at a time. Try drawing three quick camera sketches this week and refine one into a detailed study. Share your progress, ask for feedback, or subscribe to more guides to keep improving.

Everett Ashford is a tech reviewer at mytechgrid.com specializing in SSDs, cameras, TVs, earbuds, headphones, and other consumer electronics. He provides honest, data-driven reviews based on hands-on testing and real-world performance analysis. Everett simplifies complex tech details to help readers make smart, confident buying decisions.