Clone a Mac SSD by making a bootable block-level copy using Disk Utility or cloning software.
I’ve cloned many Mac SSDs for upgrades, backups, and repairs. This guide shows exactly how to clone a Mac SSD step by step. I explain the tools, the risks, and the best ways to make a reliable, bootable copy of your drive. You’ll learn simple, safe methods and practical tips I picked up over years of hands-on work with Macs. Read on to master how to clone a Mac SSD with confidence.
Why clone a Mac SSD?
Cloning a Mac SSD makes an exact copy of your system. You get a bootable backup that looks and acts like the original. This helps when you upgrade to a larger SSD, recover from failure, or test updates safely.
Cloning preserves apps, settings, and macOS. It is faster than reinstalling and restores your system without rebuilding. Knowing how to clone a Mac SSD saves time and reduces risk when you change hardware or troubleshoot.

Preparations before you clone
Good prep stops mistakes and saves time. Check macOS version, drive format, and encryption before you clone a Mac SSD.
- Make a fresh backup of critical files before starting.
- Confirm the target SSD is equal or bigger than the used space on the source.
- Check if FileVault is enabled and plan to disable it temporarily if needed.
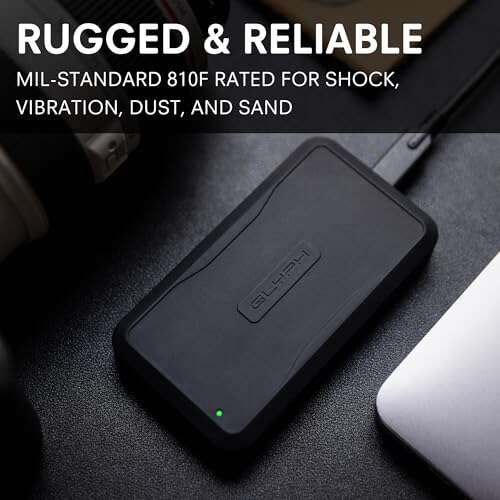
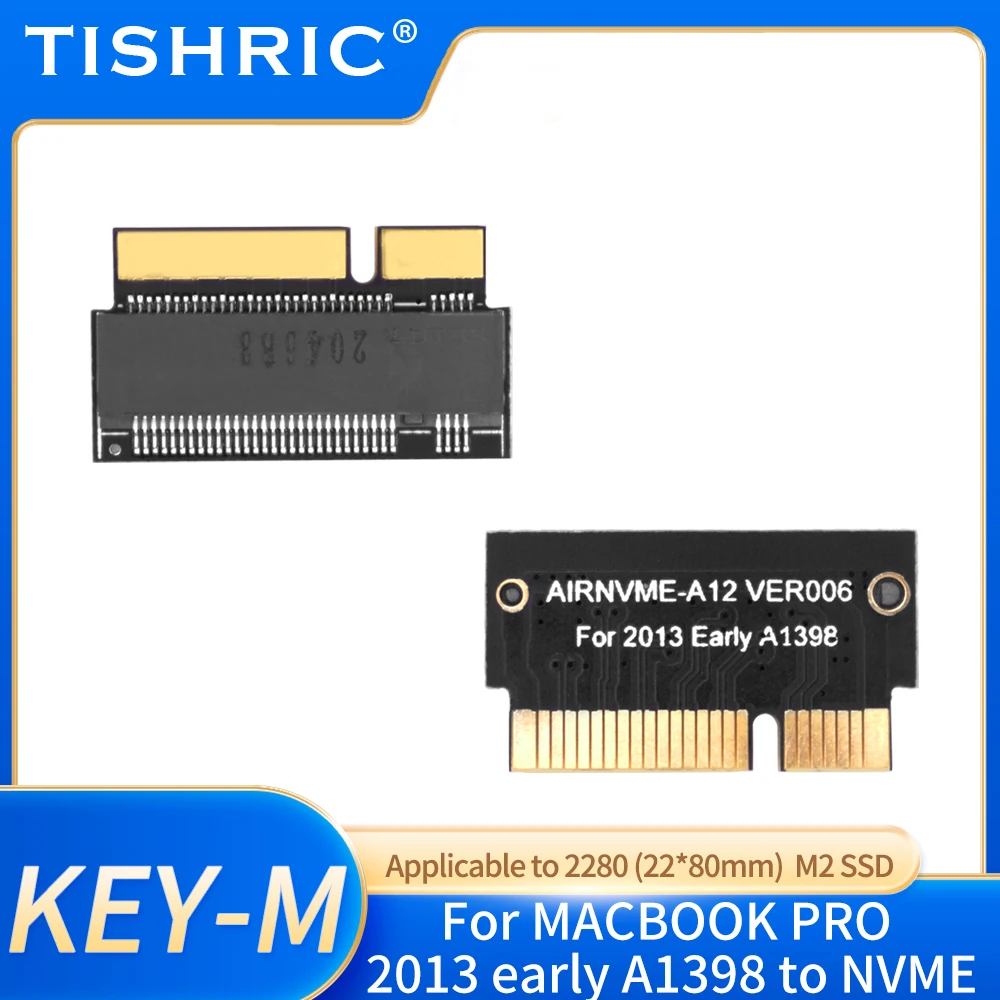
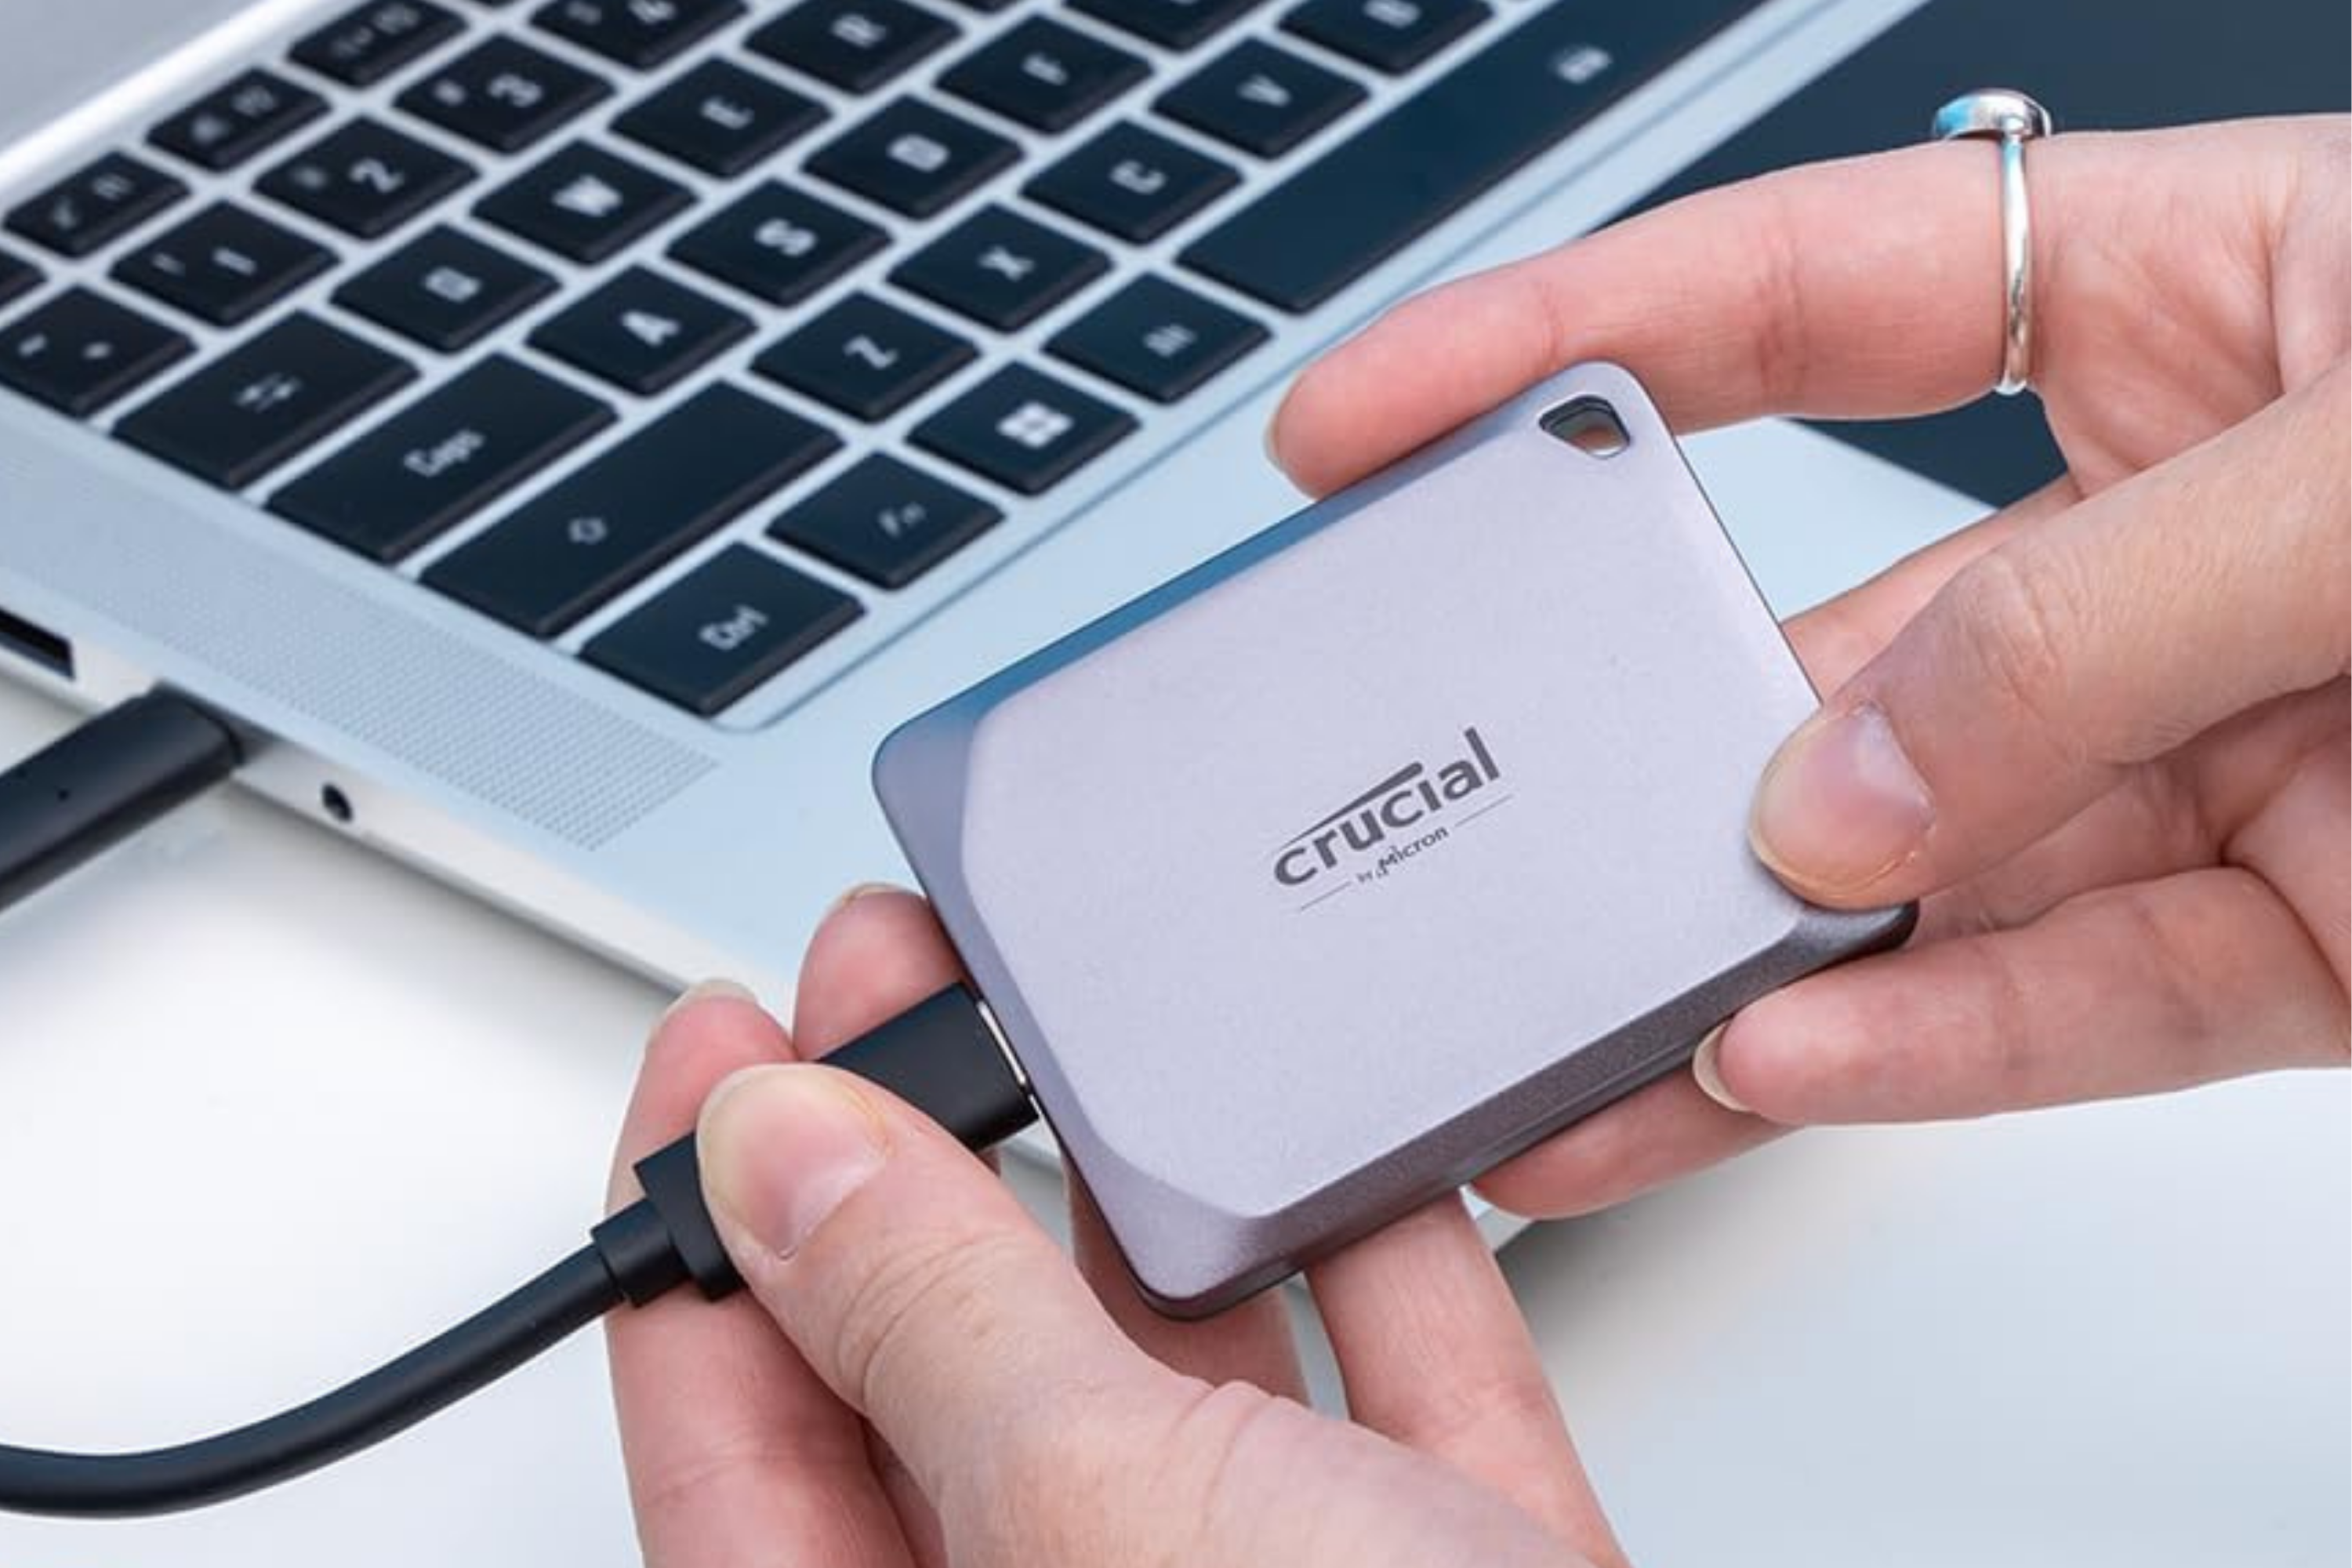
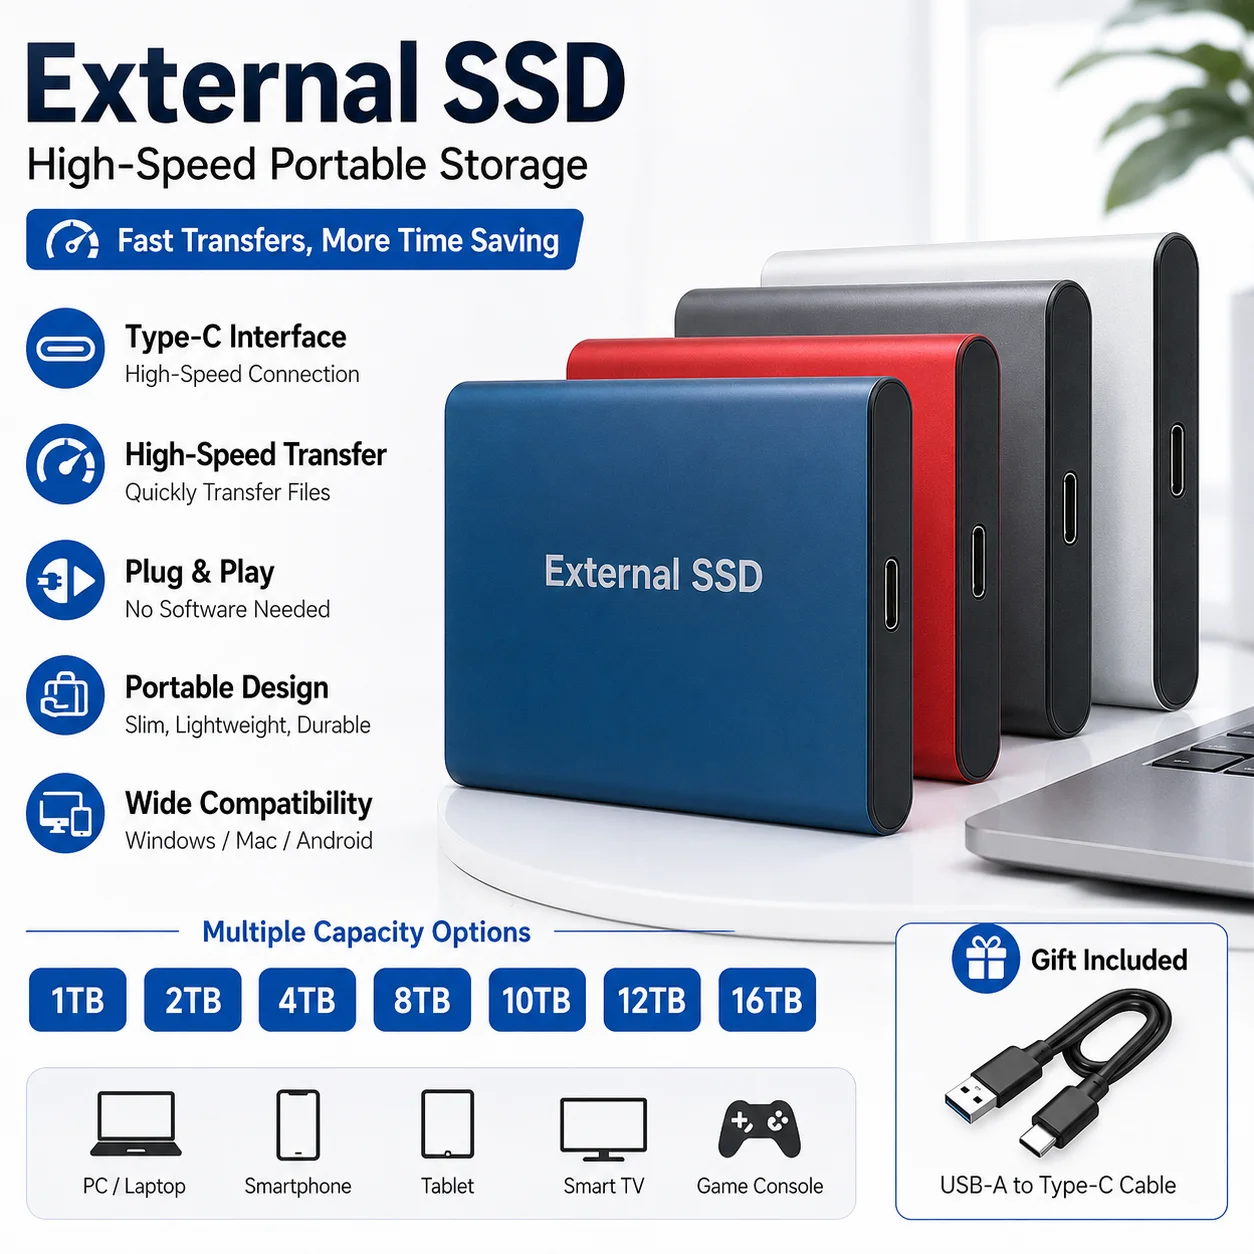
- Use the right cable or enclosure for the target SSD (USB-C, Thunderbolt).
- For Apple Silicon Macs, ensure software supports the hardware and boot security settings.
Label drives clearly. Power your Mac and keep it connected to avoid interruptions. These simple steps make the clone process smooth.
Methods to clone a Mac SSD
Pick a method that fits your skill level. Each method below works, but some are easier and safer.
Disk Utility (built-in)
Disk Utility can restore a source to a target. It is free and simple. It works well for most users and supports APFS.
Pros: Built into macOS, no extra cost.
Cons: Can be slow for big drives and may not copy certain hidden recovery data in all cases.
Carbon Copy Cloner (third-party)
Carbon Copy Cloner makes bootable clones and handles APFS well. It also offers safety net features and scheduling.
Pros: Reliable, bootable clones, good UI, smart updates.
Cons: Paid software after trial.
SuperDuper! (third-party)
SuperDuper! is a lightweight tool for cloning. It’s simple and trusted by many.
Pros: Easy to use, affordable.
Cons: Fewer advanced features than some competitors.
Terminal and dd (command-line)
The dd command does a block-level copy. It is powerful but risky if you pick the wrong device.
Pros: Exact bit-level copy.
Cons: No safety checks. Mistakes can wipe drives.
Hardware cloners
Standalone disk-cloning docks can clone drives without a Mac. They are handy for quick, offline clones.
Pros: No Mac needed, fast for simple copies.
Cons: Less control, may not handle APFS nuances.
Choose the best method for your needs. For most users, Carbon Copy Cloner or Disk Utility is the sweet spot.
Step-by-step: Using Disk Utility to clone
Disk Utility is safe and built-in. Follow these steps to clone a Mac SSD with Disk Utility.
- Boot to Recovery or run Disk Utility from your Mac.
- Connect the target SSD via a reliable cable or enclosure.
- In Disk Utility, select View > Show All Devices.
- Erase the target disk and format it as APFS (or Mac OS Extended for older macOS).
- Select the source volume. Click Restore.
- Choose the target disk as the destination and confirm.
- Wait for the restore to finish. Do not interrupt the process.
- Restart and hold Option/Alt to test booting from the cloned SSD.
If booting fails, revisit Startup Disk settings in System Settings or re-run the clone. Disk Utility works well for a basic clone of how to clone a Mac SSD.
Step-by-step: Using Carbon Copy Cloner (recommended for many users)
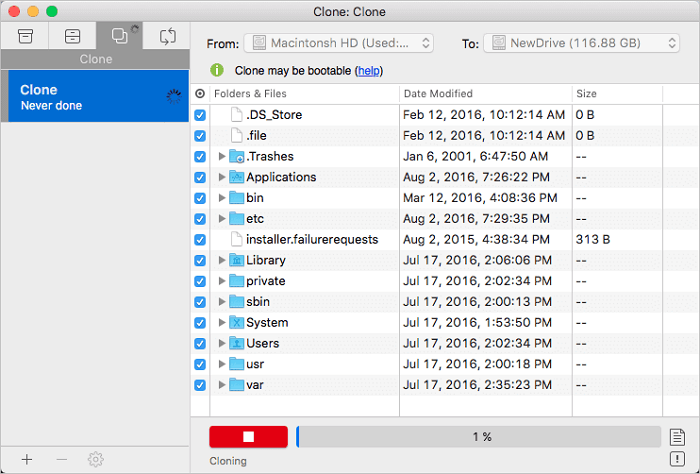
Carbon Copy Cloner simplifies bootable clones. It has checks and options that help with modern macOS.
- Download and install Carbon Copy Cloner.
- Connect the target SSD and format it as APFS.
- Open the app and choose the source volume.
- Choose the target volume and select "Make bootable" if prompted.
- Use SafetyNet or incremental backup options as needed.
- Start the clone and monitor progress.
- After completion, restart and boot from the target to test.
Carbon Copy Cloner is especially helpful when you clone a Mac SSD regularly or need scheduled backups.

Post-clone checks and troubleshooting
Always verify the clone works before wiping the original. A quick check saves hours later.
- Boot from the cloned SSD by holding Option (Intel) or using Startup Options (Apple Silicon).
- Open System Settings > Startup Disk and select the cloned drive to test boot by default.
- If the cloned drive won’t boot, verify APFS container and System volume presence.
- Turn FileVault back on after confirming the clone if you use encryption.
- For Apple Silicon Macs, ensure the clone appears in Startup Options and that security settings allow external boot if needed.
Common errors include permissions issues, missing recovery partition, and incompatible APFS snapshots. Re-clone after fixing any errors. These checks make your clone reliable.
Limitations, risks and best practices
Cloning is powerful but not foolproof. Know the limits to avoid surprises.
- FileVault encryption can complicate clones. Decrypt or follow tool instructions.
- Apple T2 and Apple Silicon require attention to boot security settings.
- A cloned drive may not be bootable if recovery or system volume structures differ.
- Cloning copies bad files too. Malware or corrupt files will move to the clone.
- dd and manual methods carry high risk of data loss if used incorrectly.
Best practices: verify the clone, keep a separate archive backup, and use trusted cloning software. These steps reduce risk when you clone a Mac SSD.
Personal experience and tips
I once cloned a Mac SSD to a new NVMe drive and found the system would not boot. The issue was FileVault left on. I decrypted, re-cloned, and then re-enabled FileVault. The fix worked.
Tips from real work:
- Use a quality cable and enclosure to avoid dropped connections.
- Run First Aid on both drives before cloning.
- If upgrading the internal SSD, test the clone as external first.
- Keep the original until you confirm the clone boots cleanly.
These simple rules saved me hours and a panicked recovery. They will help you too when you learn how to clone a Mac SSD.
Common quick questions
What is the easiest way to clone a Mac SSD?
The easiest way is Disk Utility for a one-off clone or Carbon Copy Cloner for regular, bootable clones. Both are user-friendly and reliable.
Do I need to decrypt FileVault before cloning?
It depends. Some tools handle encrypted drives. Decrypting first avoids complications and speeds the process.
Will cloning copy my apps and settings?
Yes. A proper clone copies apps, settings, and system files so the target boots like the original.
Can I clone to a smaller SSD?
Only if the used data on the source is smaller than the target capacity. Resize or remove files first.
Is the clone a true backup?
A clone is a full copy and is bootable. Still keep an additional backup for long-term safety.
Frequently Asked Questions of how to clone a mac ssd
How long does it take to clone a Mac SSD?
Cloning time varies by size and connection speed. Expect anywhere from 20 minutes to several hours for large drives.
Can I clone a Mac SSD to an external SSD and then swap drives?
Yes. Clone to an external SSD, boot from it to test, then swap the internal drive. This is a safe upgrade pathway.
Will cloning preserve my macOS license and apps?
Cloning preserves apps and settings. Software licensing can vary, but most apps remain activated after cloning.
Is cloning different on Apple Silicon Macs?
Apple Silicon has tighter boot security and different recovery modes. Ensure cloning tools support Apple Silicon and check startup security settings.
Can I use Terminal to clone my SSD?
Yes, using dd or asr in Terminal can clone drives. These require care and correct device paths to avoid data loss.
Do I need special hardware to clone an internal SATA or NVMe SSD?
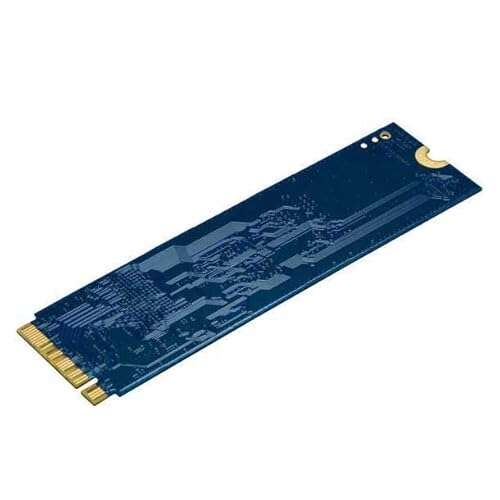
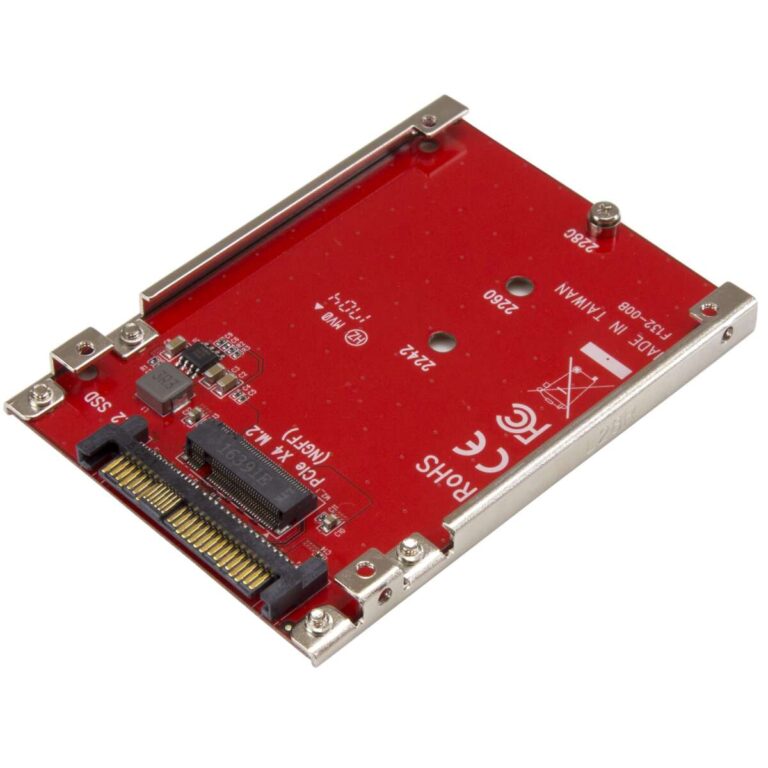
You need an adapter or enclosure compatible with the drive. A fast interface like USB-C or Thunderbolt speeds cloning and testing.
How do I verify the clone was successful?
Boot from the cloned drive and test apps and files. Also check Finder, and run First Aid to confirm no disk errors.
Will cloning keep my Time Machine backups?
Cloning copies the Time Machine snapshot files on the drive, but it does not replace a proper Time Machine backup. Keep both for safety.
What should I do if the cloned drive won’t boot?
Check Startup Disk settings, run First Aid, and re-clone if necessary. For encrypted drives, confirm FileVault settings.
Is cloning better than a fresh install?
Cloning is faster and restores your working system. A fresh install is cleaner but takes more setup time. Choose based on your needs.
Final thoughts
Cloning a Mac SSD is smart for upgrades, backups, and recovery. Use Disk Utility or a trusted tool like Carbon Copy Cloner for a safe, bootable copy. Prepare the drives, check encryption, and test the clone before replacing the original. Take small steps, verify results, and keep a second backup for safety.
Try a small test clone first. When it works, you’ll save time and stress on future upgrades. If this guide helped, try the steps on your Mac, subscribe for more tips, or leave a comment with your cloning questions.

Everett Ashford is a tech reviewer at mytechgrid.com specializing in SSDs, cameras, TVs, earbuds, headphones, and other consumer electronics. He provides honest, data-driven reviews based on hands-on testing and real-world performance analysis. Everett simplifies complex tech details to help readers make smart, confident buying decisions.