Install an SSD by mounting it, connecting cables or inserting M.2, then cloning or clean-installing the OS.
I’ve guided hundreds of people through how to set up SSD for faster boot times and snappier apps. This guide covers types of SSDs, step-by-step installation for SATA and NVMe drives, cloning vs fresh install, BIOS tweaks, and maintenance tips. Read on for clear, tested instructions you can follow right now.

Why install an SSD?
An SSD speeds up your computer. It cuts boot and app load times. It also uses no moving parts, so it runs cooler and quieter than an HDD.
For many users, upgrading to an SSD is one of the best value-for-speed changes you can make. I’ve seen old laptops feel years younger after a solid SSD install. This guide shows how to set up SSD the right way, with fewer mistakes and better results.

Types of SSDs and how to choose
There are a few common SSD types. Pick the one that fits your device and budget.
- SATA 2.5-inch SSD
- Fits many laptops and desktops. Uses SATA cable and power cable.
- M.2 NVMe SSD
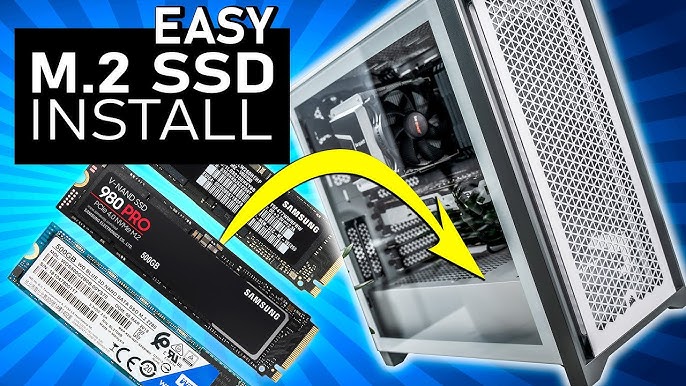
- Plugs into M.2 slot. Much faster than SATA if your motherboard supports NVMe.
- M.2 SATA SSD
- Physically M.2 but uses SATA protocol. Slower than NVMe but compact.
- External SSD
- USB or Thunderbolt. Good for backups or extra storage.
How to choose:
- Use SSD brand and model reviews. Aim for a reputable brand.
- Check your device specs for M.2 slot or SATA ports.
- Balance capacity and endurance. 500GB and 1TB are common sweet spots.
What you need before you start
Gather tools and information first to avoid delays.
- Tools
- Small Phillips screwdriver, anti-static wrist strap, and cable ties.
- Backup
- Back up important data before changing drives.
- Cables and adapters
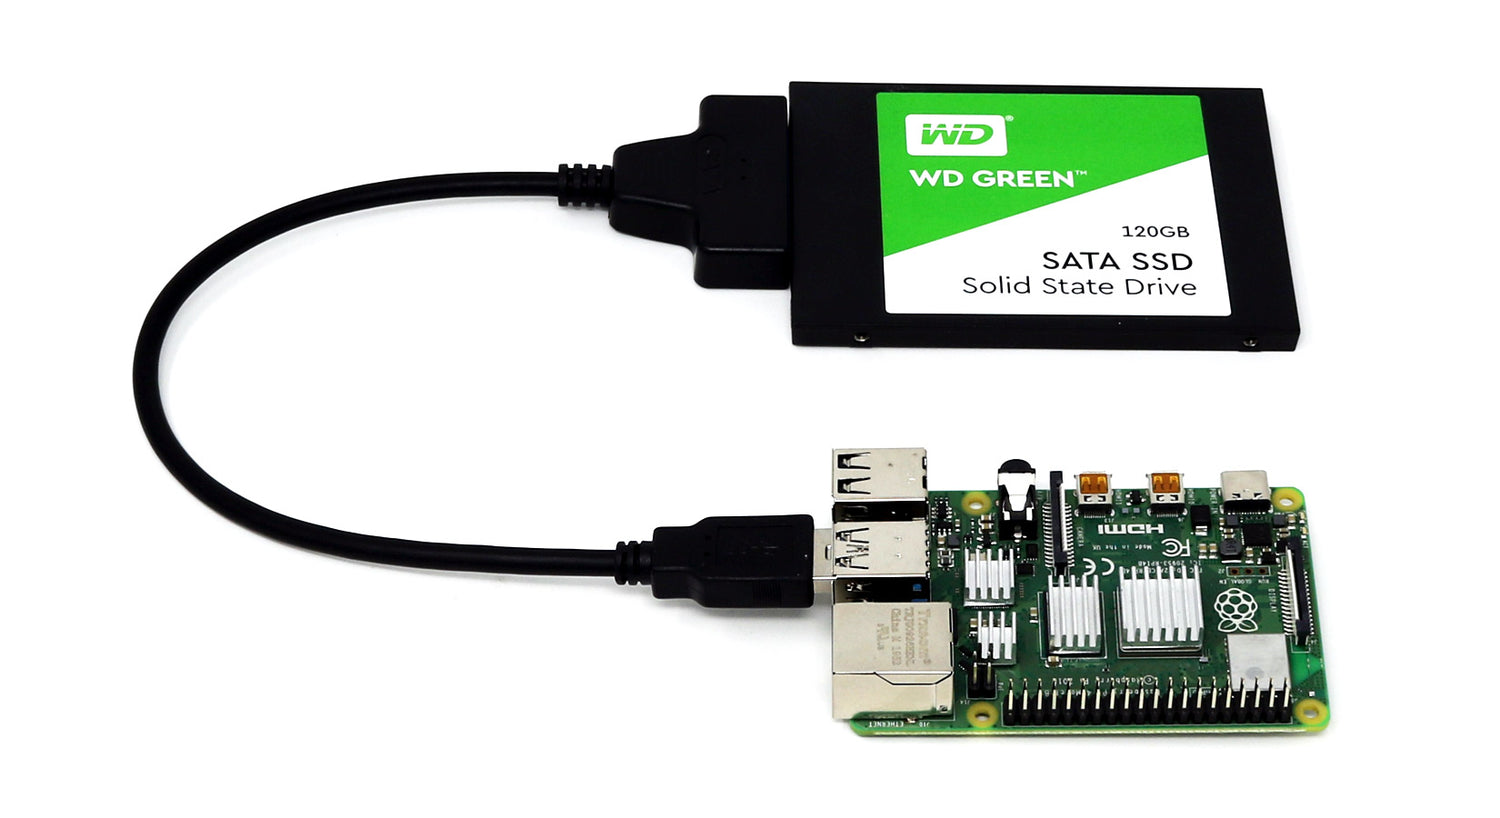
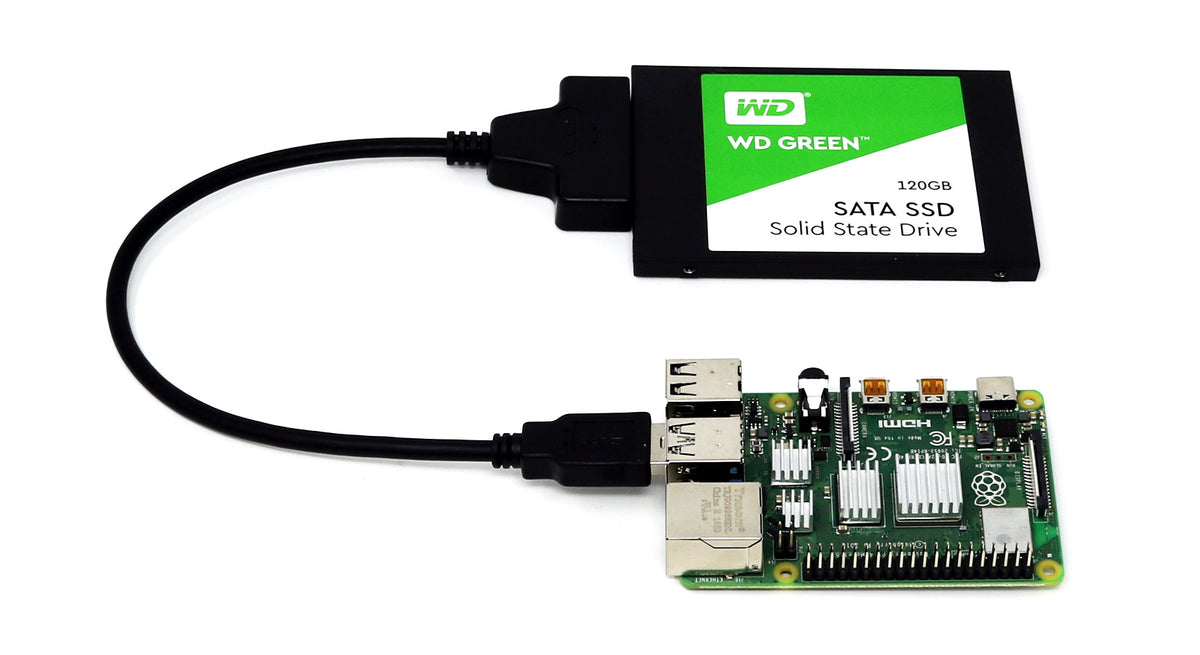
- SATA cable and power cable for desktop. USB-to-SATA adapter for laptops.
- Software
- Disk cloning tool or Windows installation media (USB).
- Check compatibility
- Look up your motherboard manual for M.2 slot type and supported sizes.
I once started a fresh install without a USB stick ready. It added an extra hour to the job. Prepare everything before you open the case.
Step-by-step: how to set up ssd (internal SATA and NVMe)
This section walks through physical install, cloning, fresh install, and final checks. I separate SATA and NVMe so you can follow your hardware.
SATA 2.5-inch SSD installation
- Power down and unplug the computer. Ground yourself.
- Open the case or laptop panel.
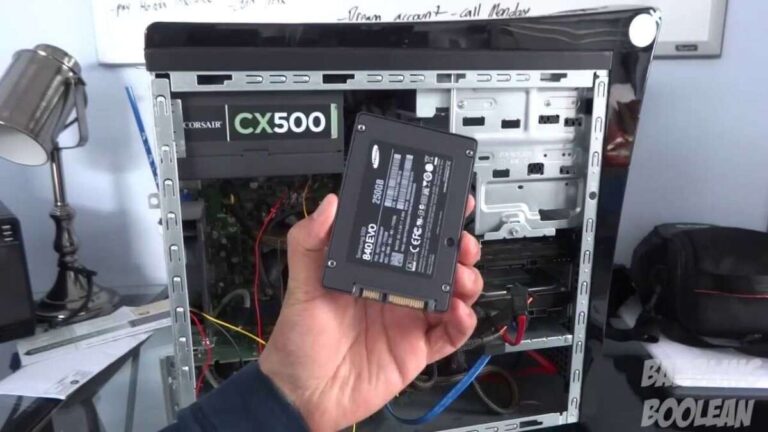
- Remove an old drive or free a bay. Mount the SSD in a 2.5-inch bay or adapter bracket.
- Connect a SATA data cable to the motherboard and the SSD.
- Connect a SATA power cable from the PSU to the SSD.
- Close the case, plug in, and power on. Enter BIOS to confirm the drive is detected.
M.2 NVMe SSD installation
- Power down and unplug the computer. Ground yourself.
- Locate the M.2 slot on the motherboard or laptop.
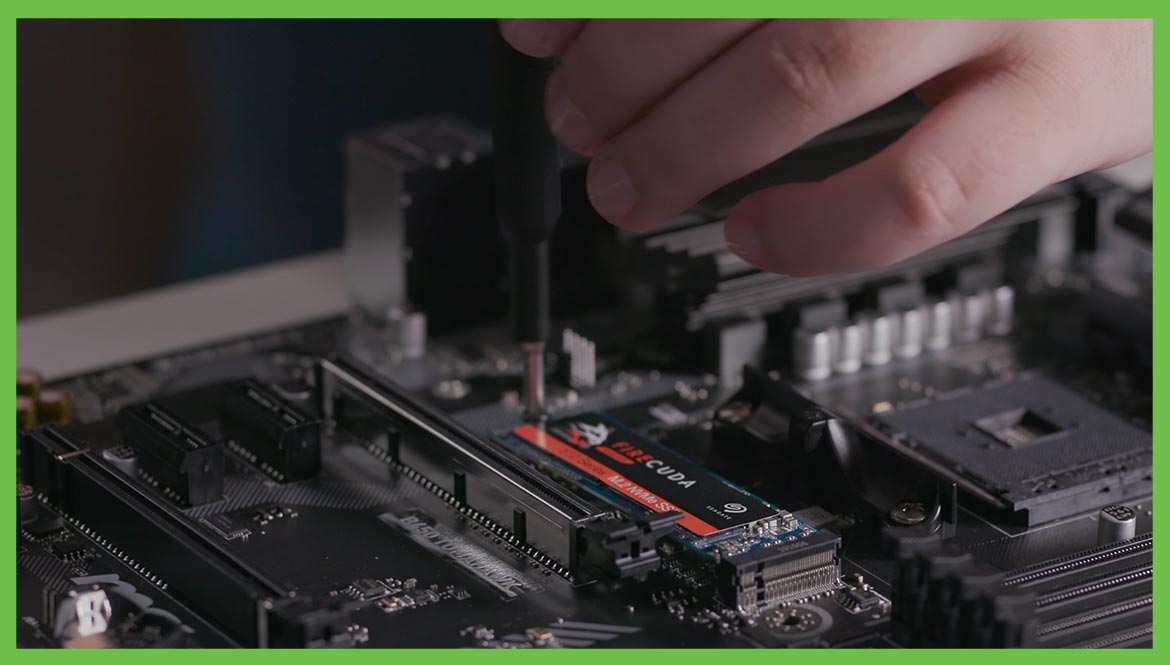
- Insert the NVMe SSD at a 20–30 degree angle into the socket.
- Gently press down and secure the SSD with the mounting screw.
- Close the case, plug in, and power on. Check BIOS for NVMe detection.
Cloning your OS to the SSD (when you want to keep your system exactly)
- Connect the SSD internally or via USB adapter.
- Open your cloning tool. Select source drive (old HDD) and target drive (SSD).
- Enable disk alignment and resize partitions if desired.
- Start cloning and wait until it completes.
- Shut down, remove or change boot order to boot from the SSD.
Fresh OS install to the SSD (clean and often faster)
- Create a bootable USB with the OS installer.
- Boot from the USB installer and choose the SSD as the installation drive.
- Delete old partitions if you want a clean slate, then install.
- Install drivers and run Windows Update or your OS updates.
After physical install checklist
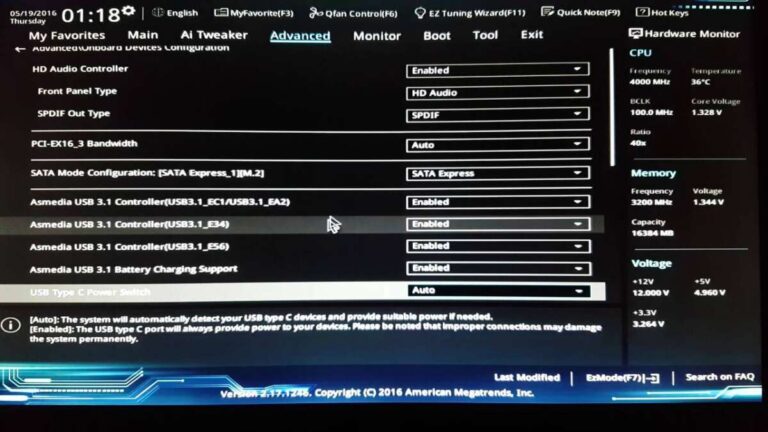
- Set the SSD as the primary boot device in BIOS/UEFI.
- Verify all cables are secure.
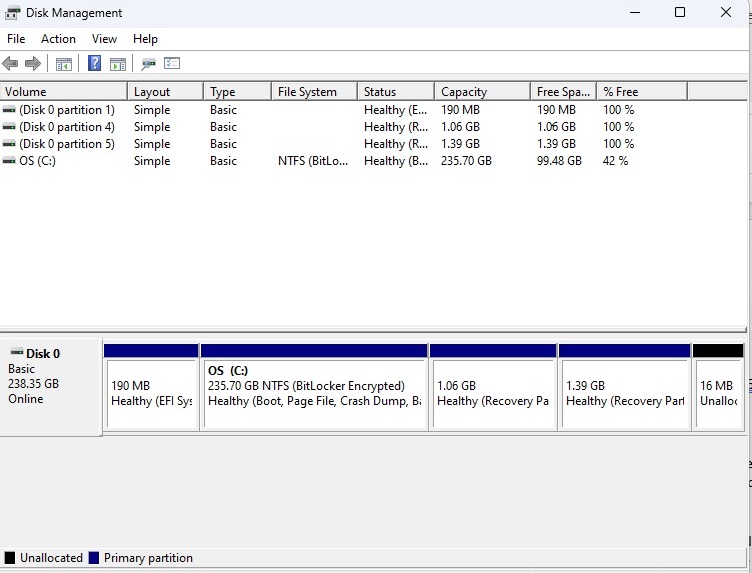
- Check that the OS recognizes the full SSD capacity.
I prefer a fresh install for long-term health. When I cloned, I sometimes carried over old cruft and slowed things down. Fresh installs take more time but often give cleaner results.
Cloning vs fresh install: which path for how to set up ssd
Cloning pros
- Fast and preserves settings and apps.
- No need to reinstall programs.
Cloning cons
- Carries old issues and wasted files.
- You may need to resize partitions manually.
Fresh install pros
- Clean system, fewer inherited problems.
- Best chance to fully use SSD performance.
Fresh install cons
- Time to reinstall apps and settings.
- Need backups and installers for apps.
My rule of thumb: clone if you need a quick swap and can clean later. Fresh install if you want a long-term clean system and have time to set it up.

BIOS/UEFI settings and Windows optimizations for SSD
Make a few firmware and OS tweaks for best performance.
- Update SSD firmware
- Use the vendor’s firmware tool to apply updates carefully.
- Set SATA mode to AHCI
- AHCI enables TRIM and other SSD features. Change before OS install when possible.
- Enable NVMe mode
- For NVMe drives, ensure the slot is enabled in UEFI.
- Enable TRIM in OS
- TRIM helps the SSD manage free space. Most modern OS enable it by default.
- Turn off disk defragmentation for SSDs
- Defrag is unnecessary and can cause wear.
- Check power settings
- Use balanced or high performance to avoid aggressive sleep settings that can interfere.
I once forgot to switch SATA to AHCI after cloning. Windows booted into a BSOD because drivers mismatched. If you change to AHCI, make sure drivers and registry settings are correct before reboot.

Post-install maintenance and troubleshooting
Keep your SSD healthy and troubleshoot common issues.
Maintenance tips
- Keep firmware current but avoid beta firmware unless needed.
- Leave some free space. Aim for 10–20% free for longevity.
- Use vendor tools to monitor health and write endurance.
- Avoid excessive writes: limit large constant write tasks if possible.
Common problems and fixes
- Drive not detected
- Reseat cables, try another SATA port, or check BIOS/UEFI settings.
- Slow performance after cloning
- Check alignment and TRIM status; update drivers.
- Boot errors after swapping
- Ensure correct boot order and check for required storage drivers.
If you see errors, stop and troubleshoot rather than forcing fixes. I’ve recovered drives by reseating connections or correcting BIOS settings in minutes.
Personal experience and tips: hands-on advice for how to set up ssd
A few real-world lessons from setting up SSDs in desktops and laptops.
- Always back up first
- I lost time once by skipping a backup. Don’t repeat that.
- Label cables and screws
- Small parts go missing quickly. Use a tray or tape to keep them tidy.
- Test with a USB adapter first
- If your device won’t boot, use a USB adapter to clone or test the SSD externally.
- Check thermal clearance for NVMe
- Some M.2 slots sit under GPUs; cool airflow matters for performance.
I once installed an NVMe under a GPU and saw throttling during gaming. Moving the SSD to a better-cooled slot solved it. Plan placement and airflow when you set up SSD.
PAA-style quick questions
How long does it take to set up an SSD?
Typically 30–90 minutes for physical install and BIOS checks. Cloning or a fresh OS install can add more time.
Will I need new cables to install an SSD?
Not usually for desktops with spare SATA and power cables. Laptops may need a USB-to-SATA adapter for cloning.
Does an SSD improve gaming performance?
SSDs cut load times and reduce level streaming stutter, but they don’t significantly increase FPS from the GPU or CPU.
Frequently Asked Questions of how to set up ssd
How do I know if my computer supports NVMe SSDs?
Check your motherboard or laptop specs for an M.2 slot and NVMe or PCIe support. Look for M-key or M+B key info in the manual.
Is cloning an HDD to SSD safe for my data?
Cloning is safe if done with a reliable tool and after a full backup. Verify the clone before wiping the original drive.
Do I need to enable AHCI mode to use an SSD?
AHCI is recommended for SATA SSDs to enable features like TRIM. For NVMe, ensure the controller mode supports NVMe protocol in UEFI.
How often should I update SSD firmware?
Update firmware when updates include stability or performance fixes. Avoid beta firmware unless you need a specific fix.
How much free space should I leave on an SSD?
Keep 10–20% free for longevity and performance. This gives the SSD controller room to manage wear and garbage collection.
Can I use an SSD as an external drive?
Yes. Use a quality USB or Thunderbolt enclosure for good speeds and reliability.
Will SSDs fail suddenly?
SSDs have finite write endurance but often last years in normal use. Monitor drive health and keep backups to reduce risk.
Does TRIM need to be enabled manually?
Most modern OS enable TRIM automatically. You can verify with a system command or the SSD vendor tool.
Conclusion
Setting up an SSD is a high-impact upgrade that needs a bit of planning. Choose the right type, back up data, install carefully, and pick cloning or a fresh OS install based on your needs. After install, tweak BIOS/UEFI, enable TRIM, keep firmware updated, and monitor drive health. Start today: pick an SSD that fits your system, prepare a backup, and follow the steps here to make your computer faster and more responsive. If you found this guide helpful, try the steps on your machine and leave a comment about your experience or questions.

Everett Ashford is a tech reviewer at mytechgrid.com specializing in SSDs, cameras, TVs, earbuds, headphones, and other consumer electronics. He provides honest, data-driven reviews based on hands-on testing and real-world performance analysis. Everett simplifies complex tech details to help readers make smart, confident buying decisions.