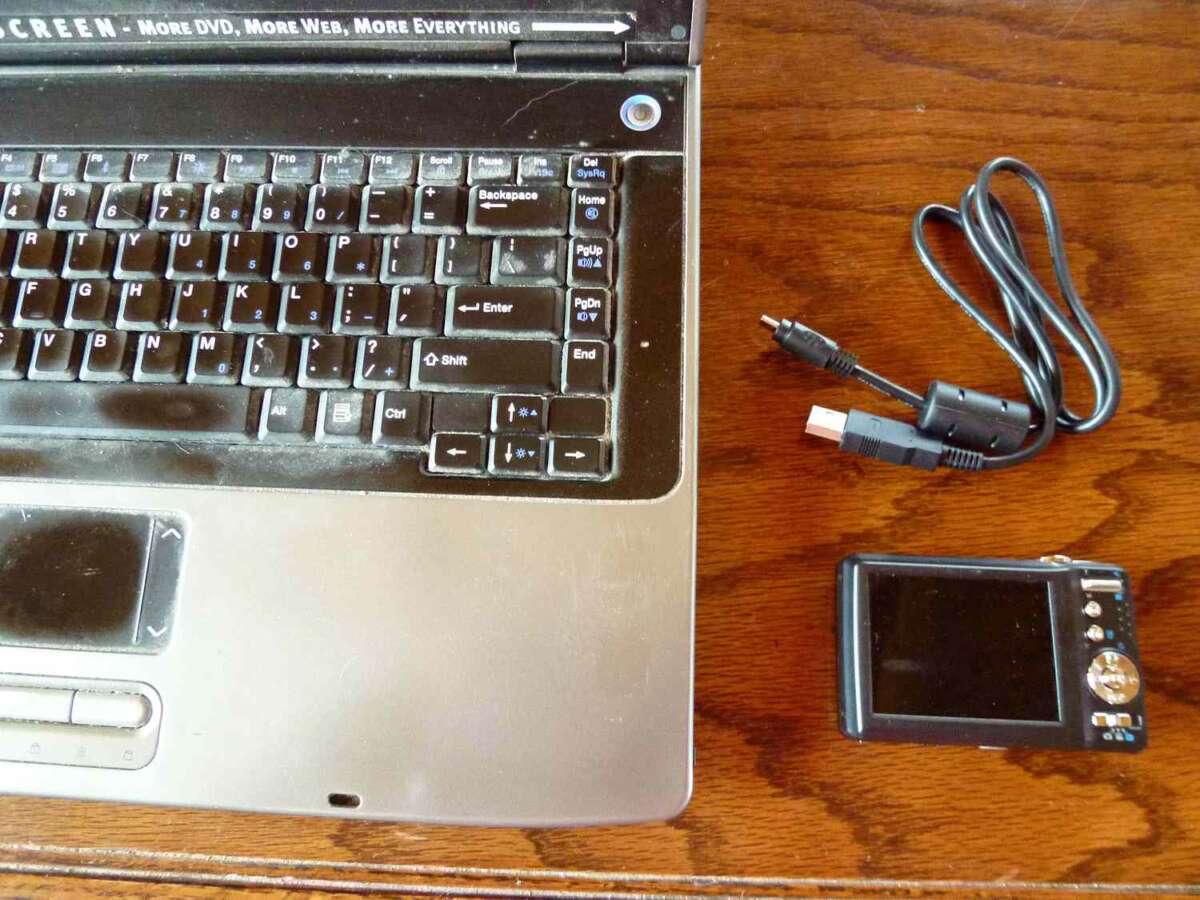
Use a USB cable, HDMI capture card, Wi‑Fi, or remove the SD card to transfer or stream.
I have spent years setting up cameras for shoots, livestreams, and client work. In this guide I explain, step by step, how to connect camera to computer for photo import, live video, and webcam use. You will get clear methods, simple tools, and practical tips that work across brands and operating systems.
What you’ll need to connect your camera to a computer
Before you start, collect the items below. These basics speed setup and avoid surprises.
- Camera with USB, HDMI, Wi‑Fi, or SD card support. How to connect camera to computer depends on these ports.
- Camera USB cable or dedicated data cable.
- HDMI cable and capture card for clean HDMI output.
- SD card reader or built‑in card slot on your computer.
- Updated drivers and software for your camera and OS.
- Stable Wi‑Fi network for wireless transfers or tethering.
- Power adapter or full battery for long sessions.
I always test gear before a shoot. A charged battery and a working cable save time. Follow your camera manual for model‑specific notes on how to connect camera to computer.
:max_bytes(150000):strip_icc()/all-equipment-58069dd23df78cbc2842f954.JPG)
Methods to connect camera to computer
Choose a method based on the goal: import photos, stream video, or use the camera as a webcam. Below are the common ways and when to use each.
USB cable (simple import and tethering)
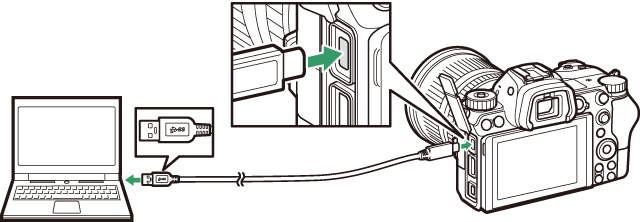
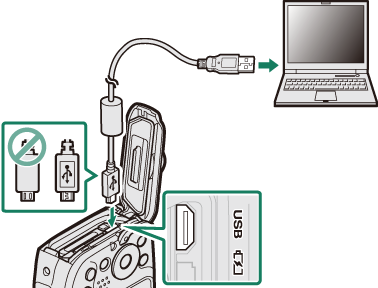
- Use the camera’s USB data cable to connect to the computer.
- Turn the camera on and choose USB or PC mode if prompted.
- Open your photo app or file explorer to import images.
How to connect camera to computer with USB works for quick file transfer and basic tethering.
Advantages
- Fast and easy for photos.
- No extra hardware for most models.
Limitations
- Not all cameras offer clean HDMI for video.
- Some need drivers or special software.

Source: youtube.com
HDMI capture card (best for live streaming or clean video)
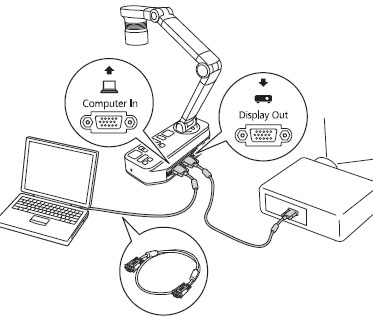
- Connect camera HDMI out to an HDMI capture device.
- Plug the capture device into the computer via USB.
- Select the capture device as the video source in streaming or meeting apps.
Using an HDMI capture card is the top choice when you want low‑latency, high‑quality video. It shows how to connect camera to computer for livestreams and professional calls.
Advantages
- Clean output with no overlays.
- Higher quality and lower latency.
Limitations
- Extra cost for the capture device.
- Camera may need clean HDMI output setting.

Source: diocesisdecordoba.es
Wi‑Fi and Bluetooth (wireless transfers and webcam apps)
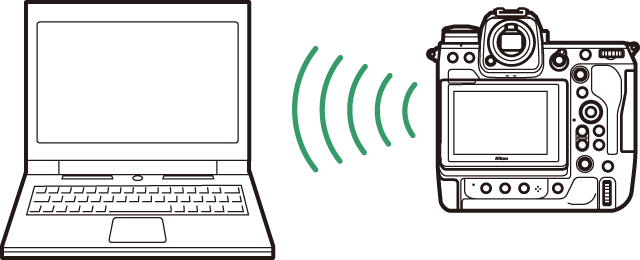
- Enable the camera’s Wi‑Fi or Bluetooth.
- Pair it with the computer using the camera app or OS pairing.
- Use the app to transfer files or stream, if supported.
How to connect camera to computer wirelessly is handy for mobile work and quick transfers.
Advantages
- No cables.
- Good for remote captures and quick sharing.
Limitations
- Slower transfers.
- Possible connection drops.

Source: youtube.com
SD card and card reader (reliable file transfer)
- Remove the SD card from the camera and insert it into a card reader or laptop slot.
- Copy files with your file manager or photo app.
Using the SD card is often the fastest and most reliable way to import large files when teaching how to connect camera to computer for editing.
Advantages
- Fast transfer speeds with UHS cards.
- No dependency on camera battery.
Limitations
- Not suitable for live streaming.
- Risk of file corruption if removed mid‑write.
Source: nikonimglib.com
Step‑by‑step: how to connect camera to computer for webcam and live use
This simple flow turns many DSLRs and mirrorless cameras into good webcams.
- Check camera settings.
- Enable clean HDMI or webcam mode if your camera has it.
- Connect the camera to the capture card.
- Plug HDMI from the camera to the input of the capture device.
- Connect the capture card to the computer.
- Use the USB cable supplied with the capture device.
- Power the camera.
- Use AC power or replaceable battery to avoid shutdowns.
- Open your video app.
- Select the capture device as the camera source.
- Adjust exposure and focus on the camera.
- Turn off auto overlays for clean video.
I once tested a livestream with the wrong HDMI mode. The fix was a quick camera firmware update and enabling clean HDMI. Small checks save a lot of stress when you learn how to connect camera to computer for live events.

Importing photos and videos to your computer
Pick the method that fits your workflow: card reader, USB, or cloud.
- Card reader: Fast and reliable for large RAW files.
- USB import: Good if you cannot remove the card or prefer tethering.
- Camera app/cloud: Handy for quick JPG transfers over Wi‑Fi.
Workflow tips
- Organize into date and shoot folders on import.
- Use the camera’s rename or bulk import tools in your photo app.
- Back up files immediately to a second drive or cloud.
I prefer an SD card reader for editing. It is simple and avoids camera battery drain. This is my go‑to when teaching how to connect camera to computer for photo work.
Troubleshooting common issues when you connect camera to computer
If the camera does not connect, try these checks in order.
- Check cables and ports.
- Swap the USB or HDMI cable with one known to work.
- Power and mode.
- Ensure the camera is on and in the correct mode for data transfer.
- Drivers and firmware.
- Install manufacturer drivers and update camera firmware.
- App settings.
- Select the right input device in your streaming or photo app.
- SD card lock.
- Make sure the card’s write‑protect switch is off.
If wireless transfer fails, reboot both devices and try reconnecting to Wi‑Fi. For HDMI capture, test with another camera or capture card to isolate faults. These steps cover most issues when teaching how to connect camera to computer.
Tips for best results and security
Small habits keep your setup stable and secure.
- Use high‑quality cables and a reliable capture card.
- Keep camera firmware and computer drivers up to date.
- Use AC power for long shoots and sessions.
- Secure wireless connections with passwords and WPA2/WPA3.
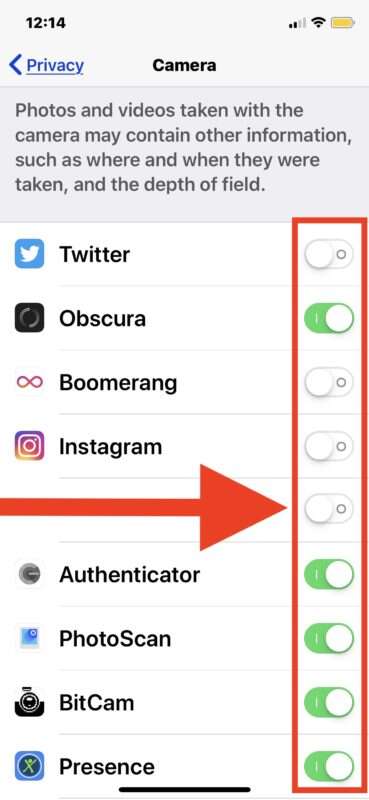
- Limit camera permissions in apps and close them when not needed.
My tip: label cables and ports. That simple step cut setup time in half for me on fast turnarounds. Following these tips improves how to connect camera to computer and keeps sessions smooth.
PAA-style questions (quick answers)
Can I use my DSLR as a webcam?
- Many DSLRs and mirrorless cameras can function as webcams via USB, HDMI capture card, or manufacturer webcam utility. Check your camera’s manual for specific webcam support.
Do I need drivers to connect my camera to a computer?
- Some cameras need drivers or official software for tethering and file transfer. Many modern OS versions also support plug‑and‑play using USB or card readers.
Which method gives the best video quality?
- HDMI capture with a clean HDMI output yields the best quality and lowest latency for streaming and recording.
Is wireless transfer safe for large files?
- Wireless transfer is convenient but slower and less stable than wired or card reader methods. For large RAW files, use a card reader or USB cable.
How do I avoid overlays in livestream video?
- Enable clean HDMI or output mode in your camera settings. Use HDMI capture to keep overlays off.
Frequently Asked Questions of how to connect camera to computer
How do I connect a DSLR to a Windows PC for photo transfer?
Use the camera’s USB cable or remove the SD card and use a reader. Make sure the camera is on and set to the correct USB mode. Import with File Explorer or a photo app.
Can I use a mirrorless camera as a webcam without a capture card?
Yes, some cameras offer native USB webcam support or vendor apps that let you stream via USB. For higher quality, a capture card is usually better.
Why won’t my computer recognize the camera over USB?
Check the cable, camera mode, and drivers. Try a different USB port and verify the camera is powered on and not in playback mode.
What capture card should I buy to connect camera to computer for livestreams?
Choose a capture card that supports your camera’s resolution and frame rate. Look for low latency and USB 3.0 compatibility for best results.
How do I transfer video files from camera to computer without a card reader?
Connect the camera with its USB cable, set it to file transfer mode, and copy files with your file manager or import tool. Wi‑Fi apps can also transfer video but may be slow.
Conclusion
You now have a clear map for how to connect camera to computer for photos, live video, and webcam use. Start by picking the right method: USB or card reader for files, HDMI capture for streaming, and Wi‑Fi for quick sharing. Test your setup before a live session, keep firmware and drivers updated, and use good cables.
Take action today: try one method with your gear, note what worked, and make a small checklist for future sessions. If this article helped, leave a comment with your camera model or subscribe for more hands‑on guides.

Everett Ashford is a tech reviewer at mytechgrid.com specializing in SSDs, cameras, TVs, earbuds, headphones, and other consumer electronics. He provides honest, data-driven reviews based on hands-on testing and real-world performance analysis. Everett simplifies complex tech details to help readers make smart, confident buying decisions.