Change your Ring camera Wi‑Fi by updating network settings in the Ring app or using setup mode.
I’ve helped dozens of friends and clients swap networks and move Ring devices without stress. This guide explains exactly how to change WiFi on Ring camera, step by step, for battery and wired models, plus real troubleshooting tips and security best practices. Read on to get your Ring camera back online fast and keep your feed secure.

Why you might need to change WiFi on Ring camera
Devices move, routers get replaced, and passwords change. Changing WiFi on Ring camera means updating the camera so it connects to a new SSID or password. Common reasons include a new router, a network name change, moving the camera to another building, or switching from 2.4 GHz to 5 GHz.
Benefits of changing WiFi on Ring camera
- Keeps your feed live after network changes.
- Lets you move cameras without creating a new device record.
- Improves performance when you connect to a stronger network.
Limitations and causes of failure
- Some Ring cameras only support 2.4 GHz. Trying a 5 GHz-only network will fail.
- Weak signal or wrong password will block setup.
- Outdated firmware can complicate reconnection.
This section helps you decide why and when to change WiFi on Ring camera so you choose the right method.

Before you start: what you need
Prepare a few things to make changing WiFi on Ring camera quick and painless.
Checklist
- Ring app installed on a phone or tablet signed into your Ring account.
- The new WiFi network name (SSID) and password.
- Your phone connected to the same WiFi network you’ll connect the camera to.
- A charged battery or power source for wired models.
- Knowledge whether your Ring camera needs 2.4 GHz or supports 5 GHz.
Compatibility notes
- Most older Ring devices prefer 2.4 GHz for range. Newer models support 5 GHz.
- If your router uses separate SSIDs for 2.4 and 5 GHz, pick the correct one.
- Disable VPN on your phone during setup for fewer connection problems.

Step-by-step: how to change wifi on ring camera
Below are simple, clear steps to change WiFi on Ring camera. I break out battery and wired models so you follow the right path.
General steps (works for many models)
- Open the Ring app and sign in.
- Tap Devices and choose your camera.
- Tap Device Settings, then General Settings or Change Wi-Fi.
- Select Reconnect to Wi‑Fi or Set Up a Device.
- Follow the in-app prompts to put the camera into setup mode.
- Choose the new network and enter the password.
If you don’t see “Change Wi‑Fi,” use these model specifics.
Battery Ring cameras (Stick Up Cam Battery, Spotlight Battery)
- Remove the camera from the base or press and hold the orange setup button until the light flashes.
- In the Ring app, tap Devices, select the camera, and choose Reconnect Device.
- Follow prompts to connect to the camera’s temporary Wi‑Fi and then pick your home network.
- Wait until the green light or app confirmation shows a successful connection.
Wired Ring doorbells and floodlights
- Put the device into setup mode by pressing and releasing the setup button or using the quick release steps in the app.
- In Device Settings, choose Change Wi‑Fi or Reconnect to Wi‑Fi.
- Walk through the app’s prompts to select the new network and enter password.
When you must remove and re-add the device
- If reconnect fails, remove the device from the Ring app, then add it again as a new device. This resets network info and often fixes persistent issues.
Two quick PAA-style questions
Can I switch Ring camera from 2.4 GHz to 5 GHz?
Yes, if your Ring model supports 5 GHz. Check model specs. If not supported, stick to 2.4 GHz.
Will changing WiFi delete my recordings?
No. Changing WiFi does not delete cloud recordings saved to your Ring account.
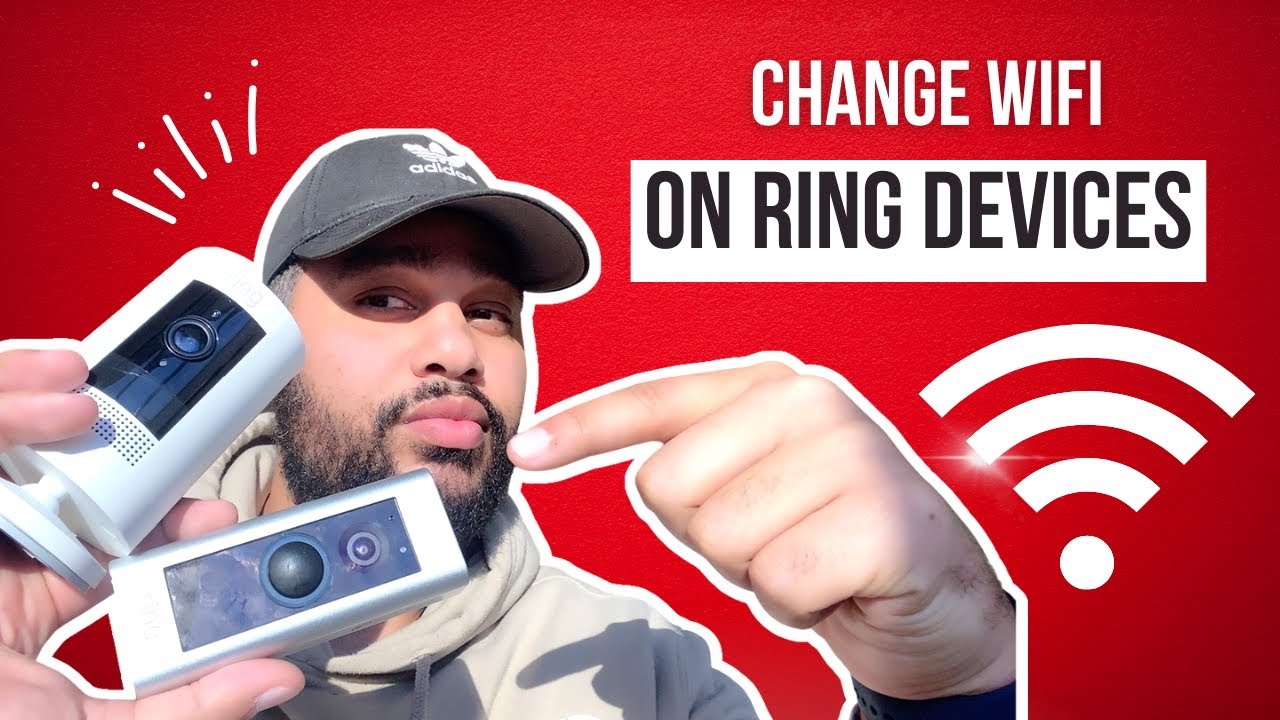
Troubleshooting common issues when changing WiFi on Ring camera
If your camera doesn’t connect, try these fixes.
Common problems and fixes
- Camera won’t enter setup mode
- Ensure it has power or a charged battery. Hold the setup button long enough. Try a reboot.
- App can’t find the camera
- Turn off Bluetooth, toggle Wi‑Fi, and retry. Move phone near the camera.
- Wrong password or SSID error
- Re-enter credentials. Avoid special characters that might be miscopied.
- Signal too weak
- Move the router closer or add a Wi‑Fi extender. Test signal strength at the camera location.
- Camera shows offline after reconnect
- Update the Ring app and firmware. Restart router and device.
Advanced tips
- Temporarily disable MAC filtering or add the camera’s MAC to the router whitelist.
- If using a guest network, make sure it allows device-to-device communication.
- Reset the camera only as a last resort; note this removes saved settings.

Security and best practices
Keeping your feed secure matters. These steps make changing WiFi on Ring camera safer.
Network and device security
- Use a strong, unique Wi‑Fi password and WPA2 or WPA3 encryption.
- Keep your Ring app and camera firmware updated.
- Use a separate guest or IoT network for cameras to limit access to other devices.
- Enable two-factor authentication on your Ring account for added protection.
Privacy tips
- Regularly review shared users in your Ring account.
- Limit sharing and remove old users quickly.
- Check motion zones and sensitivity after a move to reduce false alerts.

Personal experience and lessons learned
I’ve moved several Ring cameras between homes and offices. A few lessons stand out.
What I learned
- Always test Wi‑Fi at the exact mount location before final installation. I once mounted a camera only to find the signal was too weak.
- Keep a short USB power cable during setup. I solved many reconnect problems by powering the camera while troubleshooting.
- Note the device MAC and serial before a reset. It saved time when re-adding devices to a network with MAC filtering.
Mistakes to avoid
- Don’t assume 5 GHz is better; range matters. Use 2.4 GHz for outdoor and long-range placements.
- Avoid resetting as the first step. Try reconnecting in the app first.
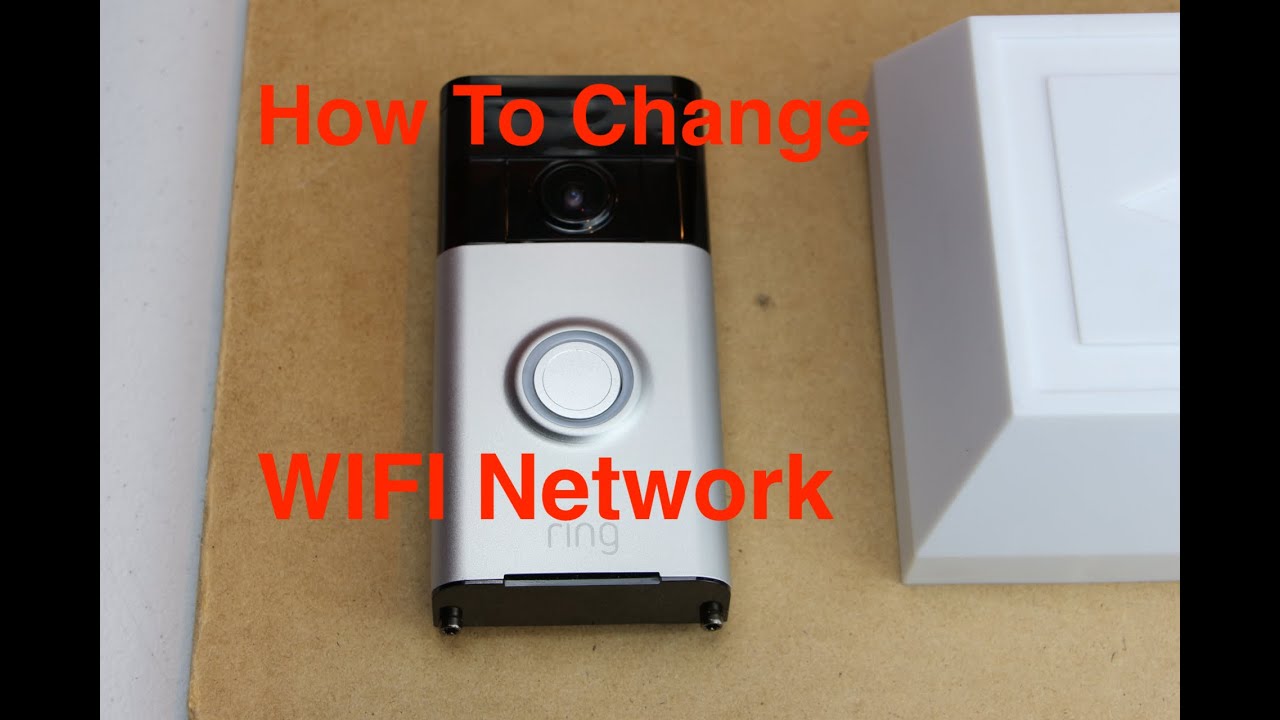
Frequently Asked Questions of how to change wifi on ring camera
How do I change WiFi on my Ring camera without removing it from the app?
Open the Ring app, pick the device, go to Device Settings, and choose Change Wi‑Fi or Reconnect. Follow the in‑app prompts to update the network.
My Ring camera won’t connect to 5 GHz—what now?
Check the camera’s specs. Many models only support 2.4 GHz. If it supports only 2.4 GHz, use that band or create a 2.4 GHz SSID on your router.
Do I need to factory reset my Ring camera to change WiFi?
Not usually. Use the app’s Reconnect or Change Wi‑Fi option first. Reset only if reconnection repeatedly fails.
Will changing WiFi affect my Ring Protect subscription?
No. Your Ring Protect subscription is tied to your account and device, not the Wi‑Fi network.
Why does my Ring camera show offline after changing networks?
Common causes include weak Wi‑Fi signal, wrong password, or router settings blocking device access. Check signal strength and router security features.
Can I change the WiFi using a desktop computer?
No. The Ring app on a phone or tablet is required for setup and changing network settings.
Conclusion
Changing WiFi on Ring camera is straightforward when you follow the right steps: prepare the network info, use the Ring app to reconnect or re-add the device, and troubleshoot with simple fixes. Take your time to test signal strength and secure your network. Try the steps now and you’ll be back watching your feed in minutes. If this guide helped, leave a comment, share your experience, or subscribe for more practical how-to guides on home security.

Jamie Lee is a seasoned tech analyst and writer at MyTechGrid.com, known for making the rapidly evolving world of technology accessible to all. Jamie’s work focuses on emerging technologies, product deep-dives, and industry trends—translating complex concepts into engaging, easy-to-understand content. When not researching the latest breakthroughs, Jamie enjoys exploring new tools, testing gadgets, and helping readers navigate the digital world with confidence.