Adding an M.2 SSD is the best way to increase storage on a PS5 Digital Edition. The process is the same for the U.S. PS5 Digital Edition and the disc model because both use the same internal M.2 expansion bay. You need a compatible PCIe Gen4 x4 NVMe SSD with a heatsink, a small crosshead screwdriver, and a few minutes.
You do not need to open the main PS5 case or remove the warranty seal. The SSD fits in a dedicated expansion slot behind one of the outer covers.
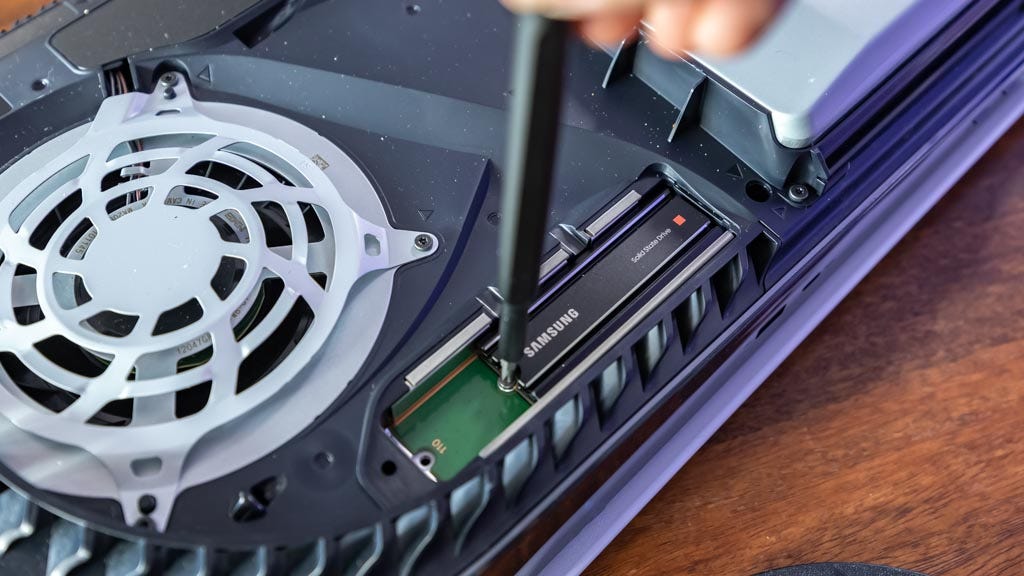
What You Need Before Installing an SSD
Before you install an SSD in a PS5 Digital Edition, confirm that the drive meets Sony’s size, speed, and physical limits. A standard SATA M.2 drive will not work.


PS5 M.2 SSD requirements
| Requirement | PS5-compatible specification |
|---|---|
| Drive type | M.2 NVMe SSD |
| Interface | PCIe Gen4 x4 |
| Storage capacity | 250 GB to 8 TB |
| Recommended read speed | 5,500 MB/s or faster |
| Supported sizes | 2230, 2242, 2260, 2280, and 22110 |
| Maximum width | 22 mm for the drive |
| Maximum total height | 11.25 mm, including the heatsink |
| Heatsink | Required for proper heat control |
| Connection type | M.2 Key M |
Sony recommends a sequential read speed of at least 5,500 MB/s. A slower drive may work in some cases, but Sony does not guarantee the same performance or compatibility.
The drive must also fit inside the PS5 expansion bay. Check the SSD and heatsink as one unit. A drive may meet the speed requirement but still be too tall.
Choose the right capacity
A 1 TB SSD gives you useful extra space for a moderate game library. A 2 TB model is a better fit if you often install large games or share the console with other players.
Remember that the advertised capacity is not the exact free space you will see after formatting. The PS5 reserves some storage for system functions.
Buy an SSD with a compatible heatsink
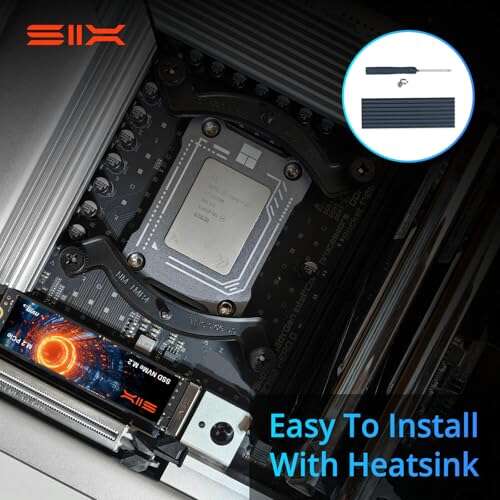
The PS5 expansion bay has a metal cover, but the SSD still needs its own heatsink. You can buy:
- An SSD with a factory-installed heatsink
- A compatible third-party heatsink made for M.2 2280 drives
- A bare SSD and a separate low-profile heatsink
Do not stack two heatsinks. If the drive already has a heatsink, do not add another one unless the manufacturer specifically supports that setup.


Check your PS5 model
The PS5 Digital Edition has appeared in several hardware revisions. The expansion process is similar, but the outer cover removal method can vary between the original PS5 and the slimmer PS5 model.
You can find the model number on the console itself. It usually begins with “CFI.” Use Sony’s instructions for your exact model if the cover does not move easily.
How to Install an SSD in a PS5 Digital Edition
The installation has five main stages: prepare the console, remove the correct cover, open the expansion bay, secure the SSD, and format it through the PS5 software.
1. Turn off and cool the ps5
save your game, then turn off the console fully.
- Press the PS button on the controller.
- Select Power.
- Choose Turn Off PS5.
- Wait until the power light goes out.
- Unplug the power cable and all other cables.
- Let the console cool for several minutes.
Do not install the SSD while the PS5 is in Rest Mode. The console must be completely off and disconnected from power.
Move the PS5 to a clean, flat table. A soft, lint-free cloth can protect the plastic covers from scratches.
2. Remove the PS5 Digital Edition cover
The correct cover depends on your PS5 model.
For the original PS5 Digital Edition, place the console on its side as shown in Sony’s guide. Hold the cover near the edge, slide it in the direction shown for your model, and lift it away.
For the slim PS5 Digital Edition, the side panels use a different release method. Support the console, release the panel from the correct edge, and lift it away without twisting it.
The covers use clips. Some force is normal, but sharp bending or heavy pressure is not. If the cover will not move, check the model-specific instructions rather than forcing it.
3. Remove the expansion bay cover
After removing the outer panel, locate the long rectangular metal expansion cover.
- Remove the small screw from the cover.
- Lift off the expansion cover.
- Set the screw aside where it will not be lost.
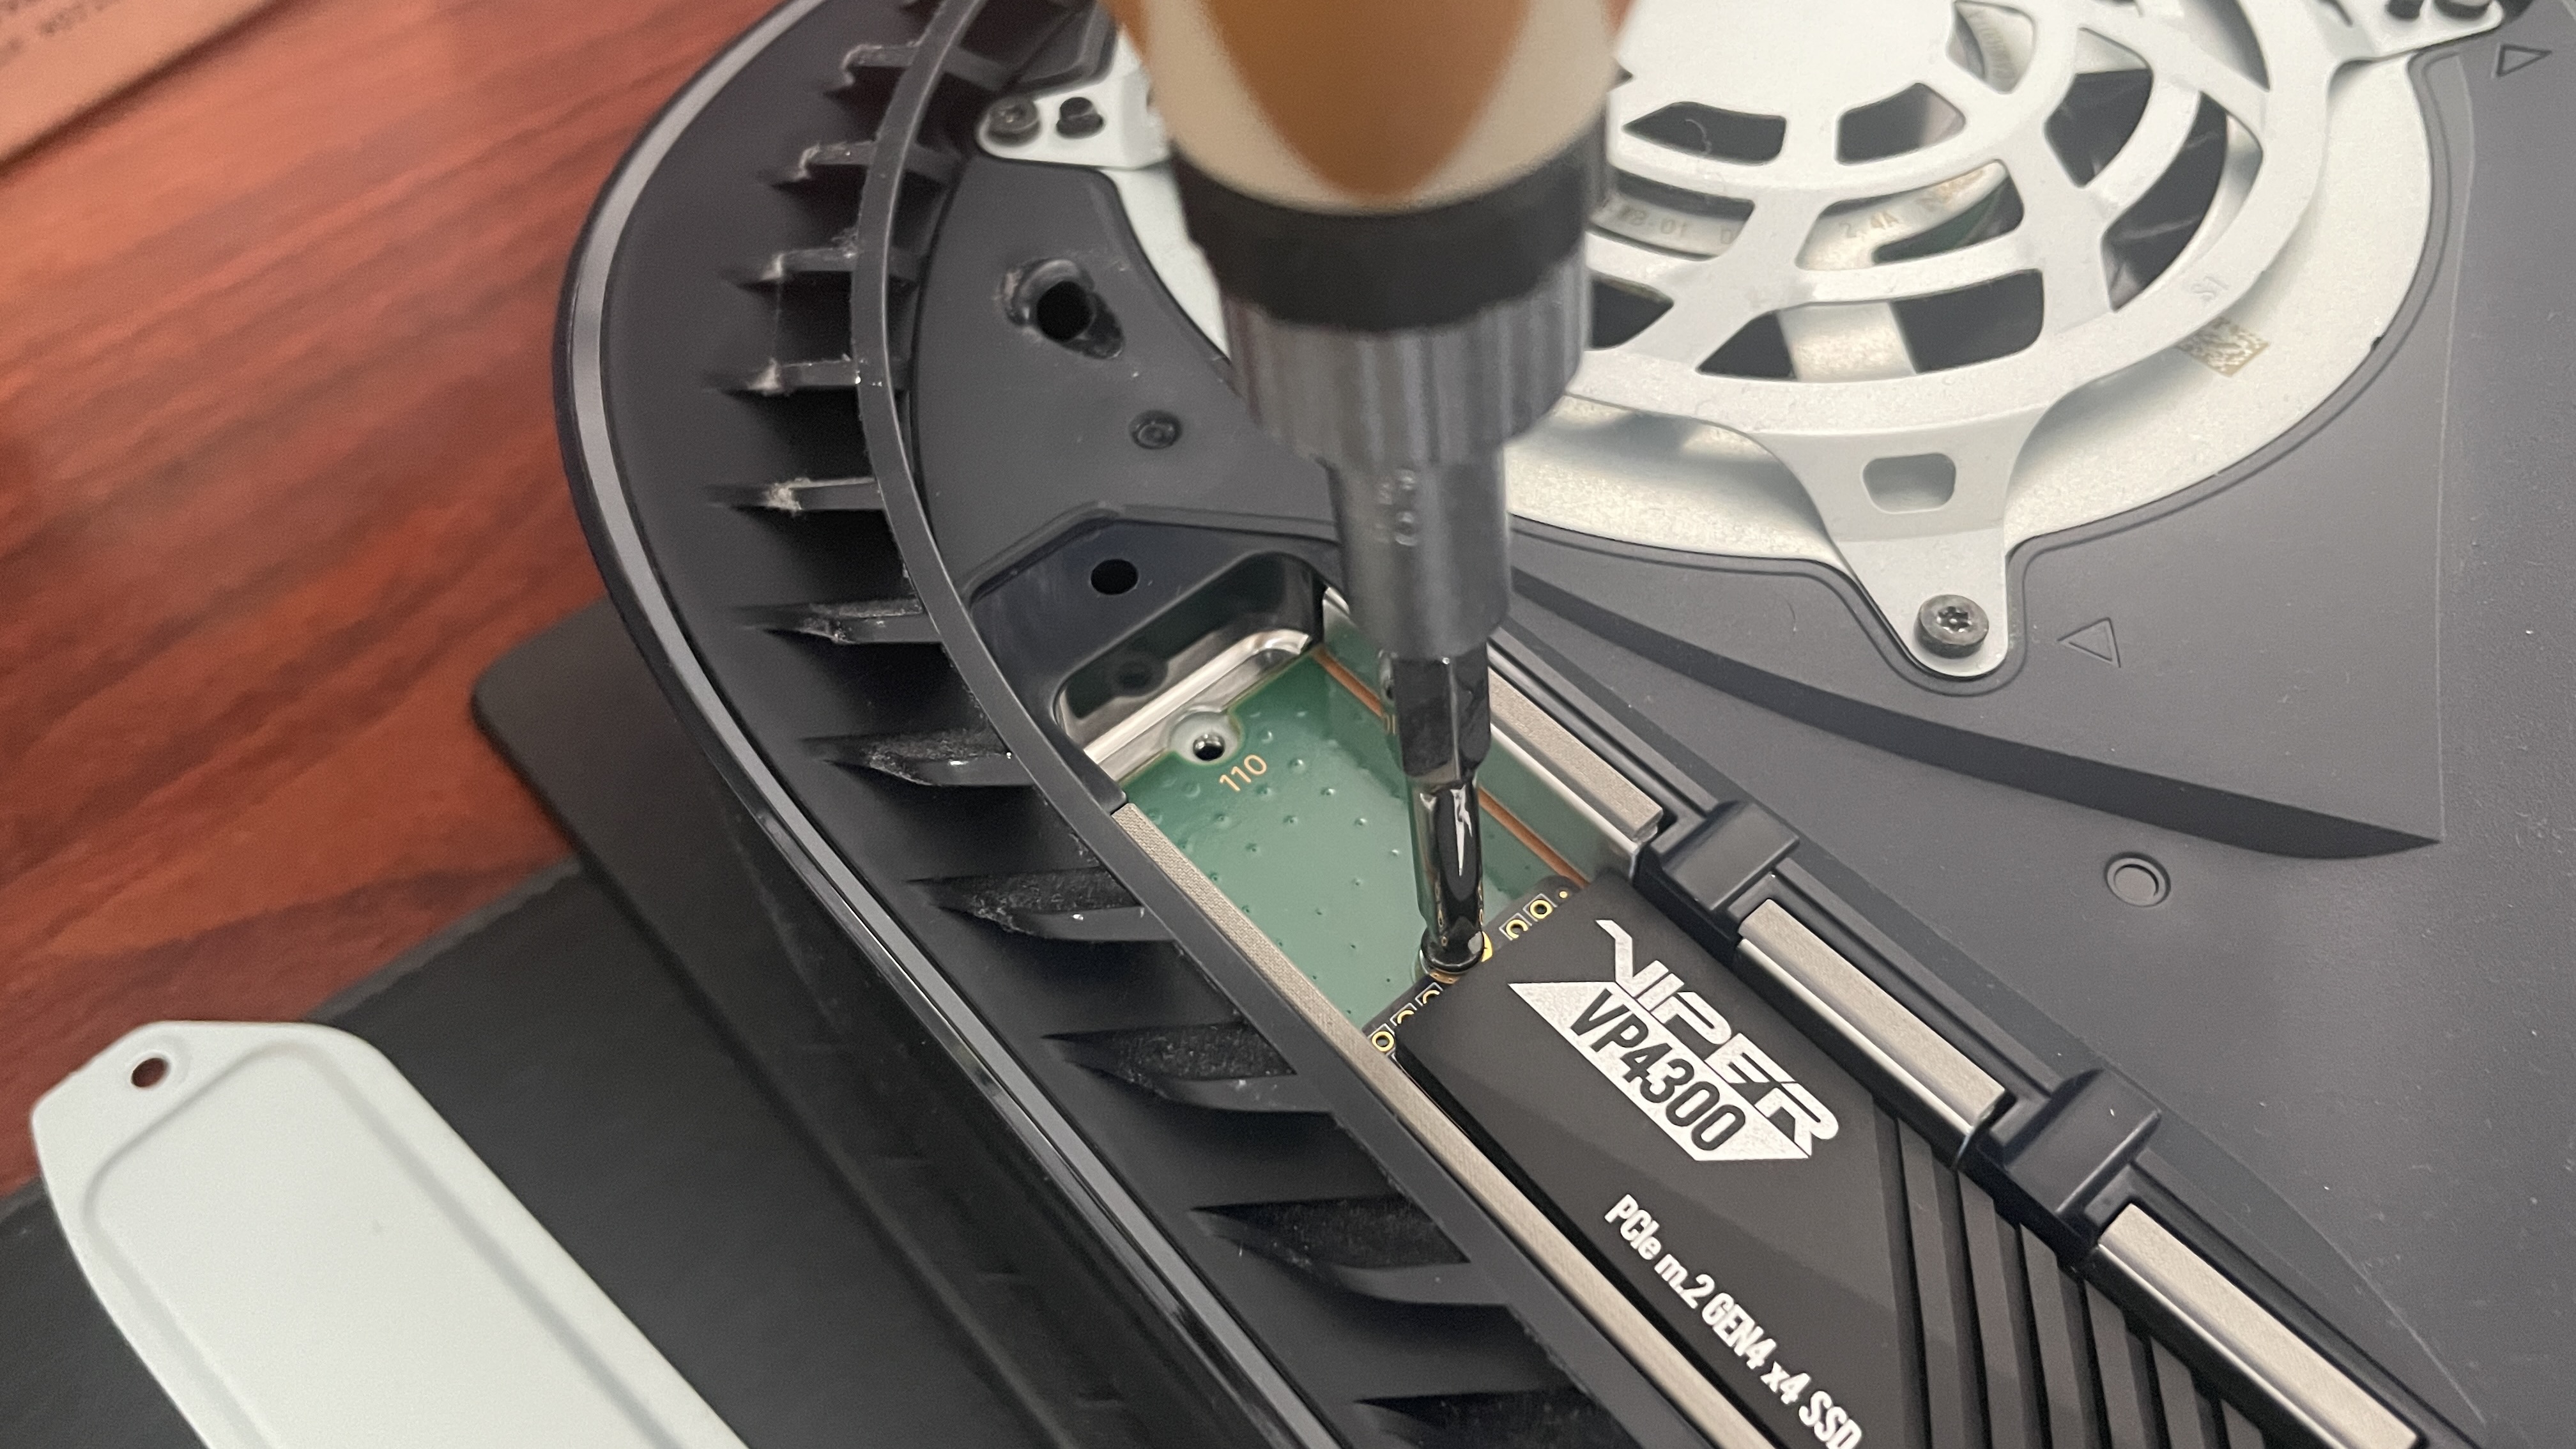
- Remove the spacer screw and place it in the hole that matches your SSD length.
Most retail M.2 SSDs are 2280 drives. If your drive is 2280, place the spacer in the hole marked 80. Smaller drives use the matching number.
Do not remove other screws inside the console. You only need the expansion cover screw and the spacer screw.
4. Insert and secure the M.2 SSD
Hold the SSD by its edges. Avoid touching the gold connector pins.


- Line up the notch on the SSD with the raised key in the M.2 socket.
- Insert the connector at a slight upward angle.
- Push the drive fully into the socket.
- Press the free end of the SSD down toward the spacer.
- Secure it with the small screw.
The SSD should lie flat when secured. Do not press down on the drive before the connector is fully inserted.
If the screw does not line up, check the spacer position and the SSD length. Do not use a longer screw or tighten it with force.
5. Reinstall the covers
Replace the metal expansion cover and its screw. Then reinstall the outer PS5 cover.
The cover should sit flush with the console. If one edge is raised, remove it and try again. Do not operate the PS5 with the expansion bay cover missing.
Reconnect the cables, place the console in a ventilated position, and turn it on.

How to Format the SSD on the PS5
The PS5 must format a newly installed M.2 SSD before you can use it. Formatting deletes all data on the drive, so never format a drive that contains files you need.
When the PS5 starts, it should detect the new SSD and display a formatting message.
- Read the warning on screen.
- Select Format M.2 SSD.
- Confirm the format.
- Wait for the process to finish.
If the automatic message does not appear, open:
Settings > Storage > M.2 SSD Storage
Then choose the option to format the M.2 SSD.
After formatting, the PS5 displays the usable capacity and the drive’s read speed. The reported speed is a system check, not a guarantee of game performance in every title.
Set the SSD as the install location
To install new games directly to the SSD:
- Open Settings.
- Select Storage.
- Select Installation Location.
- Choose M.2 SSD Storage for PS5 games, PS4 games, or both where available.
You can change this setting later. It does not move games that are already stored on the internal drive.
Move games to the new SSD
To move installed games:


- Open Settings.
- Select Storage.
- Choose Console Storage.
- Select Games and Apps.
- Select one or more games.
- Choose Move.
- Select the M.2 SSD as the destination.
You can also move games from the M.2 SSD back to the console storage. Save data is handled separately and remains under the PS5’s saved-data settings.
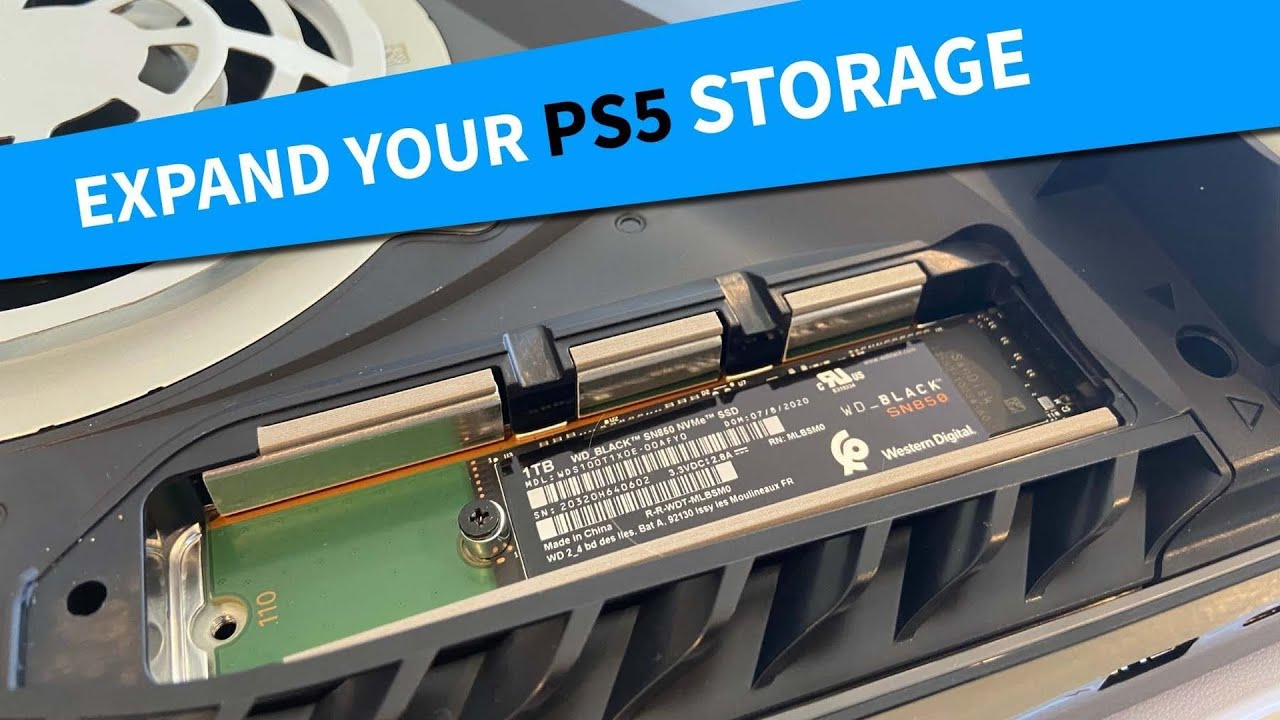
How to Confirm the SSD Works
A successful installation usually has three signs:
- The PS5 detects the M.2 SSD during startup.
- Formatting completes without an error.
- The drive appears under Settings > Storage.
Test the drive by moving one game to it and launching the game from the M.2 SSD. PS5 games can run directly from a compatible internal M.2 SSD. This is different from USB extended storage, which cannot run PS5 games directly.
The SSD may reduce loading delays in some games, but it does not make every game load at the same speed. Game design, patches, CPU work, and network connections also affect loading times.
If the PS5 does not detect the SSD
Turn the console off and check the following items in order:
- Confirm the SSD is an NVMe PCIe Gen4 x4 model.
- Check that the SSD is fully inserted into the socket.
- Confirm that the connector notch is aligned correctly.
- Check that the spacer matches the SSD length.
- Make sure the retaining screw holds the SSD flat.
- Confirm that the heatsink is not too tall.
- Reinstall the expansion cover and outer panel.
- Start the PS5 and check the storage menu again.
If the drive is still missing, remove it and inspect the connector and socket for visible damage. Do not scrape the contacts or use liquid cleaner inside the console.
If the PS5 reports a low speed
The PS5 may show a lower read-speed estimate than the number printed on the SSD box. This can happen because the manufacturer’s figure and the console’s test use different conditions.
A lower result does not automatically mean the installation failed. First confirm that the SSD is detected, formatted, and able to store and launch games.
If the result is far below the drive’s rated performance, check the model, firmware, installation, and heatsink fit. Sony’s stated recommendation is 5,500 MB/s or faster, but the console does not require the number shown on the box to appear exactly on screen.
If the console overheats or shuts down
Stop using the SSD if the PS5 shows repeated overheating warnings, shuts down, or behaves unusually after installation.
Check that:
- The SSD has a compatible heatsink.
- The heatsink is not too thick.
- The PS5 vents are clear.
- The console is not inside a cramped cabinet.
- The expansion cover is installed correctly.
If the issue continues, remove the SSD and test the console without it. A persistent hardware fault may require Sony support or a qualified repair service.

Common Mistakes to Avoid
The most common installation problems come from choosing the wrong drive or forcing a cover, screw, or connector.


Buying a SATA M.2 drive
M.2 describes the shape of the drive, not its connection type. Some M.2 drives use SATA, while others use NVMe PCIe.
The PS5 requires an NVMe PCIe Gen4 x4 drive. A SATA M.2 drive is not a suitable replacement.
Using an SSD without a heatsink
A bare M.2 SSD may fit in the bay, but Sony requires a cooling structure for this installation. Use a low-profile heatsink that stays within the PS5’s height limit.
Choosing a drive that is too tall
Measure the complete assembly:
SSD height + heatsink height = total height
The total must stay within the PS5’s documented limit of 11.25 mm. Include any thermal pad, top plate, and bottom plate in the measurement.
Installing the SSD upside down
The label may face up or down depending on the drive design and heatsink. The important points are the connector notch, the socket, and the mounting hole.
Never use the label as the only guide. Match the keyed connector and allow the drive to lie flat.
Using the wrong screw
The M.2 retaining screw is small. A longer screw can damage the drive or the mounting point. Use the original spacer and retaining screw supplied inside the expansion bay.
Removing the wrong cover
The outer panels differ between PS5 revisions. Search by the complete model number or use Sony’s official support guide for your console. If a cover does not release with the normal motion, stop and check the instructions.
Installing the SSD while the console is in Rest Mode
Rest Mode is not the same as a full shutdown. Always turn off the PS5, unplug it, and wait for the power light to go out before opening the console.

M.2 SSD Compared With USB Extended Storage
An internal M.2 SSD and USB extended storage serve different purposes.
| Feature | Internal M.2 SSD | USB extended storage |
|---|---|---|
| Runs PS5 games directly | Yes | No |
| Stores PS5 games | Yes | Yes |
| Runs PS4 games | Yes | Yes |
| Installation location | Inside the console | External USB drive |
| Extra hardware required | Compatible SSD and heatsink | Compatible USB drive |
| Best use | Frequent PS5 game storage | Archive and lower-cost storage |
A USB drive can be useful for keeping games you do not play often. You must move a PS5 game back to console storage or an M.2 SSD before playing it.
Choose an M.2 SSD if you want to expand the space available for games you play regularly. Choose USB storage if your main goal is to archive games at a lower cost.

Does Installing an SSD Affect the PS5 Warranty?
Installing an M.2 SSD uses the expansion bay that Sony designed for user upgrades. You do not need to remove the main console casing or warranty seal.
However, physical damage caused by forcing a cover, damaging the socket, using an incorrect screw, or installing an unsuitable part may not be covered. Follow the official instructions for your model and keep the original parts in case you need to remove the SSD later.
The SSD itself has a separate warranty from its manufacturer. Keep the receipt and product information for the drive.
Should You Use a 1TB or 2TB SSD?
A 1 TB SSD is often enough for players who keep a small group of games installed. A 2 TB SSD gives more room for large modern games, downloadable content, and multiple user accounts.
Use this simple estimate:
Usable game space ≈ advertised capacity − system formatting overhead
For example, a drive advertised as 1 TB will provide less than 1,000 GB of free space after formatting. Game sizes also change with patches and downloadable content, so leave some unused space rather than filling the drive completely.
Capacity is usually more important than small differences in advertised read speed once the drive meets the PS5’s compatibility requirements.
Frequently Asked Questions
Can I install an SSD in the PS5 Digital Edition?
Yes. The PS5 Digital Edition includes an M.2 expansion bay. Install a compatible PCIe Gen4 x4 NVMe SSD with a suitable heatsink.
Does the PS5 Digital Edition use a different SSD than the disc version?
No. The PS5 Digital Edition and disc version use the same type of internal M.2 SSD expansion. The main difference is the outer cover and disc-drive hardware.
Can I use a PCIe Gen3 SSD in a PS5?
Sony recommends a PCIe Gen4 x4 SSD with a sequential read speed of at least 5,500 MB/s. A Gen3 drive does not meet the recommended specification and should not be chosen for this upgrade.
Can the PS5 run games from the new SSD?
Yes. PS5 games can be installed and played from a compatible internal M.2 SSD. PS4 games can also be stored and played from it.
Do I need to reinstall my games after adding the SSD?
No. You can move existing games from console storage to the new SSD. You only need to download a game again if you delete it or if the original data is damaged.
Can I remove the SSD later?
Yes. Turn the PS5 off completely, unplug it, and remove the SSD using the reverse of the installation process. If you plan to use the SSD in another device, back up its data first because the PS5 formats it for console use.
What should I do with the original PS5 storage?
You cannot remove the PS5’s built-in storage as part of this upgrade. The internal storage remains available for games, applications, saved data, and system files.
Final Checklist
Before closing the console, confirm that:
- The PS5 is fully powered off and unplugged.
- The SSD is an NVMe PCIe Gen4 x4 model.
- The capacity is between 250 GB and 8 TB.
- The drive has a compatible heatsink.
- The total SSD height is within Sony’s limit.
- The spacer matches the SSD length.
- The SSD is fully inserted and secured flat.
- The expansion cover and outer panel are installed.
- The PS5 formats the drive successfully.
- A test game moves to and launches from the SSD.
Once those checks pass, the SSD is ready for normal use. For the safest installation, use Sony’s official PS5 M.2 SSD support instructions for the exact CFI model printed on your console.

Everett Ashford is a tech reviewer at mytechgrid.com specializing in SSDs, cameras, TVs, earbuds, headphones, and other consumer electronics. He provides honest, data-driven reviews based on hands-on testing and real-world performance analysis. Everett simplifies complex tech details to help readers make smart, confident buying decisions.