Set up a Ring camera by installing the app, creating an account, and connecting the device to Wi‑Fi.
I’ve set up dozens of smart cameras for friends and clients. This guide teaches you how to set up a ring camera from unboxing to smart integrations. I explain the steps, common problems, and real tips I learned in the field. Read on and you’ll have a working Ring camera in under 30 minutes.

What is a Ring camera and how it works
A Ring camera is a home security camera that streams video to your phone or cloud. It uses Wi‑Fi to send live video and alerts. Ring cameras come in battery, plug‑in, and wired models. This section helps you understand the device before you learn how to set up a ring camera.
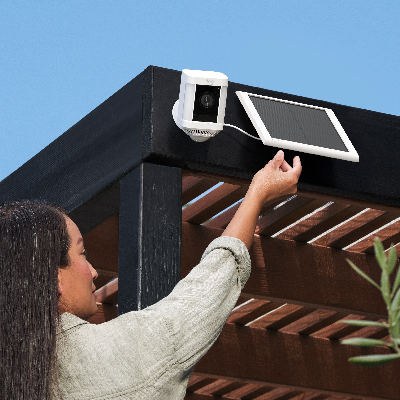
Pre‑installation checklist
Prepare before you begin. This makes setup quick and smooth.
- Ring app on your phone. Install the Ring app from the App Store or Google Play.
- Ring account. Create an account and verify your email.
- Strong Wi‑Fi. 2.4 GHz networks work best for many Ring devices.
- Power source. Charge the battery or confirm outlet access for plug‑in models.
- Tools. Small screwdriver, drill, anchors, and a ladder if you plan to mount the camera.
- Location idea. Decide where you want motion detection and a clear view.
Do these steps before you start how to set up a ring camera. It saves time during the live setup.
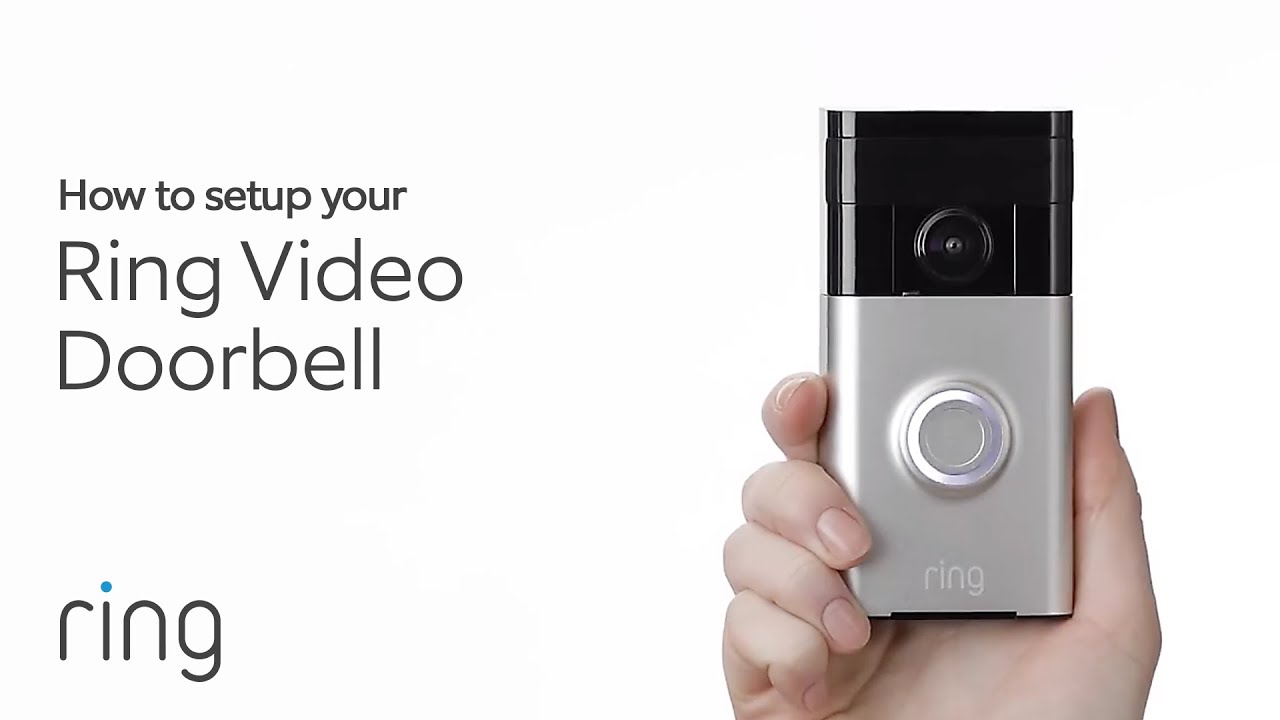
Step‑by‑step setup: how to set up a Ring camera
Follow these steps in order. Each step is short and clear.
- Unbox and charge
- Remove the camera and accessories.
- Fully charge batteries when included. A full charge avoids mid‑setup interruptions.
- Open the app and add a device
- Log into the Ring app.
- Tap “Set Up a Device” and choose the camera type.
- Allow camera and app permissions when prompted.
- Scan the QR code or MAC ID
- The app asks to scan a QR code or enter the MAC ID. This links the camera to your account.
- Connect to Wi‑Fi
- Choose your home 2.4 GHz Wi‑Fi network in the app.
- Enter your Wi‑Fi password carefully. Strong networks improve video reliability.
- Name and place the camera
- Give the camera a clear name like “Front Door” or “Garage Side.”
- Test the live view in the app to confirm the camera sees the intended area.
- Fine‑tune motion settings
- Set motion zones and sensitivity in the app.
- Enable motion alerts and schedule times if needed.
- Finalize mounting
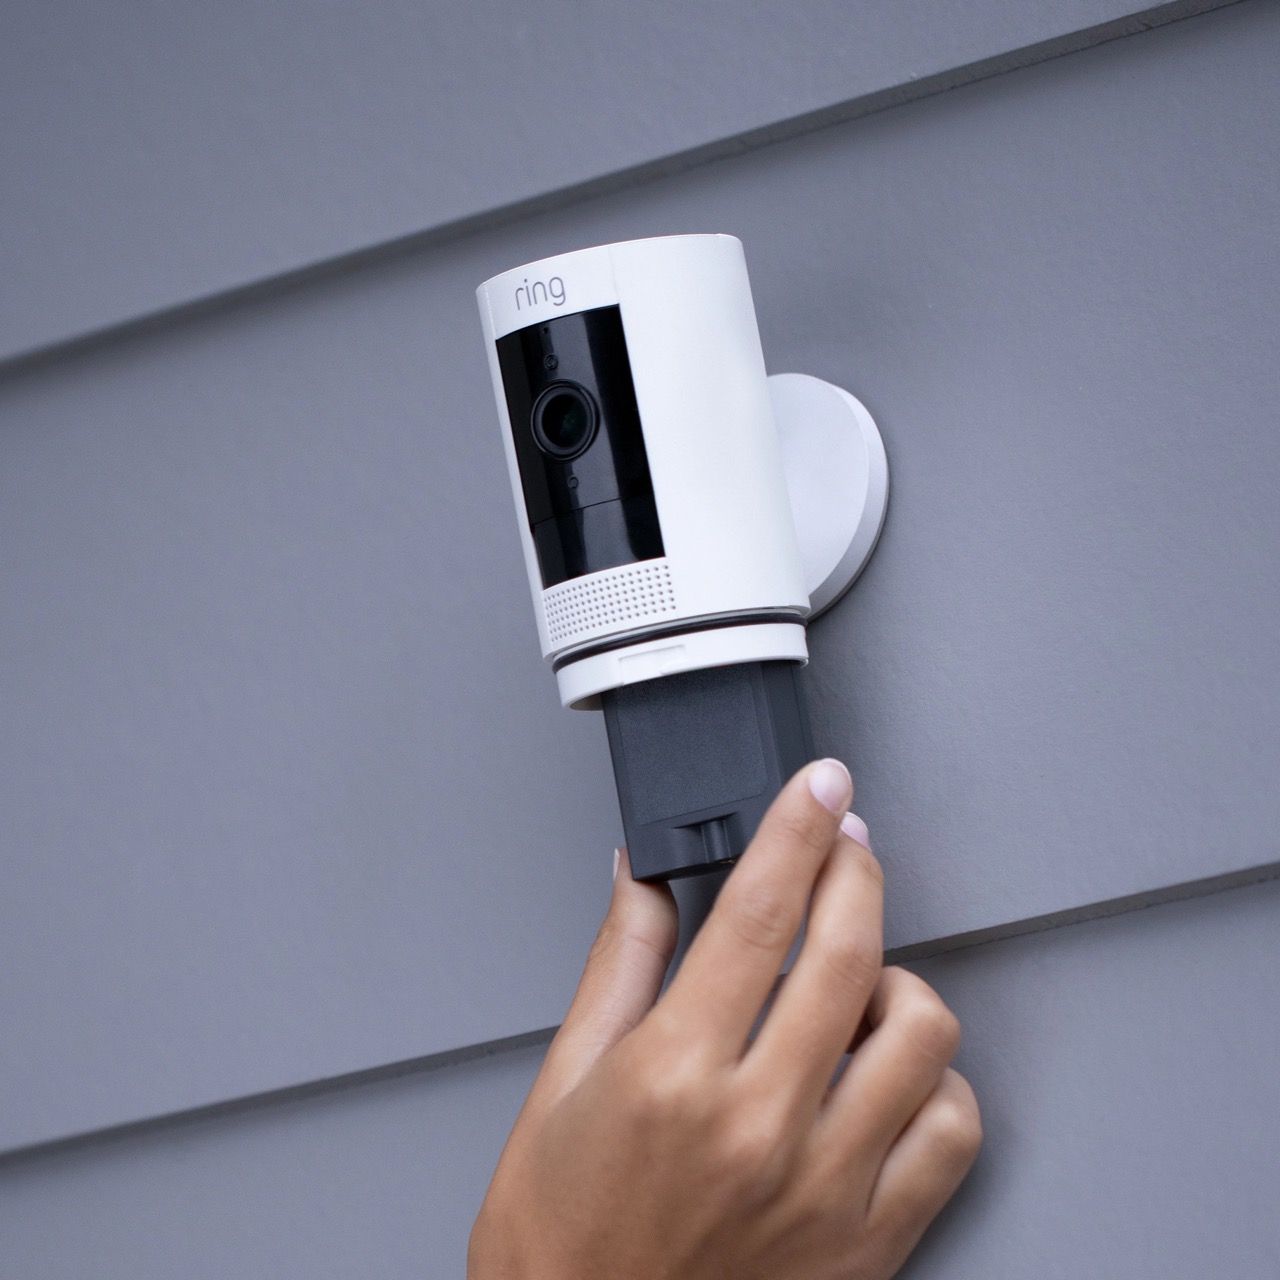
- Use the included mount and screws to fix the camera.
- Recheck live view and angle after mounting.
These steps show exactly how to set up a ring camera for home use. If you have multiple devices, repeat the process for each one.
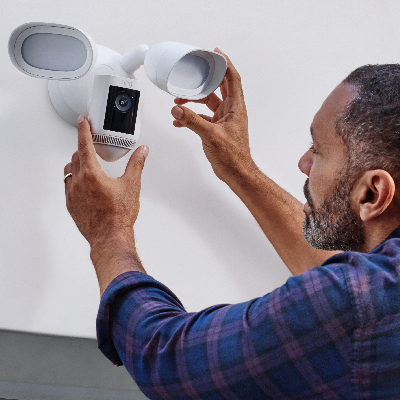
Mounting, placement, and power options
Placement matters for performance. Good placement reduces false alerts and gives useful video.
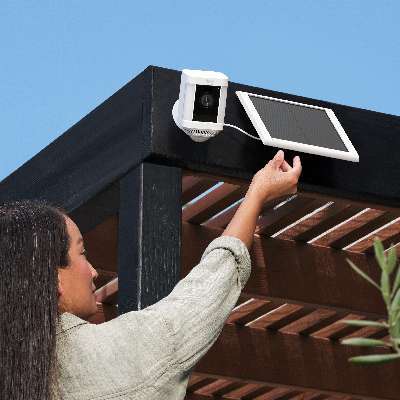
- Height and angle. Mount cameras 7 to 10 feet high. Aim slightly downward to capture faces.
- Avoid direct sun. Direct sunlight can wash out footage. Choose shaded areas when possible.
- Entrance focus. Point cameras at doors, driveways, or common entry points.
- Power choice. Use battery for flexible placement, plug‑in for continuous power, or hardwire for constant power and fewer battery swaps.
I once mounted a battery Ring camera too low. Rain hit the lens and caused false motion. After raising it, false alerts stopped and battery life improved. That’s a simple lesson in how to set up a ring camera right the first time.
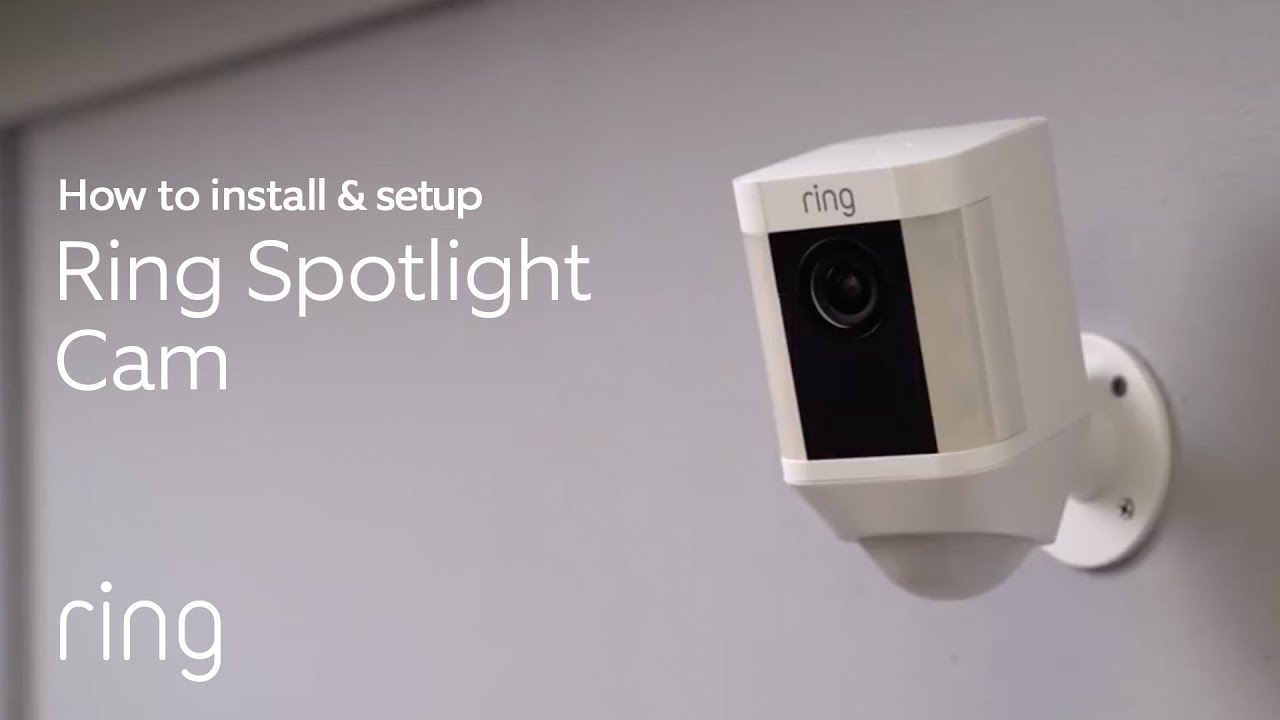
App settings, notifications, and privacy
The app controls most features. Spend a few minutes to set it up right.
- Motion alerts. Turn on push notifications and customize times and zones.
- Video recording. Enable cloud recordings if you subscribe to a plan.
- Shared users. Add family members or neighbors with limited access.
- Privacy settings. Turn off motion or recording zones for private areas.
Be mindful of neighbors and local laws. Block private windows and avoid placing cameras where people expect privacy. These steps help you set up a ring camera the right way while respecting others.
Troubleshooting common issues when you set up a ring camera
Problems happen. Here are quick fixes that solved most issues for me.
- Camera won’t connect to Wi‑Fi
- Move the camera closer to the router during setup.
- Reboot your router and try 2.4 GHz network if 5 GHz fails.
- Frequent disconnections
- Check Wi‑Fi signal strength. Consider a mesh Wi‑Fi or range extender.
- Update the Ring app and camera firmware.
- Poor video quality
- Check internet upload speed. Aim for 3 Mbps or higher per camera.
- Reduce video quality in settings if network is limited.
- Motion alerts too sensitive
- Lower sensitivity and refine motion zones in the app.
If these fixes don’t work, factory reset the device and try the setup again. I’ve used resets as the final step when nothing else worked.
Advanced features and integrations
After you learn how to set up a ring camera, explore smart features to get more value.
- Alexa and Google integration. Link Ring to voice assistants for live view and announcements.
- Linked devices. Combine Ring Doorbells with cameras for unified motion alerts.
- Third‑party automation. Use smart home hubs to create routines based on motion.
- Subscription benefits. Cloud storage, extended video history, and advanced alerts come with a subscription.
I integrated Ring with a smart light to turn on porch lights during motion. The setup took ten minutes and greatly improved night visibility.
Privacy, safety, and legal considerations
Be ethical and legal when you install cameras. This protects you and others.
- Check local laws. Some places restrict recording audio or private areas.
- Notify guests. Inform visitors you have cameras if required.
- Secure your account. Use a strong password and enable two‑factor authentication.
- Update firmware. Regular updates fix security issues.
These steps ensure your setup of how to set up a ring camera stays safe and lawful.

Personal experience and practical tips
Here are tips I learned from years of installs. Short, real, and useful.
- Test before drilling. Use a temporary mount to confirm the angle.
- Label cables. If you hardwire, label wires to avoid confusion later.
- Save battery life. Lower motion sensitivity and use scheduled modes.
- Share carefully. Give access only to trusted people and review shared users periodically.
One client had poor battery life because the camera pointed at a busy street. Reducing motion sensitivity cut alerts in half and doubled battery life. That’s a practical win from real experience.
Frequently Asked Questions of how to set up a ring camera
How long does it take to set up a Ring camera?
Most setups take 15 to 30 minutes if you have Wi‑Fi and the app ready. Charging a battery may add extra time.
Do I need a subscription to use a Ring camera?
No. Basic live view and alerts work without a subscription. A subscription adds cloud recording and advanced features.
Can I use a Ring camera with my smart home system?
Yes. Ring works with major voice assistants and many smart home devices. Integration steps are in the Ring app.
What Wi‑Fi band is best for Ring cameras?
Use 2.4 GHz for better range on many models. Some newer models support 5 GHz for faster speeds.
How do I improve weak Wi‑Fi for my Ring camera?
Try moving the router closer, using a mesh system, or adding a Wi‑Fi extender. Also reduce obstructions between the router and camera.
Conclusion
You now have a clear plan for how to set up a ring camera. Follow the checklist, work step by step, and test placement before final mounting. Fix common issues with the simple troubleshooting tips and protect privacy with secure settings. Try one camera first, learn from the results, and expand your system with confidence. If this guide helped, subscribe for more smart home tips or leave a comment with your setup questions.

Everett Ashford is a tech reviewer at mytechgrid.com specializing in SSDs, cameras, TVs, earbuds, headphones, and other consumer electronics. He provides honest, data-driven reviews based on hands-on testing and real-world performance analysis. Everett simplifies complex tech details to help readers make smart, confident buying decisions.