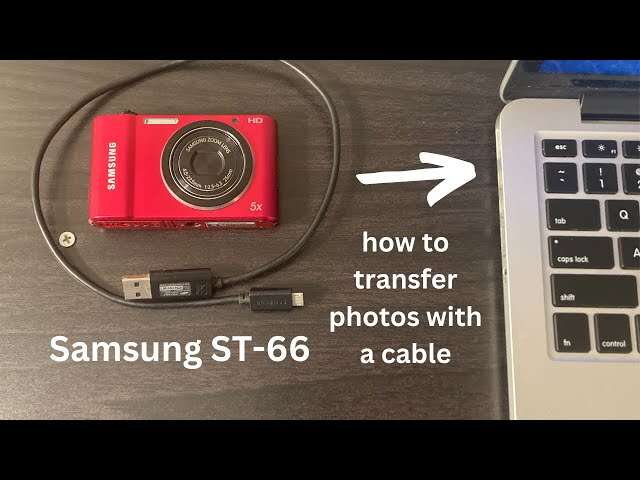
Connect the camera or its memory card to your computer, then copy or import the photo files into a folder.
I’ve guided photographers and hobbyists for years on how to transfer photos from digital camera to computer. This guide walks you through simple, reliable methods—from USB and card readers to Wi‑Fi and cloud sync. I’ll share step‑by‑step instructions for Windows and Mac, tips to avoid careless mistakes I’ve seen, and a tidy workflow to keep your images safe and searchable. Read on to make transfers fast, secure, and repeatable.
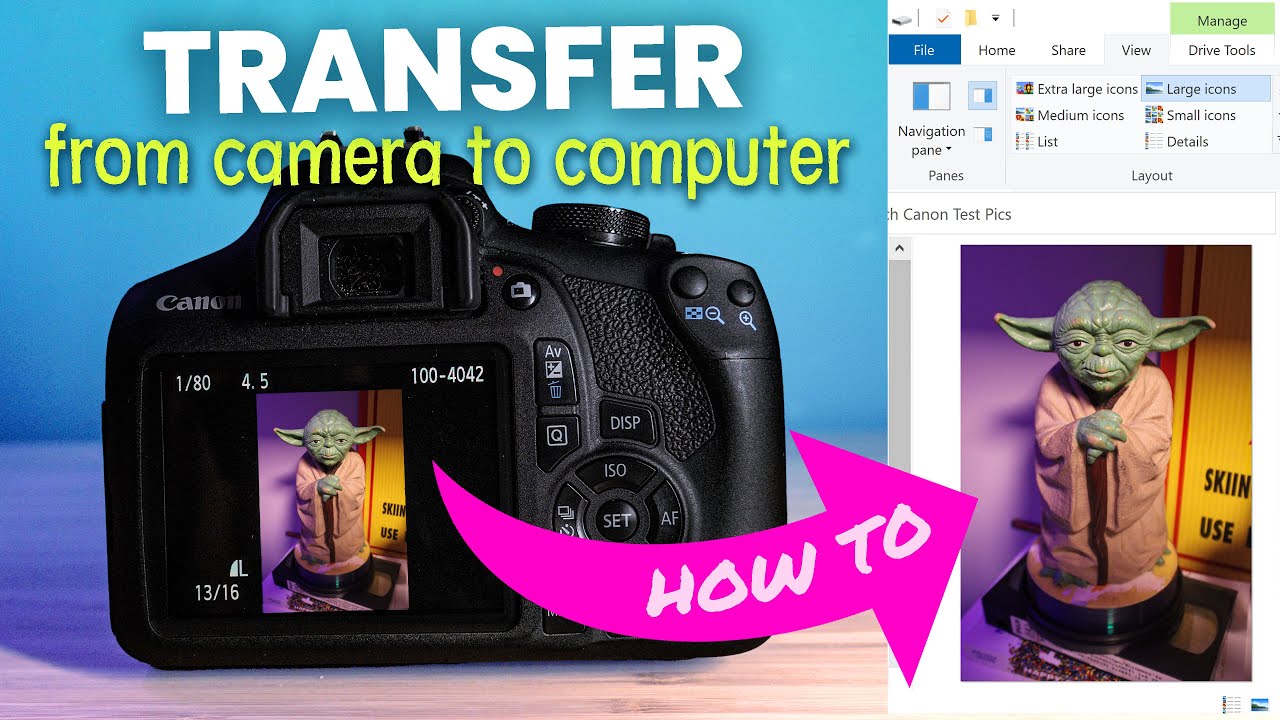
Why moving photos from your camera to a computer matters
Transferring photos is more than copying files. It frees space on your camera, lets you edit on larger screens, and protects images with backups. Knowing how to transfer photos from digital camera to computer saves time and prevents lost shots.
I’ve lost photos when I rushed transfers. That taught me to always check files and keep at least one backup. A clear transfer routine makes shoots less stressful and editing easier.

Common methods to transfer photos
Choose a method that fits your gear and habits. Each method below explains when to use it and what to expect.
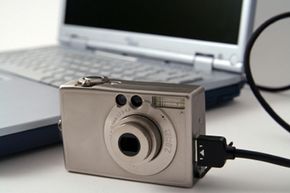
- USB cable connection: Plug the camera into the computer. Good for quick transfers and tethered shooting.
- Memory card reader: Remove the SD or microSD card and read it directly. Fast and reliable.
- Wi‑Fi or Bluetooth: Use the camera’s wireless features or the maker’s app to move images without cables.
- Cloud sync: Upload from camera or phone to cloud storage and download to the computer. Good for remote access.
- Tethered capture: For studio work, connect and shoot directly into editing software.
Pick one method and practice it. That builds a dependable routine for how to transfer photos from digital camera to computer.

Prepare your camera and computer before transferring
A little prep avoids common problems. Follow these steps every time.
- Charge the camera battery or use a battery grip. Transfers can fail if power dies.
- Set camera to the correct USB mode. Many cameras offer "Mass Storage" or "PTP" modes.
- Use a good quality cable. Frayed cables often cause failures.
- Clean card contacts gently if cards act up.
- Update camera firmware and computer drivers when needed.
I learned to check these items before a big shoot. It saved me from a frantic card swap later. These small checks help when you need to transfer photos from digital camera to computer quickly.
Step-by-step: How to transfer photos from digital camera to computer on Windows
Below are clear steps for the two most common Windows methods: USB cable and card reader.
USB cable method
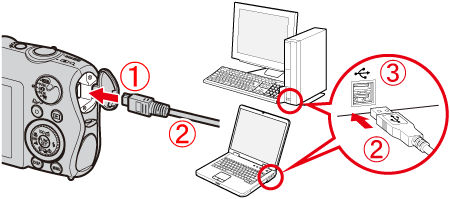
1. Turn on the camera and set USB mode to Mass Storage or File Transfer.
2. Connect the camera to the PC with the camera’s USB cable.
3. Open File Explorer and look for the camera or drive.
4. Navigate to the DCIM folder and select the photos you want.
5. Copy and paste or drag files to your chosen folder on the computer.
6. Eject the camera drive and disconnect.
Card reader method
- Turn off the camera and remove the memory card.
- Insert the card into a built‑in slot or an external card reader.
- Open File Explorer and find the card drive.
- Copy the DCIM folder or selected photos to your computer.
- Safely eject the card.
These simple steps show how to transfer photos from digital camera to computer fast and reliably on Windows.
Step-by-step: How to transfer photos from digital camera to computer on Mac
Use Finder or the Photos app. Both work well depending on your workflow.
Using Finder
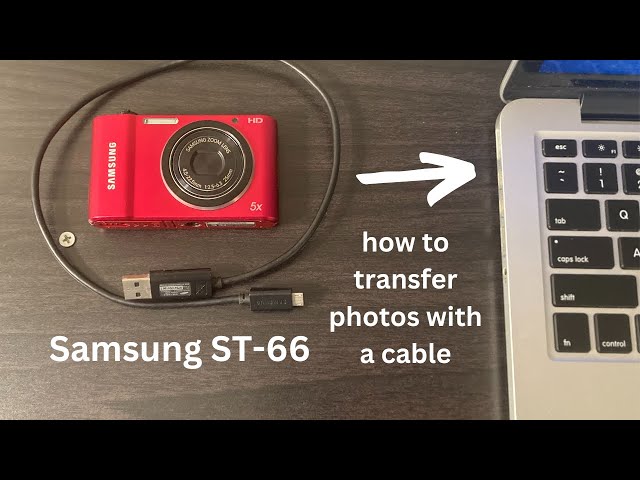
- Turn off the camera and remove the memory card, or connect the camera via USB.
- Insert the card into the reader or connect the camera.
- Open Finder and find the card or camera as a mounted drive.
- Open the DCIM folder and drag photos to your desired folder.
- Eject the drive before removing the card or disconnecting.
Using Photos app
- Connect the camera or insert the memory card.
- Open Photos app, which should show an Import screen.
- Review thumbnails and choose Import Selected or Import All.
- After import, choose to Keep or Delete items on the camera/card.
I prefer Finder for raw workflows and Photos when I want simple imports with albums. Both methods cover how to transfer photos from digital camera to computer on a Mac.

Organize and back up your photos after transfer
Good organization makes future work faster. Backups prevent heartbreak.
- Create a clear folder structure. Example: Photos/YYYY/MM-Project or Location.
- Use consistent file names or batch‑rename after transfer.
- Add basic metadata or tags in your editing app.
- Keep at least two backups: one local on an external drive and one offsite or in the cloud.
- Use versioned backups for long projects and raw files.
I lost a client shoot once by skipping backups. Now I follow a 3‑2‑1 rule: three copies, two mediums, one offsite. This habit changes how to transfer photos from digital camera to computer into a safe, repeatable routine.

Troubleshooting common issues and quick answers
If a transfer fails, try these fixes. Short solutions help you get back to shooting.
- Camera not recognized: Try a different USB cable, a different port, or the memory card reader. Turn the camera on and set correct USB mode.
- Files missing: Check the DCIM folder and confirm you’re viewing all file types. Use a recovery tool only if necessary.
- Slow transfer speeds: Use a fast card (UHS‑I or UHS‑II) and a USB 3.0 port or USB‑C cable. Avoid Wi‑Fi for large RAW batches.
- Corrupt files: Stop using the card. Use recovery software and copy to a new drive.
- Import software errors: Update the app, restart the computer, or import via Finder/File Explorer instead.
How long does a transfer take?
Transfer time depends on file size and speed of card and port. A single RAW file may take seconds; hundreds can take minutes to hours.
Can I transfer while shooting tethered?
Yes. Tethered capture sends images directly to the computer as you shoot, ideal for studio work. Use dedicated software from the camera maker or third‑party tools.
Is wireless transfer secure?
Wireless transfers are convenient but can be slower and less secure. Use passwords, secure networks, or prefer wired transfers for large or private shoots.
These tips address common gaps that come up when you learn how to transfer photos from digital camera to computer.
File types, workflow tips, and editing recommendations
Knowing file formats and a tidy workflow saves hours.
- RAW vs JPEG: RAW keeps full image data for editing. JPEG is smaller and ready to share.
- Keep originals: Never overwrite raw files. Work on copies for edits.
- Use cataloging tools: Lightroom, Capture One, or simple folder systems help find files fast.
- Batch process: Rename, tag, and apply basic presets during import to speed edits.
- Maintain storage: Archive older projects to slower, larger drives and keep active work on fast SSDs.
I shoot RAW for client work and JPEG for quick shares. That split keeps my editing efficient and the archives manageable while teaching how to transfer photos from digital camera to computer in a professional workflow.

Frequently Asked Questions of how to transfer photos from digital camera to computer
How do I transfer photos if my computer won't recognize the camera?
Try a different USB cable, a card reader, or switch the camera’s USB mode to Mass Storage. Also restart the computer and update drivers.
Can I transfer photos without removing the memory card?
Yes. You can connect the camera via USB and transfer files directly if the camera supports File Transfer or Mass Storage mode. Wireless apps also let you move images without removing cards.
Is it safe to delete photos from the camera after transfer?
Only delete after you verify the files copied correctly and backups exist. I always check thumbnails and file sizes before clearing cards.
What is the fastest way to transfer large raw files?
Use a high‑speed SD card, a USB‑C card reader, and a USB 3.x or Thunderbolt port. Wired transfer is usually faster than Wi‑Fi.
How should I name folders to stay organized?
Use a date and short project name format like 2026-07-09_SummerShoot. This keeps folders sortable and easy to scan.
Conclusion
You can make how to transfer photos from digital camera to computer quick, safe, and repeatable. Pick a primary method, prepare your gear, and follow a clear import and backup routine. Start small: test one workflow, verify files, and add automation like batch renaming or cloud backup. Try these steps on your next shoot and share what worked or what confused you. If you found this useful, subscribe for more camera tips or leave a comment with your gear and workflow.

Everett Ashford is a tech reviewer at mytechgrid.com specializing in SSDs, cameras, TVs, earbuds, headphones, and other consumer electronics. He provides honest, data-driven reviews based on hands-on testing and real-world performance analysis. Everett simplifies complex tech details to help readers make smart, confident buying decisions.