Install an SSD, clone or fresh-install Windows, and enable TRIM for fast, reliable performance.
I've upgraded dozens of laptops and taught others how to use SSD in laptop upgrades. This guide shows clear steps, real tips, and mistakes to avoid. I combine hands-on experience with best practices so you can upgrade quickly and safely. Read on to learn which SSD fits your laptop, how to install it, and how to get the most life and speed from the drive.

Why upgrade to an SSD
An SSD makes your laptop feel new. Boot times drop from minutes to seconds. Apps open instantly and file transfers become smoother. If you want snappy performance and longer battery life, switching to an SSD is one of the best upgrades.
Benefits at a glance
- Faster boot and app load times.
- Lower power use than many hard drives.
- No moving parts, so better shock resistance.
- Smaller, lighter drives available for thin laptops.
Limitations to know
- SSDs can cost more per gigabyte than HDDs.
- Write endurance exists but is usually plenty for normal users.
- Some old laptops need adapter hardware or lack compatible slots.
I have replaced HDDs in work and personal laptops with SSDs. Each time the change felt dramatic. The tips below come from those upgrades.

Types of SSDs and compatibility
There are three common SSD types. Know which fits your laptop before you buy.
SATA 2.5-inch
- Looks like a traditional drive.
- Uses SATA cable and SATA power connector.
- Good for older laptops and budget upgrades.
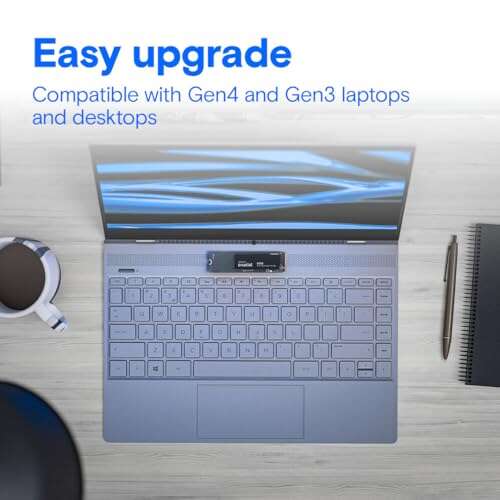
M.2 SATA
- Small stick-shaped drive.
- Uses SATA protocol over the M.2 slot.
- Offers similar speeds to 2.5-inch SATA but smaller form factor.
M.2 NVMe (PCIe)
- Much faster thanks to PCIe lanes.
- Uses M-key or B+M-key connectors; check your laptop slot.
- Best for high performance and modern laptops.
How to check compatibility
- Read your laptop manual or spec sheet.
- Open the back panel carefully and inspect the slot.
- Look up the model online if you prefer not to open it.
When I started, I ordered the wrong M.2 type once. Double-check your slot type to avoid returns.

Preparing your laptop
Preparation prevents problems. Follow these simple steps before opening the case.
Back up data
- Create a full backup or system image.
- Use an external drive or cloud service.
Gather tools
- Small Phillips screwdriver.
- Plastic pry tool or spudger.
- Anti-static wrist strap if available.
Update firmware and drivers
- Check laptop BIOS updates.
- Download the latest storage controller drivers.
Decide cloning vs fresh install
- Cloning copies everything and keeps your setup.
- A fresh install is cleaner and often faster long-term.
I usually clone first to verify the SSD works, then do a fresh install within a week. That saved time and kept the system tidy.

Installing the SSD
Follow safe steps and the physical install is quick. Turn off the laptop and remove the battery if possible.
Steps to install a 2.5-inch SATA SSD
- Power off and unplug the laptop.
- Remove the back panel to access drive bay.
- Unscrew and remove the old drive.
- Mount the SSD in the bracket and reconnect SATA and power cables.
- Replace the panel and boot to BIOS to confirm detection.
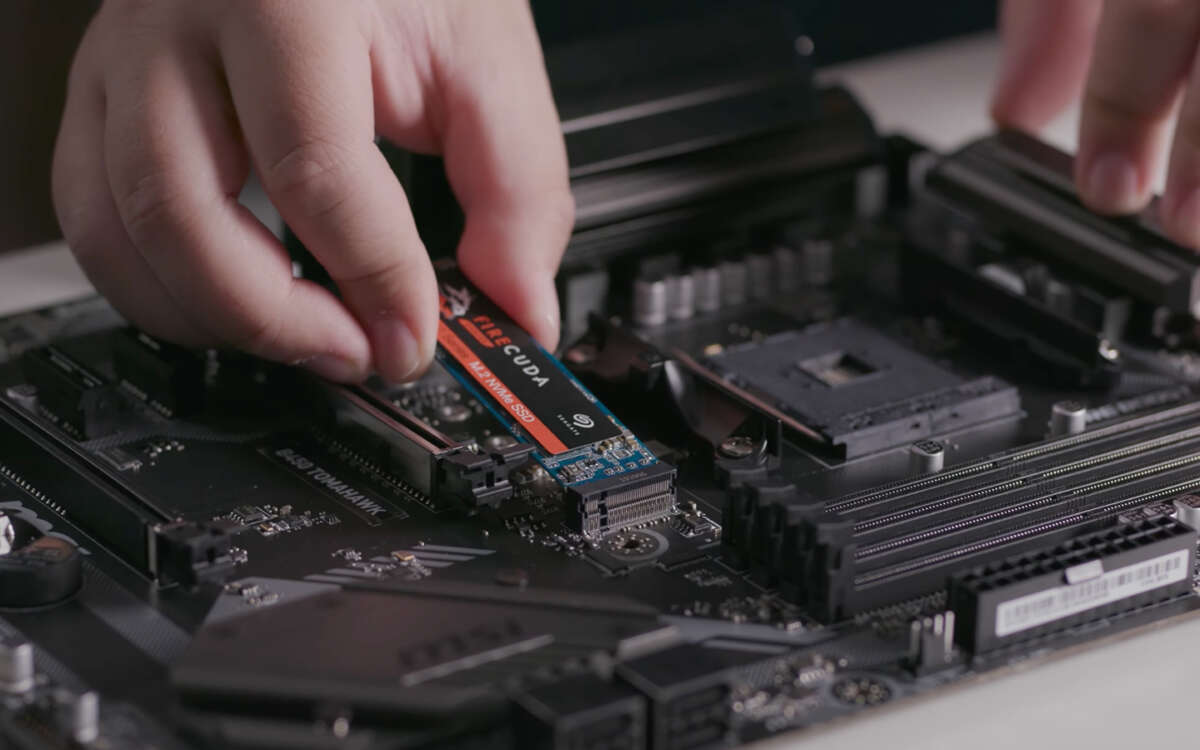
Steps to install an M.2 SSD
- Power off and unplug the laptop.
- Remove back panel and find the M.2 slot.
- Insert the M.2 at a 30-degree angle into the slot.
- Press down and secure with the mounting screw.
- Replace the panel, boot to BIOS, and confirm detection.
Tips to avoid damage
- Work on a soft surface and avoid carpet.
- Ground yourself to prevent static damage.
- Use the right screw size; too-tight screws can crack the board.
I once used a tiny magnetized screwdriver. It made keeping screws safe much easier.
Migrating your OS and data
You can clone your old drive or install the OS fresh. Both work well.
Cloning steps
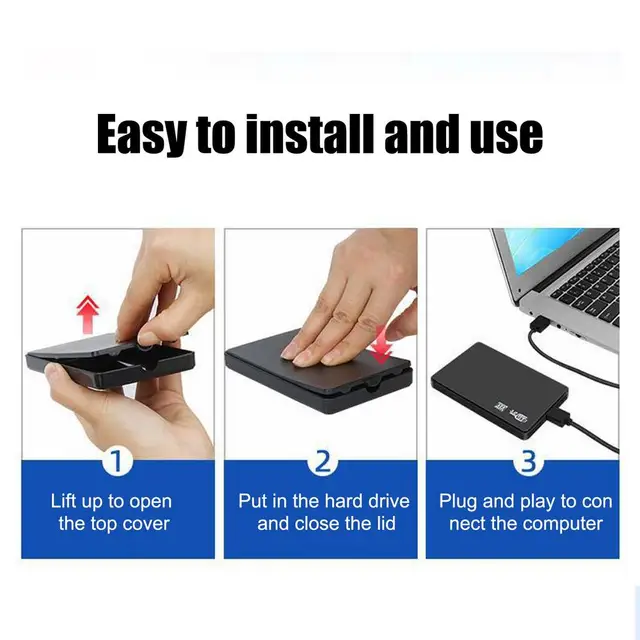
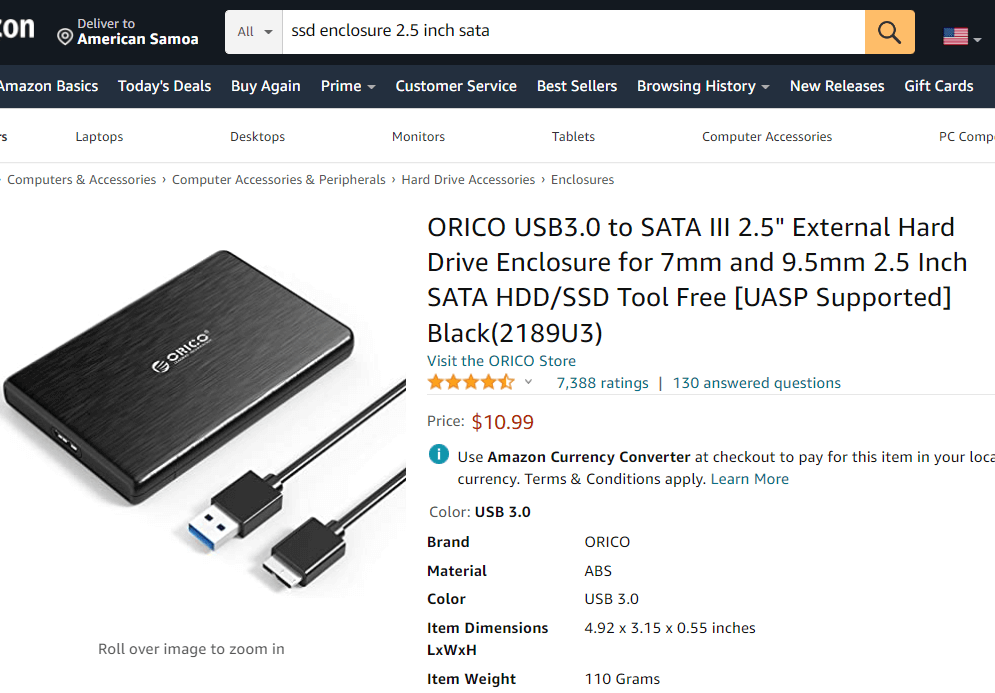
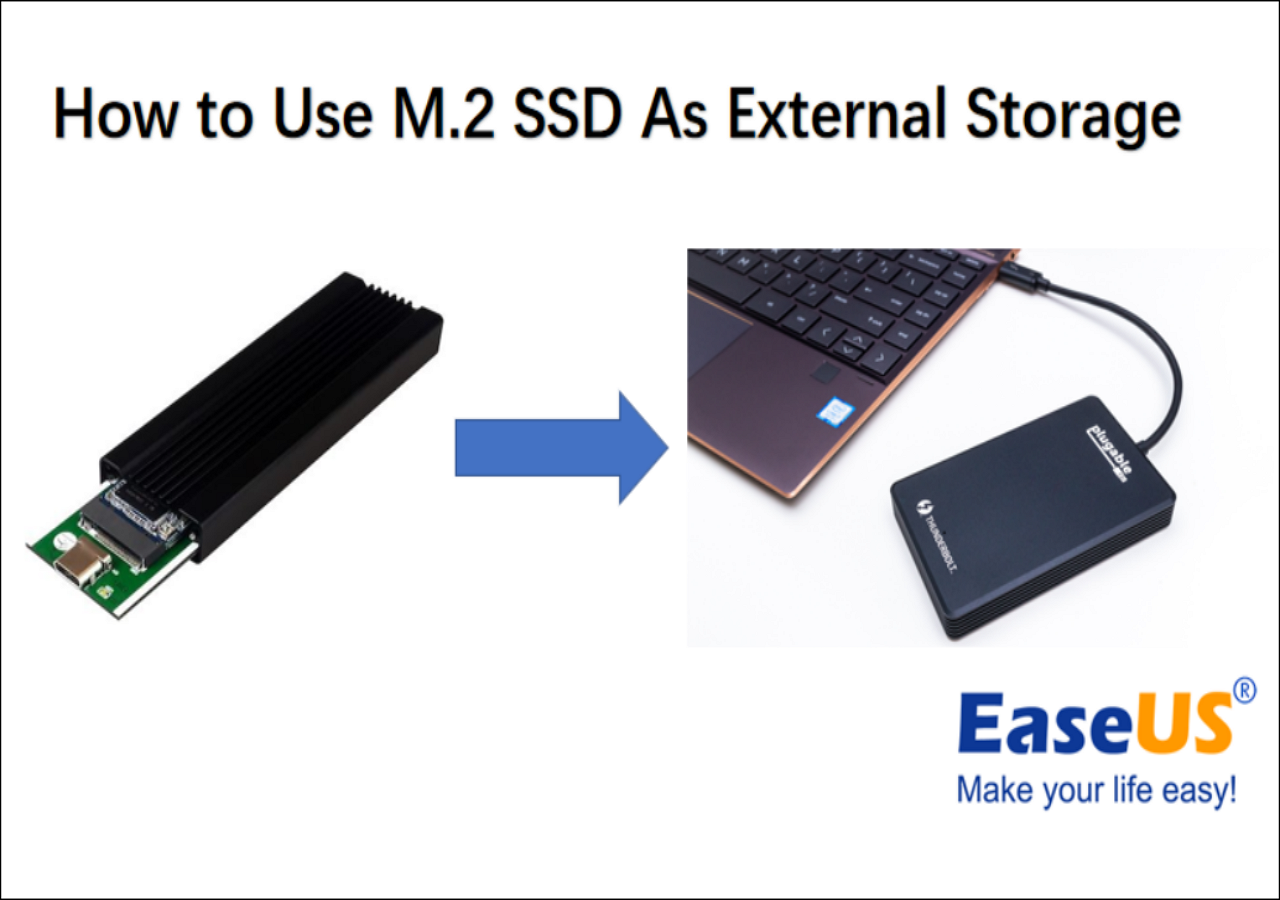
- Connect the SSD via USB adapter or install it temporarily.
- Use cloning software to copy partitions and boot records.
- Swap drives and boot from the SSD.
- Resize partitions if needed.
Fresh install steps
- Create a bootable USB for Windows or your OS.
- Boot from USB and install to the SSD.
- Install drivers, then restore files and apps manually.
When to clone
- You want the same setup and apps immediately.
- You don’t want to reinstall dozens of programs.
When to fresh install
- You want a clean system and best performance.
- You have time to reinstall apps and adjust settings.
I cloned a work laptop for a same-day swap, then did a fresh install the weekend after for stability. That approach worked well for my workflow.
Optimizing SSD performance
Small tweaks keep the SSD fast and healthy. These are safe and easy.
Enable TRIM
- TRIM helps the SSD clean unused blocks.
- Most modern OSes enable TRIM by default. Verify in settings.
Check power settings
- Use balanced or high-performance power plans.
- Avoid aggressive drive sleep on some laptops.
Disable unnecessary disk defragmentation
- SSDs do not need traditional defrag.
- Leave automatic defrag off; OS may run SSD-optimized maintenance.
Keep firmware current
- SSD makers release firmware to improve stability.
- Check the manufacturer’s tool for updates.
Monitor health
- Use SMART tools to watch drive wear, temperature, and health.
- Create backups if the tool reports issues.
I once ignored a firmware update and saw small slowdowns. Updating fixed the glitches quickly.
Maintenance and troubleshooting
Basic care extends SSD life and helps when issues appear.
Routine maintenance
- Keep backups every few weeks.
- Run health checks with vendor tools.
- Avoid filling the drive past 90 percent.
Common problems and fixes
- SSD not detected: Reseat the drive and check BIOS settings.
- Slow performance: Verify TRIM is enabled and update drivers.
- Boot errors after cloning: Repair boot records using recovery tools.
When to seek help
- If firmware update fails or drive is physically damaged.
- If SMART reports imminent failure; stop using the drive and recover data.
A friend ignored an early warning from SMART. They lost data before backing up. That taught me to check health weekly for critical machines.

Frequently Asked Questions of how to use ssd in laptop
How do I know if my laptop supports an SSD?
Check your laptop manual or open the back panel to inspect the drive bays and M.2 slot. Look for labels like M.2, SATA, or NVMe, and confirm the connector type.
Can I clone my HDD to an SSD without reinstalling Windows?
Yes, cloning copies the OS and files to the SSD. Use reliable cloning software and verify the cloned drive boots before wiping the old drive.
Is an M.2 NVMe SSD worth it over a SATA SSD?
NVMe SSDs are significantly faster, especially for large file tasks and apps. If your laptop supports NVMe and you want top speed, it’s worth the upgrade.
Will installing an SSD improve battery life?
Yes, SSDs often use less power than HDDs, which can slightly improve battery life. The real benefit is faster wake and lower idle power draw.
Do I need to enable TRIM after installing an SSD?
Most modern operating systems enable TRIM automatically. It’s wise to verify TRIM is active to maintain long-term performance.
Conclusion
Upgrading is simple and highly rewarding. Choose a compatible SSD, back up your data, follow safe install steps, and decide between cloning or a fresh install. Keep TRIM enabled, update firmware, and monitor drive health for best results. Start your upgrade today and enjoy a faster, more responsive laptop. Share your experience, ask questions below, or subscribe for more practical upgrade guides.

Everett Ashford is a tech reviewer at mytechgrid.com specializing in SSDs, cameras, TVs, earbuds, headphones, and other consumer electronics. He provides honest, data-driven reviews based on hands-on testing and real-world performance analysis. Everett simplifies complex tech details to help readers make smart, confident buying decisions.