After installing a new SSD, initialize it, update firmware, verify health, optimize settings, and restore your files.
Installing an SSD is only the first step. Knowing what to do after installing a new SSD helps you avoid boot errors, lost files, poor performance, and early drive failure. This guide explains the correct setup process for Windows and macOS, with practical checks that make your new storage reliable from day one.
1. Confirm That Your Computer Detects the SSD
The first thing to do after installing a new SSD is check whether your computer recognizes it. Turn on the computer and open the BIOS or UEFI setup screen. You can usually enter it by pressing Delete, F2, F10, or Esc during startup.
Look for the SSD under storage, system information, or boot devices. Confirm that the model and storage size look correct. A small difference between the advertised capacity and usable capacity is normal because manufacturers use decimal measurements, while operating systems report capacity differently.
If the SSD does not appear, shut down the computer and check these items:
• The SATA data cable is firmly connected at both ends.
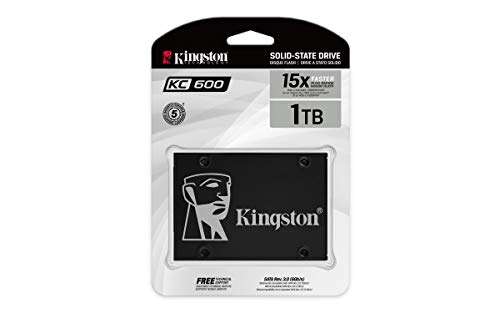
• The SATA power cable is attached if you use a 2.5-inch SATA SSD.
• The M.2 drive is fully inserted into its slot.
• The M.2 retaining screw is in place, but not too tight.
• The SSD is installed in a slot that supports its interface.
• Your motherboard BIOS is updated if the drive is very new.
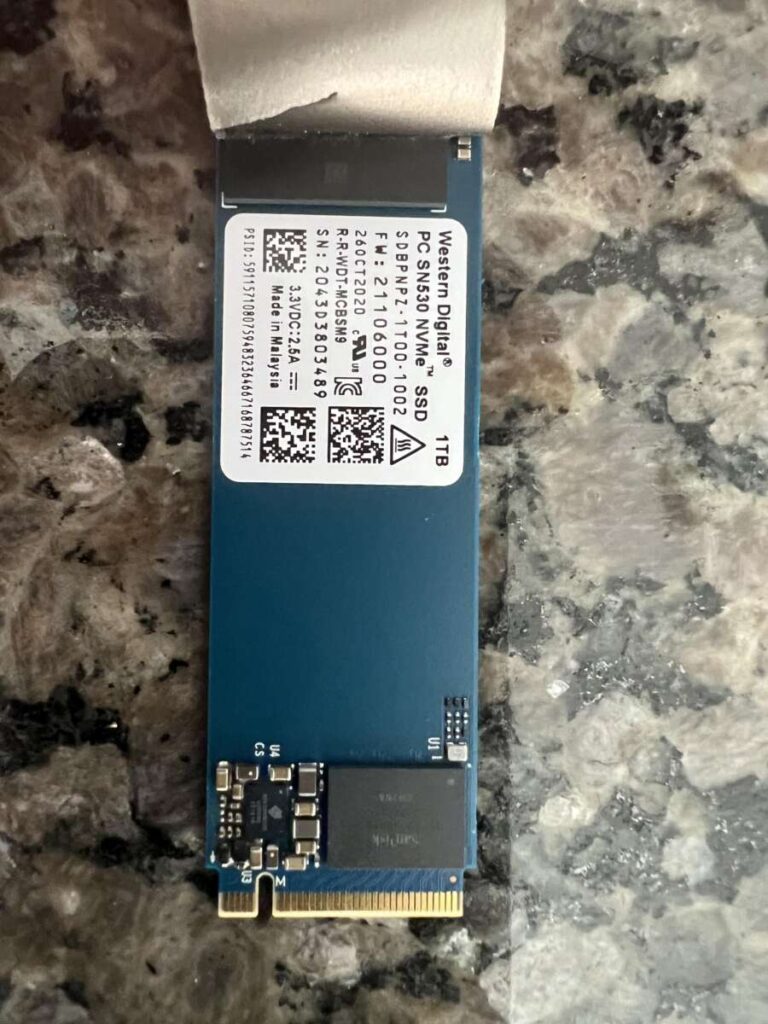
For an M.2 SSD, check whether the slot supports NVMe, SATA, or both. An M.2 drive describes the shape, not the storage protocol. An M.2 SATA drive may not work in an NVMe-only slot.
2. Decide Whether to Clone or Perform a Clean Install
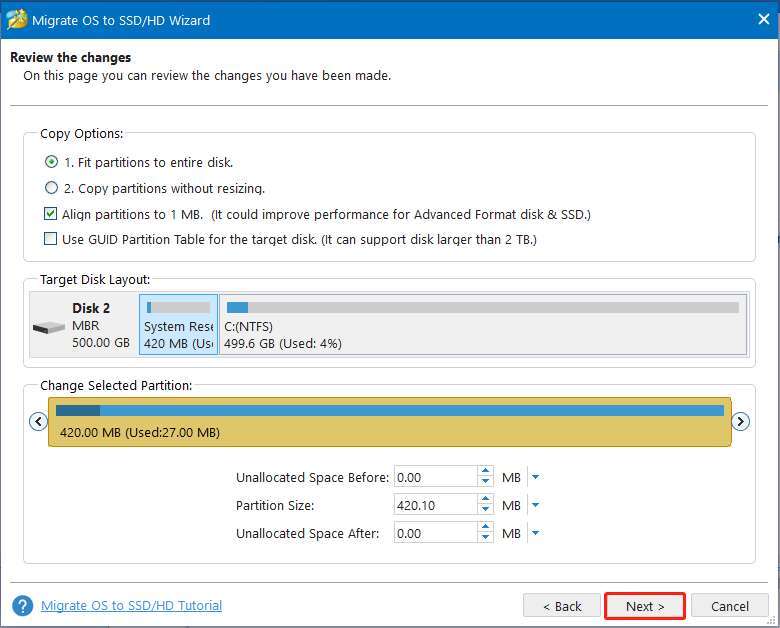
The next step after installing a new SSD is choosing how you will use it. You have two main options: clone your old drive or perform a clean operating system installation.
Cloning copies your operating system, apps, settings, and files to the new SSD. It is useful when you want to replace an old drive without starting over. A clean install removes old system clutter and gives you a fresh setup, but it takes more time.
Choose cloning when:
• Your current operating system works well.
• You want to keep your apps and settings.
• The new SSD is equal to or larger than the old drive.
• You have a current backup in case the clone fails.
Choose a clean install when:
• Your old system has errors or malware.
• You are changing from one operating system to another.
• You want a fresh Windows or macOS environment.
• You are moving from legacy BIOS to UEFI.
Before either process, back up important photos, documents, passwords, and work files. A clone is not the same as a backup. If the old drive has corrupted files, the clone may copy those problems too.
In many upgrades, cloning is the fastest path. However, a clean installation often delivers a cleaner result. I have seen users spend hours fixing old driver problems after cloning when a fresh install would have solved the issue more quickly.
3. Initialize and Partition the SSD in Windows
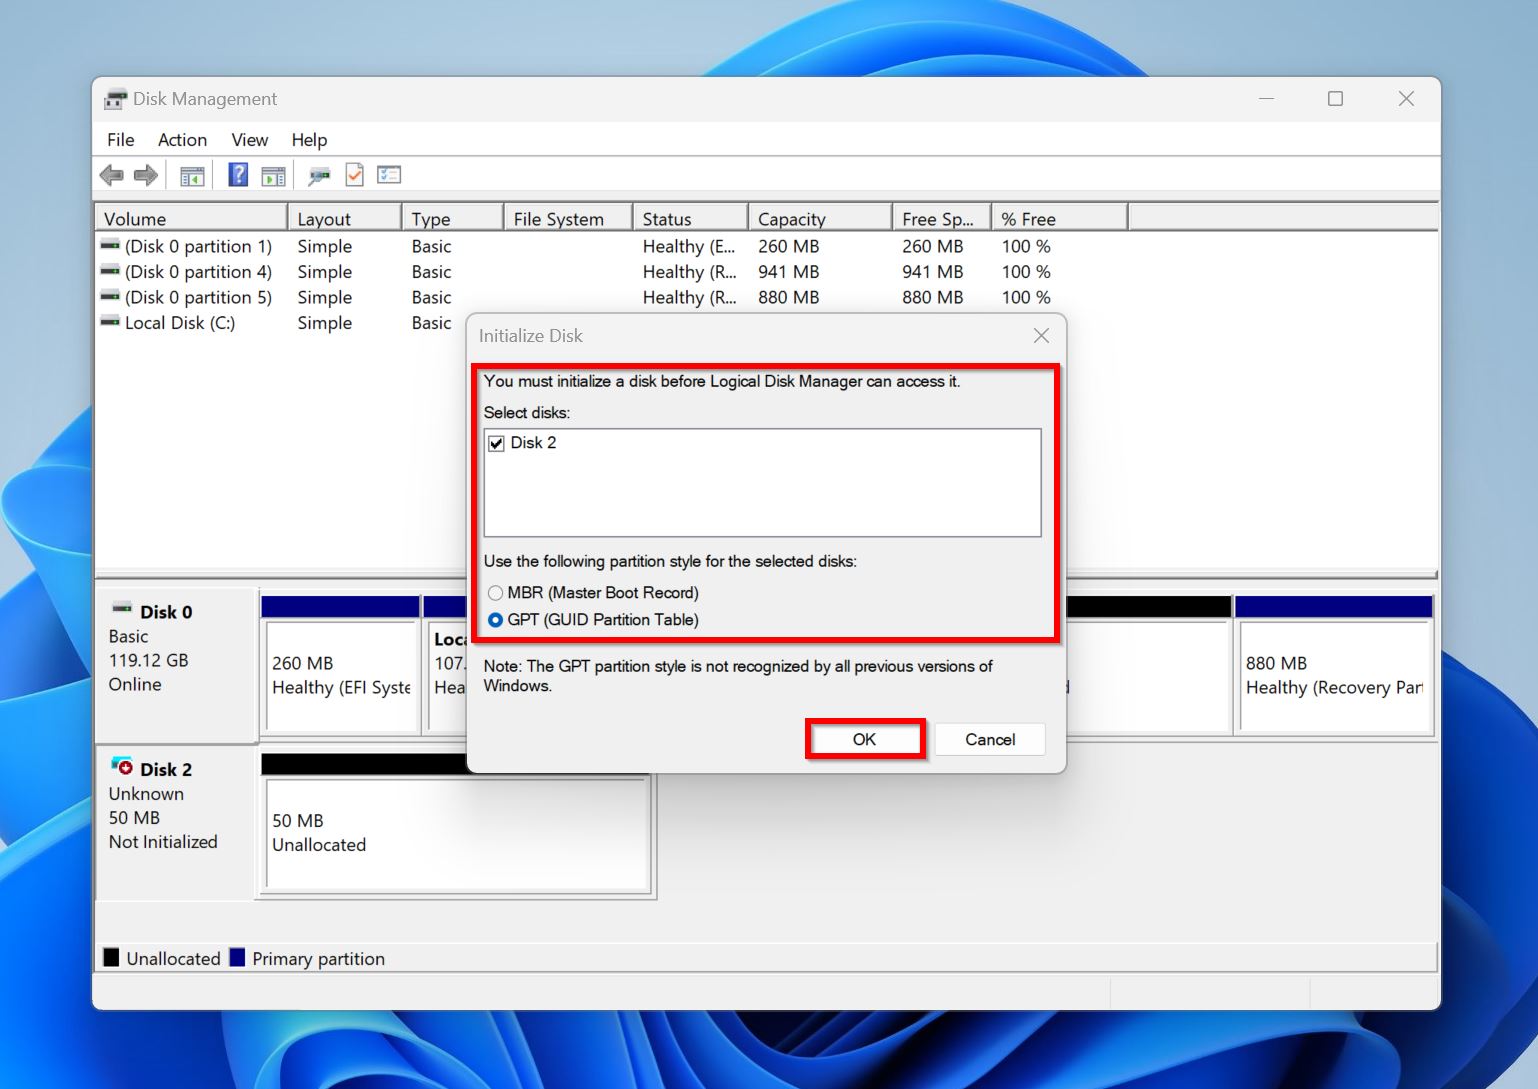
If Windows sees the SSD but File Explorer does not, the drive may need to be initialized and formatted. This is a normal part of what to do after installing a new SSD as a secondary storage drive.
Follow these steps:
-
Right-click the Start button and open Disk Management.
-
Find the new SSD by checking its capacity.
-
If Windows asks you to initialize the disk, choose GPT.
-
Right-click the unallocated space.
-
Select New Simple Volume.
-
Follow the wizard to assign a drive letter and format the volume.
-
Use NTFS for a Windows-only internal drive.
GPT is the modern partition style. It supports large drives and works with UEFI systems. MBR is older and has limits that make it less suitable for modern computers.
Be careful in Disk Management. Selecting the wrong disk can erase your existing files. Always compare the drive size and model before deleting partitions or formatting a volume.
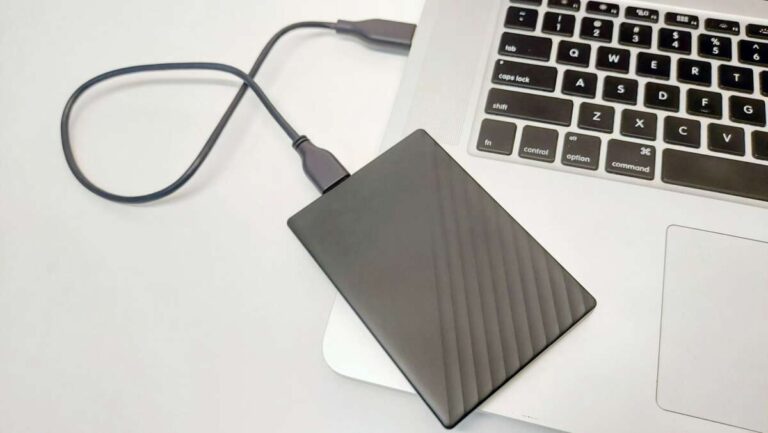
For a portable SSD used across Windows and macOS, exFAT may be more suitable than NTFS. However, exFAT does not provide all the features of a native Windows or macOS file system.
4. Install or Move the Operating System
If the new SSD will be your main boot drive, install or move the operating system before storing large files on it. For Windows, create an installation USB with Microsoft’s official Media Creation Tool. For macOS, use the built-in recovery options or macOS installer.
During installation, select the new SSD carefully. Its capacity and model should match the drive you installed. Delete old partitions only when you are certain that the correct disk is selected and your backup is complete.
After installation, check the boot order in BIOS or UEFI. Set the new SSD as the first boot device. If the computer still starts from the old drive, temporarily disconnecting the old drive can help confirm that the new SSD is bootable.
For a cloned drive, the process is slightly different:
• Shut down the computer after cloning.
• Disconnect the old drive if possible.
• Start the computer with only the new SSD connected.
• Confirm that the operating system loads.
• Reconnect the old drive later and format it only after testing.
This is an important lesson from real-world upgrades: do not erase the old drive immediately. Keep it untouched until the new SSD boots correctly and all important files are present.

5. Update SSD Firmware and Motherboard Drivers
Updating firmware is another important part of what to do after installing a new SSD. SSD firmware controls how the drive manages data, power, error correction, and thermal behavior.
Visit the SSD manufacturer’s support page and install its official management tool. Common tools can check firmware, drive health, temperature, and available updates. Do not use random firmware files from unofficial websites.
Also update these computer components when needed:
• Motherboard chipset drivers.
• Storage controller drivers.
• BIOS or UEFI firmware.
• NVMe drivers, if your system requires them.
Firmware updates can improve compatibility and fix known bugs. Still, they carry a small risk if power is lost during the process. Connect a laptop to its charger, and avoid updating during storms or unstable power conditions.